We may earn revenue from the products available on this page and participate in affiliate programs. Learn More ›
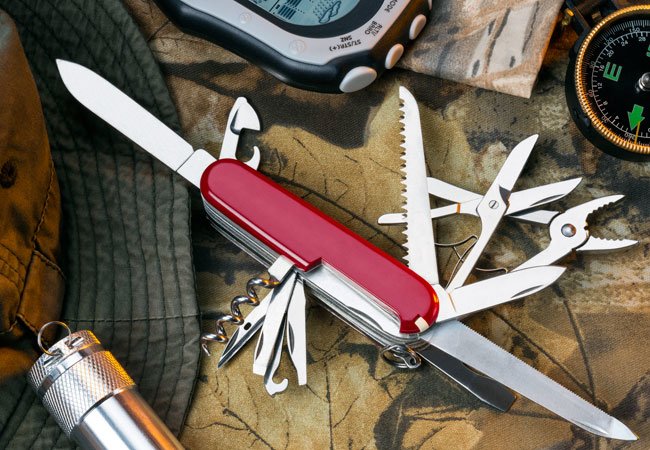
The handiest people advocate keeping a pocket knife within reach (if not actually in a pocket) at all times. Its foldable blades and tiny size render it useful in countless situations—whittling walking sticks, opening stubborn packaging, and cutting through twine, to name a few. With all that use, however, the blades on a pocket knife will dull, making them less efficient and ultimately more dangerous. A dull knife requires more force to work, which could cause the tool to slip and cut the user, whereas a sharp knife eases into a cut with minimal effort and maximum control. Rather than wait for an injury to happen, it’s better to be more proactive and learn how to sharpen a pocket knife.
To sharpen a pocket knife, you’ll need to acquire a few materials. While knife aficionados debate whether to sharpen the tool with a whetstone, diamond-crusted stone, ceramic stone, or a Japanese water stone, we recommend that beginners opt for a whetstone. This particular sharpening stone is easy to use and readily available at most home stores and online retailers (for under $20, even!). You’ll also want to invest in a sharpening guide, another ballpark $20 purchase which attaches to the knife and props it at a consistent angle so that you can make it through your first attempt at how to sharpen a pocket knife scathe-free.
MATERIALS AND TOOLS
– Rubber non-slip mat
– Clean rag
– Sharpening stone
– Baby, mineral, or canola oil
– Sharpening guide
– Piece of paper
– Paper towel
STEP 1
Sit down at a table so that you can hold the knife steady at a consistent angle throughout the sharpening process. Place a non-slip mat on the work surface, and cover it with a clean rag to protect it from oil stains from the materials you’ll use in the next steps. Then put the whetstone on top of the rag within easy reach. If the blade is extremely dull, ensure that you’ve got the rough grit side of the stone facing up; use the fine side of the stone for blades that need minor sharpening.
STEP 2
Completely cover the surface of the whetstone with mineral, baby, or canola oil. The oil keeps the stone’s pores from clogging with loosened metal debris during the sharpening process, and it also prevents friction from heating up the knife blade. A hot blade can warp and become impossible to sharpen and potentially difficult to open and close the pocket knife properly.
STEP 3
Attach the sharpening guide to the top of the knife blade, which will give you a fixed angle for sharpening. Each pocket knife must be slanted exactly at its bevel angle (the angle at which the blade slants) for sharpening, so make sure to buy a sharpening guide designed for that specific angle, which you can discern from the packaging. Most knife manufacturers will list the bevel angles for individual products on their website, but you can consult a professional knife sharpening service for help if needed. The bevel angle of most pocket knife falls somewhere between 10 and 20 degrees.
With practice, you won’t always need to use a sharpening guide—even so, you should still determine the pocket knife’s bevel angle. When sharpening, you’ll have to hold the knife in a position that keeps that bevel absolutely flat at the manufacturer-recommended angle.
STEP 4
Hold the handle of the knife in your dominant hand at the correct bevel angle, and use one or two fingers on your free hand to gently but firmly press the blade into the stone as you guide the knife across it—as if you’re slicing a fine layer off the top of the stone. Your personal preference determines whether you draw the knife toward you or away from you along the stone to sharpen it. Either way, your knife should follow a sweeping arc across the whetstone from the corner closest to you and opposite your dominant hand across the block to the far corner; so, if you’re holding your pocket knife in your right hand, you’ll move from the near left corner to the far right and back again. This angled movement ensures that the blade’s tip through its heel (the base of the knife) come into contact with the stone. Repeat five to 10 times.
STEP 5
Flip the knife over, and repeat Step 4 to sharpen the reverse side of the blade. Continue to maintain the correct bevel angle throughout the sharpening process.
STEP 6
Determine if the pocket knife has been sufficiently sharpened. Hold up any piece of paper, position the pocket knife at a 30-degree angle to it, and slice into an edge. Does the blade go in easily and create a clean cut? If so, congratulations! You’ve successfully sharpened the pocket knife.
If the blade doesn’t slice through the paper with ease, repeat Steps 4 and 5, giving the knife another five strokes across the whetstone per side. Increase the number of strokes until you’re satisfied with the blade’s sharpness, always completing an equal number on each side of the knife.
STEP 7
Once the knife is sharpened, wipe it with the clean rag to remove all oil residue. Then use paper towels to pat the stone dry before you storing it.
Sharpen the blade of your pocket knife after every few uses. To determine if a sharpening is needed, check the dullness of the blade using the paper test described in Step 6. With proper care, your knife will remain functional for decades to come!