We may earn revenue from the products available on this page and participate in affiliate programs. Learn More ›
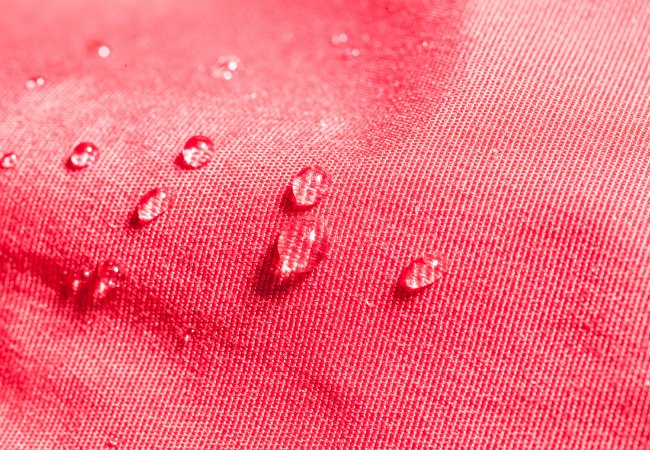
Looking to reupholster your dining room chairs in a beautiful print without having to worry about future damage from spills? Concerned about wearing a new pair of canvas sneakers because of the threat of rain? You’re not alone: Despite the advent and increased use of synthetic fibers, not every fabric is water-repellent—but it can be.
Just follow the steps below and, before you know it, those water droplets will be rolling off your favorite fabrics in no time flat.
Before You Begin
Sure, you could commit to spraying on a store-bought silicone solution once a year between rainy seasons. But, if you’re a die-hard do-it-yourselfer and you’d like to waterproof your fabrics the old-fashioned way, you can seal the deal with one tried-and-true ingredient: wax.
One hundred years ago, wax was the go-to substance for waterproofing fabric. Not only did it repel water, but it also smelled better than the tars, tannins, and oils commonly used at the time. Today, high-end apparel companies like Filson and Barbour still sell waxed outerwear—but it comes with a hefty price tag. If you’re willing to waterproof your wearables the old-school way with wax, here’s a DIY method that comes at a much lower cost yet with equally good results.
Tools & Materials
Bobvila.com may earn a commission from purchases made through these links.

How to Waterproof Fabric
STEP 1
Create a double boiler to melt the waxes by filling a saucepan with water, bringing it to a boil on the stovetop, then resting a metal bowl on top of the pan. The metal bowl should be small enough to fit inside the pan, but large enough that its bottom doesn’t touch the water. The space between the pan and the bowl will trap the heat needed to melt the wax in the bowl above.
STEP 2
Place four ounces of beeswax pellets (available in the candle-making section of an arts and crafts store) in the metal bowl. Then, cut the four-ounce bar of paraffin wax into small chunks and add them to the pellets, stirring the two together until the chunks melt. While the waxes liquefy, throw the item you wish to waterproof into the dryer (if possible) to warm the material. This will make the application process easier.
STEP 3
Stir until all chunks of wax have melted, then apply the molten wax to the fabric in a thick layer using a one-inch paintbrush. (An inexpensive brush with stiff bristles provides the best results here.) Work in one small section at a time until you have evenly covered the entire area.
STEP 4
Turn a heat gun on at a low setting or a hair dryer on high, and point it toward the layer you just applied so that it melts the wax into the fabric. Allow it to cool.
For any smaller item, such as a pair of canvas shoes or a square of upholstery fabric for a chair seat, also slip the wax-coated piece into an old pillowcase and run it through the dryer for 15 minutes. This, too, will help melt the wax.
STEP 5
When the item is cool, check for uneven spots. Apply a second coat, if necessary, then reheat the fabric once again.
STEP 6
Allow the item to cure for at least 24 hours before you use it. Should you notice a strong smell from the wax, you can let the waterproofed item air out over the next few days or, for faster results, make space to stick it in the freezer overnight. When you retrieve it, your waxed material should be odorless, watertight, and ready for use.
