
We may earn revenue from the products available on this page and participate in affiliate programs. Learn More ›
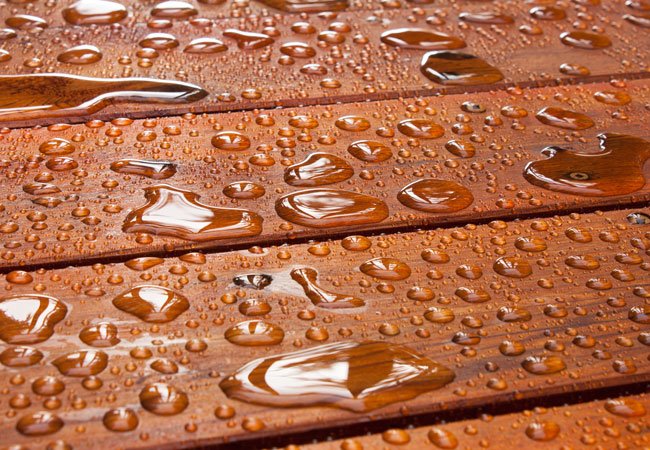
Some of the most gorgeous, long-lasting pieces of furniture, cabinetry, and trim work are crafted from wood, the world’s oldest and best-loved building material. Without the proper knowledge of how to waterproof wood, however, most lumber will suffer from exposure to moisture and high humidity, resulting in swelling, warping, or even rotting. Fortunately, you can easily avail yourself of products that protect wood while enhancing its natural beauty.
There are three surefire ways to waterproof your wood for years to come.
- Use linseed or Tung oil to create a beautiful and protective hand-rubbed finish.
- Seal the wood with a coating of polyurethane, varnish, or lacquer.
- Finish and waterproof wood simultaneously with a stain-sealant combo.
When choosing the approach that’s right for you, keep in mind that some methods of waterproofing wood are better suited for interior or exterior items, while others are geared towards dark- or light-grained wood.
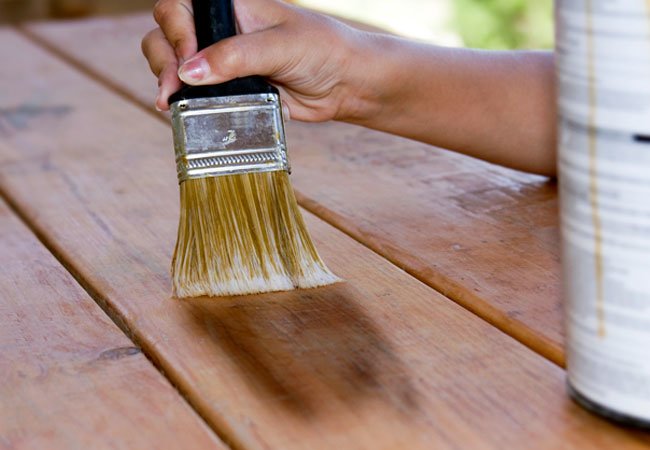
How to Waterproof Wood With Oil
Linseed oil and Tung oil are the basis for nearly all hand-rubbed (aka wiping) oil finishes. Employed for centuries, these oils beautify and protect such dark-grained woods as walnut and mahogany, and they’re still in use today—with a few improvements. Because hand-rubbed oils have a tendency to yellow over time, though, skip the oil method if you’re weatherproofing wood that’s lighter in color, such as pine or ash. While suitable for dark woods, hand-rubbed oils have a tendency to yellow over time, making them a poor choice for lighter wood grains.
You can purchase pre-blended Tung oil and linseed oil products, or you can mix your own for a custom finish. A standard hand-rubbed oil blend consists of one part oil (either Tung or boiled linseed), one part mineral spirits, and one part polyurethane. Blending the oils with other ingredients hastens drying times and eliminates stickiness.
SUPPLIES
Danish oil
Tung oil or linseed oil (optional)
Mineral spirits (optional)
Polyurethane (optional)
Natural-bristle paint brush
Rags
Fine sandpaper
Here’s how to seal wood with a hand-rubbed oil finish:
- Stir thoroughly.
- Apply with a natural-bristle paint brush to sanded and cleaned wood.
- Let the oil soak into the wood surface, and reapply to any spots that look dry.
- Wipe off the residual oil, rubbing well with clean dry rags to remove all excess.
- Allow the wood to dry completely. This can take anywhere from a few hours to overnight, depending on the proportion of oil in the mixture.
- Sand lightly with a fine-grit sandpaper.
- Repeat the process with as many additional coats as required to obtain your desired finish.
As you become familiar with oil-rubbed blends, feel free to experiment with the formula for a multitude of custom blends. For a thicker product, reduce the amount of mineral spirits. If you’d like more working time before the finish dries, reduce the amount of polyurethane. Or, on the flip side, add more poly for a glossier finish and quicker drying time.
Note: Oily rags used to rub away excess oil can spontaneously combust, even without being near an open flame. This is because the oil generates heat as it dries. Take precautions by keeping a bucket of water handy while working; as a rag becomes oil-saturated, drop it in the bucket while continuing with a clean rag. Later, hang the rags out to dry separately. When completely dry, you can dispose of them without risk, but rags should not be reused.
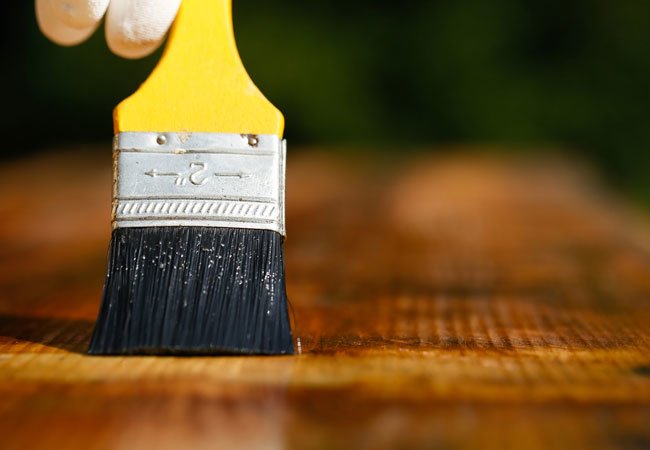
How to Waterproof Wood With Sealant
Polyurethane, varnish, and lacquer are tried-and-true sealants with excellent waterproofing properties. For best results, apply the wood finish at room temperature, ideally between 65 to 70 degrees Fahrenheit. Never shake or briskly stir sealants before application; doing so can cause air bubbles that can remain on the wood surface, even after the sealant dries.
SUPPLIES
Polyurethane
Varnish (optional)
Lacquer (optional)
Polyester paint brush
Paint sprayer (optional)
Follow the below steps on how to make wood waterproof using sealant:
- Brush or spray wood sealant onto clean, sanded wood in a well-ventilated space.
- Allow sealant to dry completely. Varnish, lacquer, and polyurethane drying times can range between minutes to several hours, so go by the instructions on your chosen sealant’s label.
- Re-sand and recoat the wood surface with sealant.
- Allow the piece to fully dry and cure.
When choosing between polyurethane, varnish, and lacquer for your wood waterproofing needs, keep the pros and cons of these popular types of sealants in mind.
Polyurethane
- Provides options for different finish effects
- Won’t yellow, even on light-grained wood
- Oil-based polyurethane is very durable; water-based polyurethane dries quickly
- Oil-based polyurethane brush cleanup requires mineral spirits or turpentine
- Both oil- and water-based polyurethane fumes release toxic VOCs until fully cured
Varnish
- Gives a scratch-resistant hard-shell finish that doesn’t yellow
- Marine varnish, great for treating wood for outdoor use, resists UV damage
- Spar varnish resists water stains on end tables and coffee tables
- Requires turpentine or mineral spirits for paint brush cleanup
- Emits fumes that contain VOCs during application and while drying
Lacquer
- Offers a variety of sheen choices
- Sealant of choice for deep-toned wood furniture
- Can be thinned with lacquer thinner
- Yellows over time when used to finish lighter woods
- Most lacquers produce fumes containing VOCs before curing
RELATED: How to Apply Polyurethane Sealer
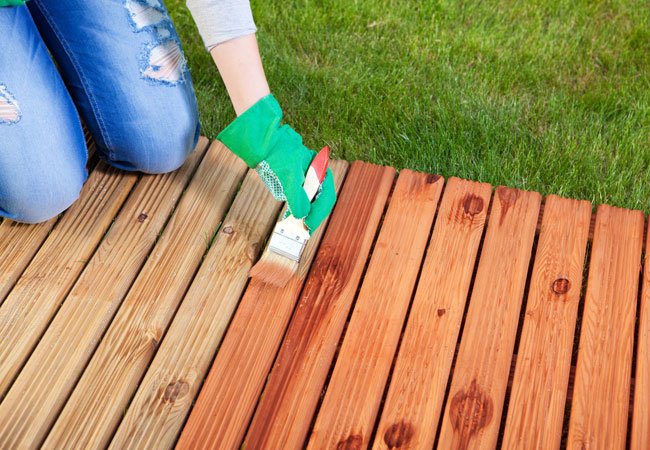
How to Waterproof Wood With Stain and Sealer
When time is of the essence or you’re protecting a large project, such as a wood deck, go for a quality stain-sealant combo. These multitasking products add color while providing water resistance in a single step.
SUPPLIES
Stain and sealer
Paint brush or paint roller
Paint sprayer (optional)
Here’s how to treat wood for outdoor use using a pre-mixed stain and sealer:
- Apply a coat of stain-sealant to the thoroughly cleaned and sanded wood surface with a brush, roller, and/or paint sprayer.
- Allow the wood to fully dry and cure according to the product label instructions. This may take a minimum of 48 hours when waterproofing a wooden deck.
While stain and sealer is the most straightforward when it comes to how to weatherproof wood, it has its own drawbacks in addition to its conveniences.
- Stain and sealer can have finishes that are transparent, opaque, or in between.
- Oil- and water-based stain-sealants soak into wood, while any excess evaporates.
- Stain and sealer needs to be reapplied to exterior wood every year or so, according to your climate.
- Alkyd-based stain-sealer can peel when used on exterior wood, making it better suited to interior finishes.
Final Thoughts
Whether you use an oil finish, sealant, or stain and sealer, the process of how to waterproof wood is crucial for keeping wood decks, furniture, and handcrafted pieces moisture-free. Use the above methods and the key rules of thumb for waterproofing wood—such as choosing a well-ventilated workspace and using the right finish for the right wood grain—and the resulting seal will stay watertight and looking its best for years to come.