
We may earn revenue from the products available on this page and participate in affiliate programs. Learn More ›
Q: Lately, the cabinet under my kitchen sink has been getting mysteriously soggy. Could this be a symptom of a leaking garbage disposal? If so, how can I repair it myself?
A: A leaking garbage disposal often goes unnoticed until you confront a sopping cabinet, a foul-smelling puddle, or an audible drip-drip-drip from the unit. The fix can be frustrating, too, because the leak can stem from a number of components in the system. Fortunately, with a little sleuthing, you can zero in on the leak and—depending on the exact location—stop the icky oozing and repair the component that caused it. Worst case scenario, if it turns out that the garbage disposal must be replaced, installing a new one is a reasonable do-it-yourself task for those with basic plumbing skills. Read on to keep the cash you’d otherwise hand over to a pro.
Prepare to find the leak.
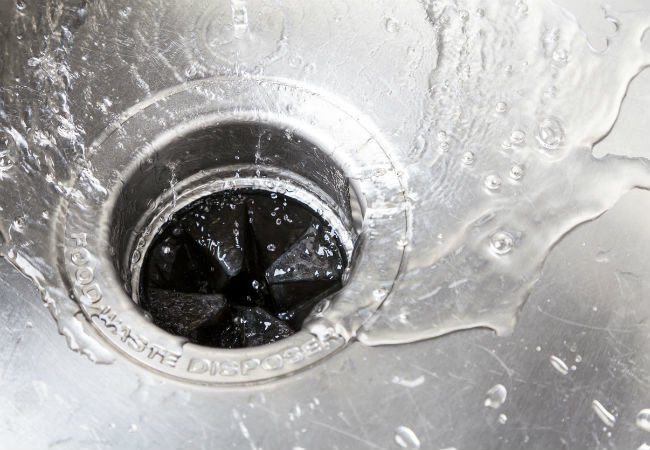
Prior to testing the garbage disposal for leaks, unplug it at the wall outlet and turn off the power from the breaker box to prevent electrical shock. Then insert a watertight sink stopper into your sink drain and wipe the unit dry with a clean cloth. In any handy container, mix a few drops of food coloring into a few cups of water, and pour the dyed water onto the sink stopper to help you locate the leak.
Investigate the source.
Using a flashlight, examine the unit for escaping colored water, which is likely to come from one of three places:
- the top, where the disposal meets the sink drain
- the side, where the dishwasher hose or main drain pipe connects to the disposal
- or the bottom of the unit
Inspect each of these locations while gliding a light-colored rag over the unit; the dyed water will readily show on the rag and reveal the location of the leak. If a leak isn’t immediately apparent, remove the sink stopper and pour a few more cups of dyed water down the sink drain, then check for leaks again. Leaks near the top of the unit are more likely to show themselves while the sink is plugged, while side and bottom leaks are more noticeable while the sink is unplugged.
If the top of the garbage disposal is leaking, re-seal and tighten the flange.
The metal sink flange that sits directly inside the sink drain is typically sealed around the top with plumber’s putty (a clay-like sealant) and then secured from under the sink with bolts. If the plumber’s putty deteriorates, or the bolts loosen, the flange can no longer form a watertight seal between the sink drain and the disposal—which could cause a leak at the top of the unit.
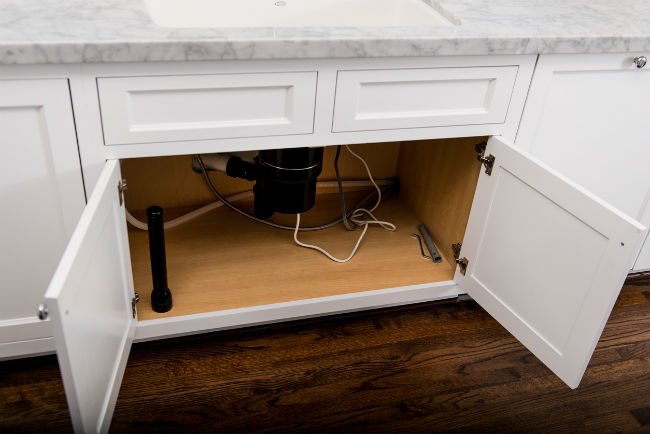
To reseal the leaky flange, you must first detach the garbage disposal. Start by loosening the screws securing the main drain pipe to the disposal, then loosen the screws in the metal clamp securing the dishwasher hose to the disposal and detach the drain pipe and dishwasher hose from the disposal. Loosen the screws in the mounting ring that connects the disposal to the metal mounting assembly beneath the sink, then pull down the disposal and carefully set it on a clean, dry surface. Loosen the bolts in the mounting assembly with a wrench, then pull down the mounting assembly and set it near the disposal.
Lift the sink flange from the top of the sink. Use a plastic putty knife to scrape off the old plumber’s putty around the top of the flange, then wipe off any putty residue with a damp rag. Now grab a palmful of plumber’s putty (available at hardware stores, home centers, and online) and roll it into an eighth-inch to quarter-inch-wide “rope” with a length roughly equal to the circumference of the flange. Wrap the rope of putty around the top of the flange like a collar, then insert the flange into the sink drain opening until snug. Re-install the mounting assembly and mounting ring (taking care to securely tighten the mounting bolts on the mounting assembly), then re-attach the garbage disposal, drain pipe, and dishwasher hose in the reverse order you detached them.
If you see that it’s the side of the garbage disposal leaking, tighten drain line connections and replace worn gaskets.
Two drain lines extend from the sides of a garbage disposal: a narrower dishwasher hose that connects the dishwasher drain pipe to your disposal’s dishwasher inlet, and the main drain pipe that connects your disposal to the sewer through an outlet in the wall.
If you spy a leak on the side of the disposal where the dishwasher hose meets the disposal’s dishwasher inlet, the problem could be that the metal clamp connecting them is loose. In that case, tighten the screws in the metal clamp with a screwdriver.
If the leak is on the side where the disposal meets the waste drain pipe, loosen the screws that secure the drain pipe to the disposal and inspect the rubber gasket inside the pipe—it may well be worn out. Replace the gasket and re-tighten the drain pipe screws.
If the bottom of the unit is leaking, replace the disposal.
Leaks from the bottom of the garbage disposal (often from the reset button) commonly indicate that at least one seal on the interior shell of the unit that protects the motor has deteriorated, or that the shell itself has cracked. These vulnerabilities can cause water from the sink to seep into the shell of the disposal and leak out of the base of the unit. In an old garbage disposal, one compromised internal seal is often accompanied by others, so your best bet is to install a new one.
RELATED: The Best Garbage Disposals, According to Happy Homeowners
Hiring a pro to replace the unit will run you $400 on average, including labor and parts, or you can install a garbage disposal yourself and save anywhere from $90 to $200 in labor costs. You should be able to get eight to 15 years of use out of a new garbage disposal.
Check your work by running water through the drain.
Whether you repaired or replaced the leaking garbage disposal, test for any missed problem spots. Wipe the unit dry with a clean cloth, then unplug the sink drain (if plugged) and pour a few cups of dyed water into the drain once more. Use a flashlight to inspect the entire unit. If you don’t observe a leak, turn on the power to the disposal from your breaker box and plug in the disposal at the wall outlet.
Prevent future leaks.
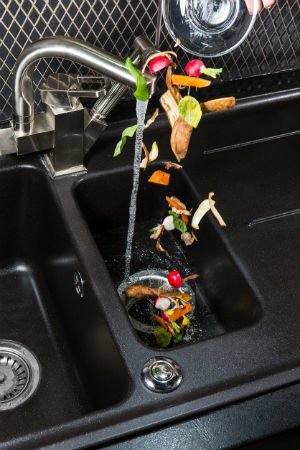
Proper use of a garbage disposal can stave off future leaks. So remember to grind only soft foods; hard items such as bones, apple cores, or raw potatoes can dislodge or damage the internal seals. Run cold water through the sink drain before and after food disposal to keep solid fats from congealing into gunk (which can deteriorate the sink flange and cause leaks). Finally, inspect your disposal for leaks at least twice a year using the dyed-water test to catch and repair minor leaks before they lead to water-damaged sink cabinets or kitchen floors.