
We may earn revenue from the products available on this page and participate in affiliate programs. Learn More ›
A faucet—whether it’s in the kitchen, bathroom, or behind the bar—acts like a mini dam, holding back a pressurized stream of water until you lift or twist the handle.
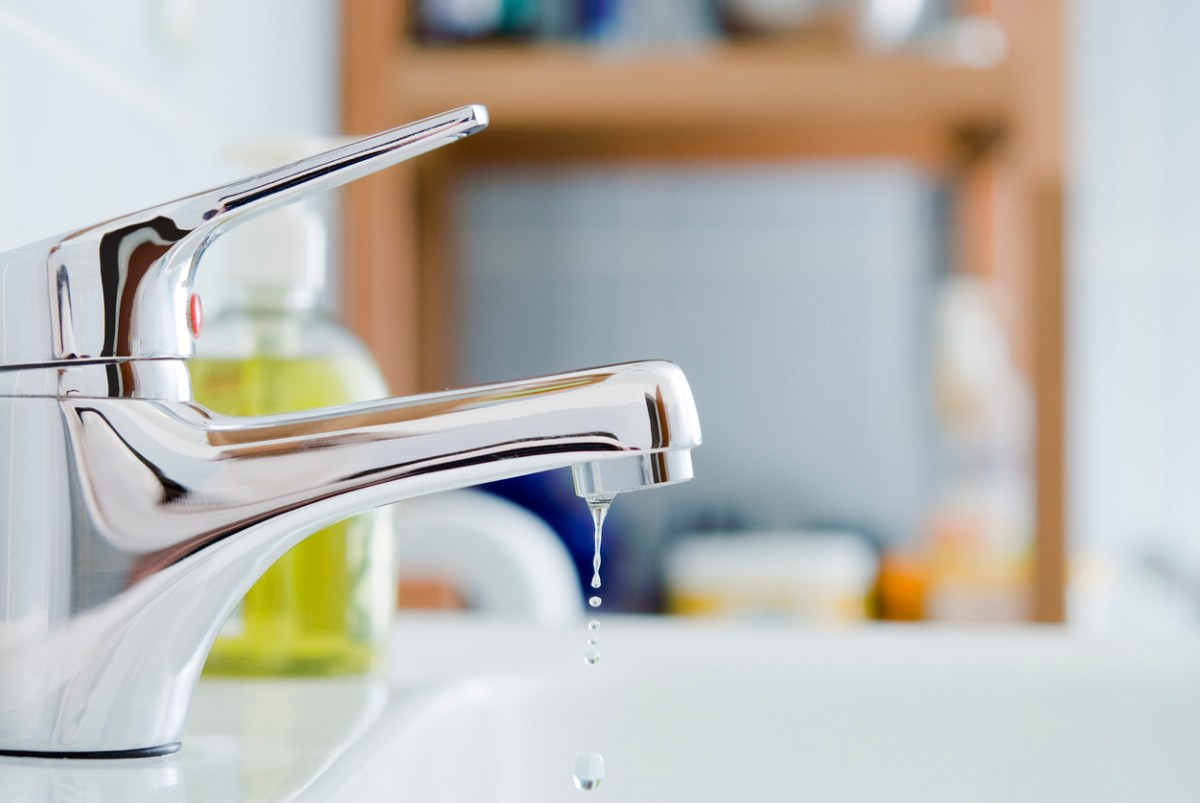
According to the National Association of Home Builders, it’s safe to expect the average faucet to last about 15 years. Even before then, yours may start to leak, either from the nozzle or at the base of the fixture, so it’s important to know how to fix a leaky faucet.
As soon as you notice that a faucet is dripping, try to make the repair immediately. Stopping the dripping as soon as you can saves money and resources. After all, the leaky faucet calculator provided by the U.S. Geological Survey reminds us that one drip every minute wastes 34 gallons per year.
Before You Begin
The first step to repairing a leaky faucet involves preparing the faucet and sink. Start by turning off the water to the sink. Usually, the valves are below the sink basin, close to the wall. There should be one for hot and one for cold. Turn both clockwise.
Next, open the faucet to release any water left behind in the line, and then close the drain. If you don’t have a good drain cover, simply place a kitchen towel over the drain to prevent small parts from falling in. (Click here for plumbing tips everyone needs to know.)
Repairing a leaky faucet is a relatively straightforward plumbing project, but there are different ways to fix different kinds of faucets. Before you begin the repair, determine the type of faucet.
There are two basic categories: those with washers and those without. Faucets with washers are known as compression faucets. Faucets without washers are known as washerless faucets, and they include cartridge, ceramic-disk, and ball-type faucets. Find the section below that describes how to fix your type of faucet.
How to Fix a Leaky Compression Faucet
A compression faucet holds back water in the plumbing system with a small rubber washer that tightens in the valve seat. It’s similar to how a bottle cap screws onto the top of a plastic soda container.
SUPPLIES
- Towel
- Flathead screwdriver
- Hex wrench or hex screwdriver
- Penetrating oil
- Toothless wrench
- O-ring
- Seat washer
STEP 1: Remove the cap from each handle.
In order to fix a leaky faucet, you will need to gain access to the internal components of the faucet, so the first step is to remove the decorative cap from the top of each handle.
Make sure the drain is closed, then look for a small circle on the top of the handle that may have an “H” for hot or a “C” for cold. Use a flathead screwdriver to gently lift up the decorative cap, exposing the screwhead underneath.
As you proceed, it’s a good idea to place the parts in order of removal so that they are already organized in the correct order when you need to reinstall the parts.
STEP 2: Unscrew and remove the handles.
Check the type of screw that is currently securing the handles and use a compatible screwdriver to loosen the screws. These screws are usually standard flathead screws, but sometimes the faucet handle is secure with a hex set screw, so you will need to have a hex wrench or hex screwdriver ready if this is the case.
With these screws removed, the handles should lift off easily. However, if the screws or the handles seem to be seized, try using penetrating oil to help loosen the fittings.
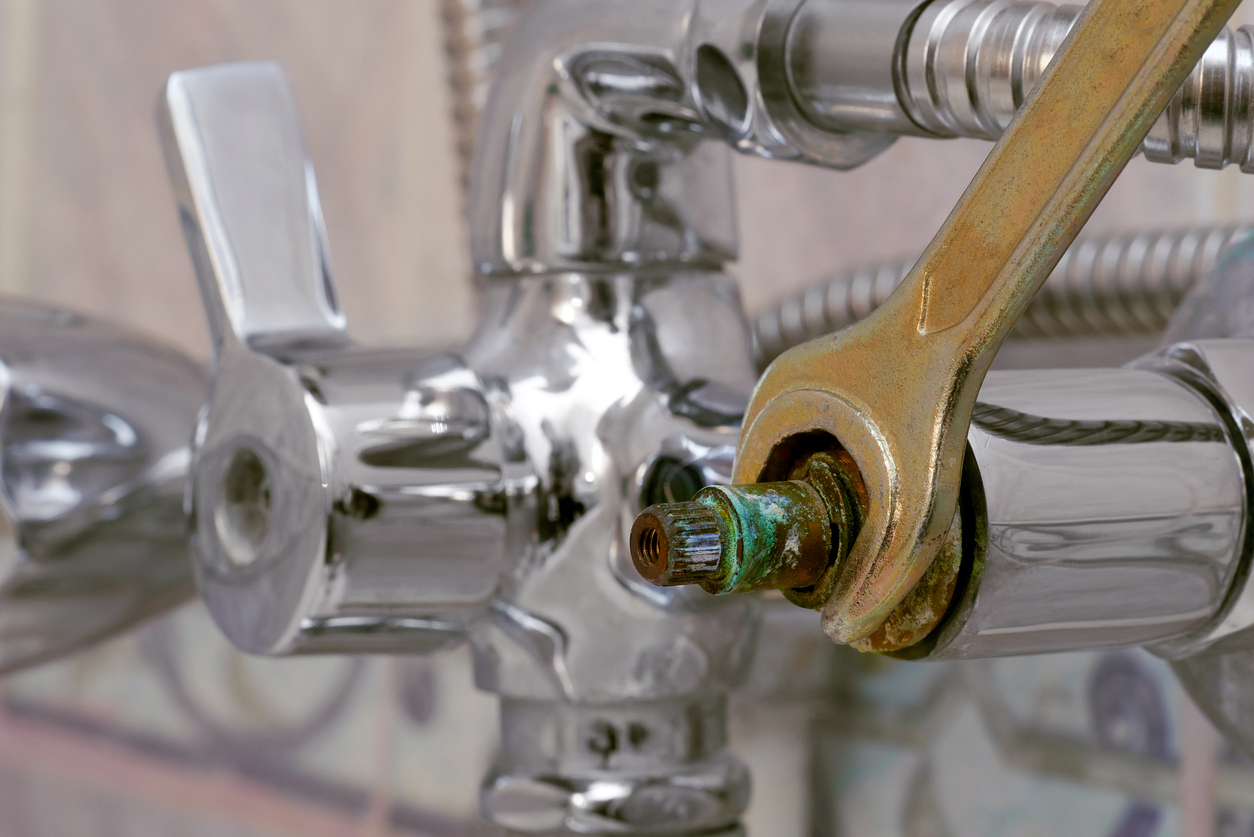
STEP 3: Take off the stem nut.
With the handles removed, you should see the stem and the stem nut, which holds the stem in place. Use a wrench to carefully loosen and remove the stem nut.
Keep in mind that plumbing parts can be damaged by a wrench with overly aggressive teeth, so consider using a toothless wrench to avoid doing damage to the parts of the faucet.
STEP 4: Pull out the stem and inspect the O-ring.
The stem should now be free so that you can simply pull it out, exposing the O-ring and seat washer. The O-ring is responsible for preventing leaks from the actual handles of the faucet.
If it appears worn or if you have had issues with the handles leaking, then you may need to replace the O-ring while the faucet is disassembled. These parts are relatively inexpensive, so you don’t need to worry about dipping into your home emergency fund.
STEP 5: Remove and replace the seat washer.
The washer at the bottom of the stem is called a seat washer. This is the part of the faucet that gets compressed by the handles to close the flow of water through the faucet. It is the part that is typically responsible for a leaking faucet. Check to see if the washer is being held in place by a screw before attempting to remove it. If it has a screw, then remove it first before taking out the seat washer.
Once the seat washer has been taken out of the faucet, replace it with a new seat washer. If you aren’t sure about the exact O-ring or seat washer replacement, then take the old, worn parts to a local hardware store. It’s important that you get a perfect replacement in order to avoid future problems after assembly.
STEP 6: Reassemble the faucet.
The new seat washer should now be in place and the rest of the parts should be close at hand in the order that they were removed, so all that’s left is to carefully reassemble the faucet. The order of reassembly for each handle should be seat washer, O-ring, stem, stem nut, handle, handle screw, and decorative cap.
STEP 7: Test the faucet.
Never conclude a project without testing the finished work, especially when it comes to plumbing. The slightest error or misalignment can cause a big problem, so now that the faucet is reassembled, go ahead and open the cold and hot water valves located under the sink. The water should quickly flow through the faucet, expelling a small amount of air.
When all of the air has been pushed out of the system, turn off the faucet and check the handles and the tap for leaks. A leak indicates that a part of the faucet was not assembled correctly or that a part is worn out and needs to be replaced.
How to Fix a Leaky Washerless Faucet
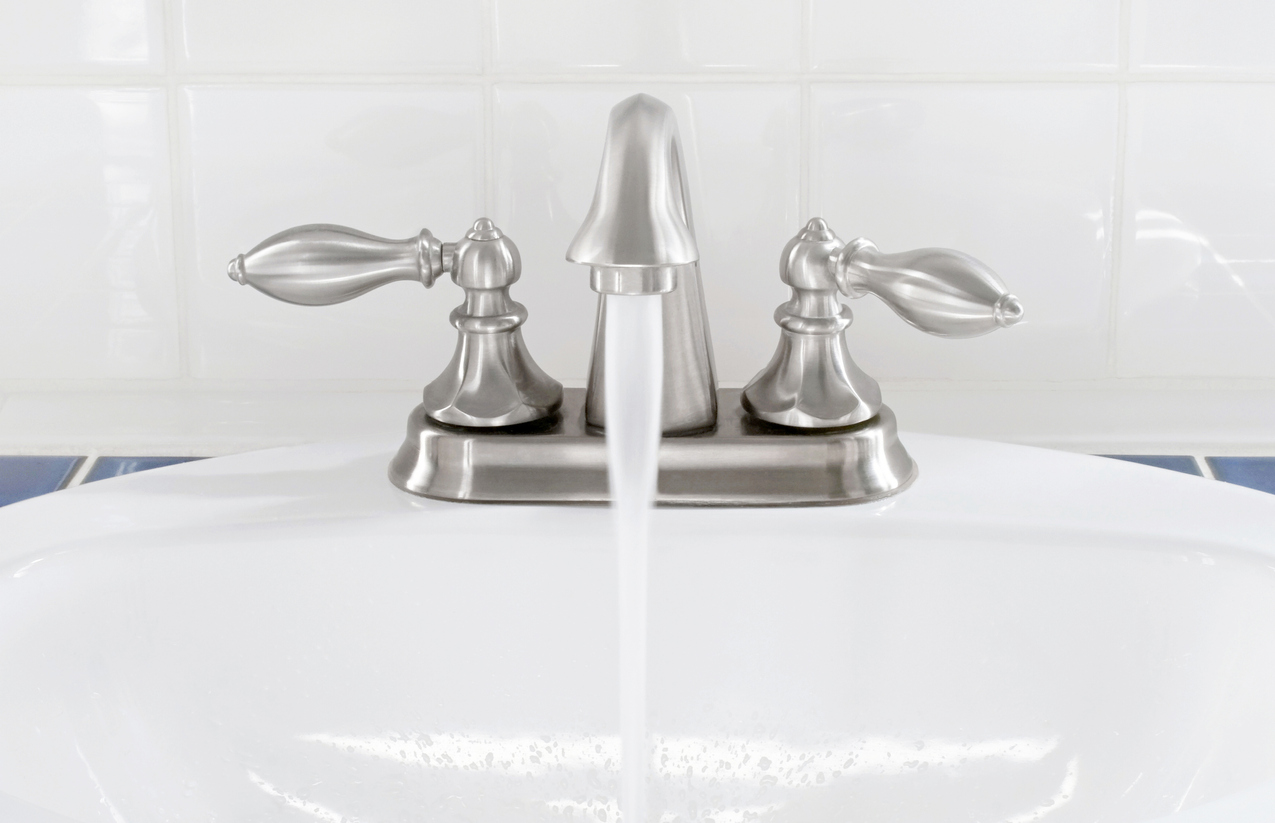
Unlike a compression faucet that has a washer to control the flow of water, a washerless faucet relies on a disc, ball, or cartridge for the job. Less prone to leaks, this type of faucet usually has one handle rather than dual knobs.
SUPPLIES
To fix all types of washerless faucets, you’ll need the following:
If you’re repairing a cartridge faucet, you’ll also need:
If you’re repairing a ball faucet, you’ll also need:
- Channel locks or a toothless wrench
- Springs and valve seat set (choose the set for your faucet model)
- Cam washer
If you’re repairing a ceramic-disk faucet, you’ll also need:
STEP 1: Remove the cap from the handle.
Just as you do when fixing a compression faucet, start by removing any decorative caps that are covering the handle screw. Look for a circular plastic or metal cap that may have a hot or cold pattern to denote the direction to turn the handle for hot or cold water.
Use a flathead screwdriver to gently lift up the decorative cap and expose the screw underneath. Place the parts in order as they are removed, so they are already organized when it comes time to reassemble the faucet.
STEP 2: Unscrew and remove the handle.
Verify that you have the correct screwdriver to loosen and remove the handle screw, then proceed to unscrew the handle. After taking off this screw, the handle should lift off easily, but if there are any issues with the screw becoming seized, use penetrating oil to break up rust or sediment in the threads.
STEP 3: Disassemble and remove the internal components according to the faucet type.
Depending on whether the faucet is a cartridge, ball, or ceramic-disk type, the parts that are exposed after removing the handle will be slightly different.
- Cartridge: Take out the small, circular threaded piece (called a retaining clip) to get access to the cartridge. Needle nose pliers may help to carefully take out this piece without damaging it.
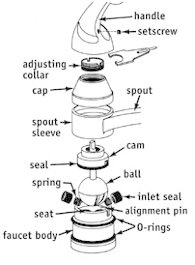
- Ball: Use channel locks or a toothless wrench to take off the cap and collar of the faucet, then remove the faucet cam, cam washer, and ball to reveal the inlet seal and springs below.
- Ceramic-disk: Remove the escutcheon cap or bonnet, which is a piece of rounded metal that covers the disk cylinder.
STEP 4: Inspect the parts for wear and damage.
The next step in this process depends on whether the type of faucet is a cartridge, ball, or ceramic-disk.
- Cartridge: Lift the cartridge out of the assembly and locate the O-rings. Inspect the O-rings and the cartridge. Typically, cutting off the existing O-rings and replacing them will fix the leak, but consider replacing the entire cartridge if you aren’t confident.
- Ball: Use needle-nose pliers to take out the inlet seal and springs, then inspect each component to determine if it needs to be replaced.
- Ceramic-disk: Unscrew and remove the disk cylinder, then pry out the neoprene seals that are on the underside of the cylinder. Inspect the seals to determine if replacing is necessary or if cleaning away the accumulated debris would return them to an almost-new state.
STEP 5: Replace any worn or damaged parts.
Cartridge, ball, or ceramic-disk faucets will require different parts to fix the leak.
- Cartridge: Replace the O-rings on the cartridge or replace the cartridge entirely. If you are just replacing the O-rings, it’s a good idea to coat them in plumber’s grease before installing them.
- Ball: Install new springs, valve seats, and cam washers. These parts can be bought separately or purchased in a premade kit from a local hardware store. Just make sure that any new parts are compatible with the existing faucet.
- Ceramic-disk: Either reinstall cleaned neoprene seals or install new neoprene seals in the base of the ceramic-disk cylinder. It’s a good idea to bring the seal or even the entire cylinder to a local store to make sure you get the exact replacement.
STEP 6: Reassemble the faucet.
The new parts should now be in place and the rest of the faucet assembly should be in the order that they were removed, so all that’s left is to carefully reassemble the faucet. The order of reassembly for each faucet will depend on whether it is a cartridge, ball, or ceramic-disk faucet.
- Cartridge: The order of reassembly for a cartridge faucet should be cartridge, retaining clip, handle, handle screw, and decorative cap.
- Ball: The order of reassembly for a ball faucet should be springs, inlet seal, ball, cam washer, faucet cam, collar, cap, handle, handle screw, and decorative cap.
- Ceramic-disk: The order of reassembly for a ceramic-disk faucet should be neoprene seals, ceramic-disk cylinder, cylinder mounting screws, escutcheon cap, handle, handle screw, and decorative cap.
STEP 7: Test the faucet.
Always make sure to test the faucet after a repair. Go ahead and turn the faucet to the open position, then turn on the cold and hot water valves located under the sink. The water should quickly flow through the faucet, expelling a small amount of air.
When all of the air has been pushed out of the system, turn off the faucet and check the handle and the tap for leaks. A leak indicates that a part of the faucet was not assembled correctly or that a part is worn out and needs to be replaced.

FAQs About How to Fix a Leaking Faucet
Q. Is it easy to fix a leaky faucet?
Like most DIY projects around the home, fixing a leaking faucet isn’t difficult, it just takes time and patience to ensure that each step in the process is properly completed and that all the parts are reassembled in the correct order.
Q. What causes a faucet to drip?
A leaky shower head, bathtub faucet, or sink faucet is typically caused by defective or worn parts inside the assembly, including O-rings, washers, and gaskets. Making a quick fix by replacing these parts is usually easier and more affordable, instead of replacing kitchen faucets entirely.
Q. Is a dripping faucet dangerous?
Having a dripping faucet in the home won’t generally cause the sink to overflow unless the drain is plugged, but the constant moisture in the air and inside the sink can cause mold to develop. Mold growth is dangerous, especially to young children who can actually develop asthma from prolonged exposure to mold.
Q. How do you stop a dripping faucet temporarily?
You can attempt to tighten the handles or find a ‘sweet spot’ that may stop the dripping, but this is in no way a foolproof or permanent method. It’s better to use a small piece of hose that can fit over the spout of the faucet. Secure the hose to the faucet with a hose clamp, then close the other end of the hose with an additional hose clamp. This will trap the dripping water in the small piece of hose until you are ready to fix the leaky faucet.
Q. Can you fix a leaky faucet without turning off the water?
No, the water needs to be off. Either turn the water off to the entire home or just to the faucet you are repairing. Otherwise, you will be attempting to work with small parts that are easy to lose while water is spraying up and out of the faucet into the bathroom. This uncontrollable spray causes flooding and water damage, not to mention the likelihood of mold growth in the following days.
So, no, do not attempt to fix a leaky faucet without turning off the water unless you are replacing outdoor faucets and you don’t mind the full-pressure spray that will slowly soak the ground.
Final Thoughts
Leaky faucets are annoying, costly, and can lead to mold growth and health problems, so it’s important to repair or replace a dripping faucet as soon as possible. Making the repair is typically as easy as taking apart and reassembling a puzzle, as long as you know what you’re doing. Make sure to lay out the parts in the order in which they were removed, so that they can be returned to their original position without an issue.
Also, keep in mind that while most leaky faucet problems can be fixed by replacing rubber or neoprene seals, washers, and O-rings, sometimes the issue isn’t as simple. Don’t hesitate to call a trained professional if you aren’t quite sure why the problem hasn’t been resolved.