
We may earn revenue from the products available on this page and participate in affiliate programs. Learn More ›
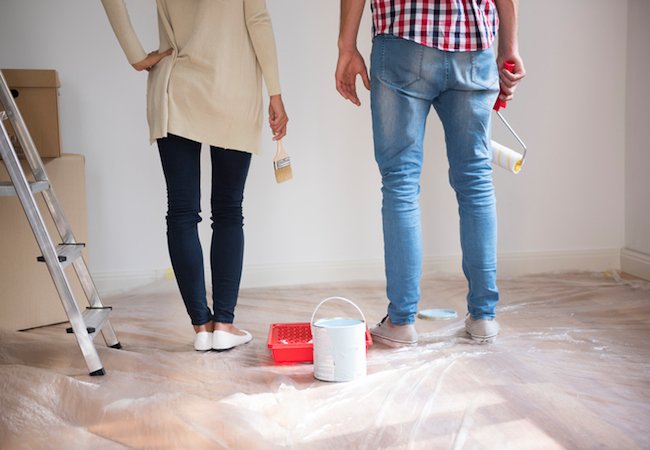
Q: We’re gearing up to repaint my living room, but it’s been awhile since I’ve picked up a brush. Friends and family have given me conflicting advice about the best order for painting the wall and trim. If I want the cleanest lines, which would you recommend I do: paint walls or trim first?
A: Much like the infamous chicken-or-the-egg debate, pondering the question of whether to paint walls or trim first can lead you to think in circles. If you paint the trim first, you run the risk of the wall color splattering and having to touch it up again. On the other hand, if you paint the wall first, then the trim paint could bleed over and force you to go back and fix the wall color. The hotly debated issue doesn’t seem to have a definitive answer… So what should you do?
RELATED: The 8 Painting Mistakes Almost Everyone Makes
Pros admit that the order is more of a personal choice than a right or wrong way.
Certain people carefully paint the trim and then do the walls, figuring the painter’s tape will protect most of their handy work and if not they can touch it up later on. Others find it easier to paint in the larger areas and not worry if anything splatters onto the trim because it will be covered up when you eventually paint the trim. “It’s one of those catch-22s. I would almost argue it’s a bit of a preference. There are pros and cons either way you decide to tackle it,” explains Chip Gaines, former co-host of Fixer Upper and Visionary for the KILZ Brand of primers and paints. “For me, I paint a wall first, and then I come back in and I paint the trim.”
Painting the wall first is easier and efficient, especially for inexperienced painters.
This particular order allows do-it-yourselfers to be slightly sloppier when painting the walls without the job itself looking sloppy. The shortcut: Bring the wall color all the way up to the trim with your roller so that you then only need to “cut in”—i.e., use a paintbrush to get in close to the tight corners and crevices—when you paint the trim. When you know you’ll paint over any unintentional splatter on the trim next, why worry too much about precision?
If you paint the trim first, you can’t be as careless with your brush strokes. Since this coat is typically done in a high-gloss (and occasionally oil-based) paint, you don’t want to have swipes of this paint reach the wall where the sheen might show through the matte wall paint to be applied next. That means that you’ll have cut in twice: once for the first go around and again after painting the wall to fix any splatters or messy lines. It can be a painstaking job to steadily freehand brush, so only having to do it once is a big pro.
Plus, painting the walls first offers near-instant gratification.
When you step back and look at your newly painted walls, the difference is noticeable. You may be only halfway done, but the room already feels brighter or more cozy. It’s all to do with the size of your canvas; newly painted trim might be noticeable, but it won’t have quite the same impact as a coat of wall paint. Seeing these big results and being satisfied with your handiwork can give you the energy boost you need for the rest of the job.
Other painters swear by starting with the trim for how easy it makes painting the walls’ edges.
Gaines personally knows many professionals who start with the trim and finish with the walls. They find that it’s easier to cover the edges of baseboards, trim, and crown molding with painter’s tape once completely dry than covering walls’ perimeter with tape. Some also find it easier to cut in over the flat, wide walls than having to cut in on the more narrow (and often curved and creased) trim. If you have a steady hand and the time to dedicate to slowly painting the edges and corners, this might be the method for you.
Really, if you want clean lines, stop looking for other shortcuts.
The truth is, though, that the process and supplies you use are far more important for getting clean edges than the order in which you paint. As mentioned above, painting isn’t hard, but it is time-consuming. The urge to rush through as quickly as you can is how you wind up making sloppy mistakes. “Slow down, be patient, take your time,” says Gaines. “Even if it takes you a day longer than you hoped, you’ll be proud of the end product.”
More specifically, don’t even think about skipping the paint primer. One of the most important steps in the painting process, priming provides a smoother surface to paint, helps hold the top coat of paint, and you an overall better end result. Plus, with primer, you don’t have to worry about it splattering over onto the wall or trim! Every surfaced to be painted needs a coat.
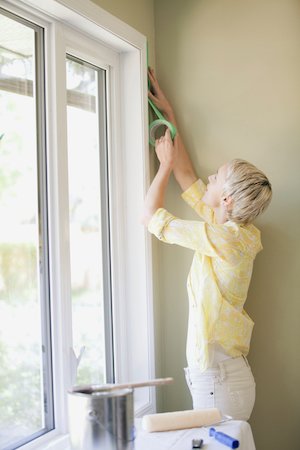
Be sure to stock extra painter’s tape.
This might seem like an obvious staple to have on hand, but it’s worth reminding. Whichever surface you paint first, you’ll want to protect it from the second paint color you go to use by covering it with the gentle tape. Make sure that the tape’s edges are flat against the wall so paint can’t seep beneath it. One trick: Use a knife or 5-in-1 painter’s tool—a favorite of Gaines—to firmly press the edges down by gently pulling the blade along the length of the tape.
A paint edger can also help protect your trim when cutting in on the wall.
Available in a variety of sizes, the secret weapon replaces your usual cutting-in applicator when painting the area of a wall nearest the trim or baseboard. You find it in two types: roll-on and smear-on edgers.
- A roll-on edger looks just like an ordinary mini paint roller except with a shield on the end to prevent paint from splashing or dripping onto the trim (view example on Amazon).
- A smear-on edger is a flat, sturdy pad (often rectangular and with sharp corners) attached to a handle—no bristles to bend and swipe the trim (view example on Amazon).
Use either type as you would a regular brush or roller, and their design will guide your applicator in such a way that ensures straight lines. They’re especially useful for amateurs who haven’t nailed-down the technique for free-hand painting—help that’s certainly worth spending an extra $5 to $10 on.
And remember, if you do make a mistake, it’s just paint.
The good thing about this home improvement job is that the supplies you need don’t cost too much and all you need is just a little more paint to cover the mistake up.