
We may earn revenue from the products available on this page and participate in affiliate programs. Learn More ›
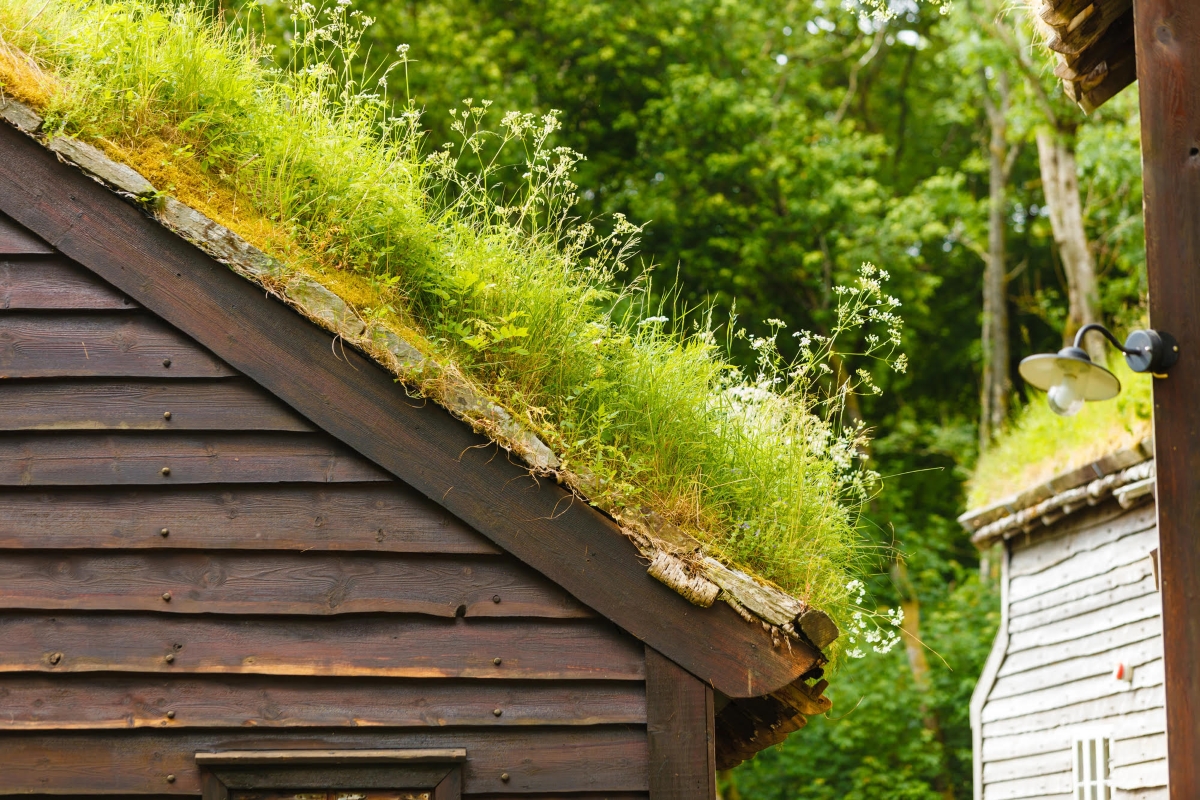
Although a moss-covered roof conjures up images of fairytale cottages, the presence of moss actually tells a real-world story of damage and neglect, not enchantment. Moss clings to a roof using small hairlike structures called rhizoids, and pretty much all it needs to thrive is shade and moisture. Like a sponge, moss holds moisture on the roof and also traps soil and debris. All of this moisture and organic material can lead to leaks, especially on compromised roofs.
“When you have moss [on the roof] and it’s retaining that moisture, if there’s any sort of crack or hole in the shingle, especially in the winter, it will shrink and expand,” which can potentially damage the shingle, explains Andrew Prchal of Gunner, a Connecticut-based firm that specializes in roofing, siding, and windows.
As moss grows, “it can cause the bottom of the shingle to lift, which can also lead to leaking,” adds Niki O’Brien, operations manager at Custom Exteriors, based in Berthoud, Colorado. For these reasons, roofs with unchecked organic growth may experience a shorter lifespan.
If you’re not so keen on the fairy garden look for your home, learn how to remove moss from roofs and keep it from coming back.
Where does moss form?
Moss can grow on any roof that’s exposed to moisture and shade, but it’s most common on porous roofing materials, such as asphalt and wood shingles. While moss can grow on any type of roof, “the least likely roof to find moss on is a metal roof. Its slick surface typically sheds water fairly quickly,” O’Brien notes.
Because moss needs moisture to grow, it tends to show up on persistently moist surfaces, such as sections of a roof that are north-facing or shaded by trees. In addition, flat or low-pitched roofs, which shed water more slowly than steeper roofs, are more likely to accumulate moisture and, as a result, moss. Not surprisingly, moss is especially common in the notoriously rainy Pacific Northwest, where roof moss removal can seem like a regional obsession.
How to Identify Roof Moss
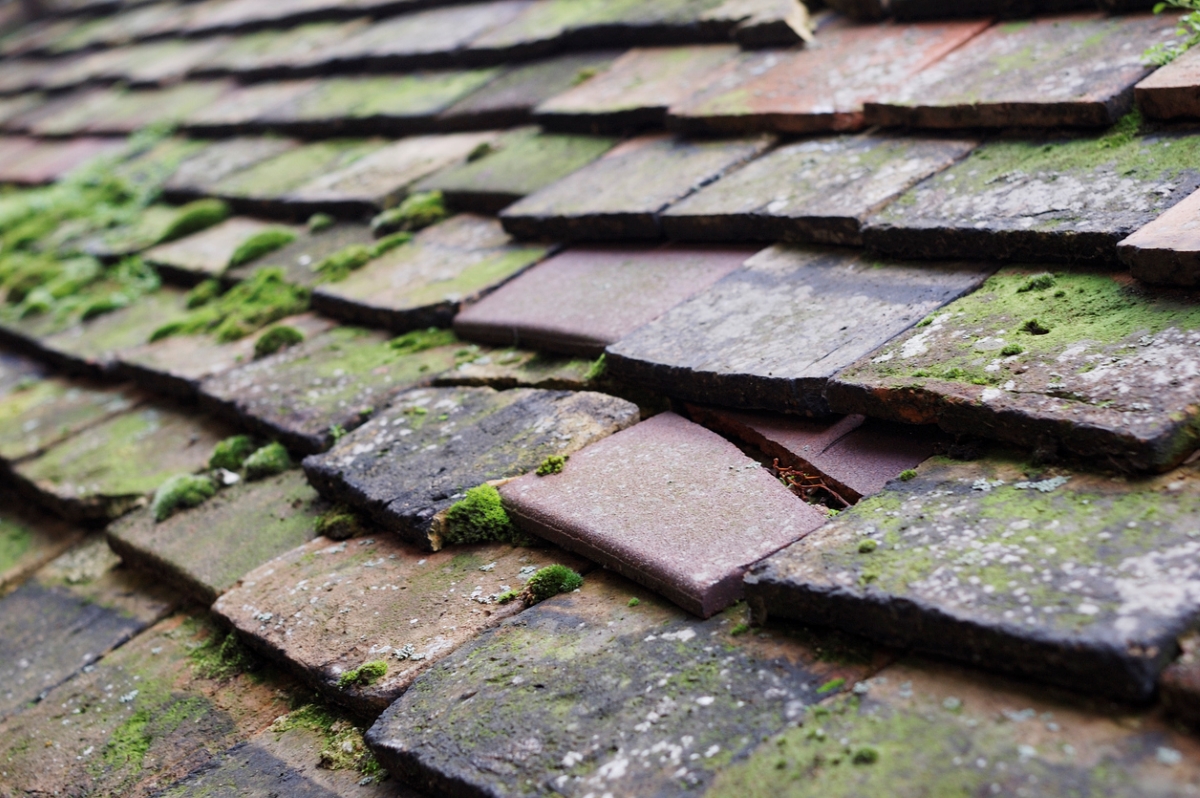
Moss is pretty easy to spot. Just look for fuzzy green clumps on your roof shingles. You may first notice it in cracks and crevices between shingles where moisture collects, providing a perfect place for spores to settle and grow. Once you’ve spotted it, get busy removing moss from roof areas. It’s bad for both your roof’s integrity and your home’s curb appeal.
Project Overview
Working Time: 1.5 hours, depending on extent of moss
Total Time: 2.5 hours
Skill Level: Intermediate
Estimated Cost: $40 to $450, depending on supplies on hand
Before You Begin
It’s recommended to spray a roof from the peak down so water can’t work its way under the shingles. If you can’t do this effectively from a ladder, you will need to work on the roof. Call in a pro if you’re not comfortable with heights, or with the idea of cleaning the roof yourself.
Safety
When working on the roof, be sure to use protective gear and a safety rope or harness. Always follow the instructions for safety equipment, and use a securely attached roof anchor bracket that’s appropriate for your roof type.
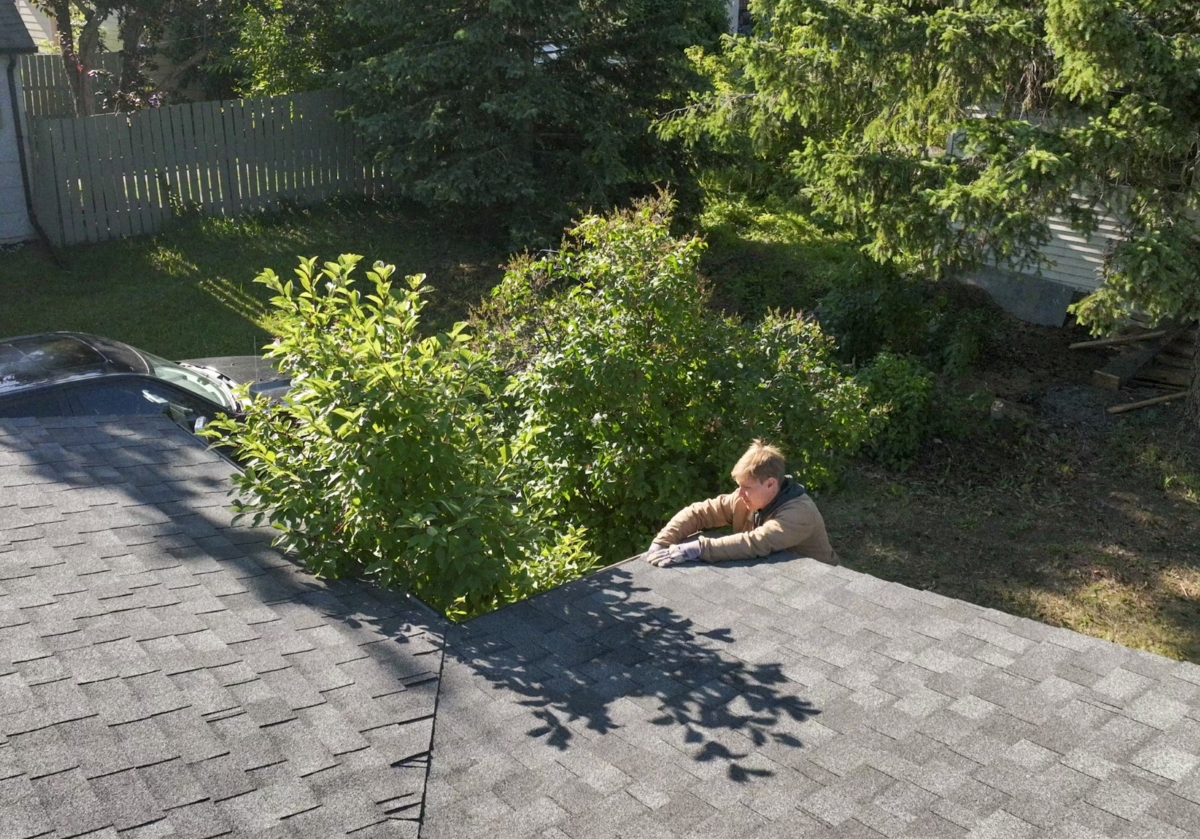
Wear shoes with traction, and be careful not to damage the roof as you walk around. (This is of particular concern with metal roofs; even small pebbles or other abrasive materials caught in your shoe tread can scratch metal surfaces.) Finally, grab a friend so you have someone to hold the ladder, hand up supplies, and get help in case of emergency.
Cleaning Solutions
Decide which type of cleaning solution is best for your roof, and avoid types that are too abrasive. “If you’re using the wrong materials or the wrong cleaning solutions,” Prchal cautions, you can cause damage.
DIY Moss Removers: You can mix up your own moss remover, although when you’re wrestling with how to get rid of moss on roof areas, it may be best to stick with products formulated specifically for use on roofs. Go-to cleaners like dish soap and laundry soap may work, but might not be as good for your roof materials or nearby plantings. Some popular DIY moss killers include:
- 8 ounces Dawn Ultra dish soap + 2 gallons of water
- Equal parts liquid chlorine bleach and water
- 1½ to 3½ cups distilled white vinegar and 2 gallons of water
Commercial Moss Removers: There are premixed and mixable roof cleaning solutions available, which makes the process a little quicker. Some popular roof cleaners include:
- Wet & Forget, a spray-on product for removing moss, mold, and mildew stains.
- BioAdvanced Moss and Algae Killer, a spray-on product that relies on potassium soap of fatty acids as its active ingredient.
- Moss B Ware, a zinc sulfate monohydrate powder that can be applied directly to the roof, or mixed with water and sprayed on.
Roof Moss Removal in 3 Steps
Some sources suggest that the best time of the year to remove moss from roofs is early spring, when seasonal rains provide the moisture that the plant needs. But you can remove moss from the roof at any time of year. While you should apply moss-killing treatments in spring and fall when the plant is actively growing, it may be easier to brush and hose moss off the roof when it goes dormant in summer and becomes brittle.
No matter when you do it, pick a cloudy day so the cleaning solution won’t evaporate too quickly, but also make sure there’s no rain in the forecast.
Step 1: Remove loose moss from the roof.
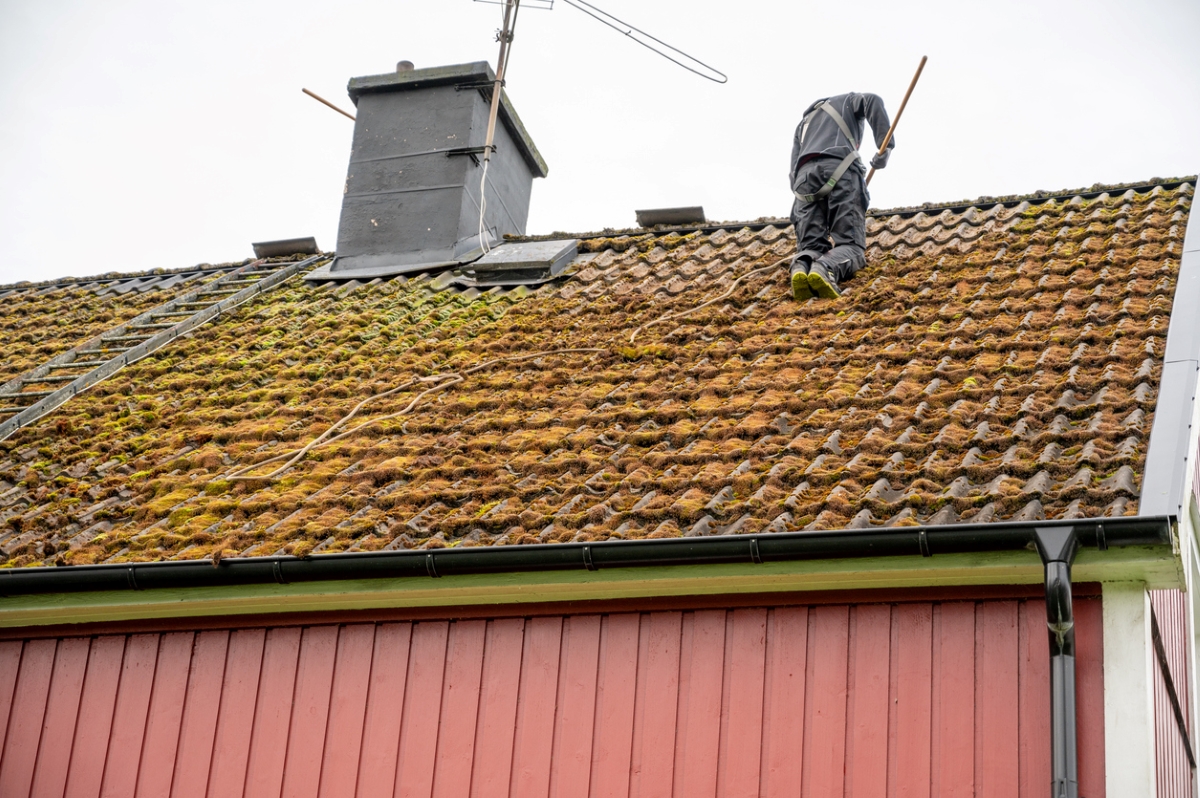
After putting on safety gear, start by working from top of the roof or from a ladder. Hose off the mossy areas with water, spraying at a downward angle. Then, clear away loose moss with a long-handled soft-bristle scrub brush. Work from the top down to avoid lifting shingles, and brush gently to avoid damaging them. Work on one section at a time.
Pro tip: Never use a pressure washer on a roof, especially not on asphalt shingles. The force of the water can strip away the protective granules, loosen the shingles, and drive water between and beneath them.
Step 2: Apply a moss remover.

A light scrubbing probably won’t remove all of the moss, and even if it does, you may be left with unsightly stains. This is where chemicals—either commercial or DIY solutions—come in. Cleaners can damage plants and discolor other surfaces, so spread plastic sheeting below your work area, or at least hose off nearby plantings and surfaces before and after you apply the solution.
- If you use one of the DIY roof cleaners mentioned above, hose down the roof, spray the moss with the solution of your choice, wait 25 to 45 minutes, scrub the moss, and then hose the roof down again.
- If you use a commercial solution, follow the manufacturer’s directions for application. Some liquids need to be rinsed off after application while others should be left on. Granular products are generally left on the roof so that rainwater can distribute the moss-killing chemicals down the roof’s surface. Powdered products are usually sprinkled along the roof’s ridge, from one edge of the roof to the other; some require parallel lines of powder spaced 2 to 3 feet apart.
Step 3: Take steps to prevent future moss growth.
Depending on the approach you choose, it can take weeks or months for the moss to die off. Making roof moss removal even trickier, moss can lie dormant in dry weather only to spring back when rain returns. Here are a few things you can do to make sure moss stays away:
- Make a visual check of your roof twice a year (spring and fall), remove debris regularly, and deal with moss promptly.
- A moss problem is a moisture problem, so figure out how to keep your roof dry and increase the amount of sunlight that hits it. For instance, prune trees that are shading your roof, and keep your gutters clean so water can flow off freely.
- Install zinc or copper roof strips just below the ridge cap on both sides of the roof, nailing the strips down every foot or so. (You can also purchase sheet metal in rolls and cut it into 2- to 4-inch strips.) How do these work? Rainwater draws tiny particles out of the metal, and these travel down the roof to kill moss and fungi. Note that these strips need to be replaced every 5 years or so, and they have less of an effect further down the roof. Also, while the Asphalt Roofing Manufacturers Association is in favor of using them on new roofs, it advises against installation on existing roofs because of the potential for leaks down the road.
- If you live in a moss-prone region and a new roof is in your future, think about using algae-resistant roof shingles. These pricier options incorporate copper granules that can prevent algae from building up on the roof. While they target algae, not moss, they may help make the roof less hospitable to the moisture-loving plant.
When to Call a Professional for Roof Moss Removal
If you’re not comfortable walking around on your roof, if you’ve treated your roof and the moss just keeps coming back, or if there are parts of your roof that you can’t safely reach, call in the pros. They’ll have the right equipment as well as access to commercial-grade moss-control products that can clean your roof effectively.
Expect to pay anywhere from $450 to $750 to have your roof professionally cleaned, depending on the extent of your moss problem, the size of your roof, and the types of cleaning products the job requires.