
We may earn revenue from the products available on this page and participate in affiliate programs. Learn More ›
Small cracks in your concrete driveway, patio, or foundation may not seem like much to worry about, and you may be tempted to ignore them. But left to their own devices, they can eventually widen into fissures that require costly repairs. Replacing a crumbling concrete driveway or fixing a crumbling foundation can set you back, on average, about $5,000. Fortunately, you can nip these problems in the bud by repairing cracks yourself with a few simple tools and supplies. Here’s how to fix cracks in concrete and keep your home’s exterior looking sharp for years to come.
Project Overview
Working Time: 2 hours
Total Time: 4 hours
Skill Level: Beginner
Estimated Cost: $25 to $50
Before You Begin
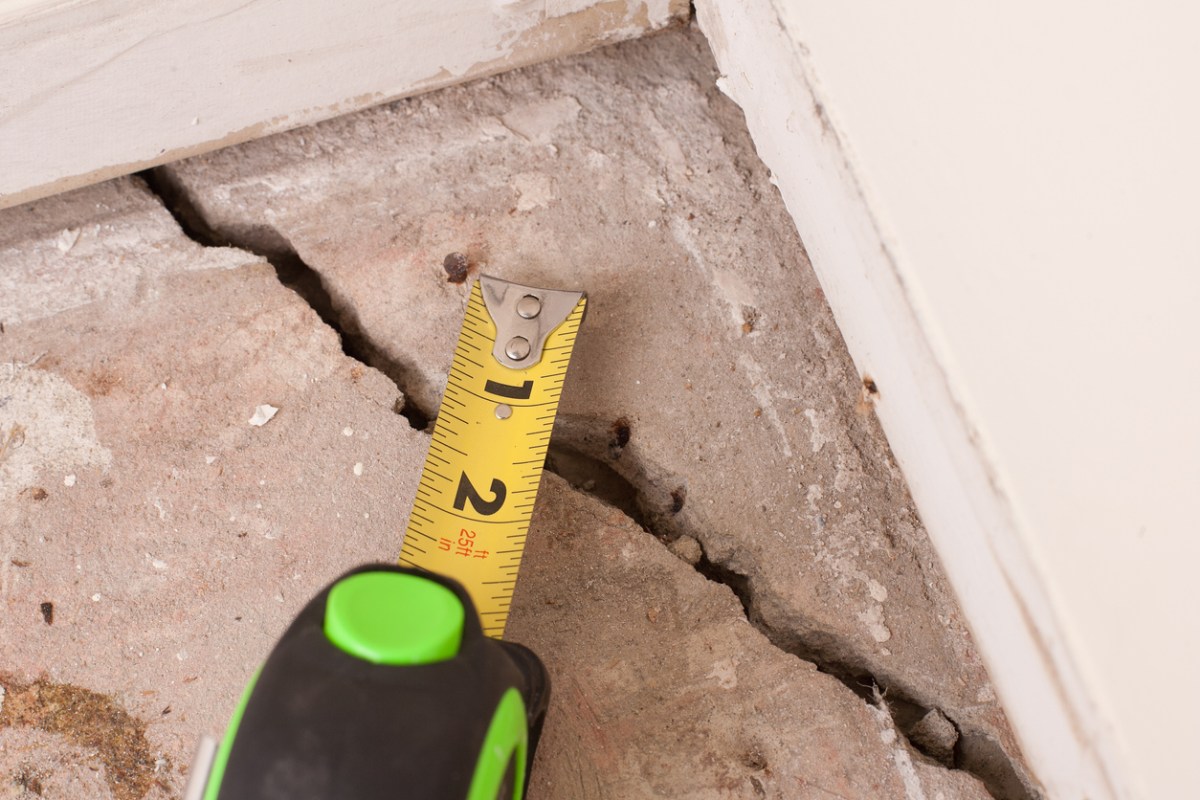
Before attempting to fix a crack in a concrete foundation, patio, or driveway, it’s important to first know your limitations. Most concrete crack fillers are designed to fill cracks that are ½ inch wide or smaller. If you’re dealing with wider cracks, cracks that are heaving (meaning one side of the crack is pushing upward or outward), or concrete surfaces that have an excessive amount of cracks, it’s probably best to call in a professional to assess the situation.
Step 1: Choose the right concrete repair product for your situation.
Concrete surfaces cannot be repaired with concrete. Instead, use a concrete repair mix; these are readily available at home improvement centers and online. Options include epoxy compounds, latex patching material, and mortar mixes. This last option works best to fill large cracks (or chipped edges), while the other products are suitable for cracks in concrete that are ⅛ inch wide or narrower.
Step 2: Prepare the cracked area for patching.
First, use a hammer and chisel in combination to knock away any cracked, crumbling, or loose concrete. Chip to a depth of about 1 inch below the surface plane. Then, rinse the area thoroughly, scrubbing with a wire brush to dislodge any loose, lingering particles.
Bear in mind that this is dusty work. To facilitate cleanup, you may wish to spread a tarp beneath the work area. Most important, be sure to wear the proper protective gear.
Step 3: Fix the concrete crack with your repair product of choice.
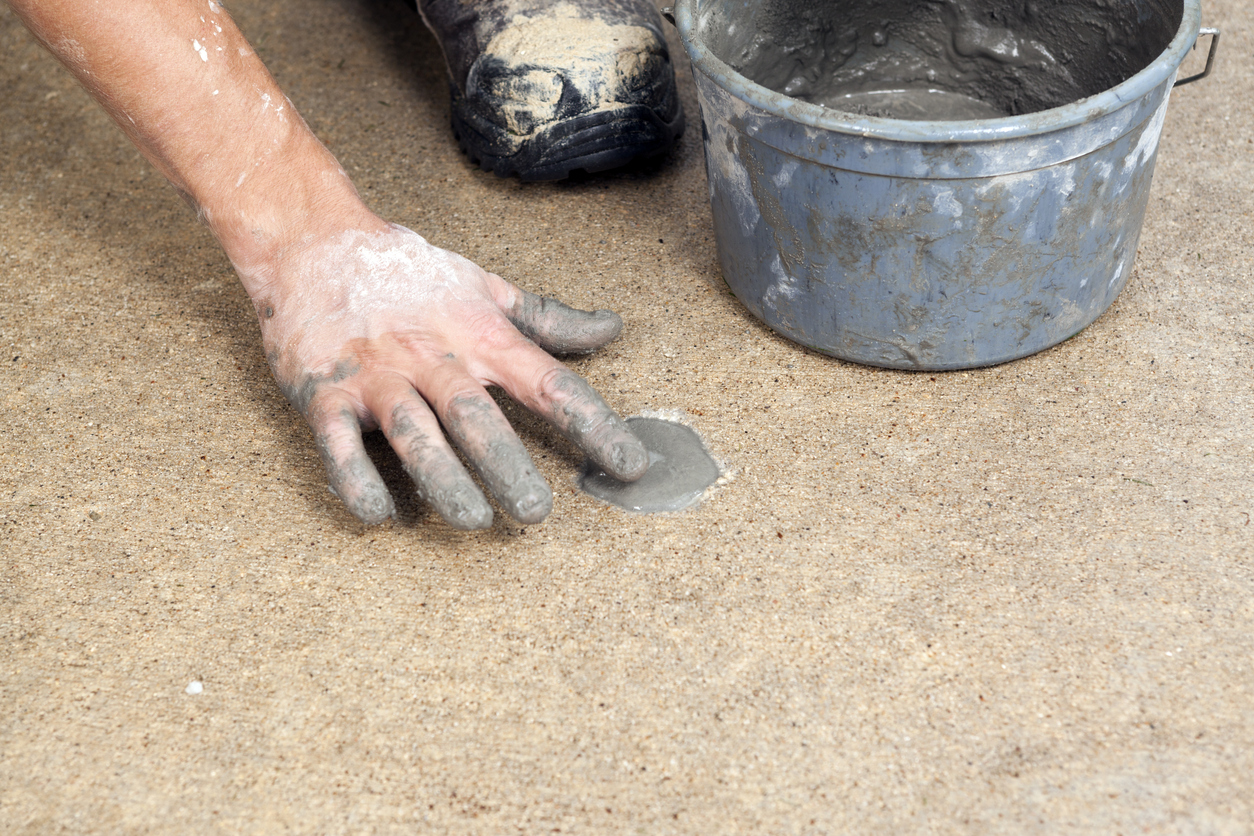
- Epoxy or latex: For cracks in concrete that are ⅛-inch wide or narrower, apply an epoxy or latex patching product, mixed according to the manufacturer’s specifications. The material goes on either with a mason’s trowel or a putty knife. Force it all the way into the crack, then smooth the product level with the surrounding concrete. Different mixes cure differently; again, consult the directions listed on your chosen product.
- Mortar mix: For larger imperfections in concrete, use a mortar mix. Creating your own mix is as simple as combining 1 part Portland cement, 3 parts masonry sand, and just enough water to form a thick paste. You can also purchase repair mortar mixes either locally or, in some cases, online. Moisten (but do not drench) the problem area, and then apply the mortar mix with either a mason’s trowel or a putty knife. As you work, take pains to eliminate air pockets by pressing down firmly on the applied product. Finally, smooth the patch so that it’s level with the surrounding concrete. Let it set for about 2 hours, and then cover the area with plastic sheeting to keep it moist. Sprinkle water under the plastic every day for a few days or until the surface has hardened up.
Step 4: Allow time for curing.
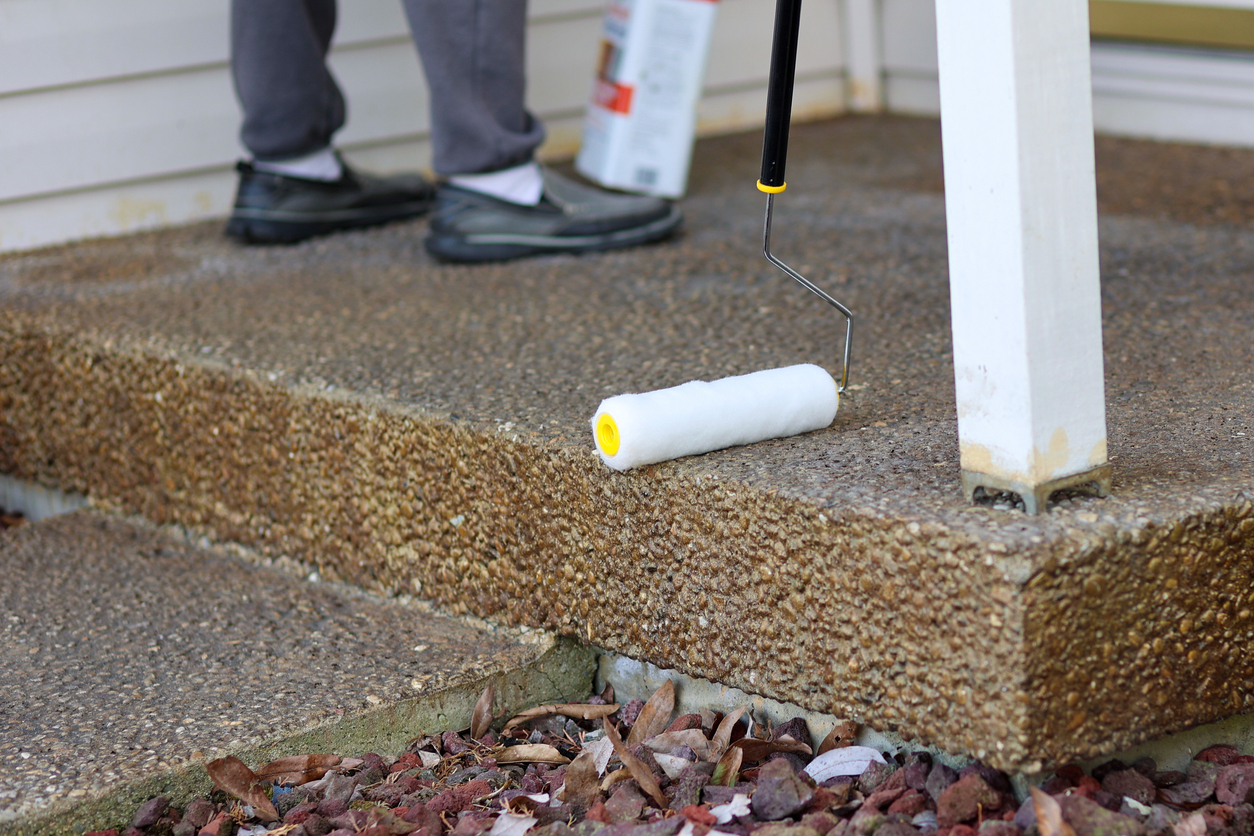
Giving the repaired concrete time to dry before painting it or exposing it to traffic or water is key to ensuring the repair lasts. Cure times can vary significantly, depending on the type of repair material you’re using. While epoxy crack filler hardens completely in about 4 hours, it can take up to 28 days for mortar repairs to reach full hardness. Check the manufacturer’s label on the crack filler for concrete curing time.
How to Prevent Cracks in Concrete
Many of the strategies for preventing concrete from cracking take place during the laying of the slab. However, there are measures you can take to prevent cracks from forming in an existing concrete foundation, patio, or driveway.
- Seal the concrete. Water is the archenemy of concrete and the primary cause of cracks. By applying a good concrete sealer every 3 to 5 years, you can prevent moisture from soaking into porous concrete, helping to keep it crack-free.
- Create a buffer around trees. If you allow trees to grow adjacent to a concrete slab, eventually the trees’ roots will exert pressure on the concrete, causing cracks to form. Avoid planting trees adjacent to driveways, patios, and foundations.
- Watch where you water. Limit the amount of water concrete absorbs by directing sprinklers away from your concrete driveway and foundation. This will prevent excess water from soaking into your concrete, and you’ll waste less water.
- Improve your drainage. Standing water on a concrete driveway or water that’s allowed to drain toward your home’s foundation will cause these surfaces to retain water, leading to cracking. Prevent this from happening by keeping your downspouts and gutters clean and grading around the home to ensure that rainwater drains away from the foundation. Install drains in any low areas to prevent water from pooling on your concrete driveway.
When to Worry About Cracks in Concrete
While cracks in concrete can often be repaired using the above methods, if you’re dealing with larger fissures in your foundation or extensive damage to a driveway or patio, it might be time to call in a professional. Here’s what to look for when deciding.
- Wide cracks: Cracks wider than ½ inch are a sign of more significant problems in the slab.
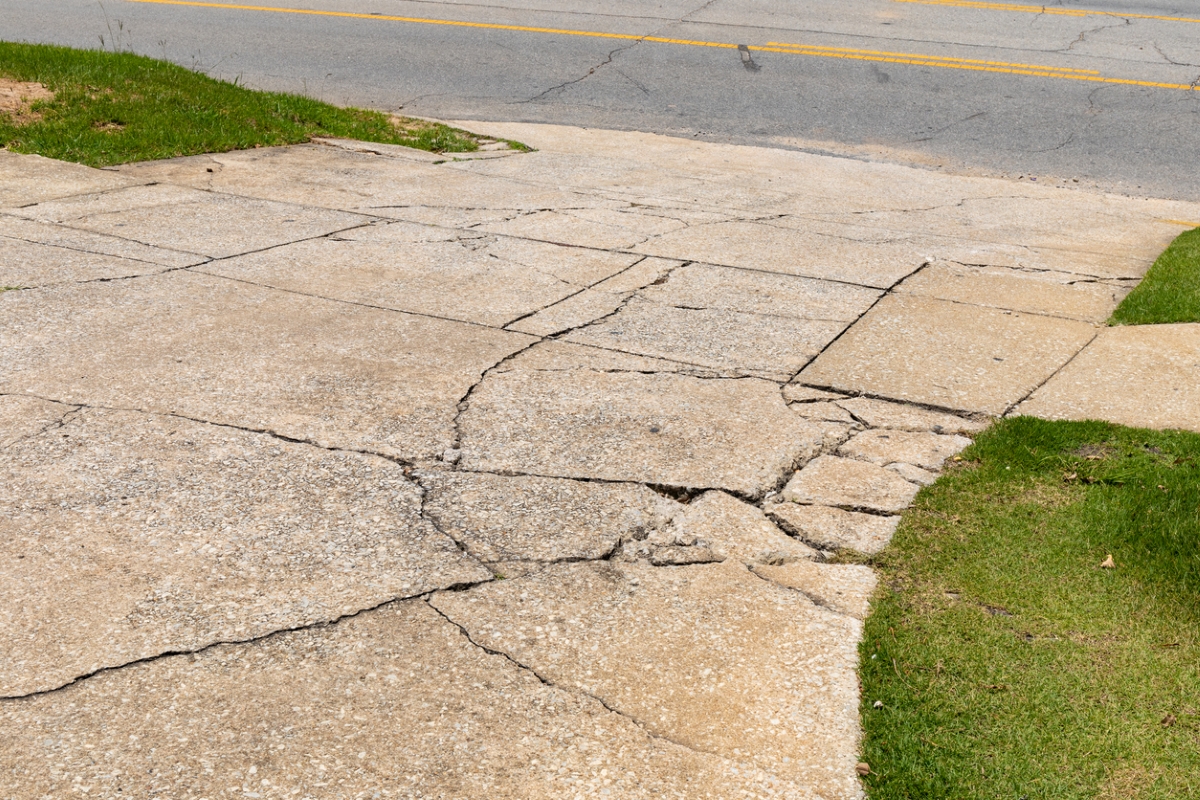
- Numerous cracks: If there are many cracks spidering across a concrete surface, then the concrete likely needs more extensive repairs.
- Leaking crack: If you notice water seeping from a crack in your basement, you’ll need a professional to assess the source of the leak and repair it before it causes more problems.
- Failed repairs: If you repair a crack using the above methods and then discover a few weeks or months later that the crack has returned, you’re probably dealing with an active crack that requires professional attention.
- Extensive damage: Cracked concrete that’s heaving, meaning one side of the crack is pushing upward or outward, is a sign of bigger problems that can’t be repaired with crack filler.
Final Thoughts
By using the methods above along with a few basic tools and supplies, you can repair small cracks in your concrete, preventing them from becoming bigger problems. That said, if you don’t feel comfortable tackling this repair yourself, or if you suspect that the issue is bigger than what you can handle, call in a professional for help. Most pros will repair minor cracks in concrete for a few hundred dollars. Whether you handle this repair on your own or call in a professional, it’s important to take care of these issues before these cracks become larger and more costly to fix.