
We may earn revenue from the products available on this page and participate in affiliate programs. Learn More ›
Paired with baseboard and stained or painted to match your trim, shoe molding (also known as “base shoe”) is a small, thin strip of molding that gives your room a finished look. Shoe molding adds a decorative touch while covering any gaps that might lie between the bottom of baseboard and the floor. Not all types of baseboard are suitable for installing shoe molding, however, so keep reading to find out if this slim trim is right for you—plus how to install it flawlessly.
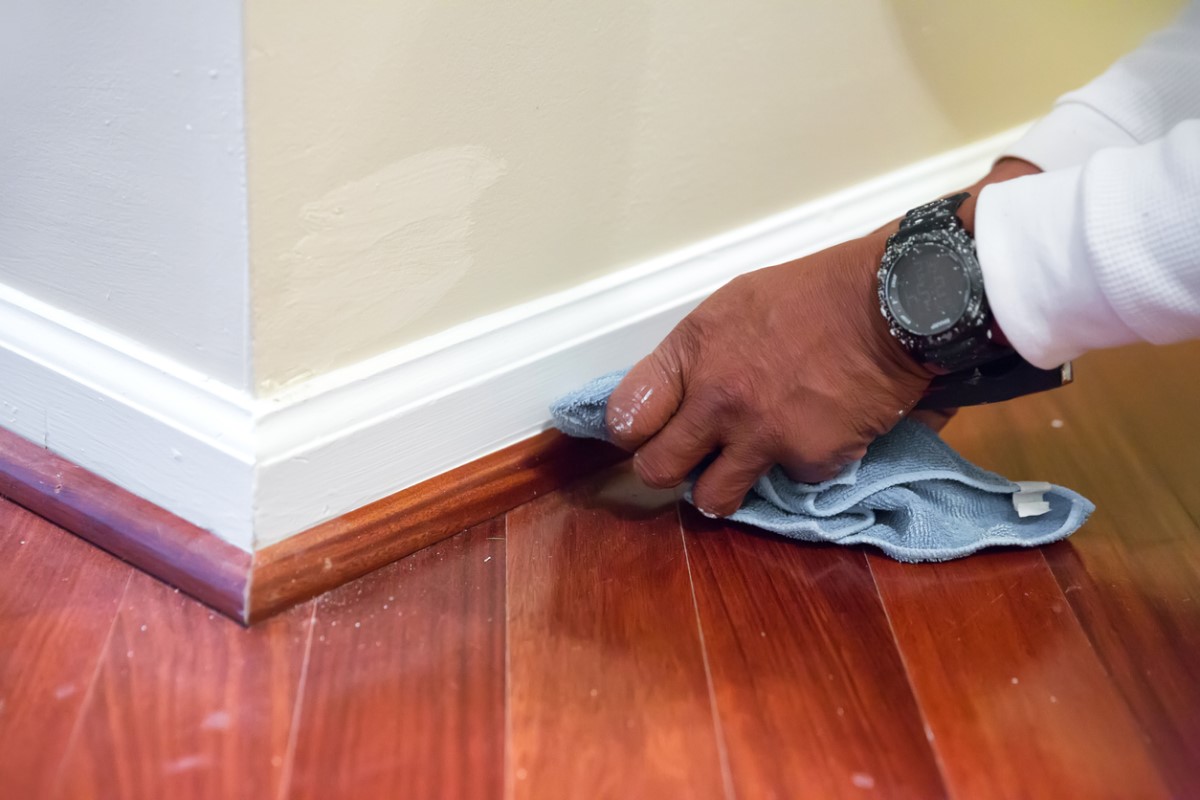
Shoe molding offers a fine finish to baseboards and covers the seam where it meets the floor.
Tall baseboards were popular during the Greek Revival period in the early-to-mid 1800s, but the idea of adding shoe molding to baseboards began in Europe and the United States during the Victorian era of the late 1800s. That’s when mass production of wood trim made the molding readily available. Shoe molding, so called because it’s located at “shoe level,” caught on because it looked good and also helped seal out insects and dirt.
Today, the main goal of both baseboard and shoe molding is to conceal the less-than-appealing transition between the bottom of the wall and the floor. Baseboard alone covers most of the gap, but because it’s larger than shoe molding, it’s relatively stiff and doesn’t conform well to an uneven floor. Even after baseboard has been installed, you will often see small gaps here and there between the baseboard and the floor. That’s where shoe molding comes in. Its small size makes it slightly flexible, allowing it to be installed flat against the floor to give baseboard a professional finished look.
RELATED: 9 Ways to Dress Up a Room with Molding
The only caveat to installing shoe molding is that the bottom of the baseboard must be flat to accept the molding. For example, if you want to install standard ¾-inch-high shoe molding, the lower ¾-inch of the baseboard should be flat to allow the shoe molding fits snugly. Some more ornate baseboards feature grooves, slants, and curves within the lower ¾-inch, which would prevent shoe molding from fitting flush against the baseboard.
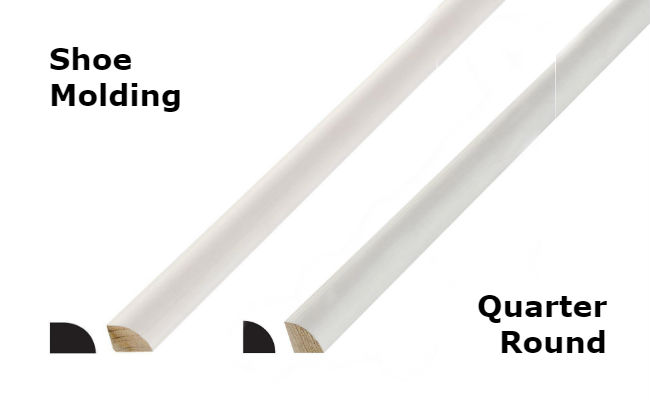
Finishing trim comes in two different shapes: shoe molding vs. quarter round.
If you’ve been looking at baseboard finishing trim, you’ve probably discovered quarter-round, too. As the name implies, this type of molding is one-quarter of a round dowel (split a dowel down the middle, then further split the halves, and you’ll have quarter-round). While quarter-round can be installed along the bottom of baseboard, trim carpenters and homeowners tend to prefer the sleeker look of shoe molding, which is taller and narrower than its curved counterpart.
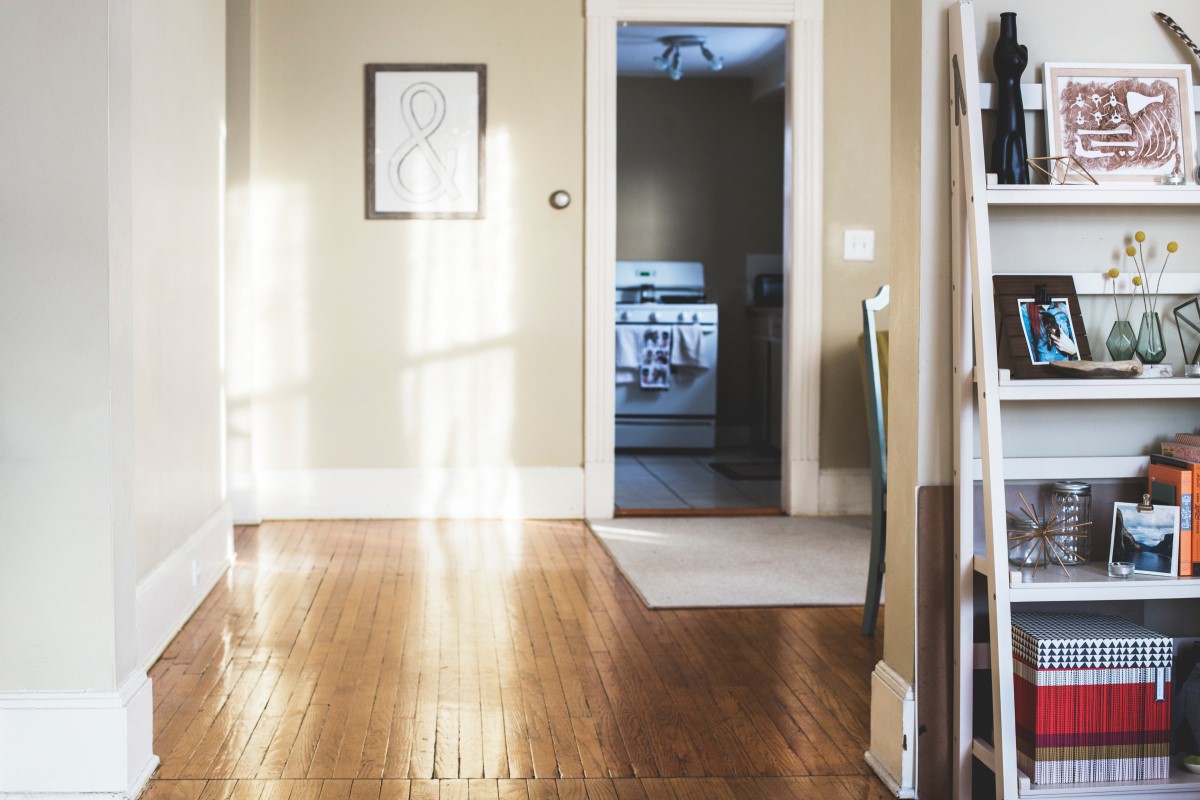
Shoe molding is available in wood, MDF, and polystyrene to match your baseboards.
Standard shoe molding, available at home improvement centers and lumberyards, comes in widths of 7/16-inch to ½-inch and ranges from ¾-inch to 1-inch in height. It’s also made in a variety of material options to match the different types of baseboard.
- Wood is the most common type of shoe molding, and you can buy inexpensive (paintable) pine shoe molding for $5 to $6 per eight-foot section. Hardwood shoe molding, including oak, ash, and walnut, which can be stained to match your trim, runs $6 to $10 per eight-foot section.
- Medium-density fiberboard (MDF) shoe molding is made from a combination of resin and sawdust, and it is similar in price to pine, at $5 to $6 per eight-foot section. MDF is even more flexible than wood, so it’s a good choice if you have a lot of uneven gaps under your baseboard, but while suitable for painting, it doesn’t stain well.
- Polystyrene shoe molding is the least expensive option, running $2 to $3 per eight-foot section, and it’s meant to be painted. Polystyrene is not as durable, however, as either MDF or wood, and it tends to dent if bumped.
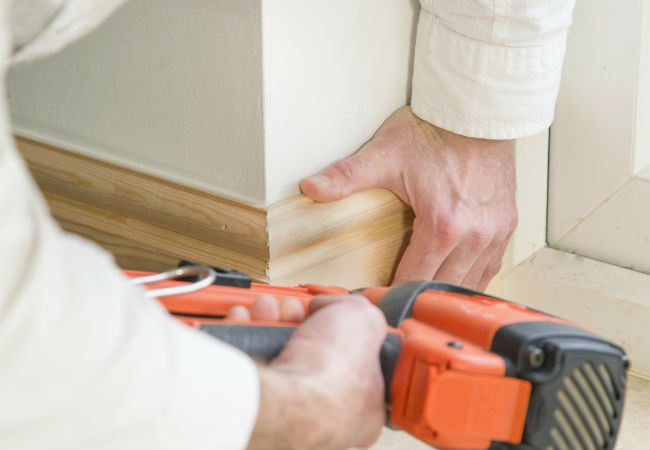
Install shoe molding along the edge of your baseboards with these tips.
Installing shoe molding is a fairly straightforward do-it-yourself project, but you will need to create a “coping joint” (discussed below). The following tips will help you achieve a professional look.
- Use the right tools. These include a miter saw to cut the shoe molding, a coping saw to create inside corners, and a finish nailer (or pinner) to attach the molding. Because shoe molding is small and easy to damage, this is one case where a finish nailer or pinner is preferable to a hammer and nails.
- Start in a corner and work your way around the room in one direction. This makes it simpler to cut the coping joints you’ll need for the inside corners.
- Press shoe molding firmly against the floor and against the baseboard as you nail it in place. The flexibility of the molding makes it easy to do this.
- Insert one finish nail approximately every 12 inches along the baseboard. Catch the baseboard with nails; be careful not to insert the nails into the gap beneath the baseboard or the molding will not be securely attached. Don’t worry about hitting wall studs, shoe molding attaches only to the baseboard.
- Miter and glue outside corners. Mitering corners means to cut the ends of the two pieces of baseboard at 45-degree angles that meet to form a corner. Before nailing the molding in place, put a small dab of construction glue on each end. While the nails hold the molding in place, the glue acts as extra insurance to keep the corners snug.
- Cope inside corner joints. Most corners in a room will be inside corners, and while you might be tempted to create another miter joint for them, mitered joints in inside corners tend to gap. Instead, opt for a cope joint, also known as a “back beveled” joint. A cope joint is created by cutting the first piece of trim at a 90-degree angle and installing it so that it butts tightly in the corner. The next piece is cut at a 45-degree angle, and then a coping saw is used to manually cut away the wood behind the edge of the cut. This allows you to fit (overlay) the second piece of trim over the first piece without creating a gap. Coping a joint may seem complicated at first, but once you master the skill, you’ll be able to create beautiful, professional-looking joints. It’s a good idea to watch an experienced carpenter before you try it yourself; a YouTube search will yield instructional videos to lead you step by step through the process.
- Paint or stain shoe molding before you install it. Then fill nail holes and add a little touch-up paint afterward, if necessary. It can be difficult to paint or finish small molding along the floor without getting paint or stain on the floor.