
We may earn revenue from the products available on this page and participate in affiliate programs. Learn More ›
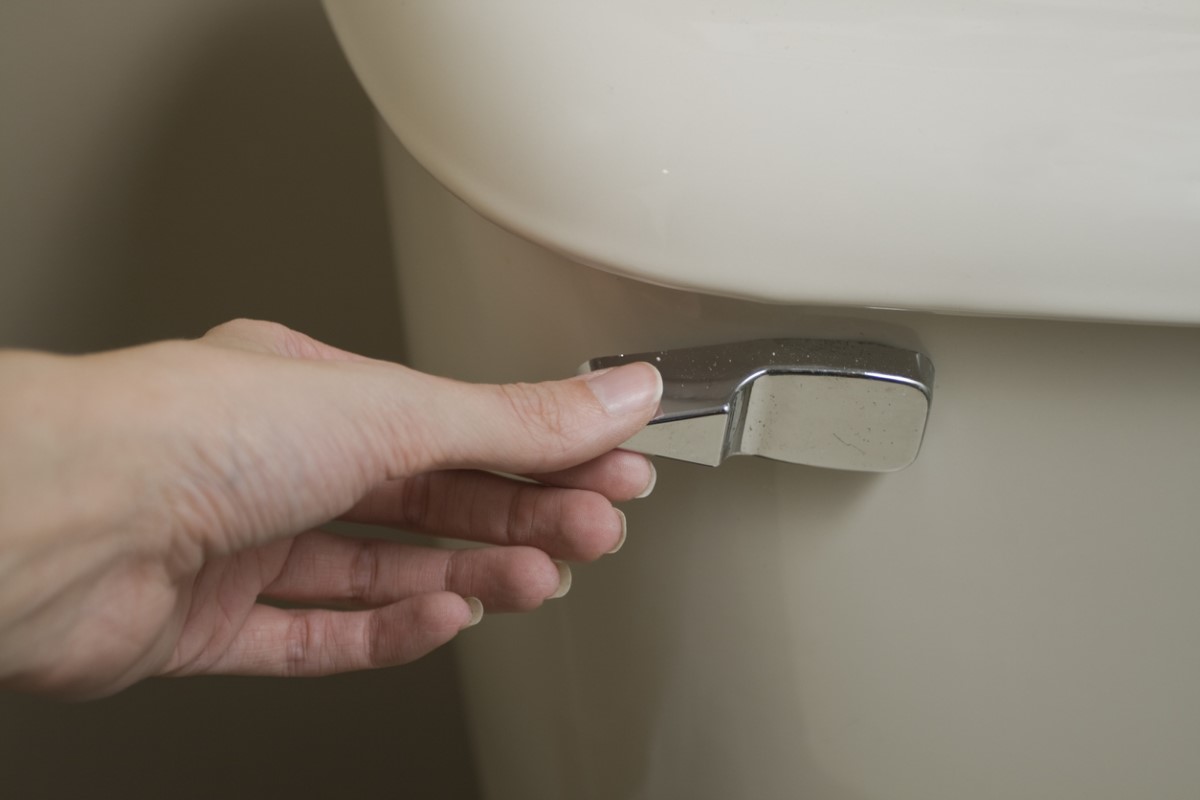
Q: How’s this for a peculiar plumbing problem: After every flush, our toilet hisses, just like a loud snake. It started making the noise a few months ago, and it seems to be getting louder by the week. I’ve also noticed the tank filling up more slowly now—so the hissing continues for more than a minute. Why is my toilet hissing, and how can I fix it?
A: Sorry to hear about your cacophonous commode, but the hissing you hear is a relatively common problem. It’s related to your toilet’s inlet water valve, also called a “fill valve.” Over time, hard water deposits or bits of sediment can settle in the valve and partially block water flow into the tank. This increases water pressure in the valve, which in turn forces the water out in a narrow stream, creating vibration and the pesky noise. While this won’t cause damage to the toilet, the issue won’t get any better on its own. If sediment is present it could clog the valve to a greater extent, making the hiss even louder and taking even longer for the tank to fill with water.
RELATED: 5 Most Common Toilet Troubles and How to Fix Them
Fortunately, often a DIY fix will set things right, without having to replace the toilet. The first repair option is so simple, virtually anyone can do them, so keep reading to learn how to silence the snake in your toilet tank.
Clean the inlet valve and seal.
If debris and sediment are clogging the valve, flushing it out might be all it takes to get the tank to fill up quietly and quickly again. This easy fix shouldn’t take more than 15 minutes. Arm yourself with a plastic drinking cup and perhaps a screwdriver, and follow these steps:
- Turn off the water supply to the toilet by locating the hose that connects to the bottom of the tank and turning the valve to “OFF.”
- Flush the toilet to drain the tank.
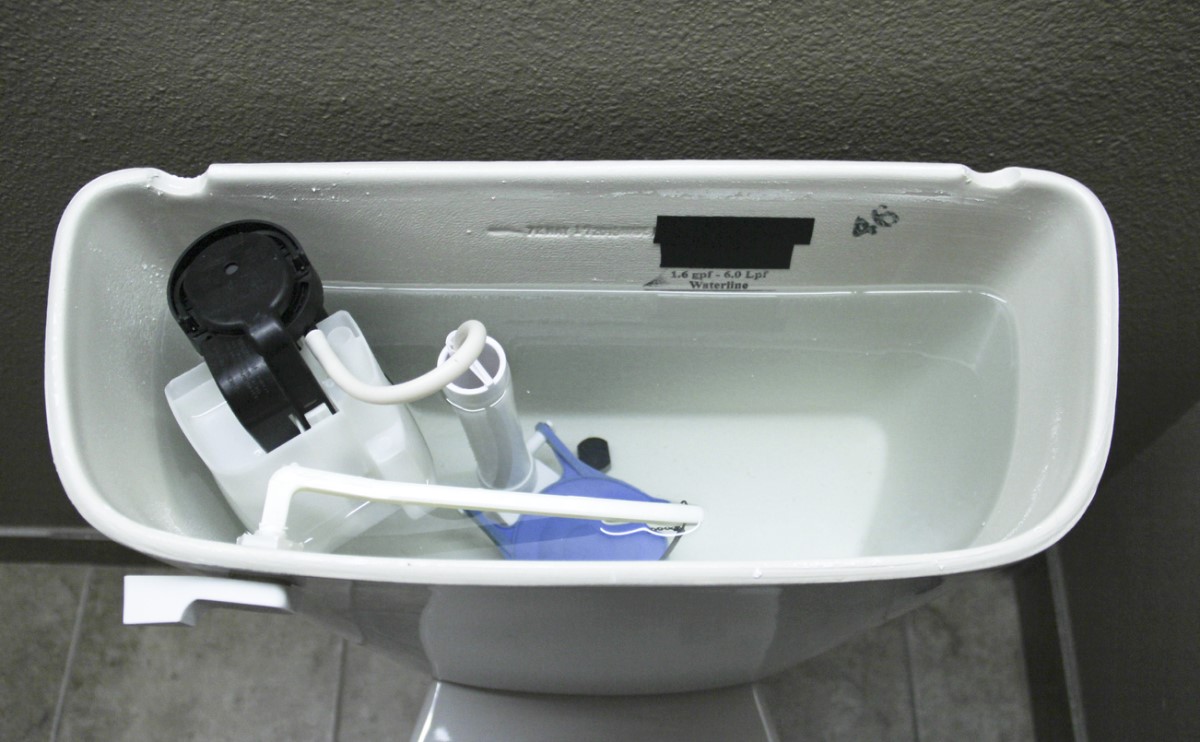
- Locate the inlet valve, the vertical assembly directly above the spot where the water supply hose connects to the bottom of the tank, and remove the cap from the top. Tank components vary in design, but the cap is often a different color and it can be removed either by pressing down and twisting (like a child-proof bottle cap) or by removing one or two screws with a screwdriver.
- Remove the seal (a rubber or plastic disk) from the underside of the cap. Pry it out with a fingernail or a small flat-head screwdriver. Rinse it under a faucet to remove any debris that may have accumulated.
- Invert the plastic cup over the top of the inlet valve (the spot where you just removed the cap) and hold it there. Your next move will be to briefly turn the water back on, and the cup will keep it from spraying out.
- While holding the plastic cup in place, turn on the water supply valve for five to 10 seconds only. The water will flush out any debris that may have been trapped inside the valve. Inspect the seal you rinsed for rips, tears, or warping. If it’s in good shape, replace it in the cap and reattach the cap to the inlet valve. If it’s damaged, continue with the next repair option.
Replace a damaged seal.
If the old seal is damaged, it may have been blocking the valve and causing the toilet to hiss. You can order a new seal from the toilet manufacturer, but it’s easier just to take the old seal to your local home improvement center or plumbing supply store and find one that matches. When you get it home, put the new seal in the cap and reattach the cap to the inlet valve assembly.
Replace the entire inlet valve assembly.
If the previous steps fail to eliminate the toilet’s hissing, the problem lies in the valve assembly described above. Most likely, hard water deposits formed within the lower portion of the inlet valve assembly, and the only way to solve this problem is to replace the whole thing. This fix is a bit more complicated, so you may wish to call a plumber at this point.
If you’re a more dedicated DIYer, feel free to go for the fix. You can’t hurt the toilet if you make a mistake, but you might have to buy more than one replacement valve if you break the first one. At $19 to $35 per valve, that’s still cheaper than a plumber’s visit—but to avoid unnecessary expense, proceed with patience. The entire replacement process, for which you’ll need a set of water-pump pliers and an adjustable crescent wrench, should take under three hours.
RELATED: 10 Plumbing Tips Everyone Needs to Know
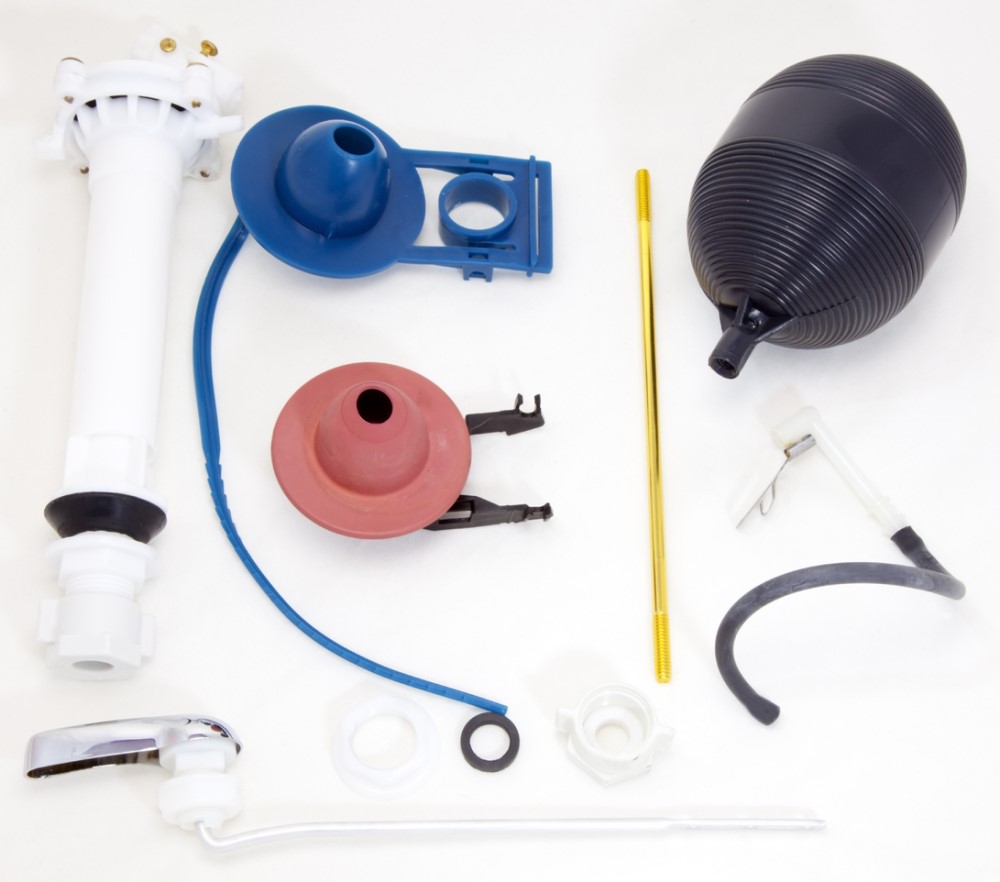
Replacing the entire inlet valve involves removing the vertical valve assembly from the toilet tank, disengaging it from the flush lever and also from the arm that lifts the flapper (the rubber stopper that seals water in the tank until you flush). Because inlet valves vary in design, they come apart in different ways. For directions on disassembling yours, check the toilet manufacturer’s website. Once you get the valve assembly out, take it to a home improvement center or a plumbing supply store and buy a replacement inlet valve kit that matches it. The replacement kit contains all the washers, nuts, and seals you’ll need to install the new valve assembly. The kit also contains instructions on how to install the valve and how to adjust the height of the water in the tank.