We may earn revenue from the products available on this page and participate in affiliate programs. Learn More ›
The age-old surface treatment of Venetian plaster is making a comeback in modern homes. Mostly used on interior walls or ceilings, it mimics the multi-toned, three-dimensional effect of natural stone—without the need for lugging and installing heavy slabs of real marble or limestone. Homeowners can recreate the old-world look in three ways: with a lookalike homemade finish, store-bought synthetic Venetian plaster paint, or authentic lime Venetian plaster. Read on to find out which of these applications is right for you, and then learn how to apply a Venetian plaster finish in your home.
The Venetian Plaster Look
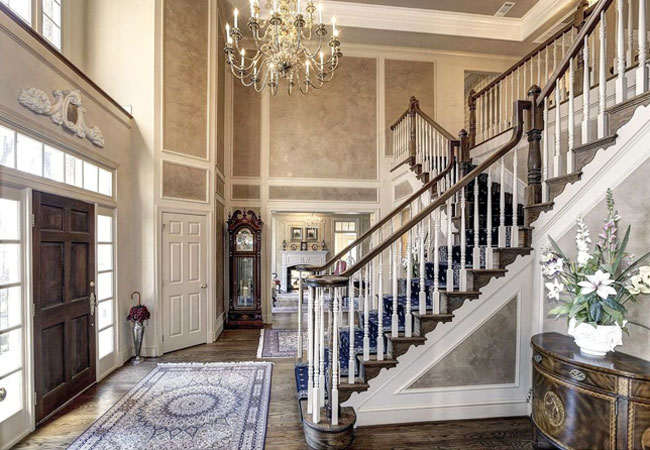
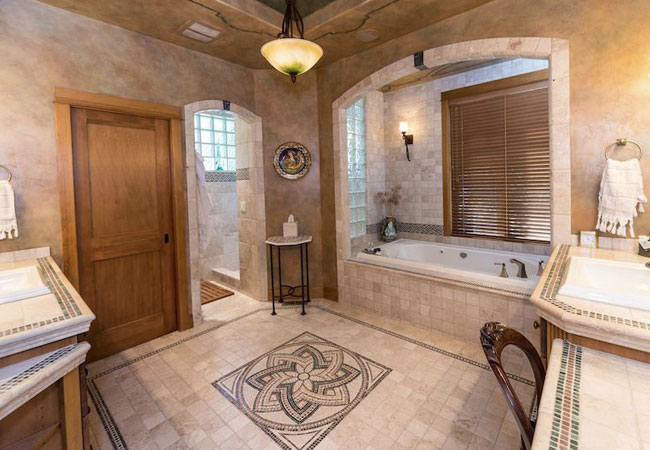
Originating in Venice, Italy, Venetian plaster gained widespread popularity in the Roman Empire as a means to imitate natural stone surfaces inside of palazzos, villas, and cathedrals. Artisans would blend lime plaster with marble dust and pigments to create the compound Venetian plaster, then trowel it onto walls or ceilings in multiple thin layers with short, overlapping strokes. Professional painters still use this authentic method today, but most do-it-yourselfers choose to mimic the look with either a homemade plaster finish of tinted joint compound and tinted glaze or ready-to-apply cans of synthetic paint formulated to look like Venetian plaster. Whatever method you choose for the interior walls and ceilings in living rooms, bedrooms, and bathrooms, you’re sure to end up with the luxurious look of natural stone without the expensive and cumbersome installation.
Three Methods for Applying Venetian Plaster
Here, we’ve broken down the advantages and disadvantages of the three treatment options: homemade finish, synthetic Venetian plaster paint, and authentic Venetian plaster.
BUDGET:
You can achieve a homemade Venetian plaster finish for roughly $6 to $11 per 100 square feet, considering you’ll need $2 to $3 for pre-mixed joint compound, $0.10 to $0.50 for latex colorant, and $4 to $7 for tinted glaze. That’s a bargain compared to the material cost of ready-to-apply cans of synthetic Venetian plaster (which run $18 to $33 per 100 square feet) and authentic lime Venetian plaster (which costs $32 to $84 or more per 100 square feet for materials alone).
TECHNIQUE:
Savvy DIYers can apply homemade and synthetic Venetian plaster treatments themselves—but beware that application requires superior painting abilities. Homeowners should also have experience using a trowel and hawk before taking on DIY installation. On the other hand, an authentic lime Venetian plaster treatment should always be professionally installed. This is due to the plaster’s runny consistency, a rapid drying time that makes it difficult to patch flaws once applied, and the high materials cost for redoing a flawed application. Professionally installed authentic lime Venetian plaster could run you anywhere from $800 to $1,200 per 100 square feet when including labor and materials.
EASE OF INSTALLATION:
Of the two DIY-friendly methods, the homemade treatment is more forgiving than the synthetic paint. Its joint compound is malleable, dries slowly, and can easily be wiped away and re-applied if you make a mistake. But keep in mind that the homemade treatment requires more initial labor, since you need to tint the compound.
TIMELINE:
When opting for homemade Venetian plaster finish or synthetic Venetian plaster paint, homeowners can expect to spend a few days on the process. Meanwhile, a professional will take significantly longer to apply authentic lime Venetian plaster, which could require up to ten days of drying time between coats.
APPLICATION:
You can apply both synthetic Venetian plaster paint and homemade Venetian plaster finish to unvarnished and varnished walls or ceilings. The key is starting with a flat, clean, and smooth substrate—meaning you’ll want to sand the substrate if the wall has a raised texture.
REMOVAL:
Removing a Venetian plaster treatment can be a messy and time-consuming process, no matter which technique you used to apply it. All three surface treatments—joint compound, synthetic Venetian plaster paint, and authentic lime Venetian plaster—are designed to be permanent. If you do change your mind about the treatment, you would need to run an electric sander over the finished surface until smooth. This process can result in a hefty amount of debris and clean-up work.
How to Apply Venetian Plaster
Want to achieve a natural stone texture at a bottom-budget price? Check out this tutorial for a how to mix and apply homemade Venetian plaster treatment to produce an old-age effect.
TOOLS AND MATERIALS
– Drop cloth
– Spackling paste
– 100-grit sandpaper
– Liquid dish soap
– Bucket
– Rags
– Painter’s tape
– Latex colorant (or drywall mud tint)
– Pre-mixed joint compound
– Power drill
– Drill mixing attachment
– Dust mask
– Rubber gloves
– Safety glasses
– Eight-inch drywall trowel
– Hawk
– 60- to 80-grit sandpaper
– Pre-tinted water-based translucent glaze
– 4-inch synthetic-bristle paint brush
– Water-based sealant
– Roller
– ¾”-nap roller cover designed for rough surfaces
STEP 1
First, prep the space to be treated. Whether you intend to apply homemade Venetian plaster to the walls or ceiling (or both), lay drop cloths beneath the surface you intend to finish to protect it from paint splatter. Remove all hangings and fixtures from the surface and fill any holes with spackling paste. Let the paste cure according to the manufacturer’s instructions, then lightly sand the spackled areas with a 100-grit sandpaper.
STEP 2
To remove the sanding dust—along with dirt, debris, and grease—whip up a simple cleaner by mixing one teaspoon of liquid dish soap and four cups of warm water in a large bucket. Wipe down the entire surface with a clean rag saturated in the soap solution, then make a second pass with a water-dampened rag to remove the suds. Once it dries completely, cover the baseboards and the edges of the surface and ceiling with painter’s tape.
STEP 3
Next, tint the joint compound that will act as the “plaster” in this Venetian plaster treatment. Combine one teaspoon of latex colorant per one gallon of pre-mixed joint compound in a large bucket. Mix using the mixing attachment of a power drill until the color has been fully incorporated and the compound is the consistency of pancake batter. If you’re seeking a regal Italian-inspired look, consider a latex colorant in a Mediterranean hue like terra cotta, lavender, or gold.

STEP 4
Don your dust mask, rubber gloves, and protective eyewear. Then scoop a generous heap of tinted joint compound onto a hawk with an eight-inch drywall trowel. Load the trowel with a hot-dog-width bead of compound from the hawk, and apply an eighth-of-an-inch-thick coat of joint compound over the surface using short, gently-curved, x-shaped strokes at different angles. You’ll want to start at the top left corner and work your way down the surface until it’s entirely covered, periodically cleaning the edge of the trowel with a water-dampened rag to remove dried-up joint compound. Let the joint compound dry according to the manufacturer’s instructions (usually 24 hours), then lightly sand the surface with 60- to 80-grit sandpaper. Use circular motions to soften the appearance of ridges in the texture. After sanding, wipe down the wall with a water-dampened rag to remove sanding dust, then let the wall dry completely.
STEP 5
To deepen the color variations in the joint compound, brush pre-tinted glaze over highlights (lighter areas) of the surface with a paintbrush. Use a pattern of x-shaped strokes as in the joint compound coat. Real marble has a high contrast between light and dark tones, so choose a glaze color significantly darker than the joint compound coat if you’re trying to recreate the look of marble. Alternately, if you’re after the low-contrast appearance of limestone, choose a glaze closer in hue (but still slightly darker than) the joint compound coat. When the glaze dries completely, you should see the dazzling effect of highlights and lowlights in color.
STEP 6
Preserve the texture of your Venetian plaster finish by covering it with one coat of a clear water-based sealant using a roller. If you’re after the look of polished marble, choose a sealant with a semi-gloss or satin finish. To get the look of limestone, choose a matte sealant. Remove the painter’s tape once the sealant is dry to reveal your revamped wall or ceiling.
Maintaining Venetian Plaster
To keep your sealed Venetian plaster clean, dust the surface on a weekly basis with an electrostatic duster. If you prefer to vacuum the surface, be sure to use a soft brush attachment. Similarly, if you opt to sweep, cover the broom head with a cloth to prevent scratches. When the surface becomes stained or grimy, clean it with a soft cloth or clean sock dampened with a mixture of one teaspoon liquid dish soap and four cups of warm water. Make a second pass with a water-dampened cloth to remove the soap solution. Follow these techniques, and your Venetian plaster finish should last for years or even decades to come.