We may earn revenue from the products available on this page and participate in affiliate programs. Learn More ›
Q: My husband and I are thinking about installing wainscoting ourselves in a few rooms of our house, but can’t agree on the proper height for it. Is there a good rule of thumb?
A: Yes, there is a general rule for how high up the wall to run your wainscoting—but you know what they say. Rules are made to be broken. The truth is that you can make a case for any number of wainscoting height possibilities! Below, we’ll outline the four most common ways to design a wall with wainscoting, the most common of which comes out of its original purpose.
The traditional rule of thumb is that wainscoting height should be a third of the wall’s height, including the cap or any moldings.
So if you have 9-foot walls, then 3-foot (or 36-inch) wainscoting will look great. Scale down to about 32 inches for rooms with 8-foot walls.
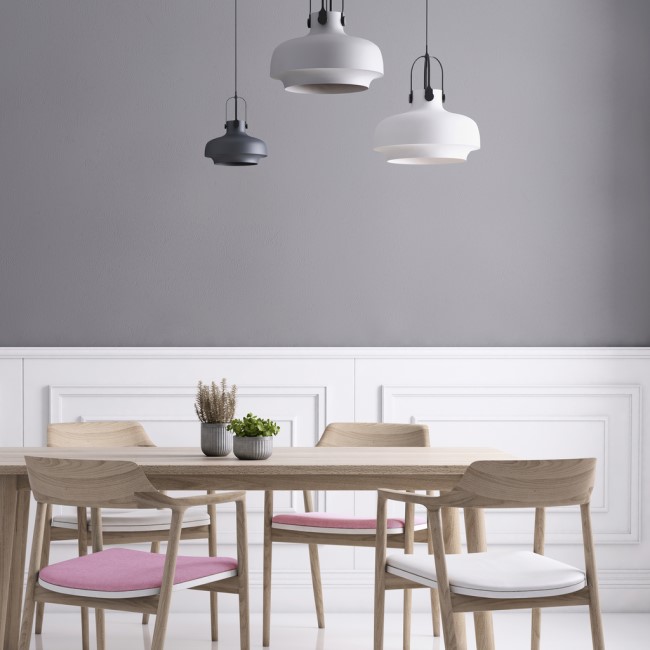
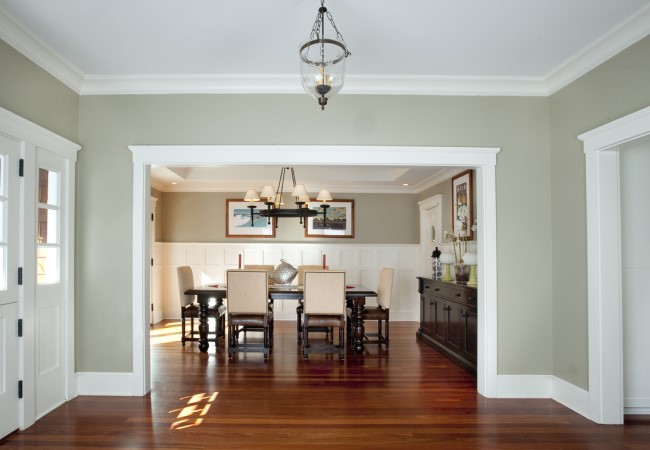
Wainscoting is often restricted to the lower portion of a wall to protect the plaster underneath from moisture issues.
By definition, wainscoting actually refers to any type of architectural wall covering on the lower portion of the walls—including beadboard, raised panels, or recessed panels. This wall treatment first appeared in houses centuries ago as a means of preventing moisture damage and even bolstering insulation. Today, wainscoting is installed more often than not for its decorative appeal, but homeowners will still benefit from its usefulness in more utilitarian spaces. For example, wainscoting is common in the mudroom, where drywall is much more likely to take a beating.
RELATED: 10 Wall Paneling Ideas that Don’t Look Dated
Adjust wainscoting height to be taller, 36 to 48 inches, in a room with a lofted ceiling.
In a room with a lofted ceiling and 15-foot walls, the rule of thirds would have wainscoting height at 5 feet. However, extending wainscoting this high could potentially take emphasis away from the grand size of the room. If this wainscoting height feels awkward and out of place, you may opt to bring it down to a height that feels more balanced—somewhere in the ballpark of 36 up to 48 inches generally works for these loftier spaces.
Or, bring wainscoting up to about eye level (or even a little higher).
Yes, a taller wainscoting is trending! Running your wainscoting two-thirds of the way up the wall can create a lightly textured yet still neutral backdrop in a room that’s busy with color and pattern. It’s also the better choice for spaces with several pieces of furniture pushed up against the walls (hutches, wingback chairs, even a taller sofa) that would otherwise cover up the top of a shorter wainscoting. In these fresh takes, you might see plate rails as the top trim and even a bold contrasting color for the very top of the wall.
Make exceptions for countertops and backsplashes.
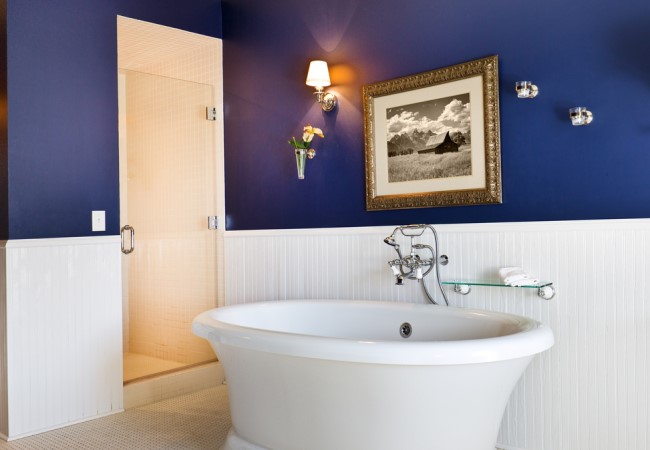
A beadboard wainscoting is a popular wall treatment—and, in some cases, backsplash—in both bathrooms and kitchens. Their particular fixtures will force homeowners to take a different approach than the one-third rule.
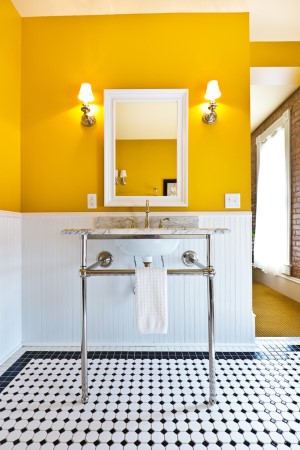
- Wainscoting in the bathroom, for example, may wrap around the room and eventually meet up with or act as the backsplash for a vanity or tub. In that case, homeowners might choose to extend wainscoting 40 inches from the floor—that’s 4 inches (approximately the height of a standard bathroom vanity’s backsplash) above a countertop—or until it reaches the bottom of a medicine cabinet. If acting as a backsplash for a freestanding tub, too, it might rise to 8 inches above the tub’s lip.
- In kitchens, beadboard is often carried up to the bottom of the upper kitchen cabinets, which is 54 inches from the ground.
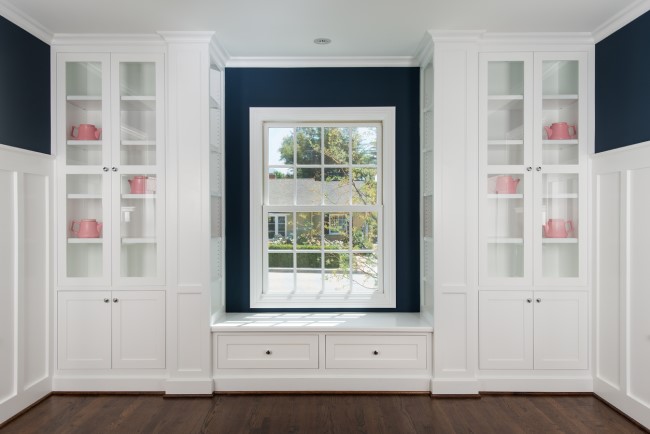
Consider cutting your wainscoting short around windows.
Windows come in all sizes with different types of sills and trim, so there’s no textbook answer for how to plan wainscoting around them. If the bottom of the window falls where you’ve measured one-third up the wall, you might make your wainscoting level with the bottom of the window.
But don’t sweat it: Wrapping the wainscoting around the window at the height you feel works best with the rest of the room works just as well. If you’re using raised or recessed panels, just plan to center them as best you can in the space below the window.
Try it out before you commit.
If you’re unsure, it’s generally better to go with a shorter wainscoting height than a taller one. The best way to get a feel for the finished look, however, is to live with it. Take your measurements, and use a pencil to mark the proposed wainscoting height around the room. Or, mark the top of the wainscoting in painter’s tape. Heck, you could even tape up large sheets of paper to depict your panels. Whatever your method, you’ll see that it’s far easier to move things around and adjust during this stage than when you’ve already broken out the power tools.