We may earn revenue from the products available on this page and participate in affiliate programs. Learn More ›
When rain starts to fall and just doesn’t stop, the top layer of your grass can quickly become saturated, causing muddy puddles and damage to the yard. Dry wells are a simple, yet effective method of collecting excess stormwater or runoff and slowly releasing it into the subsoil to recharge local groundwater.
This underground structure protects the property from soil erosion, reducing the risk of basement flooding, and returns clean rainwater to the water table instead of overloading storm sewers. If there is a dry well on a property you want to buy, or if you are thinking about a dry well installation, read on to learn more about this effective water management system.
What is a dry well?
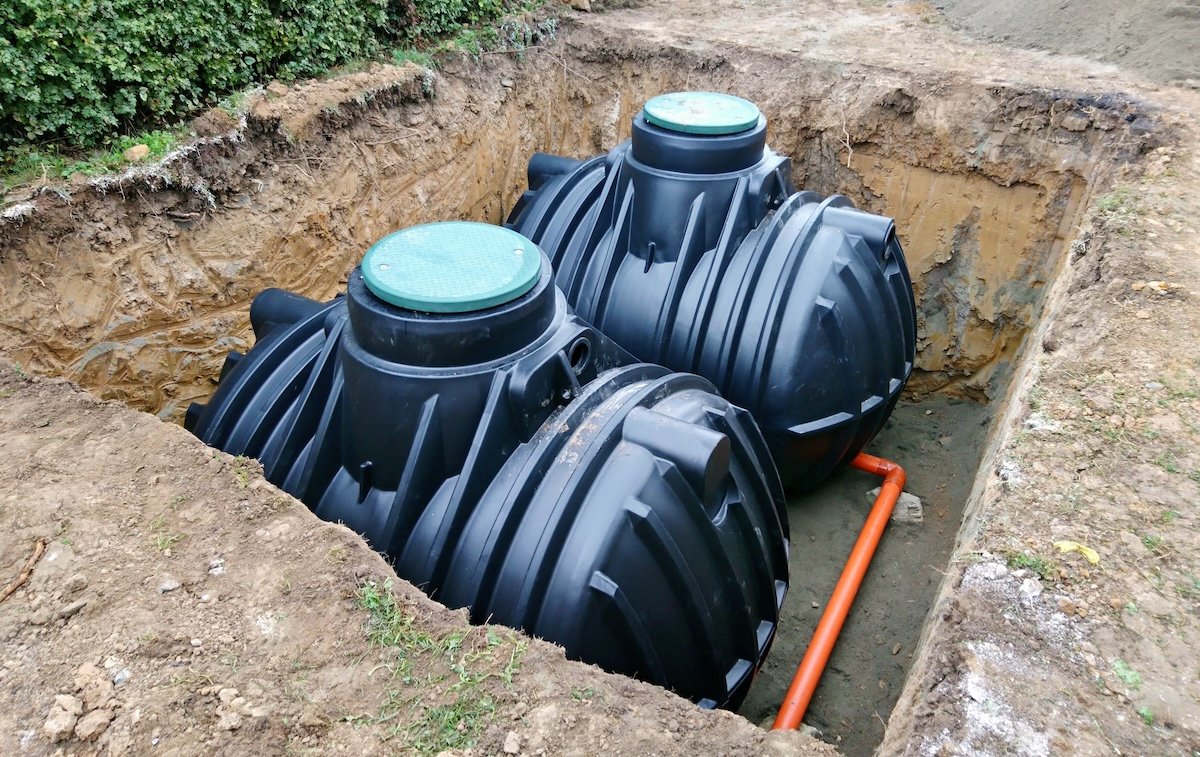
A dry well is a drainage management system that works with nature. Dry wells help manage water where it falls, preventing flooding while helping to replenish groundwater supplies. Brian Garrison, the Owner/Operator of Apes HVAC & Plumbing, explains that “basically it’s a vertical underground pit, sometimes just filled with gravel, sometimes a pre-made plastic chamber with holes in the walls, that catches runoff from your downspouts or a low spot in the lawn, and lets it soak into the subsoil slowly instead of sitting on top. That’s all it does. Not complicated. But it is very easy to install wrong.”
How does a dry well work?
A dry well collects water from your rooftops, driveways, lawns, gardens, and other landscaped areas to help manage drainage problems and slowly disperses runoff underground. Rainwater or meltwater enters the dry well through the inlet pipes, filling the void spaces within the dry well chamber.
The water within the chamber then slowly seeps through the chamber walls and bottom into the surrounding subsoil. The soil then naturally filters the water as it moves downward, and the clean water eventually reaches the water table to replenish groundwater supplies.
Here are the basic components in common dry well diagrams:
- Storage chamber is the main underground space that holds water temporarily.
- Inlet pipes are the channels that direct water from downspouts or surface drains into the system.
- Aggregate material is gravel or stone that creates void spaces for water storage.
- Filter fabric is geotextile material that prevents soil from clogging the system.
- Observation port is a pipe extending to the surface for monitoring and maintenance.
Types of Dry Wells
If the idea of a dry well for drainage seems appealing to help manage rainwater in your yard and around your home, you’ll need to decide on the right type of dry well for your property. “There are two main kinds of dry wells: the old-school gravel pit and the prefab chambers you buy at a supply house. Both are fine for small jobs,” says Garrison.
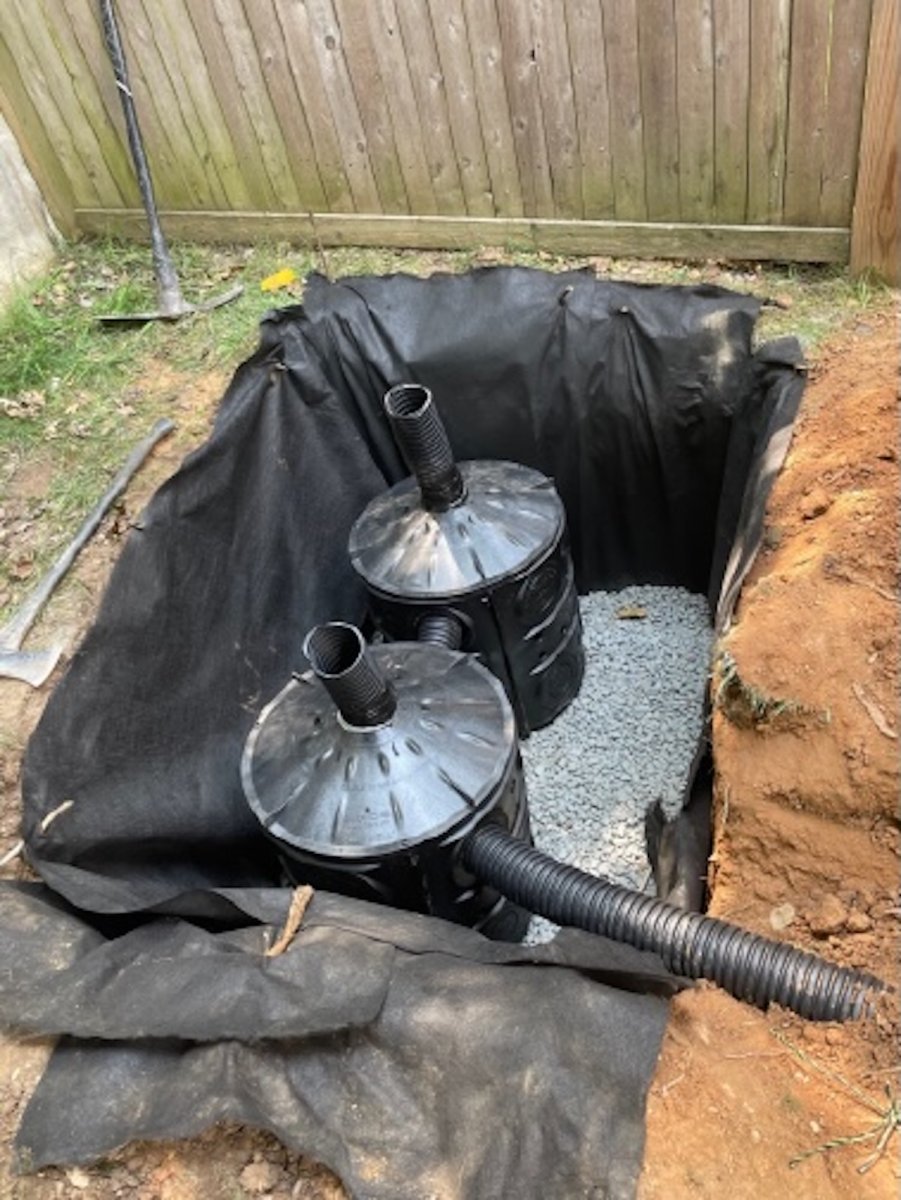
- Traditional Gravel-Filled Dry Wells: These dry well systems use excavated pits filled with crushed stone or gravel. While they are effective, installation is labor-intensive due to the size and construction of the pit, inlet pipes, observation ports, filtration materials, and backfill operation.
- Prefabricated Dry Well Systems: A modern approach to dry wells, these systems feature molded plastic chambers with high storage capacity and a modular design for custom sizing. Typically, prefab dry wells, like this NDS Dry Well System, are a better option for structural integrity and long-term reliability. Prefab is often the best choice for DIY installation.
How Dry Wells Differ From Traditional Drainage Systems
This simple breakdown of common traditional yard drainage systems explains the difference between dry wells and traditional drainage systems.
- Dry wells: Dry wells are point-source systems installed inside a single, deep excavated pit filled with graded stone or a chamber. They capture water from a single spot, such as a gutter system, hold it temporarily, and recharge the local groundwater table.
- French drains: These drainage systems are sloped, gravel-filled trenches containing a perforated underground pipe that collects and redirects subsurface groundwater away from wet areas or foundations. While french drains move water horizontally away from a problem area, a dry well collects water in a vertical underground reservoir, allowing it to soak into the subsoil. Additionally, French drain costs tend to be higher than dry well installation costs.
- Catch basins (drain boxes): A catch basin is essentially made of box inlets that are set flush with the ground in low spots or under downspouts, topped with a grate to trap surface water and channel it into solid underground pipes.
- Surfaces swales: Used to protect the home from runoff, surface swales are broad, shallow, grass-lined or rock-lined ditches graded into the landscape to gently guide surface runoff away from structures toward a street or drainage easement.
- Dry creek beds: As the name implies, these drainage systems are decorative aesthetic features made of varying-sized river rocks over a lined trench that mimics a natural stream to capture and move surface water runoff.
- Channel drains: Designed for areas with a lot of hard surfaces, channel drains are long, narrow grates installed flush into hardscape surfaces like patios, walkways, or driveways to catch and divert water flow before it reaches the lawn.
Is a dry well right for your property?
A dry well isn’t the right choice for every property, so before investing time and money into installing a dry well, it’s important to fully understand the advantages, disadvantages, legal constraints, and how your property conditions affect the suitability of a dry well for your home.
Advantages
- Prevents structural damage: By redirecting water away from your home, it keeps foundations dry and prevents basement flooding, structural cracks, and mold.
- Eliminates yard pooling: It stops water from accumulating in low-lying areas, which prevents waterlogged grass, soil erosion, and the creation of mosquito-breeding grounds.
- Recharges groundwater: Instead of overloading local storm sewers, a dry well naturally replenishes local underground aquifers.
- Reduces pollution runoff: It filters urban stormwater through stone and soil, catching pollutants, oils, and sediment before they can reach and contaminate nearby rivers and streams.
- Affordable: The materials needed (like gravel, landscape fabric, and PVC pipes) are inexpensive and readily available.
- Simple construction: Installing a gravity-flow dry well typically takes only a few days and does not require complex piping networks to remote discharge points.
Disadvantages
- Clogging and silt buildup: Dirt, oil, and leaves wash into the system, sealing the surrounding soil and making it hard to clean or fix once clogged.
- Soil and percolation limits: They fail in dense clay or slow-draining soils, turning the area into a bog instead of draining water. A percolation test should be done before installing a dry well because high clay content or a high water table makes dry wells unsuitable.
- Water table restrictions: They do not work well if the local water table is high or if the ground is frozen and saturated with water.
- Capacity overload: A single pit can easily overflow if it is too small for a large roof or heavy rainstorm, causing water to back up near your home.
- Groundwater contamination risk: Untreated runoff or issues with systems can carry pollutants, oils, or chemicals directly into the local groundwater table.
- Difficult to repair: When an underground dry well completely fails or seals up from sediment, fixing it often requires a complete and costly excavation or reconstruction.
Legal Considerations
- Underground injection control (UIC): Under the federal Safe Drinking Water Act, dry wells are classified as Class V injection wells. While simple residential roof-runoff dry wells often fall under rule authorization without individual permits, commercial, industrial, or multifamily systems frequently require state or federal environmental agency registration and approval.
- Local building permits: Most municipalities require permits and plan reviews before installation. Failing to secure a permit can result in stop-work orders, fines, or mandated removal.
- Property lines and foundations: Local building codes enforce strict setback requirements to prevent foundation erosion or basement flooding. Dry wells typically must be placed 5 to 25 feet away from building foundations and 5 to 10 feet from neighboring property lines.
- Water supplies and septic systems: To avoid contaminating drinking water or overloading sanitation systems, codes mandate minimum horizontal separation distances, often 100 feet, between a dry well and private water wells or septic drain fields.
- Water table separation: Regulations require a designated vertical buffer (commonly 3 to 5 feet) between the bottom of the dry well and the seasonal high groundwater table or impermeable bedrock layers to ensure proper filtration.
- Prohibited discharges: Directing toxic substances, automotive fluids, or wastewater into a dry well violates the Clean Water Act and local environmental laws. Only clean stormwater runoff (such as unpolluted roof drainage) is generally permitted.
- Nuisance and runoff liability: Under common law, property owners can be held legally liable if improper grading or an overflowing dry well channels excess water onto a neighbor’s land, causing property damage or a legal “nuisance.”
Property Conditions
- Soil type: Sandy or gravelly soils with high infiltration rates work best. Dense clay or compacted soils have poor percolation and can cause subsoil saturation or hydrostatic pressure. They require larger reservoirs or alternative drainage.
- Sediment protection: Systems use geotextile filter fabric or silt traps to block fine debris and prevent clogging.
- Impervious Layers: The system needs a safe vertical buffer (at least 5 feet) above bedrock, hardpan, or other underground barriers.
- Depth range: Residential dry wells typically range from 2 to 12 feet deep, depending on local runoff volume and soil performance, so you must ensure you have enough vertical space for a dry well before installation.
- Foundation safety: The top and base of the dry well must sit lower than nearby basement and building foundations.
- Surface landscaping: Avoid planting large shrubs or heavy trees directly over the dry well to preserve maintenance access.
How to Install a Dry Well
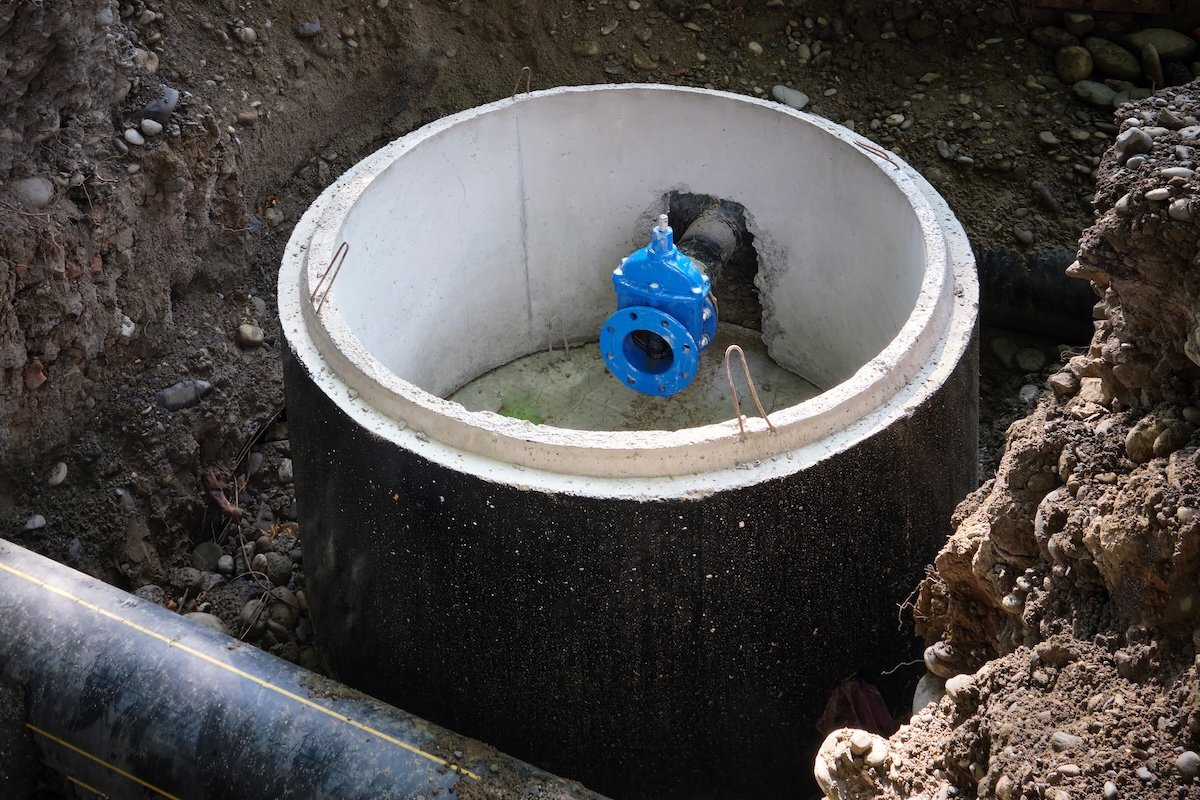
If you intend to install a dry well for your home, then it’s necessary to consider the steps involved in the process, especially since this isn’t a job that the average DIYer can handle. Depending on the location of your home, it may even be a project that must be completed by a licensed plumber or contractor for you to get a building permit for the project. In some regions, it may be legally possible for a DIYer to put in small prefab dry wells for each downspout, but it’s generally recommended to let a pro handle the job.
Step 1: Plan and call before you dig.
Before you can begin, identify where water pools or map your roof downspout path. An installer will make a plan for a trench with a continuous downward slope of 1 to 2 percent (about a 1/4-inch drop per foot) toward the dry well location. They may need to get a permit and call the local utility to mark underground lines before any digging can start.
Step 2: Excavate the trench and pit.
Once they are allowed to start working, they will dig a trench from your water source (like a downspout or sump pump line) to the dry well site. Then they dig a wider, deeper hole at the end of the trench for your dry well pit. The size depends on your local water volume, often around 3 to 4 feet deep and wide.
Step 3: Line the hole with fabric.
The excavated pit and trench is lined with a non-woven geotextile or landscape fabric. Installers will overlap the fabric seams generously to stop surrounding soil and mud from clogging the gravel.
Step 4: Add the base layer of gravel.
Next, the installation crew will place a 3- to 6-inch layer of clean, washed 3/4-inch to 1½-inch gravel at the bottom of the pit and trench. Then they tamp the base gravel down slightly to create a stable foundation.
Step 5: Install the pipe and dry well basin.
After putting in the gravel, the installers lay a perforated PVC or corrugated drain pipe inside the trench, ensuring it maintains a steady downward slope toward the pit. Once this is done, they can place your prefab dry well barrel (such as a Flo-Well) or a heavy-duty perforated plastic drum into the center of the pit and connect the inlet pipe securely to the dry well’s side port.
Step 6: Surround with gravel and cover.
Creating a space around the dry well helps to prevent clogs. With this in mind, the pros will fill the remaining space around the dry well basin and over the trench pipe with clean gravel up to several inches below the grade, then fold the excess landscape fabric tightly over the top of the gravel to seal the system from dirt.
Step 7: Backfill and restore.
When the installation is complete, they just need to backfill the top of the pit and trench with top soil, then tamp the soil down to prevent major sinking. Finally, you can reseed the lawn and restore the landscaping in your yard.
Maintaining a Dry Well
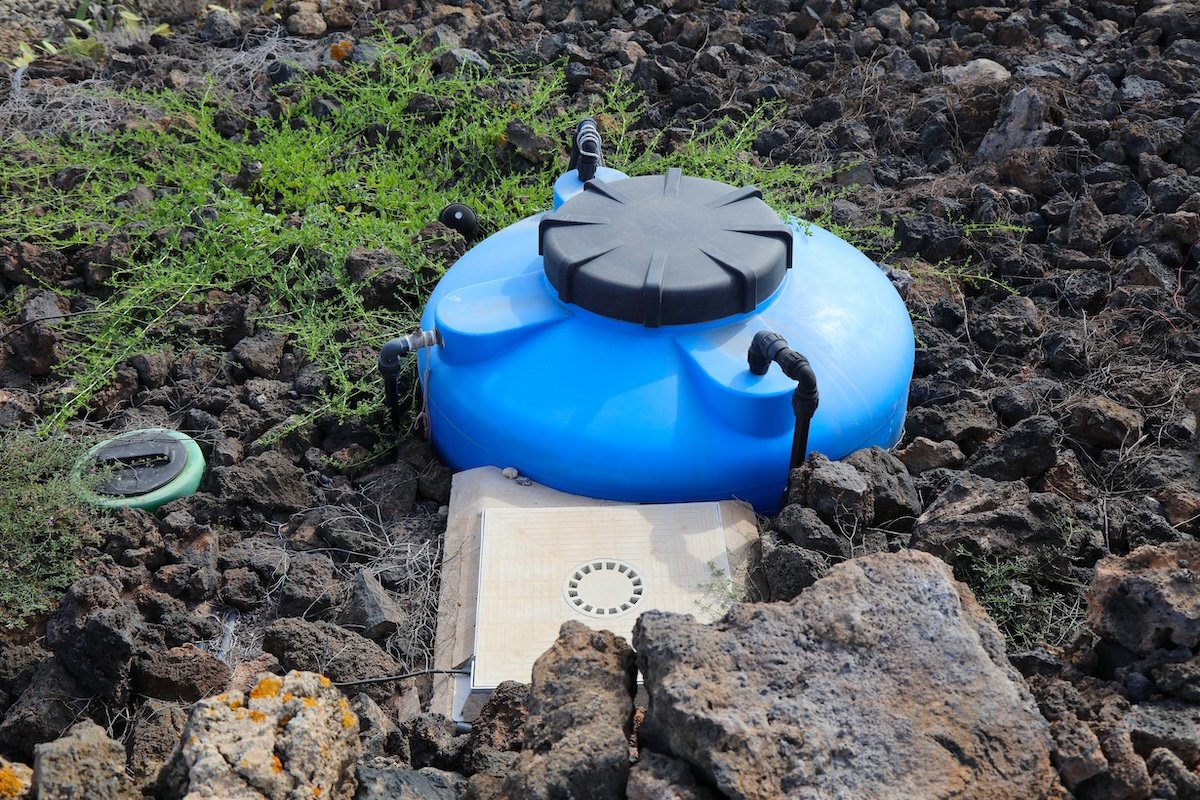
Once you have a dry well installed, you will need to maintain it. “Maintenance is simple: keep junk out of it. Put screens on the downspouts and filter fabric over the pit to protect it from clogs. Once a year after storm season, check the spot a day or two after hard rain. If there is standing water, then something is starting to clog. Never park a truck over it either, squashed soil won’t take water. And if you see the ground sinking or a wet ring around it, get it pumped out early instead of digging a new one later,” explains Garrison.
- Inspect Pipes and Gutter Downspouts: Check inflow lines and roof gutters after heavy storms to ensure water flows freely into the well.
- Monitor Drainage Time: Verify that water drains out of the observation well within 48 hours after a heavy rain. Standing water means the system is clogged or failing.
- Secure and Protect the Cap: Keep the observation well cap tightly fastened so leaves and dirt stay out. Make sure children do not remove the cap. Also, do not run over the observation well cap with a lawn mower or car, as this can break the cover and let debris fall inside.
- Clear Debris: Remove leaves and twigs from your roof gutters and downspout filters regularly, especially during autumn. Pull weeds and remove plants growing directly over or inside the inflow areas.
- No Heavy Loads: Never park cars or build structures like sheds and decks on top of a dry well. Weight can crush or damage the underground structure.
- No Altering Flow: Do not change your downspout layout to redirect water away from an approved dry well system.
- Mark the Location: Tell landscapers or contractors where the dry well is buried before they dig or work on your property.
FAQ
Q. What happens when a dry well is full?
If a dry well is full, then you may notice standing water around the dry well or rainwater immediately flowing into the overflow downspout as soon as it starts raining. This indicates that the gravel or underground piping may need to be cleaned or replaced to remove blockages.
Q. How long does a dry well typically last?
With proper maintenance and installation, you can expect a dry well to last up to 30 years. Just be sure to conduct occasional maintenance so that the dry well continues working as intended.
Q. Is a dry well the same as a septic system?
When some people hear the term dry well, they immediately think of their septic system. However, a dry well is not the same as a septic system, though the confusion between the two is common. This is because a component of a septic system used to collect and filter liquid wastewater can be referred to a dry well. However, a rainwater collection and distribution dry well is completely separate from a septic system dry well.
Q. Do dry wells contaminate ground water?
Dry wells can contaminate ground water if they are placed too close to the water table or receive polluted runoff. However, if your dry well adheres to the local environmental rules regarding proper water table separation and prohibiting discharge, then it should not contaminate the ground water.