

We may earn revenue from the products available on this page and participate in affiliate programs. Learn More ›
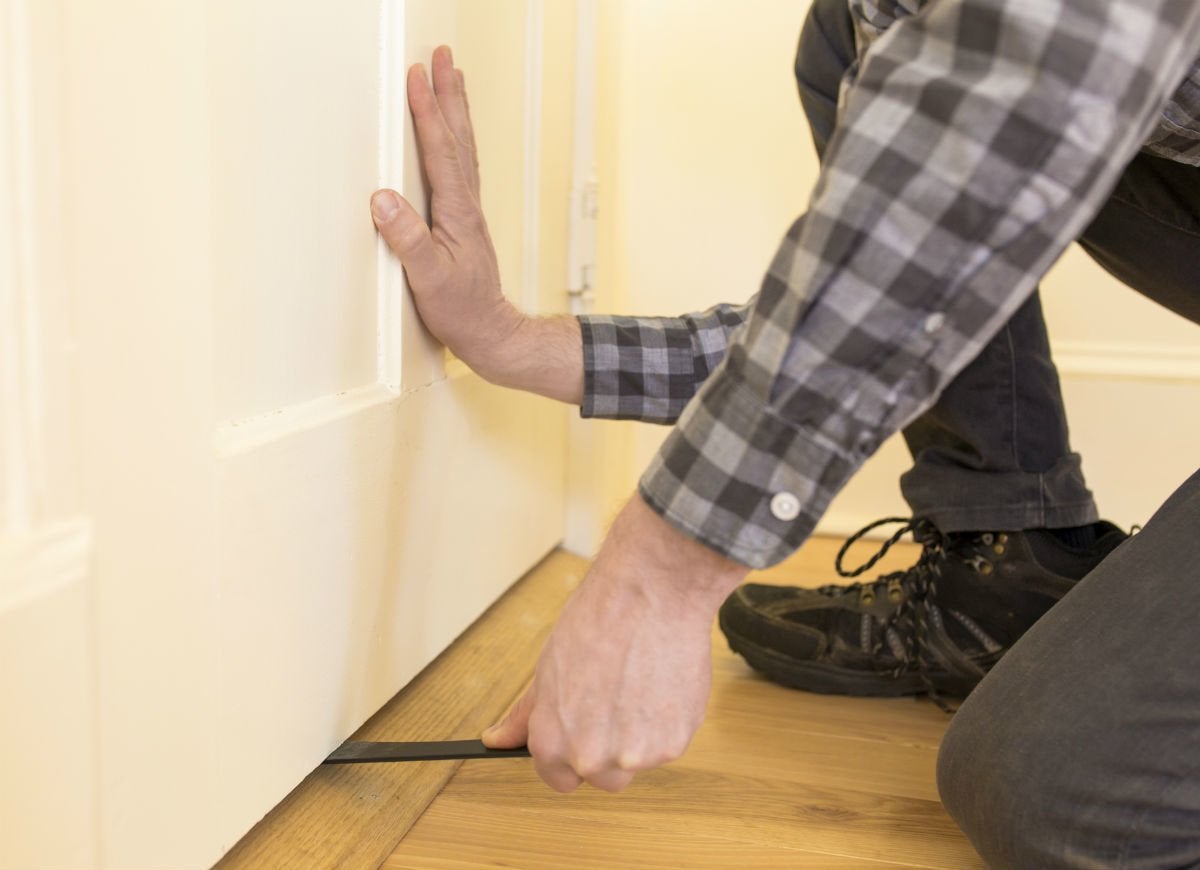
You're Removing Molding
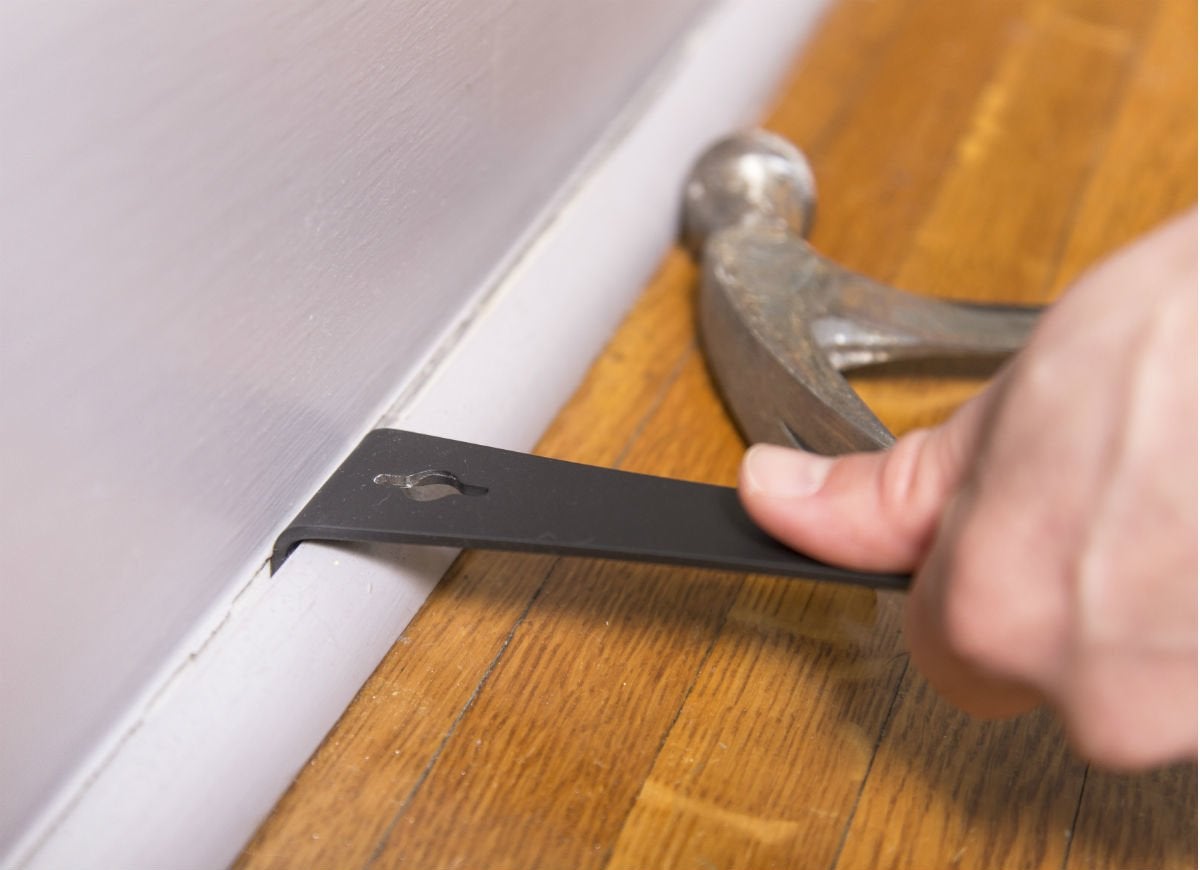
If you plan to replace old flooring anywhere in the house, it’s best to remove the base molding. Doing this will prevent you from damaging the molding during the project, and you’ll end up with more professional-looking results.
This extra step is simple with the HYDE 9-1/2″ Bent Pry Bar. First, cut through any caulk at the seam between molding and wall using a sharp utility knife; you won’t want to risk pulling drywall paper off the wall when you lift the molding. Then, insert the pry bar’s flat end between the molding and the wall. A few light taps with a mallet should be all it takes to wedge the bar into the crevice. Finally, gently pull the molding toward you and away from the wall.
Your Painted Windows are Stuck
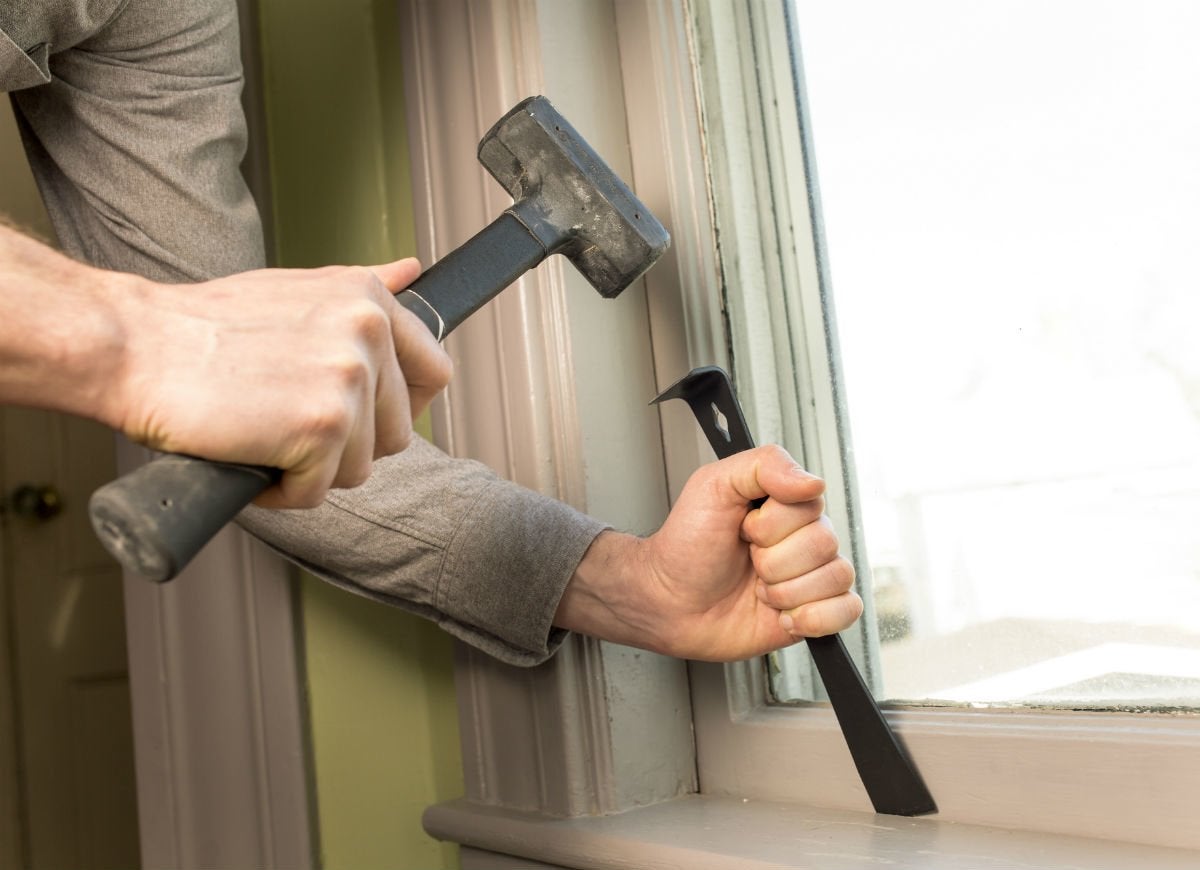
While a few coats of paint can breathe new life into an old window, that same paint can also cause the sash (the movable panel that holds the glass) to stick to the jamb. To open an impossibly stubborn window, insert the flat end of the HYDE 9-1/2″ Bent Pry Bar between the sash and the jamb, and tap the flat end gently with a mallet. Start at the top of the sash and work your way down on both sides of the window. This should do the trick, loosening the stuck window enough for you to get it open again without damaging your paint job.
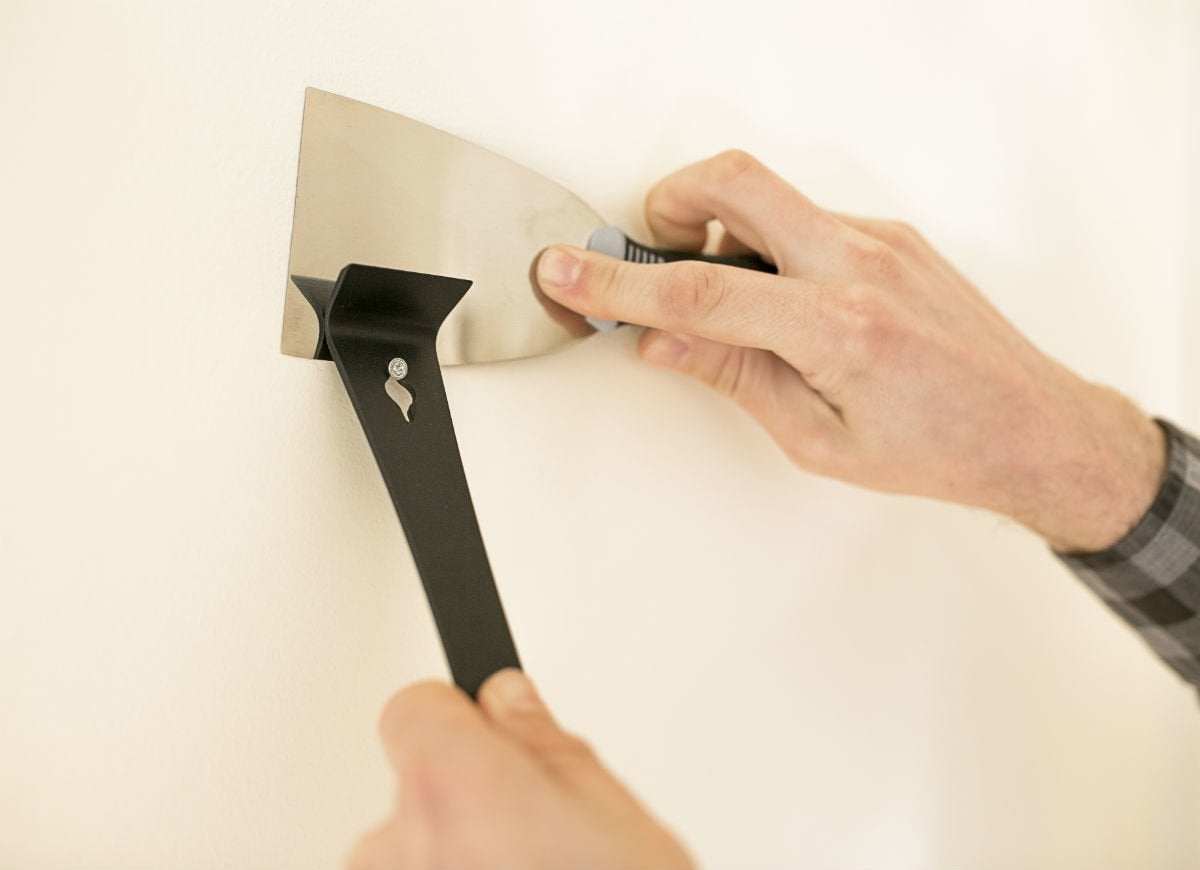
Your Paint is Peeling
Scraping off old paint is nobody’s idea of fun, but ignoring this tedious bit of prep work could cause your new coat of paint to peel right off. If you’re trying to clean up just a small section of flaky paint, there’s no need to run out to pick up an extra scraper when you already have the HYDE 9-1/2″ Bent Pry Bar in your tool belt! The flat end of the bar, which has been ground to a fine edge, makes quick work of removing all those loose flakes. Hold the bar at about a 30-degree angle from the surface, and be sure to scrape in the direction of the wood grain to keep from gouging out chunks of wood.
You're Removing Tile Flooring
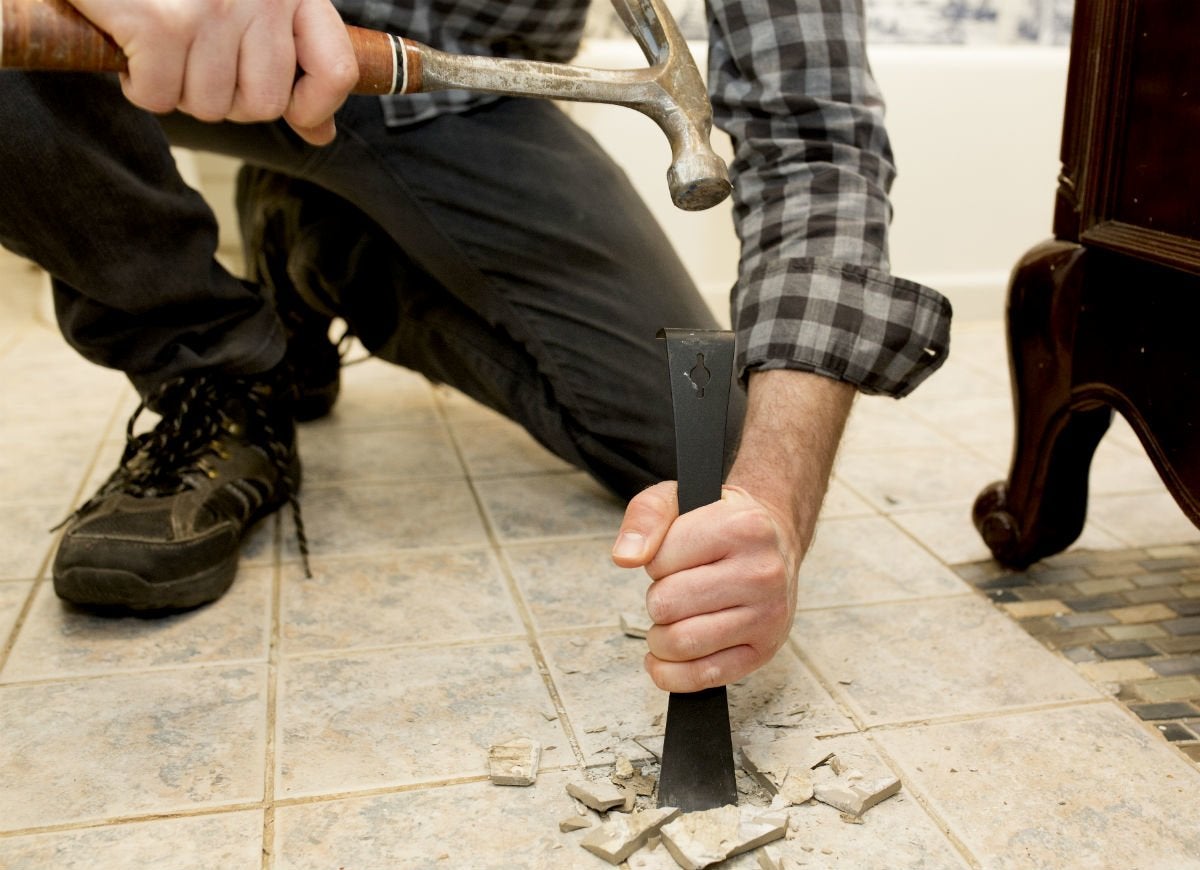
The short length of the HYDE 9-1/2″ Bent Pry Bar is perfect for removing individual vinyl or ceramic floor tiles during small repairs. If you’re lifting out a vinyl tile, angle and insert the flat end of the bar into the seam between it and its neighboring tile. Tap the end of the bar with a mallet to wedge the bar deeper beneath the tile to be replaced, then pry up on the bar to lift the tile away from the underlayment.
Ceramic tiles aren’t any more difficult to remove, but you’ll need to chip or grind through the grout in a small area first in order to wedge the flat end of the bar beneath the tile. As you tap the bar, the tile will pop up, giving you access to the bottom of the next tile. Just keep tapping the bar, and you’ll have those tiles off in no time!
You're Taking Down—or Switching Up—a Gallery Wall
Rearranging pictures on your gallery wall? Remove wall fasteners quickly with the keyhole-shaped nail puller built into your HYDE 9-1/2″ Bent Pry Bar. Fit the large hole over the head of any nail, then slide the bar down so that the nail’s shank slips into the narrow notch beside the hole. Next, lift the flat end of the bar away from the wall to ease the nail out. If the nail is really stuck, slip a thin piece of plywood between the bar and the wall to protect the drywall from dents, then use a little extra force up and down to wiggle it free.
You're Removing Carpet

The sharp little barbs on carpeting tack strips are notorious for scratching up hands during carpet installation and removal. Spare your hands by prying them up quickly and painlessly. Simply insert the flat end of the HYDE 9-1/2″ Bent Pry Bar beneath the bottom edge of the strip and tap lightly with a mallet to drive it underneath. Then, pry upward on the other end of the bar to loosen and remove the strip. When the strip is off, use the nail-pulling hole on the bar to remove nails that remain in the subfloor.
You're Reupholstering Furniture
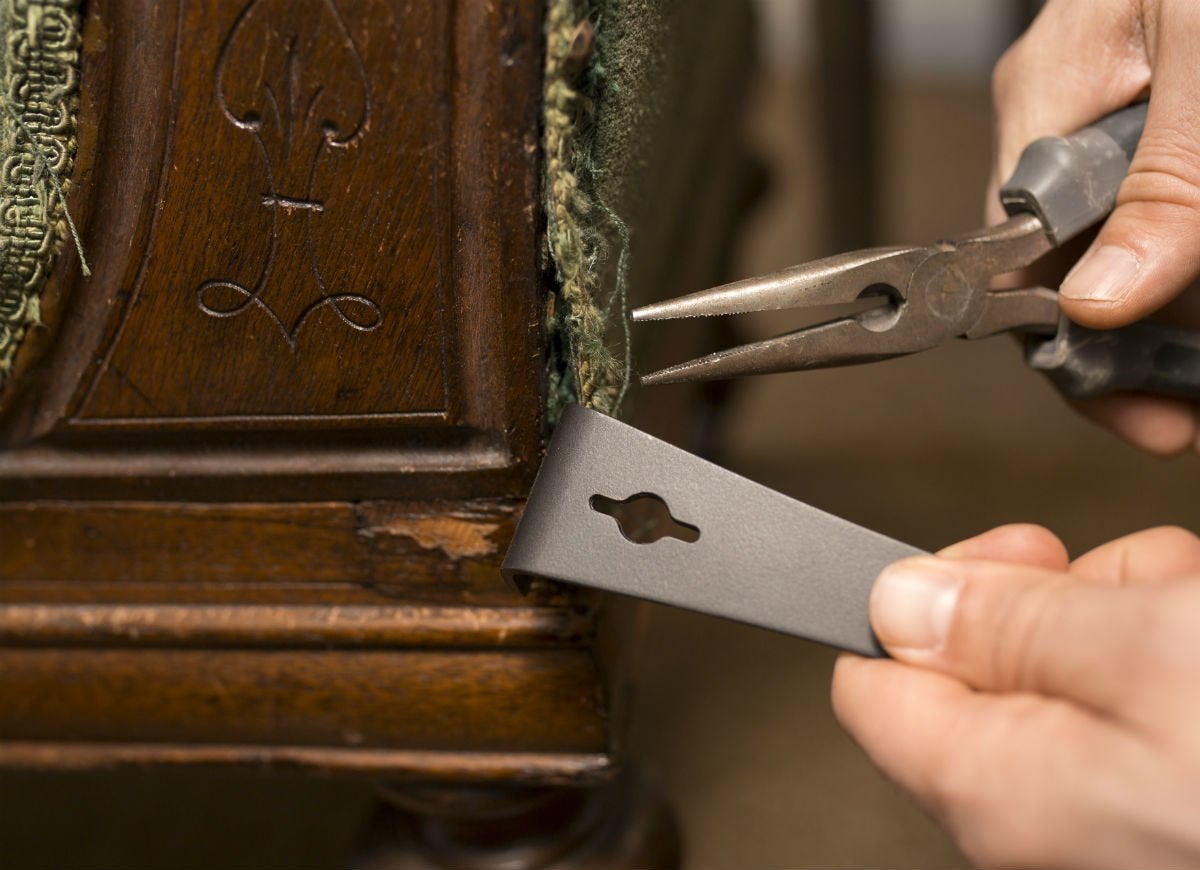
Many budget-friendly furniture makeovers entail swapping out faded or stained fabric for something clean and new. While fresh upholstery provides the look of new furniture for nothing more than the cost of the fabric, these projects—as DIYers well know—are a trade-off between money and energy. For starters, it can be time-consuming to remove every staple that holds the old fabric in place. Make quick work of getting the staples out with the HYDE 9-1/2″ Bent Pry Bar: Position a tip of the flat end of the bar beneath the center of a staple, tap the other end with a mallet to drive the bar beneath the staple, and then pry. When the staple is raised about 1/8 inch, grab it with a pair of pliers and pull it out, then move on to the next staple. You’ll be done in no time!
You're Hanging a Heavy Door
Hanging a door by yourself can be a chore, especially if it’s solid. It’s particularly tough to lift a door to the correct height while aligning the hinges on the door with the hinges on the jamb. The HYDE 9-1/2″ Bent Pry Bar and a small block of wood can help with the heavy lifting, though.
Start by standing the door on the floor and slipping the flat end of the pry bar under the door. Holding the door steady, lift the end of the bar closest to you while you push the block of wood under the bar with your foot. Now, with the bar extending on either side of the block, you’ll have something that mimics a teeter-totter. Step on one end of the bar, and the other will raise the door up to the correct height. Meanwhile, you can align the hinges with your now-free hands; set the top hinge pin first, the middle one next, and the bottom one last.
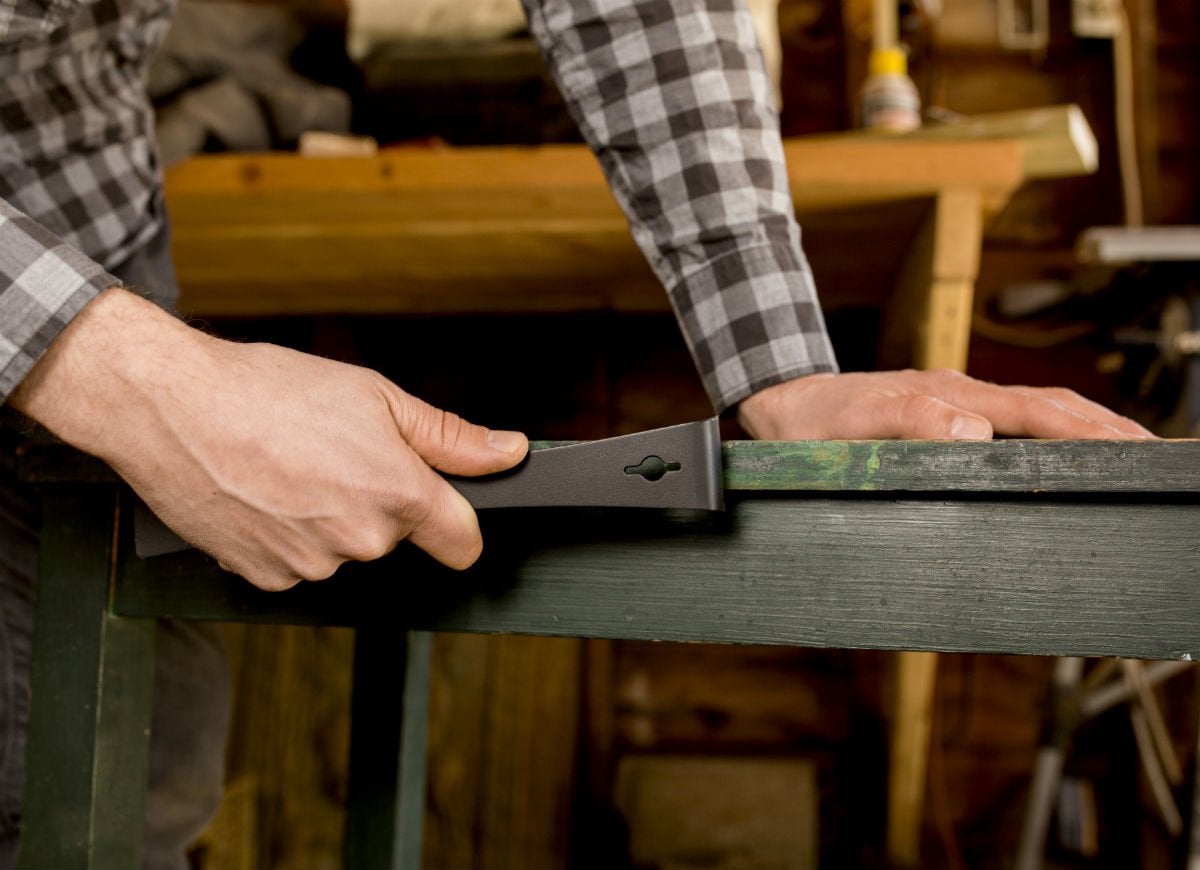
You Want a Clean Paint Job
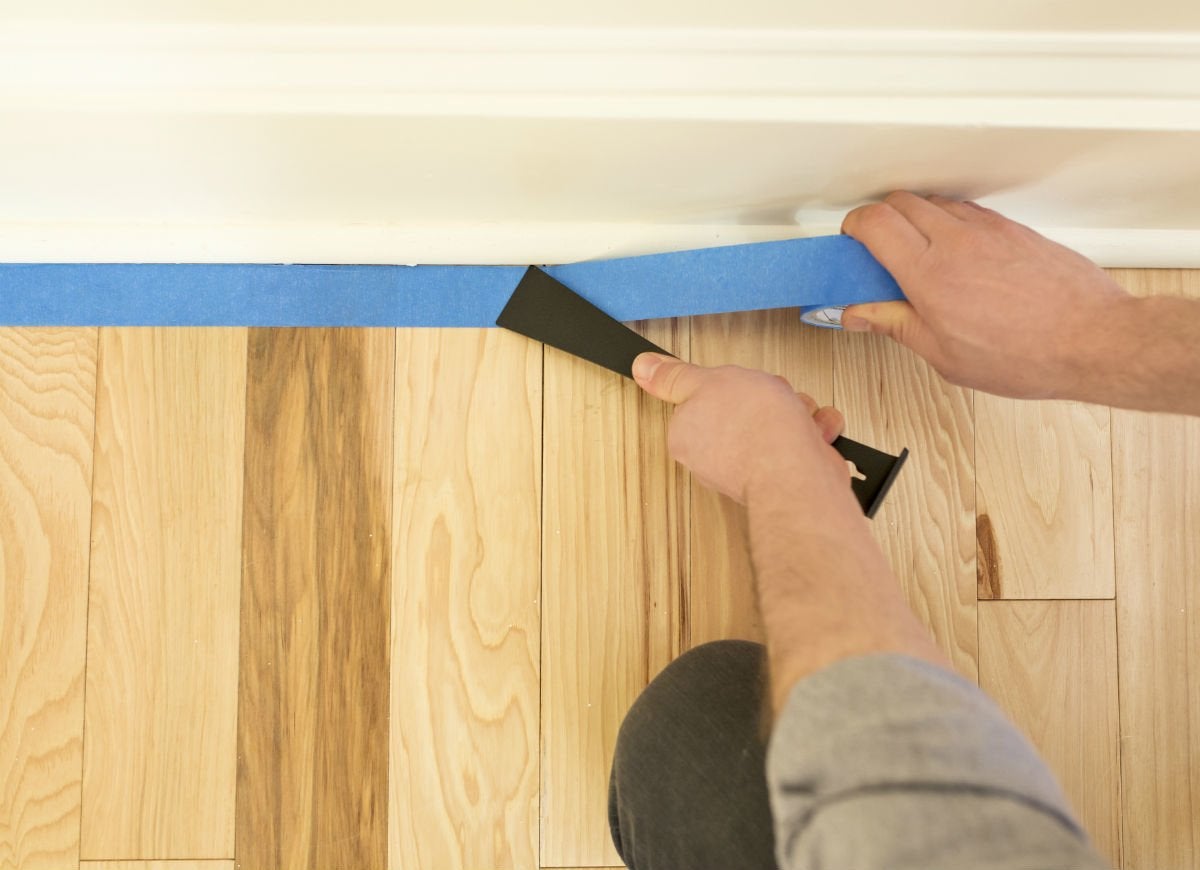
Unless you have a super-steady painting hand, you probably tape off built-in cabinetry and trim work before painting the walls next to them. But as easy as painter’s tape is to apply and remove, it’s not foolproof at masking. If the edge of the tape isn’t stuck down securely, paint can work its way under it and mess up your clean lines.
The trick pro painters use to prevent this problem is called “knifing in” because it’s often done with a putty knife, but you can do the same thing with the HYDE 9-1/2″ Bent Pry Bar: Simply press one side of the flat end of the bar along the edge of the painter’s tape, and gently pull the bar along the length of the tape. The pressure will ensure that the edge of the tape is securely in place, and you’ll have a clean paint line when you remove the tape.
You're Using a Pallet in Your Next DIY Project
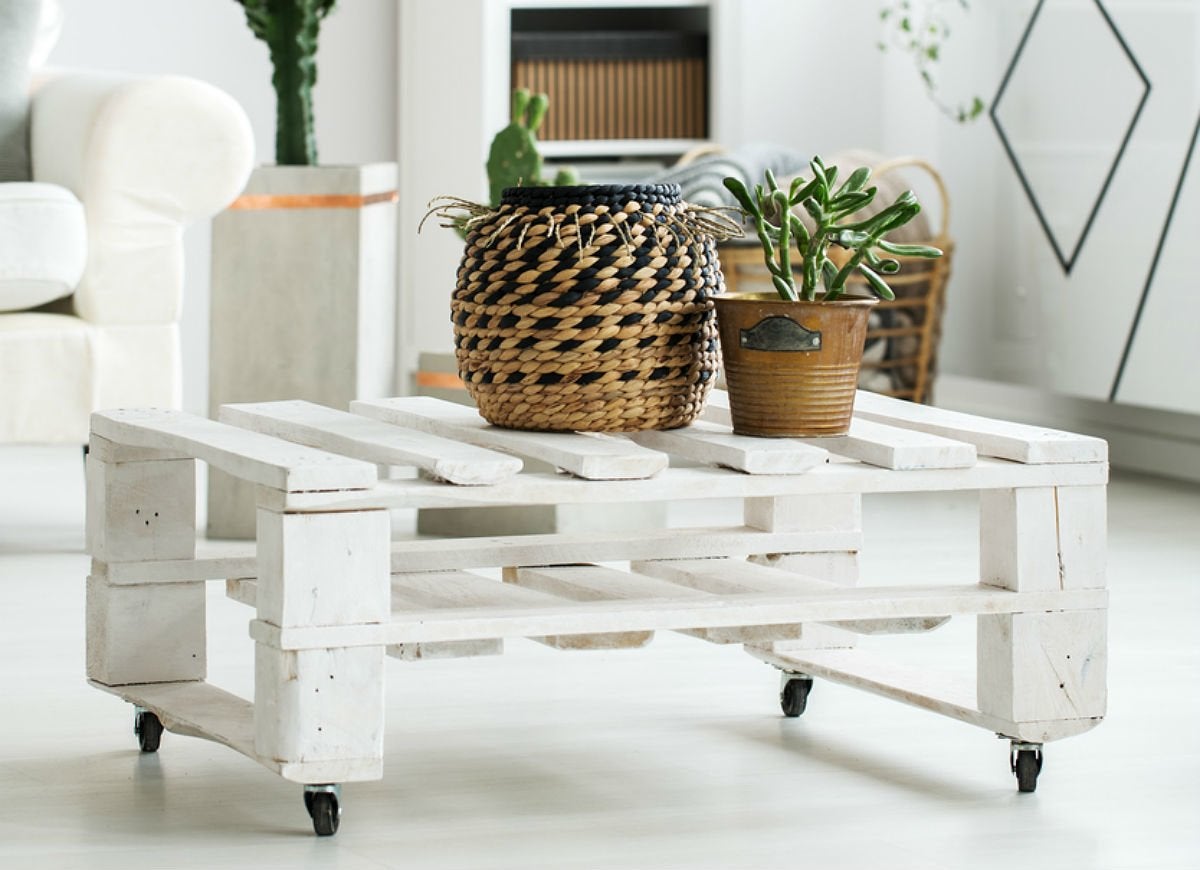
A wooden pallet can be used to create an endless number of Pinterest-worthy projects, from farmhouse tables to rustic clockfaces. But in order to use the wood, you have to first disassemble the pallet.
The HYDE 9-1/2″ Bent Pry Bar provides the leverage to make the tear-down process easy. With the pallet flat on the ground, insert the flat end of the pry bar between the end of any wood slat on top and the board beneath it. Tap the bar deeper with a mallet, then push down on the bar to lift the slat and the nail holding it in place. Repeat this process with other slats until the pallet is fairly well pulled apart.
Don’t forget to remove the nails before you start your DIY: They should remain slightly raised from disassembly, so you should be able to slip the pry bar’s nail-pulling hole over the head of each nail and pry them out one by one.