
We may earn revenue from the products available on this page and participate in affiliate programs. Learn More ›
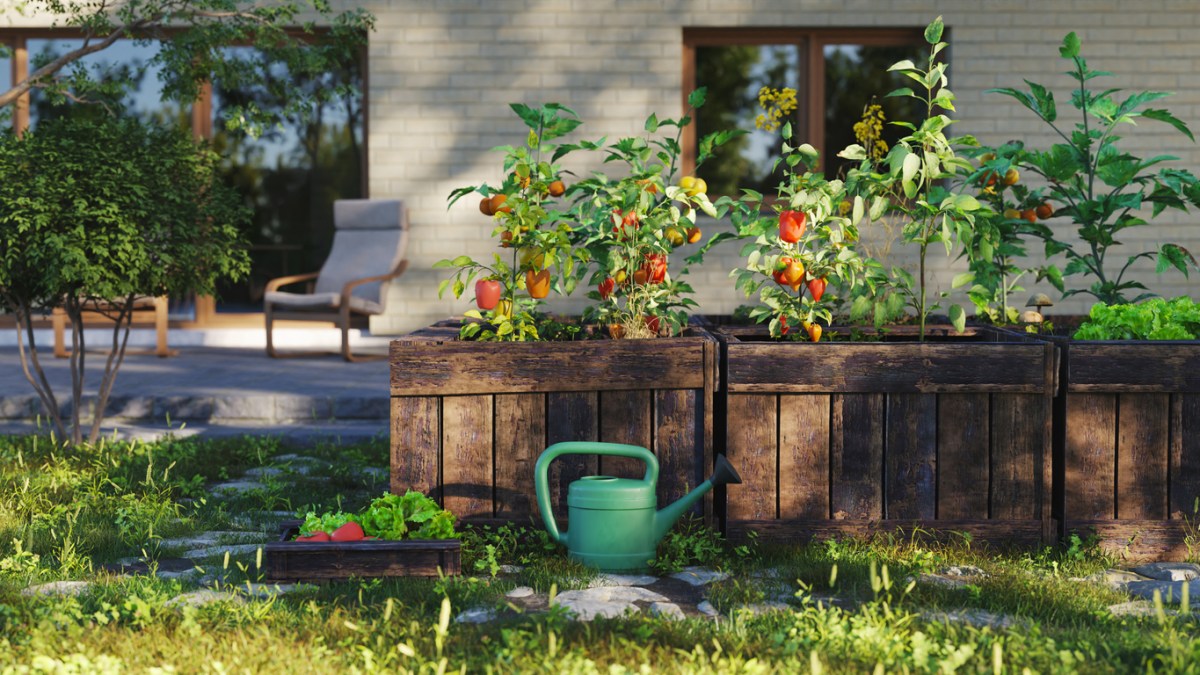
Nothing’s tastier than tomatoes picked fresh off the vine, but maintaining a vegetable garden can be hard work, and not everyone has room for one in the yard. Raised garden beds offer the perfect solution: When these gardens are filled with lightweight, nutrient-rich soil, they can easily produce twice the yield in half the space. Because they’re in a contained space raised higher than ground level, they’re also easier to maintain—no hoeing or stooping to pull weeds.
The tips ahead will help you plan, plant, and maintain a raised garden bed for bumper-crop results. You may never go back to traditional gardening.
RELATED: Everything You Need to Start a Raised Bed Garden
1. Select an appropriate location.
A raised garden bed can be located virtually anywhere in your yard—even alongside a driveway—as long as you follow some basic rules. Vegetable plants need lots of light, so choose a spot that gets direct sun for most of the day. Also select an area that’s somewhat sheltered from the wind, either by nearby trees, a tall fence, or a building, as high winds can wreak havoc on tender plants. And while you’ll need a location with easy access to water, avoid putting your raised bed where rainwater collects and stands—veggies don’t like soggy conditions.
2. Decide on dimensions that suit your needs.
The height of a raised garden bed is important for two reasons. First, it raises the level of the soil to a height where it’s easier to tend the plants. Second, a raised bed, which is essentially an extra-large planter, is filled with lightweight “fluffy” soil that’s superior to typical garden soil, so plants grow faster and are healthier.
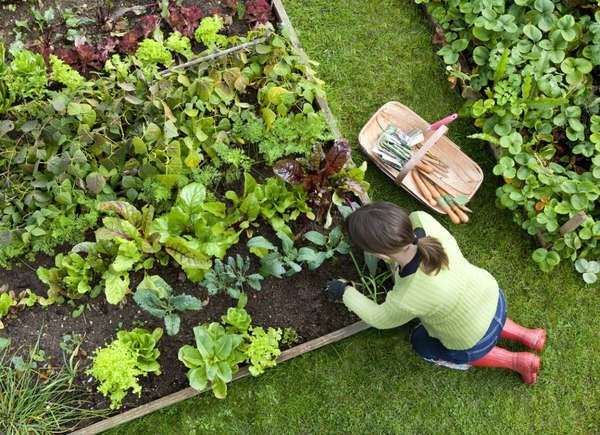
While there are no hard and fast rules for how high a raised garden bed should be, most are between 12 and 20 inches off the ground. Gardeners with mobility issues, such as those in wheelchairs, can opt for even higher sides to make it easier to reach the plants. To comfortably tend to all areas of the raised bed, it should be no more than three feet wide. That way, you’ll only have to reach 1.5 feet—about an average arm’s length—from either side to reach the plants in the center.
The length of the bed is up to you, but many gardeners find four- to five-foot lengths manageable. If you grow a lot of produce, you can install multiple raised beds, but space them at least 24 inches apart to allow for adequate walking room between.
RELATED: Buyer’s Guide: The Best Raised Garden Beds We Tested This Year
3. Choose the right material.
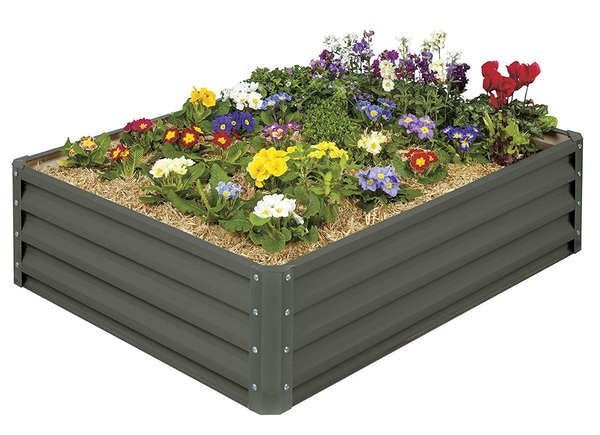
Raised garden beds should be constructed from water- and rot-resistant materials. You can purchase raised garden bed kits from a home improvement center or order them online. You can also build beds from scratch out of concrete blocks, landscaping blocks, retaining wall blocks, landscaping timbers, and rot-resistant exterior woods, including cedar, redwood, and black locust.
RELATED: 14 Raised Bed Garden Plans for Building the Perfect Plot
4. Double dig if sides are low.

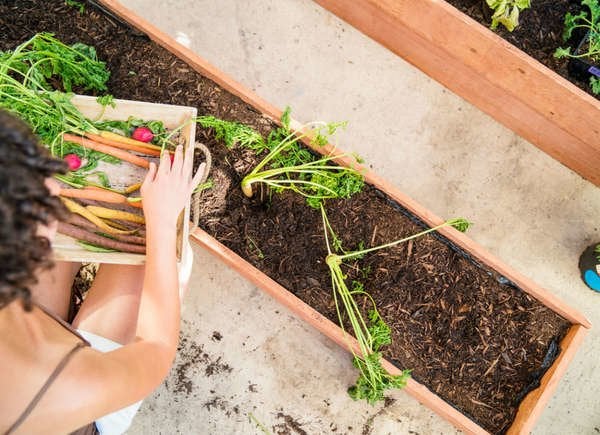
Some garden crops, such as lettuce and chives, have shallow root systems no deeper than 6 inches, but other veggies, such as green beans and cucumbers, can send their roots more than 12 inches into the soil. If the sides of your raised bed are 12 inches or taller, you can construct the bed right on top of the ground and fill it with appropriate soil (discussed next). If the sides of the bed are shorter than 12 inches, give plants plenty of root space by digging out the existing ground soil to a depth of 8 inches (called “double digging”) before putting up the sides of the bed. This will ensure all plants have plenty of quality soil for healthy root growth.
RELATED: 12 Types of Shovels Every Homeowner Should Know
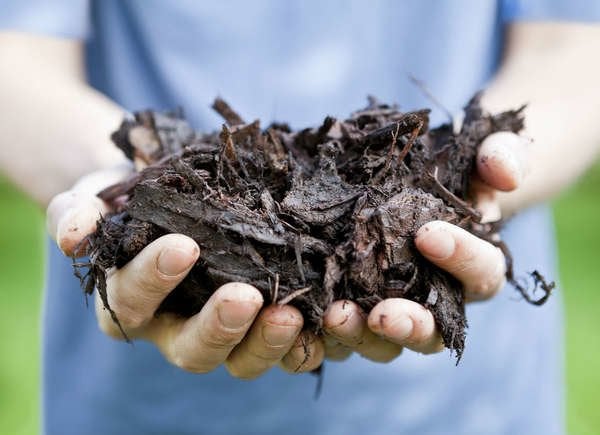
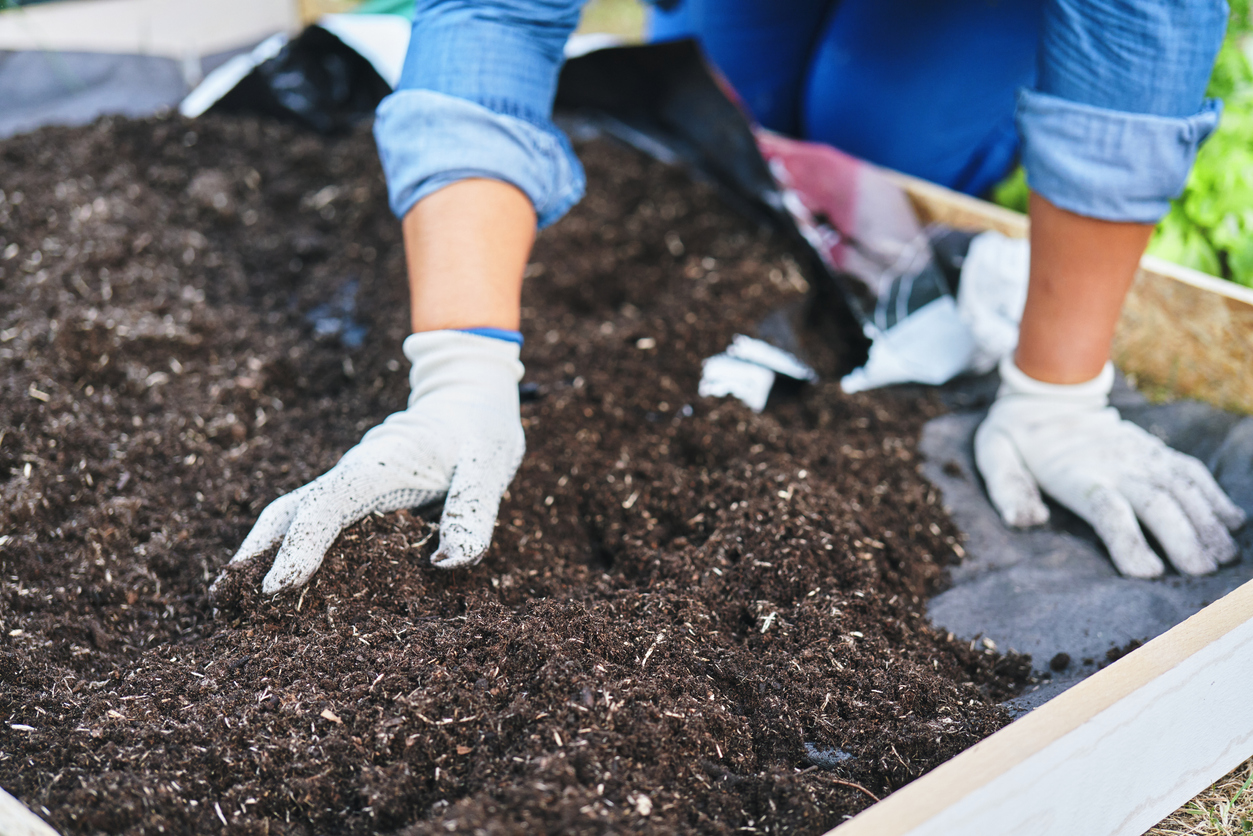
5. Use the right soil mixture.
If the soil in your area is naturally full of clay or sand, it will be a challenge to grow a successful garden on the ground. Raised beds, however, are filled with a superior soil mix: Ideally, a combination of two-parts topsoil to one-part compost, both of which can be purchased from home improvement stores or ordered from landscape companies by the yard and delivered. Alternatively, you can fill your raised bed entirely with commercial potting soil that’s labeled specifically for growing fruits and vegetables.
RELATED: Buyer’s Guide: The Best Soil for Raised Beds
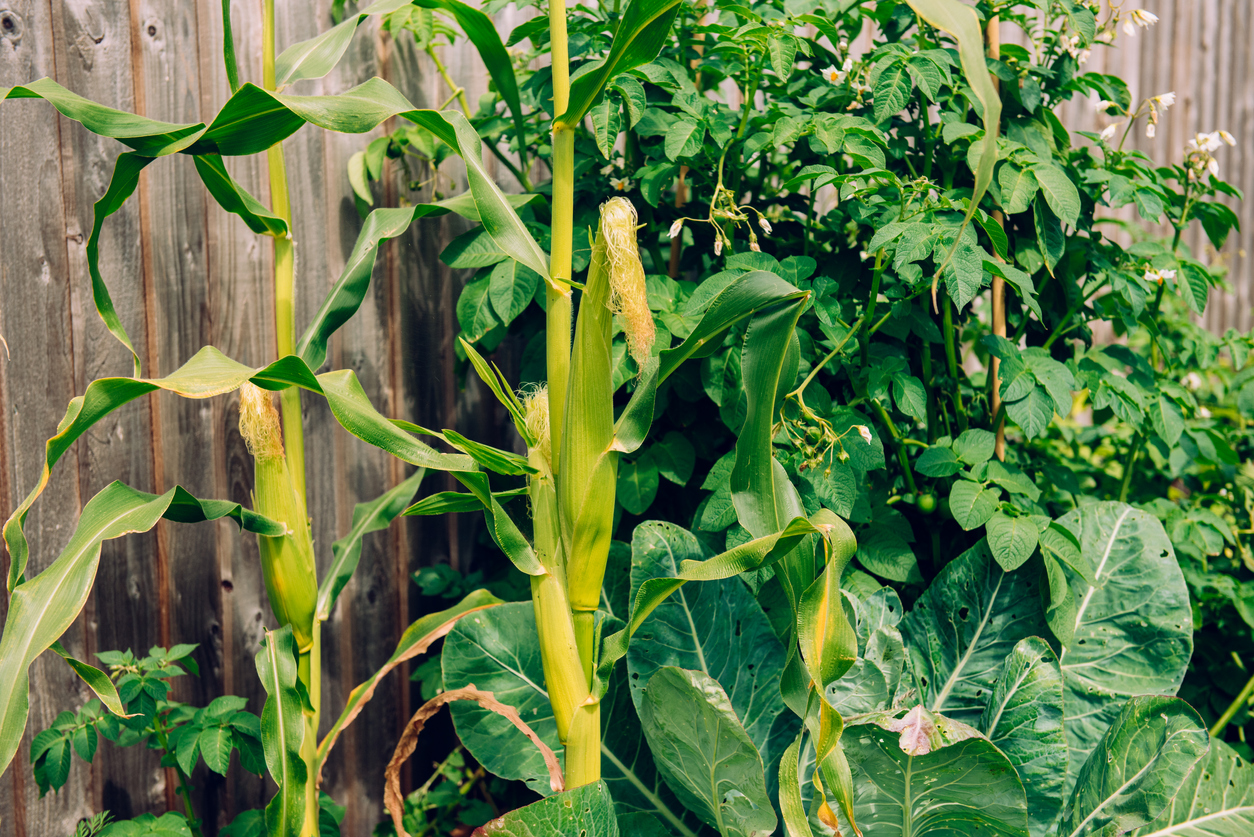
6. Arrange plants by height.
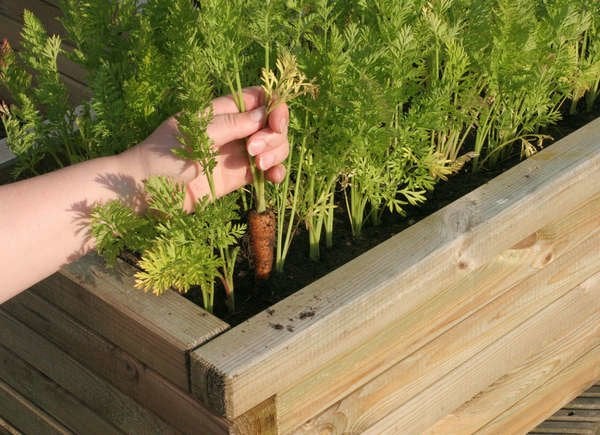
When it’s time to harvest, you won’t want to reach through a tall tomato plant to pull up some carrots hidden behind it. So design the layout of plants with the tallest ones, such as corn or okra, to grow along the center line of the raised bed. Plant medium-height plants, such as peppers, on either side. Finally, plant the shortest crops, such as radishes and carrots, along the edges of the bed. This way, you can easily reach any plant from either side of the raised bed.
RELATED: 10 Easy-to-Grow Vegetables for Beginning Gardeners
7. Mulch to retain moisture.
The rich, lightweight soil in a raised garden bed is optimal for root growth but likely to dry out without surface protection. Mulch—a layer of organic matter, such as hardwood chips, shredded dry leaves, or sawdust—should be spread over the soil to keep it cool and prevent evaporation while blocking weed seeds from sprouting. For best results, spread mulch in an even 2-inch layer and press down lightly.
RELATED: The Dos and Don’ts of Mulching the Garden
8. Water at the roots.
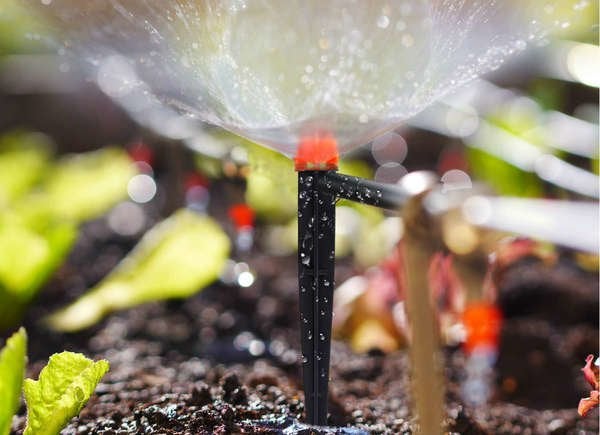
Water garden plants at their base, rather than using a sprinkler or a sprayer, which tend to wet leaves. Continuously damp leaves increase the risk of fungal diseases, such as Septoria leaf spot, which can devastate an entire tomato crop. Consider using a soaker hose, wound loosely around the base of the plants. Or install a drip irrigation system, such as the Bonivee drip irrigation kit, a top choice in our researched guide to the best drip irrigation systems.
RELATED: 12 Gardening Mistakes That Are Killing Your Plants
9. Control the pests.
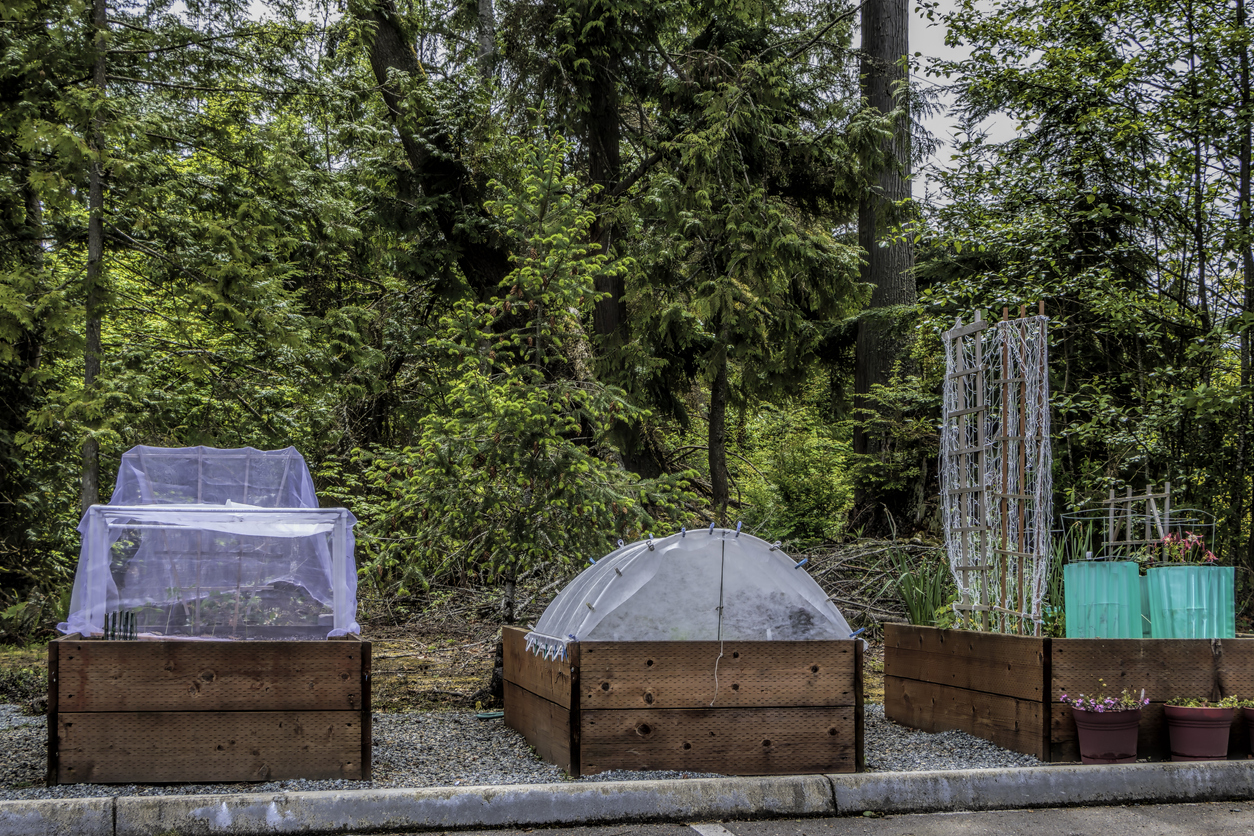
Garden beds often attract pests, like insects, rabbits, squirrels, and deer, all of which can hinder your greenery’s growth. But proper pest control depends on the type of pest that’s attracted to your garden. If you’re dealing with pesky rabbits or other small mammals, you can install a chicken wire fence around the garden that extends about 6 inches underground and at least a foot above the bed.
To control deer, you’ll need a larger fence, ideally 6 to 8 feet high, which can be made of wood, vinyl, or aluminum. You can also plant deer-resistant plants, like marigolds, lavender, and rosemary. Motion-activated sprinklers are another deterrent for larger mammals.
If squirrels enjoy your tomatoes as much as you do, you’ll have to put a “roof” on your pest-control structure. If you’ve built an 8-foot chicken wire fence to deter deer, for example, add a chicken-wire roof to deter squirrels, which find ingenious ways to scale fences.
If you want to repel bugs from your garden, you can plant petunias, which have small sticky hairs that catch common garden pests like beetles, aphids, and leafhoppers. Dill, marigolds, and several other plant types will also deter many insects.
RELATED: How to Get Rid of Rabbits
10. Practice succession planting.
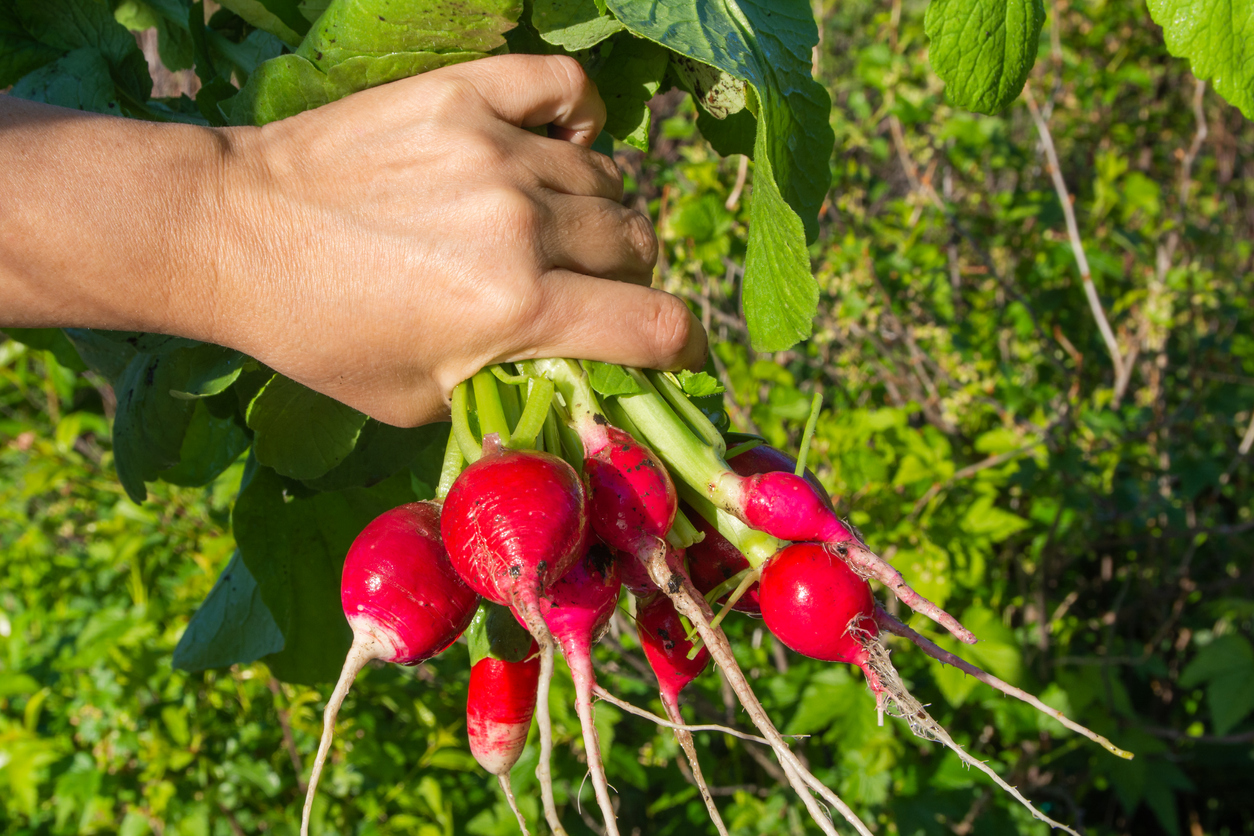
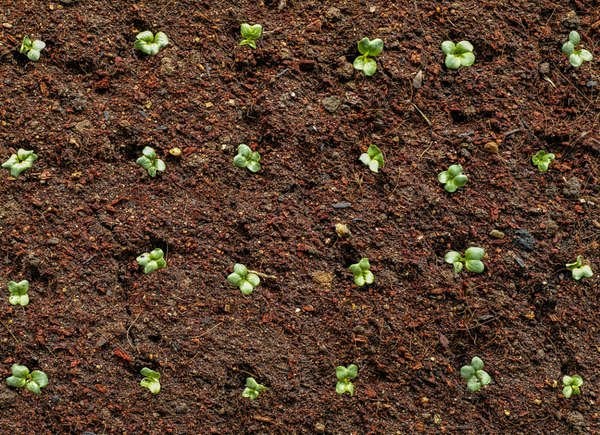
Succession planting involves staggering your plants to create a steady harvest and improve soil health. To do this, you’ll need to know the maturity timelines of each plant, then schedule their plantings appropriately. For instance, vegetables like radishes, leaf lettuce, and spinach mature early, so you might plant them first. Then after harvesting them, you can plant late-season crops, like beans or squash, in their spot.
Not only will succession planting yield you lots of different goodies throughout a long growing season, but since various crops require different nutrients and pest profiles, rotating them can keep your garden bed from overloading on any particular nutrient or pest.
RELATED: Closing Down Your Summer Garden: 5 Ways to Make the Most of This Transition Time
11. Add a trellis.
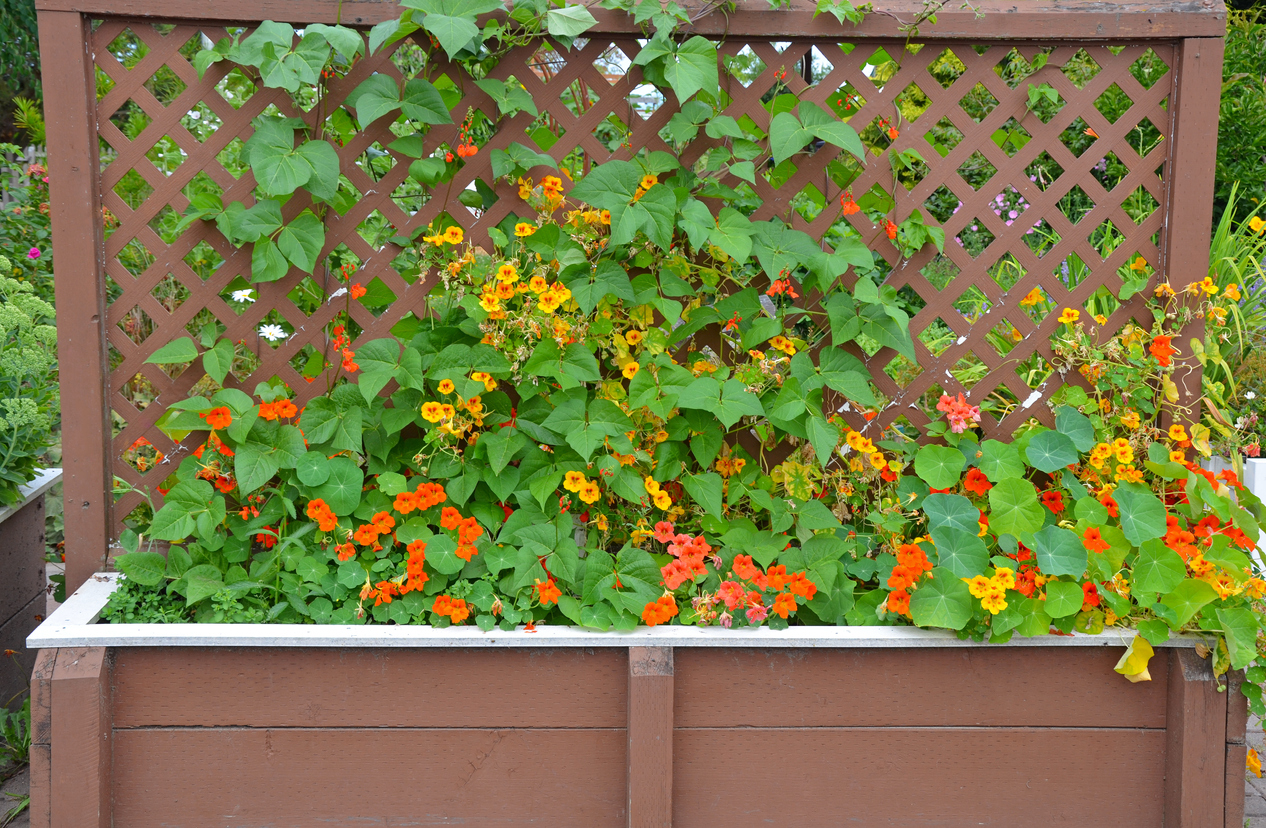
If you’re planning to plant any tall or vining plants, such as tomatoes or climbing roses, it’s a good idea to add a trellis to your garden. This will allow the plants to grow vertically, making space for other crops, which is particularly useful in small gardens.
Installing the trellis from north to south is a good rule of thumb since both sides of the plants will get a good amount of sunlight throughout the day without shading other plants too much. However, the right orientation can depend on the plant and your location.
RELATED: How to Build a Trellis
12. Keep a journal.
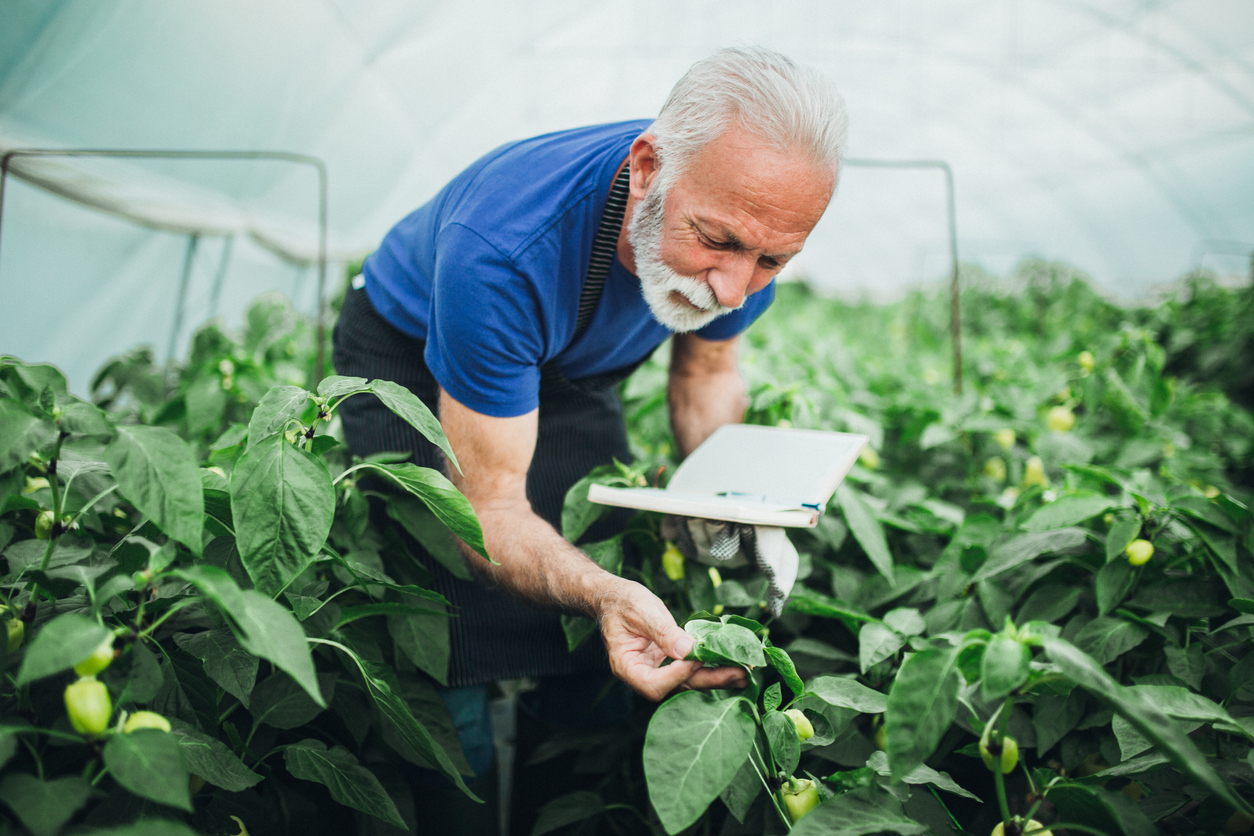
Consider documenting your garden’s progress and struggles throughout the growing season with a journal. Writing down information like planting dates, types of plants, pest issues, and harvest times can help you discover insights that will make it easier to troubleshoot and grow your garden in the future.
13. Plant companions.
Certain plants can help each other thrive when planted next to each other. For instance, if you plant lettuce, consider planting chives, garlic, or onions next to it. The scent of onions and garlic masks the smell of lettuce, which can deter aphids and other insects from munching on your greens. Similarly, if you plant beans next to corn, the beans will create nitrogen that will help the corn thrive.
RELATED: What is Companion Planting? — How to Use it in Your Garden
14. Fertilize regularly.
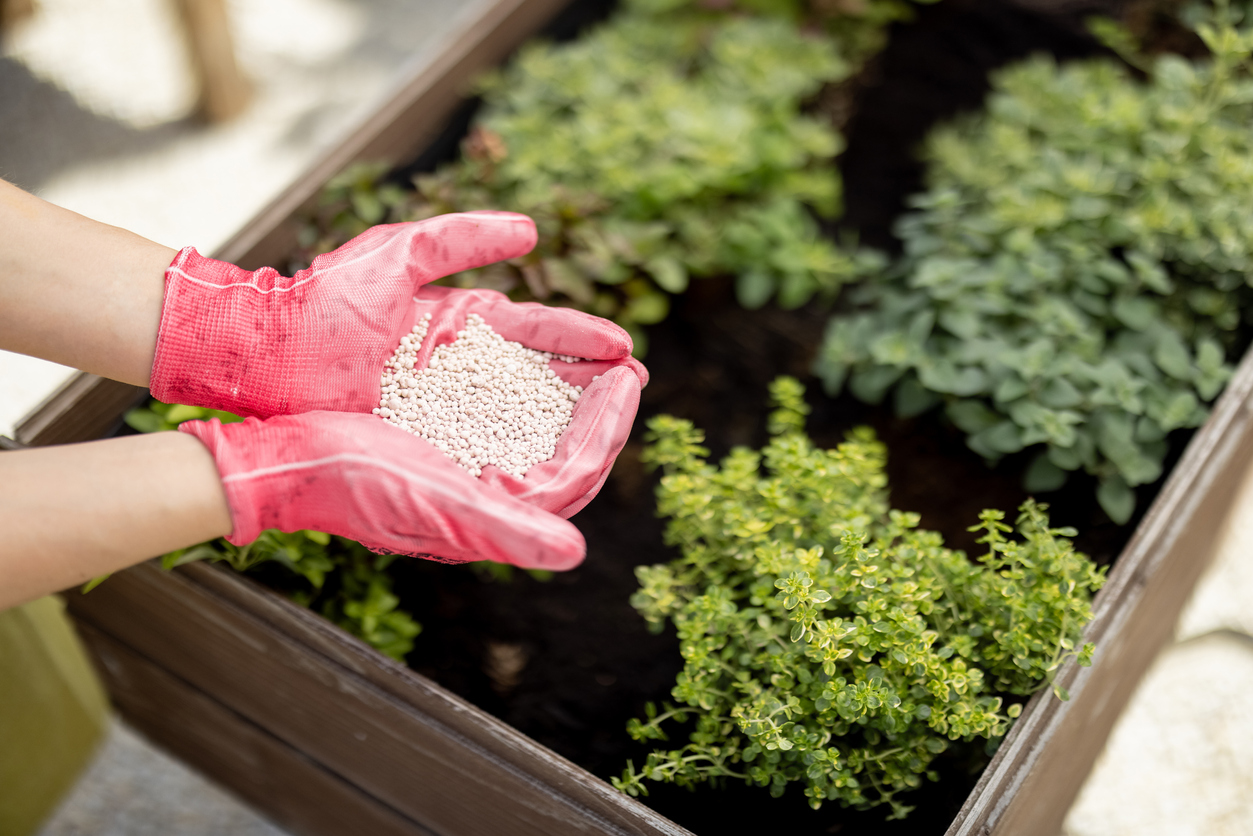
The soil in a raised bed is loftier and fluffier than soil in a regular garden, so roots quickly spread throughout, absorbing the nutrients they need for robust growth. When you first plant, add a time-release, granular garden fertilizer, such as Miracle Gro-Continuous Release Plant Food for Vegetables and Fruits. Follow the rate recommended on the package. For the best results, you’ll need to apply it again midseason (about three months later). Avoid using fertilizers not labeled specifically for fruits and vegetables, as these can contain nutrients that boost foliage but reduce the quantity and size of your produce.
15. Plan ahead for next year’s crops.
When summer winds down and your plants stop producing, it’s time to prepare your raised garden bed for overwintering. This step will add organic nutrients and condition the soil during the cold season, reducing the need for preparation come spring. Remove all dead plants from the bed and apply 1 inch of organic compost on top.
Finally, cover the soil with 3 to 4 inches of organic mulch (dry leaves or straw). The compost and mulch will biodegrade throughout the winter, adding vital nutrients to your raised garden bed and ensuring another bumper crop next year.