
We may earn revenue from the products available on this page and participate in affiliate programs. Learn More ›
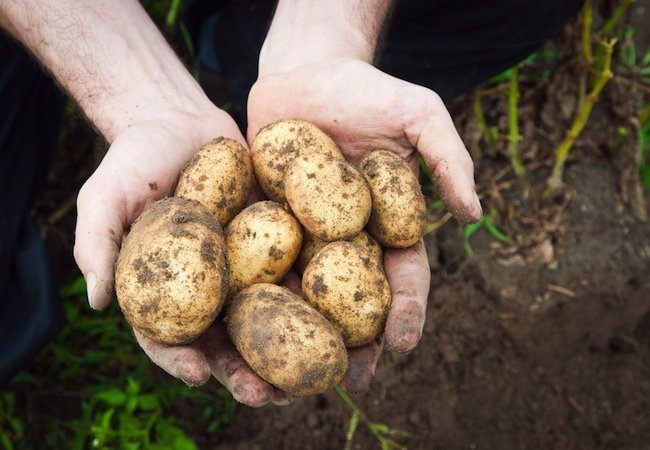
If you’ve never tasted homegrown potatoes, prepare to be amazed. A hundred days or so after planting—more or less, depending on the variety you choose—you’ll have an abundance of spuds. Of all vegetables, these are among the easiest to grow, making them a good choice for gardening neophytes—but even veterans would do well to observe the following guidelines for success.
TOOLS AND MATERIALS
– Seed potatoes
– Hoe
– Garden container (optional)
– General-purpose compost
– Watering can
STEP 1
Though it’s sometimes possible to grow crops from store-bought potatoes, it’s best to purchase chemical- and disease-free seed potatoes. Doing so gives you the power to choose a specific variety, something that’s important because different potatoes have different needs. Whereas some varieties mature in 90 days and can be planted more closely together, others mature in 110 days and should be spaced farther apart. Knowing what variety you’re planting means you can meet its specific requirements. Generally speaking, the best time to plant potatoes is two or three weeks before the final frost, once the soil first becomes workable.
STEP 2
Potatoes are hardy and are able to adapt to different soil types. If you can, however, it’s wise to add compost to the soil in the fall, several months before you actually put the seed potatoes into the ground. When you’re ready to plant, clear away all weeds and use a hoe to break up the soil surface. Adding a few handfuls of general-purpose compost per square yard at this stage will further improve the nutrient value of your soil.
STEP 3
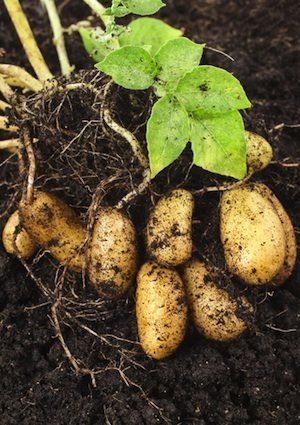
Plant each seed potato about six or eight inches into the prepared ground. As mentioned previously, the ideal distance between each seed potato depends on the variety of potato. A rule of thumb: Potatoes that take longer to mature often need more growing room. Before planting an individual seed potato, make sure that it has at least two eyes—bulbous protrusions from which roots grow. The eyes should face up. Cover each seed potato with three or four inches of soil, leaving the area slightly below grade.
STEP 4
As hardy as potatoes are, they are quite sensitive to drought, so remember to water on a consistent basis—once a week should suffice. If your region sees an exceptionally sunny period, however, water more frequently. By the same token, if it rains, lay off for a few days; it’s best not to let the soil become soggy.
STEP 5
Before they bloom, when the potato plants are about six or eight inches high, rake or hoe soil against the base of each plant. Known as “hilling,” this process not only supports the plants, helping them to stay upright, but it also cools down the soil in which the roots are growing. Two weeks after your initial hilling, replenish these mounds with another few inches of soil. Then—or in lieu of the second hilling—lay down a loose layer of breathable mulch (for example, leaves or straw) to protect the vines from insects.
STEP 6
The last step—perhaps the most satisfying—is to harvest your crop. For new potatoes, harvest two or three weeks after the plants flower. Harvest all mature potatoes once the plant vines have died back and lost most of their color. Bear in mind that it’s easiest to dig on a dry day, when the soil isn’t moist from watering or recent rains. Depending on the quality of your soil, you can dig with your hands right off the bat, or you may need to use a tool to loosen the ground first. The potatoes will be four to six inches below the surface, ready to be brushed off and stored in a cool, dry, dark place.
Additional Tips
– If in doubt as to when it’s appropriate to harvest, pull up one plant and assess its growth.
– About two weeks before you harvest, cut the leaves off at ground level. That gives the potato skins time to toughen, which makes the vegetables easier to store.
– Because washing potatoes shortens their storage life, don’t rinse a potato under the faucet until you’re actually ready to use it in your cooking.