
We may earn revenue from the products available on this page and participate in affiliate programs. Learn More ›
Coping is a process by which one piece with an irregular surface is fitted to another. In practice, most of us encounter coping in cutting trim work, especially cornice and baseboard moldings.
Only the coping saw can give the tight inside corner joints that make your work look professional. If corners aren’t coped, they gap and look sloppy, a telltale sign of unskilled carpentry. The coping saw and its cousin the fretsaw perform other tasks, too, as both are designed to cut along most any curve at a range of angles.
The lightweight coping saw has a hardwood handle affixed to a U-shaped steel frame. The frame holds a very thin blade between the arms of the U. A threaded bolt connects the frame and the blade to the handle. Turning the handle tightens (or loosens) the tension on the blade. Holders at either end of the blade can be pivoted so the angle of cut can be adjusted.
The standard blade on most contemporary models is 6-3/4 inches; 10-, 15-, and 20-teeth-per-inch blades are available. The depth of the throat varies, but approximately 5 inches is usual.
Coping an Inside Corner
Many, many years ago some very clever person devised this technique. Even today, there’s a wonderful simplicity to coping a corner that leaves me wondering, “Now, how did they ever figure this would work?”
Fitting a molding into an inside corner is a four-step process:
- Identify the piece that is to run along the length of wall that is the most obvious. Cut its end off so that it butts neatly into the corner. In most instances, a simple chop cut will do. Tack the piece in place.
- Cut the second piece using a miter box or miter saw power. Cut it at a 45-degree angle, leaving the end with an inside miter. This means that the portion of the molding that stands proud of the wall will be shorter than the side that is to be nailed to the wall.
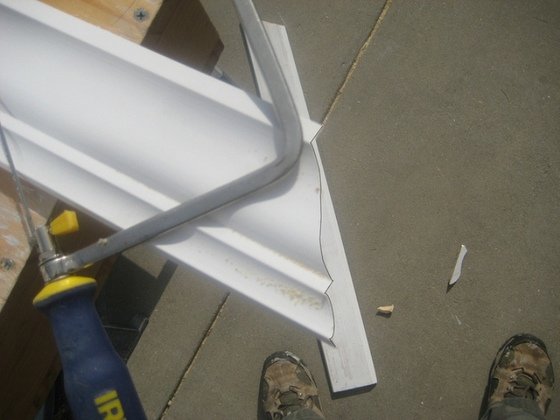
- Cope along the cut line on the face of the mitered molding, sawing perpendicular to the length of the piece. You may find it fits better if you cheat slightly, cutting at a slight angle toward the rear of the piece.
- Fit the coped piece in place. If your cut is neat, the coped molding will perfectly match the contour of the first piece of molding.
This coping technique may sound harder than it actually is. If you feel hesitant about trying it, you’ll need to get bold and go for it when you are doing cornice or other moldings with curved profiles. Simple miter cuts of such moldings almost never align neatly. But get your confidence and sawing skills up first by practicing on cove, quarter round, or other simple moldings.