We may earn revenue from the products available on this page and participate in affiliate programs. Learn More ›
Admit it: You invest a great deal of time and energy in keeping your stainless steel appliances fingerprint-free, shiny, and clean, but your stainless steel sink—obscured by a pile of dishes—often gets overlooked. Well, not anymore. Say goodbye to stuck-on food, streaks, and stains! Using just a few products pulled from your pantry, you can polish your sink with minimal effort and even less expense. Just follow these five stress-free steps and, before you know it, your humble sink will outshine your stylish appliances.
PROJECT SUMMARY
- Rinse the sink with faucet water
- Coat the sink with baking soda
- Scrub in the direction of the steel grain
- Spray on undiluted vinegar, wait, then rinse
- If necessary, apply a paste of vinegar and cream of tartar, then rinse again
- Buff with a few drops of olive oil
For full instructions on how to clean a stainless sink, continue reading below.
Tools & Materials
Bobvila.com may earn a commission from purchases made through these links.
STEP 1: Rinse the sink with faucet water.
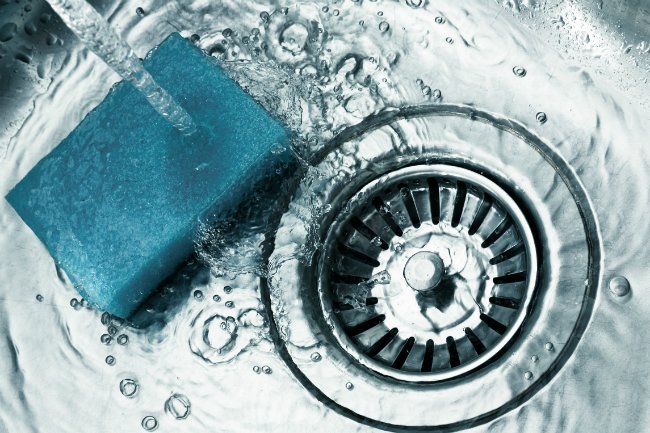
Rinse the sink basin to remove any food particles. Be sure to wet the faucet and the surrounding countertop too. If stubborn, stuck-on food persists, squirt a little dish soap on it and rinse with hot water.
STEP 2: Coat the sink with baking soda.
Next, coat the sink with a sprinkling of baking soda. This powdery substance is gentle enough that it won’t scratch the finish while still tough enough to tackle light hard water deposits and grease. Moreover, it removes odors without leaving behind the toxic chemical residue that some commercial cleaners might. For better control and a more even distribution when spreading the baking soda, consider pouring it first into an empty (and cleaned out) Parmesan cheese dispenser, and then lightly shaking the powder onto all sides of the sink.
STEP 3: Scrub in the direction of the stainless steel grain.
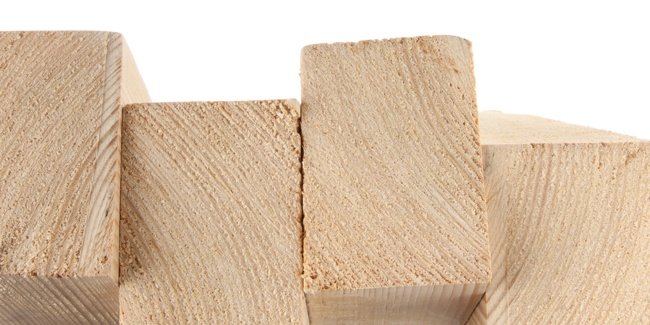
Use a soft to medium nylon scrub brush to rub the baking soda in the direction of the metal “grain.” (Never do the job with steel wool, steel brushes, or other highly abrasive scrubbing pads—these may cause further scratches or leave behind metal particles prone to rust.) A toothbrush works well for tighter spaces and tricky turns around the fixture, countertop, and drain. As you rub in the baking soda, the tiny hairline scratches on your sink will become less noticeable.
STEP 4: Spray on undiluted vinegar, wait a few minutes, then rinse again.
After scrubbing, but before rinsing, spray undiluted vinegar over the remaining baking soda residue. As the two substances come into contact, they will start to fizz. Think of this as an extra scrubbing action. The acidity of vinegar effectively dissolves the calcium deposits that cause water spots, plus it’s an equally effective natural disinfectant. Wait several minutes for the chemical reaction to fizzle out, then rinse thoroughly. Immediately dry the sink to avoid water spots.
STEP 5 (optional): Rub in a paste of vinegar and cream of tartar.
If stubborn stains still persist, mix one cup of distilled white vinegar with ¼ cup of cream of tartar. (The acidic properties of the latter, as well as its mildly abrasive texture, make cream of tartar an essential ingredient in many homemade stain removers.) Apply a dollop of the vinegar-tartar paste directly to the stain. Then, rub it in gently with a cloth, and allow the paste to sit on the stain for five minutes. Use this mixture as a secondary measure only if necessary; the vinegar alone should be strong enough to clean most spots. Once the stains are gone, rinse the areas with warm water and wipe the sink dry.
STEP 6: Buff the sink with olive oil.
Last but not least, the finishing touch: Once your sink is clean and dry, it’s time to add an extra shine. Apply a few drops of olive oil to a lint-free cloth to buff the sink and fixture until they sparkle.

