

We may earn revenue from the products available on this page and participate in affiliate programs. Learn More ›
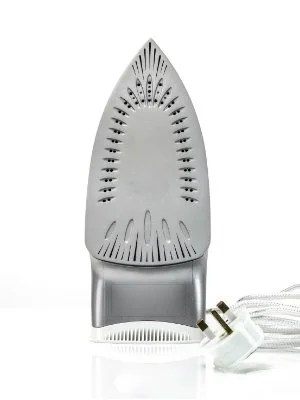
There’s nothing more frustrating than discovering that your iron is soiling your favorite clothes while you’re trying to press them. But this is one frustration that’s entirely avoidable. In fact, keeping your iron clean and in fine working condition is much easier than you may think. All you have to do is regularly (and properly) clean your iron to protect it against mildew and dirt and clear out the melted residue and fibers that build up over time. Proper maintenance involves more than just keeping the exterior plate, or soleplate, clean. You also need to deal with the dirt that collects on the plastic exterior and the mildew that can grow inside the water reservoir. That’s why we’ve pulled together this comprehensive guide to deep-cleaning your iron. So, grab your trusty iron and get started!
TOOLS AND MATERIALS
– Brown paper bag
– 1 tablespoon salt
– 2 tablespoons baking soda
– 1 tablespoon water
– Spatula
– 1/3 cup distilled water
– Damp cloths (2)
– Clean cloth
– Cotton swabs
– Paper towels (optional)
CLEAN YOUR PLATE
1. Open up your ironing board and plug in your iron. Set the appliance on the highest cotton setting (without steam).
2. While the iron heats up, lay a brown paper bag flat on top of your board and cover it with a layer of salt. Make sure the paper is plain and without print, or else the ink might transfer to your plate—sticking you with an even bigger problem. Larger granules of kosher, rock, or sea salt work best.
3. Then, run the metal plate of the iron in a circular motion over the salt crystals. This action should dislodge any melted-on fibers left behind after previous jobs and allow them to transfer to the paper surface beneath. After a minute or two, let the iron cool down completely, then brush off any remaining crystals.
4. Repeat as needed. Refresh your salt supply and brown paper surface until all stains and residue have been absorbed and removed from the plates.
WASH OUT THE WATER RESERVOIR
1. Now, mix up a homemade cleaner to unclog the steam vents. Especially if you use tap water instead of distilled water, or regularly forget to empty the water reservoir after using the iron, mineral deposits can build up and obstruct these openings. To clean out the deposits, start by combining two tablespoons of baking soda and one tablespoon of water to make a paste. Use a spatula to spread the paste onto the metal plate, or soleplate, so that it seeps into the steam vents.
2. Wipe down the plate with a damp cloth and swab out the individual steam vents. A cotton swab dipped in distilled water (that’s key) will effectively rinse out the holes.
3. Refill the water reservoir with distilled water, plug in your iron, and turn it to the highest heat setting. With the steam on, press the clean cloth for two minutes to flush out any remaining mineral deposits. Unplug the iron and let it cool down a bit.
4. Empty out the liquid before moving on. This is good practice to continue after every afternoon spent pressing clothes. Simply open the cap to the water reservoir, then turn the iron upside down over the sink to allow any remaining liquid to drain.
A CLEAN FINISH
All you need to banish dirt from the plastic exterior is a damp cloth or paper towel. Use it to wipe off dust and buff out any dirty spots. After this, your hardworking clothes iron should now look—and perform—as good as new!