We may earn revenue from the products available on this page and participate in affiliate programs. Learn More ›
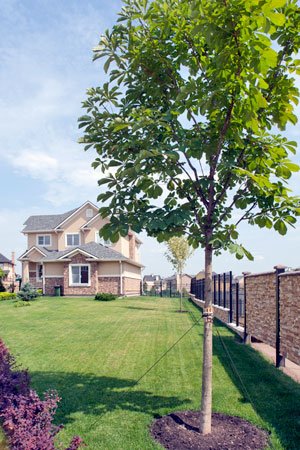
Whether they’re deciduous or evergreen, shade or ornamental, trees add value and curb appeal to any property. But occasionally, a tree’s placement presents some problems. Perhaps it blocks a construction project like a home expansion or deck addition. Maybe the tree is floundering from inadequate light, soil, or water conditions in its current location.
A tree might also start growing too close to the house or surrounding structures, preventing healthy development. Whatever the situation, that poorly positioned tree doesn’t have to get you down or get chopped down. As long as the healthy sapling’s tree trunk isn’t larger than 2 inches in diameter, a tree owner can follow this guide for how to transplant a tree to another spot in the yard.
If you’re considering how to transplant a tree within your property, be sure to time it right: Trees should be moved during late fall or early spring, since the tree’s dormant state allows for speedy root growth in the new location. If transplanting in the fall, complete the task early enough for the roots to get established before the ground freezes.
Even so, you should start your project much sooner than that; tree roots must be pruned several months prior to the transplant to help the tree thrive in its new location. Keep reading for instructions on how to prune as well as how to transplant your tree—and how to ensure it survives in its new home.
Reasons to Relocate a Tree, Shrub, or Large Plant
Trees do more than add greenery, fruit, or flowers to a landscape. People plant trees to shade patios, driveways, homes, and other plants. Sometimes, a tree outgrows the space it lives in and infringes on structures above the ground or plumbing pipes below. Mature trees can grow too closely to power lines and pruning is just not enough.
Conditions around a tree can change. For example, the city might add a sidewalk, the neighbor puts up a fence, or the garage fills, forcing the shiny family car out to the driveway and under a bird-loving tree.
Some people move to a home with established trees that were planted too close to the house, with the wrong sun exposure, or in a spot where deer or elk are damaging it. Transplanting a tree can prevent damage to a car, roof, and people—or save the tree itself.
Tools & Materials
Bobvila.com may earn a commission from purchases made through these links.
First, Prune the Roots
The process of transplanting a tree begins several months before relocating it with pruning of the roots. This act encourages the growth of new feeder roots (which absorb water and nutrients) closer to the tree’s base to help the tree better adapt to its new location.
If you’re planning to transplant a tree in the fall, then prune roots during the previous spring. If you’re planning to transplant a tree in the spring, then prune roots the previous fall. Plan ahead and prep the tree before cutting any roots by following the steps below.
STEP 1: Water the tree before pruning.
To properly prepare the tree for pruning, water it well the day before. Watering helps ensure the soil sticks to the roots, and moist soil is easier to dig into. Water the area around the matured root ball at least 24 hours before pruning the roots. Apply water slowly through a drip system or from a hose set to a low flow.
STEP 2: Assess how much of the roots to prune.
Calculate how much of the root ball—the cluster of roots at the base of your tree—you intend to prune. As a general rule of thumb, the root ball should be about 1 foot in diameter for every inch of trunk thickness. So, if the trunk is 2 inches thick, aim to prune the root ball to be 2 feet in diameter. Prune in a circle about 2 feet out from the tree’s main stem.
Note: If your tree’s trunk spans more than 2 or 3 inches in diameter, its root ball will be too heavy and fragile for a do-it-yourself landscaping job. Instead, call a professional to see about having this larger tree transplanted.
This chart from PennState Extension shows approximate changes in root ball size based on the tree’s size. Those considering moving a tree will especially want to consider the approximate weight of the plant and soil.
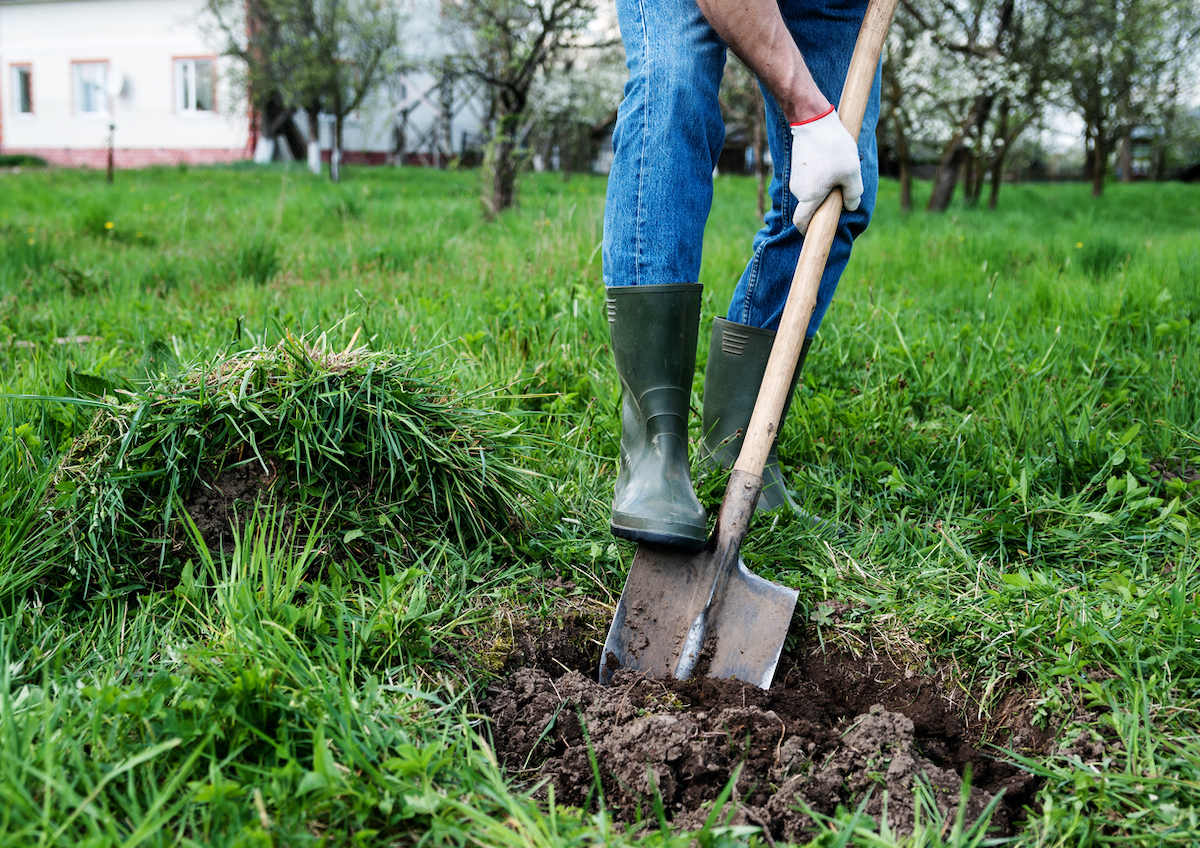
STEP 3: Dig a trench around the root ball.
Cut a narrow trench (about 2 feet deep and about 1 foot wide) around the root ball with a flat spade. Place the spade straight up, perpendicular to the ground, and step on it to force the sharp point through the root. Larger, more mature trees might need a deeper trench dug by professional arborists or landscapers.
Those digging their own trenches should make sure not to dig near any underground utility lines during the course of the project.
STEP 4: Replace the soil around the pruned roots.
Refill the trench with the dug-up soil, carefully placing the subsoil (that from deeper within the trench) underneath the topsoil. Add a 2- to 3-inch layer of mulch on top of the soil above the root ball to help retain moisture and prevent cold damage if the tree will not move until after winter.
When you return months later for the tree’s move, you should find new feeder roots growing closer to the tree trunk when you remove the soil again. The feeder roots are creating a strong root system.

Then, Transplant the Tree
After pruning the roots, give the tree several months to establish a new root system. Ensure the tree looks healthy before removing it from the ground. A sick or damaged plant likely won’t survive relocation. If the tree isn’t thriving (whether from disease or environmental issues), you might need to hold off another season until it becomes healthy again.
Once the tree appears ready to transplant and the timing is right, choose and prep the new site, water the tree, and dig around and under the root ball. Once the tree is ready for its new home, follow recommendations for planting an established tree from a trusted source.
STEP 5: Choose a suitable new site.
Choose a new location carefully. Make sure the new spot has sufficient space for the tree to grow, as well as proper soil, light, and water conditions. Think about the tree’s mature size in terms of canopy growth up high and root growth below the ground.
Every type of tree has different requirements, so take the time to do your research. After all, poor conditions might be the reason the tree needed a new home in the first place.
STEP 6: Water the tree before transplanting.
If planning to move a tree in fall, water as needed during summer dry spells to keep the roots healthy. Tree roots cut in fall for a spring move might need some water during especially dry winters.
Then, water the tree’s soil one day before transplanting. Moist soil is easier to dig and helps keep the root ball cohesive. Make sure that soil receives moisture around the entire circle of the trench.
STEP 7: Dig a hole in the new location.
In the new location, dig a hole that’s about three times as wide, yet the same depth, as the root ball to give the lateral roots room to spread out. Don’t dig the hole too deeply, or the roots might rot.
Take care to save the dug-up soil, separating the topsoil from the subsoil. Water the hole well to infuse some extra moisture into the soil, which will help hold the root ball together.
STEP 8: Dig around the tree.
Using a shovel, remove the topsoil near the trunk and roots of the tree. Then start digging around the tree with a sharp, flat spade about 6 inches further out than the pruned roots. Digging several inches past the trench ensures that you include most (if not all) of the new feeder roots that will help the tree adjust to its new location.
Dig at least 1 or 2 feet down to be sure the shovel can get under the root ball. If you come across any older, stubborn roots in the trench path that were missed months ago, cut them with pruning shears or—in the case of larger roots—loppers.
STEP 9: Dig under the root ball.
After digging all the way around the circumference of the tree, start to dig under the tree to sever the roots beneath. Remember to leave the diameter of the root ball intact. If a tree trunk is 2 inches in diameter, then dig a little more than 2 feet down in order to get the full root ball.
Gently rocking the root ball within the hole can help determine whether any roots undetected before remain attached. Carefully remove loose soil from around the root ball.
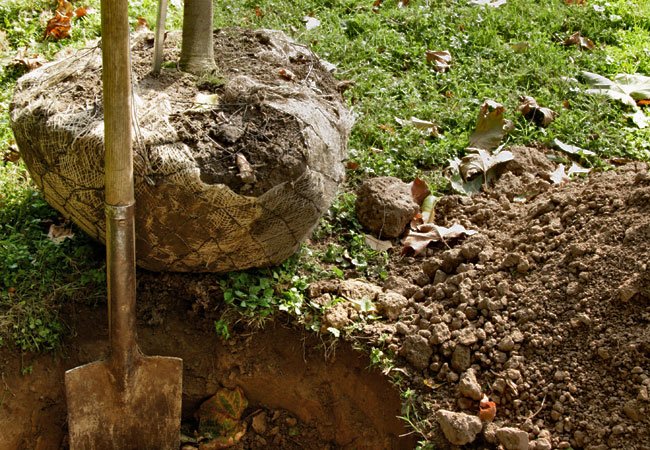
STEP 10: Use burlap to lift out the tree.
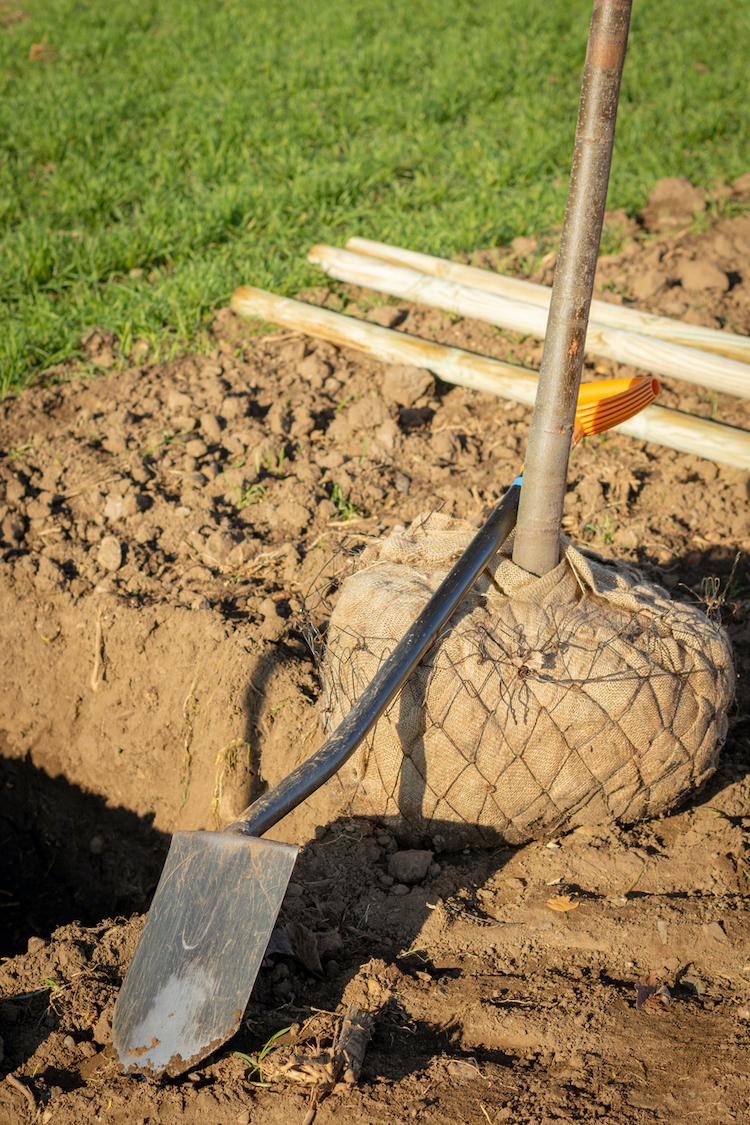
Once the tree is completely free of the ground in the hole, place a sheet of natural burlap in the hole and coax the tree roots over it. Heavier root balls might need to be gently rolled out of the hole and onto the burlap. Be sure the burlap will cover the entire root ball.
Lift the tree from the ground with the burlap (never by the trunk) to prevent breakage. Having another person on hand to help contain the tree roots in the burlap and lift the tree from the ground will help immensely.
STEP 11: Move the tree to the new location.
Secure the burlap together with twine to keep the soil together, and carry the tree to its new position. If it’s too heavy to carry, place the burlap-covered root ball on a tarp to drag it to the new location without damaging roots and losing soil. You can lift the burlap onto cardboard or a sturdy cart if easier.
STEP 12: Place the tree in the new hole.
Set the tree into the fresh hole, making sure that the base of the trunk is level with the ground. Often, the tree crown and trunk area shows a color change to indicate the soil level in its previous location. Assuming the tree was healthy and not planted too deep or high, this might be a helpful guide.
Add any soil necessary to achieve the proper height. Once the tree is set in the hole, remove the burlap and twine.
STEP 13: Fill in the soil.
Fill the ground around the tree with soil from the dug hole, making sure to place the subsoil in the bottom of the hole and the topsoil on top. Tamp the soil down gently as you go. Water thoroughly, all the way out to the edge of the hole site.
Then add 2 to 3 inches of mulch around the base of the tree, being careful not to push it up onto the trunk. The mulch helps to promote adequate moisture levels and temperature as the tree becomes used to its new home..
Maintaining a Transplanted Tree
The care you give a tree after transplanting is extremely important. If the tree is smaller, planted on flat terrain, and not exposed to a lot of wind, you shouldn’t need to stake it. The roots will actually grow deeper and stronger if you don’t. But consider staking unsteady or larger trees.
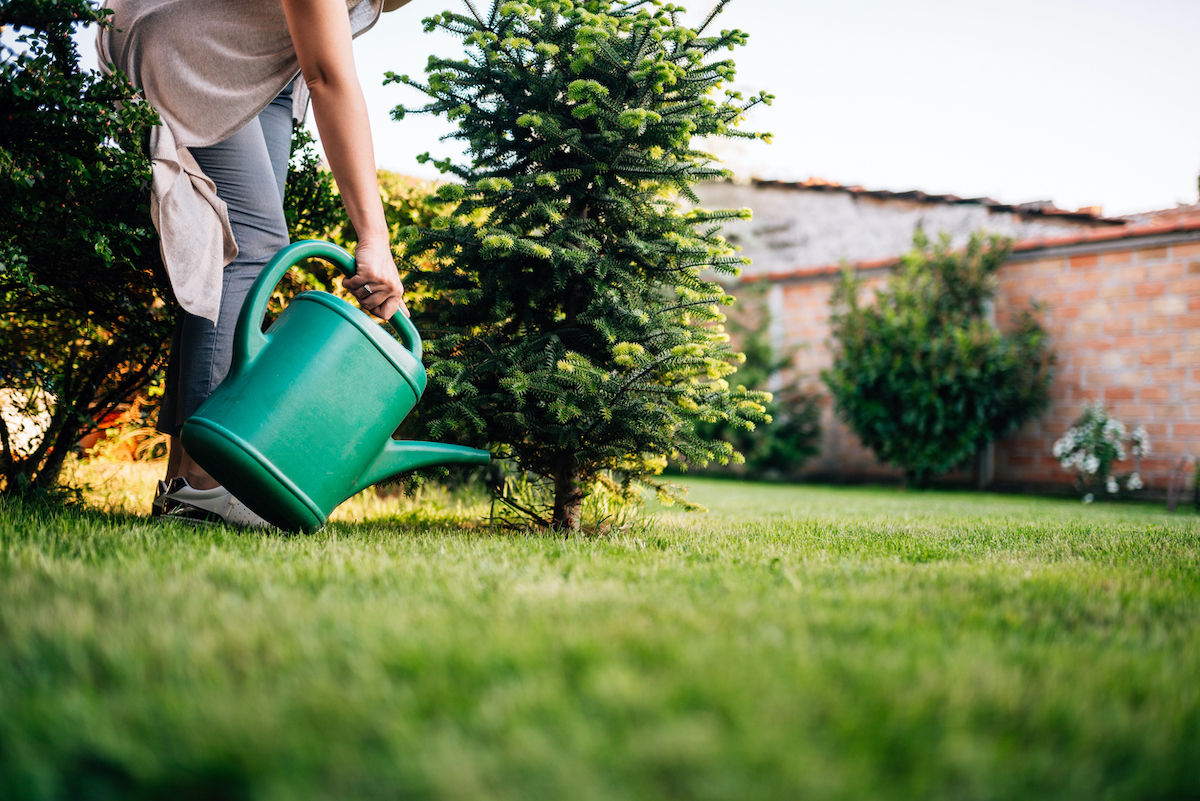
After transplanting, ensure the tree gets enough water in relation to the climate, soil type, and rainfall levels. Generally, home gardeners should plan to water the tree deeply and regularly in the first few weeks. Apply water slowly with a drip system or low-flow emitter to ensure the water trickles down to the feeder roots.
Transplanted trees typically need more water than normal in the first year of recovery from the move. Avoid overwatering to the point of soggy soil. Refrain from fertilizing the tree for at least one year; you want the tree to concentrate its energy on rebuilding a root system instead of producing new growth.
Be patient as the tree recovers; it will not produce much growth in its first season in the new home. But with some planning and thoughtful care, you’ll be able to enjoy your transplanted tree in its new location for many years to come.
FAQ About Tree Transplanting
Transplanting a tree requires some planning and a little knowledge. Here are answers to some common questions about moving trees.
Can you uproot a tree and replant it?
You can uproot trees that are fairly healthy and not too large (no more than 2 or 3 inches in diameter at the main stem). However, transplanting can shock a tree and plenty can go wrong if you rush the process or skip steps to carefully prune and replant the tree.
It helps to call in a pro to move a large tree or one in poor health. In fact, uprooting and replanting a failing tree might bring it new life.
How do you move a tree without killing it?
Prep the roots way ahead of the move to ensure they stay healthy and ready to reestablish in the new location. Use natural burlap and twine to hold the root ball together and protect it during the move. Then place something under the burlapped ball to drag, roll, or carry the plant to its new location. Enlist the help of a friend, rented equipment, or a pro if necessary to ensure the tree has a safe journey.
What time of year is best to transplant trees?
Time of year depends on the tree type. Most trees fare best when moved in late fall or early spring, while they are dormant. Evergreen trees usually do best with a spring transplant, which gives them time to grow new roots through summer. Avoid transplanting less than about 6 weeks before upcoming stressful weather, such as peak summer heat or winter freeze. If unsure, check with local extension offices or tree care companies for timing specific to your area and the tree type.
How do you prepare a tree for transplanting?
Follow the steps above for properly pruning tree roots, letting them rest several months, and then carefully removing the root ball. Be sure to protect the roots through their waiting period and ensure they receive adequate water during their rest and just before transplanting.
Final Thoughts
Transplanting a tree can bring it new life, but can stress the tree. With a little patience and time, however, you can help a tree through the transition by taking care to complete all steps before, during, and after transplanting.