We may earn revenue from the products available on this page and participate in affiliate programs. Learn More ›
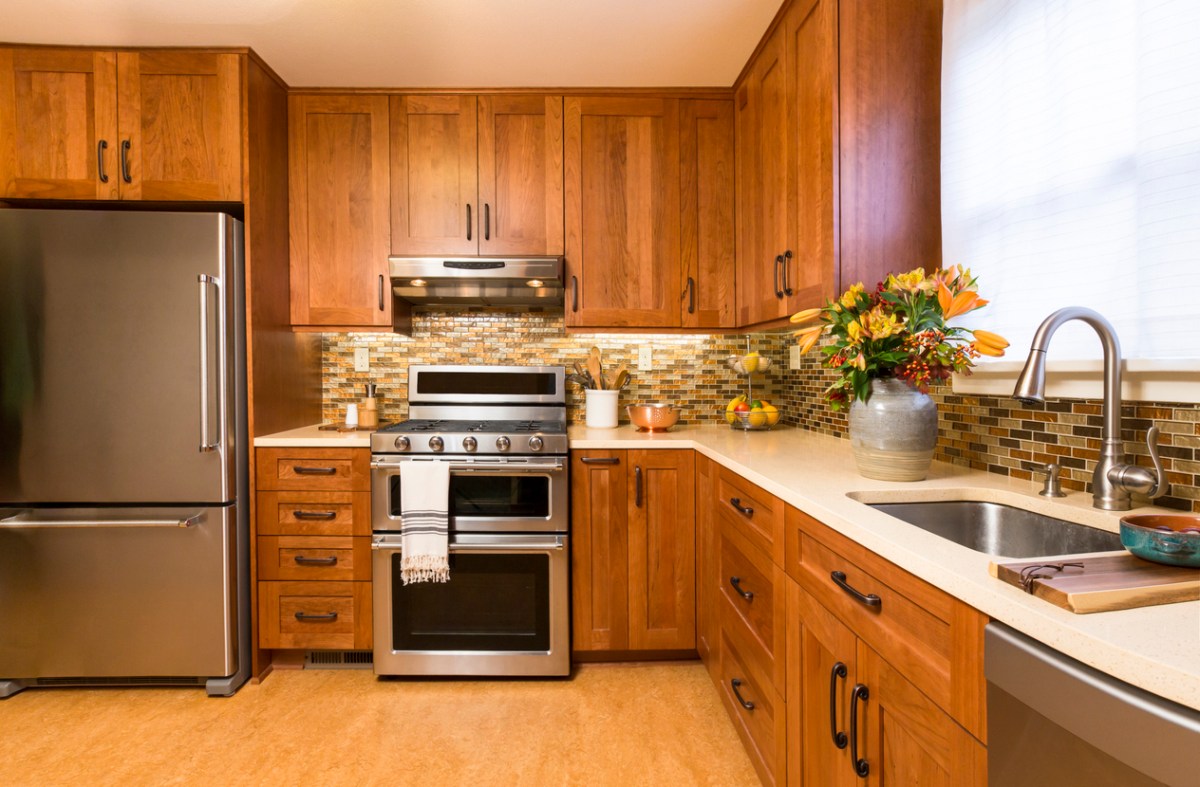
The bulk of a kitchen’s essentials—pots and pans, dishware and utensils, canned and dry goods—is stored in its cabinets. And with so much space devoted to cabinets (25 to 30 feet in the typical kitchen), they go a long way in determining the look and feel of the room. A number of variables factor into choosing cabinets for a kitchen renovation, including construction method, size, and material—and prices can be all over the map. So whatever your budget, read on for must-know info that will help you ensure that you’re buying kitchen cabinets that fit your stuff and suit your style.
1. There are three options of kitchen cabinets based on how they’re manufactured and sold.
Kitchen cabinets are available in three types of construction: stock, semi-custom, and custom.
- Stock cabinets are mass-produced and sold at many home improvement centers. They are often pre-assembled and ready for installation, though some may require some assembly. Stock cabinets are the least expensive option, running between $100 and $300 per linear foot, but these cabinets may only be available in limited runs of colors, material options, and styles. Delivery usually takes a few weeks.
- Custom cabinets are built to your exact size and style specifications in the material, color, and finish of your choice. They often include one-of-a-kind features such as an appliance garage or a coffee station, may boast furniture-style touches such as bun feet and leaded-glass doors, and can be built floor to ceiling, perhaps adorned with crown molding at the top. The craftsmanship and attention to detail that goes into custom cabinetry generally mean a longer production time and a high-end price, with costs ranging from $500 to $1,200 per linear foot.
- Semi-custom cabinets are stock cabinets with a variety of extra details that help you personalize both style and storage capabilities. You can change the dimensions of drawers, for instance, or go with a different finish on the door fronts. Semi-custom cabinets, which cost between about $150 and $650 per linear foot, usually take four to eight weeks for delivery.
2. Don’t hesitate to get help in selecting cabinet sizes.
Before you get to the fun part of choosing the look of your cabinets, you’d be wise to consider what sizes you need to hold your cookware, gadgets, pantry staples, and more. Ask yourself what’s lacking in the height, width, and depth of your current cabinets and where you require more (or less) storage room.
Then consider the basic sizes of stock cabinets currently available, according to Builders Surplus, a retailer for kitchen and bathroom cabinets:
- Most stock cabinets range in widths from 12 to 36 inches.
- Wall cabinets can range in height from 12 to 42 inches.
- Standard wall cabinets are usually 24 inches deep.
- Tall cabinets come in 84, 90, and 96 inches tall.
- Base cabinets can be between 32 and 38 inches tall, including the countertop.
- The width of base cabinets can vary from 9 to 46 inches.
Keep in mind that some manufacturers might offer other height and width options. And of course, custom cabinetry builds can accommodate any space.
If working with an architect or designer, he or she will help you get a handle on cabinet size needs. But, if your kitchen remodel is a DIY project, you needn’t go it totally alone. Many home improvement centers offer a design service to help you determine the right configuration for your space and budget. Computerized design services can even plot the kitchen out based on your measurements, show a variety of configurations, and end up with printable drawings and a supply list for easier shopping.
RELATED: 6 Types of Cabinets to Consider in Your Kitchen Reno
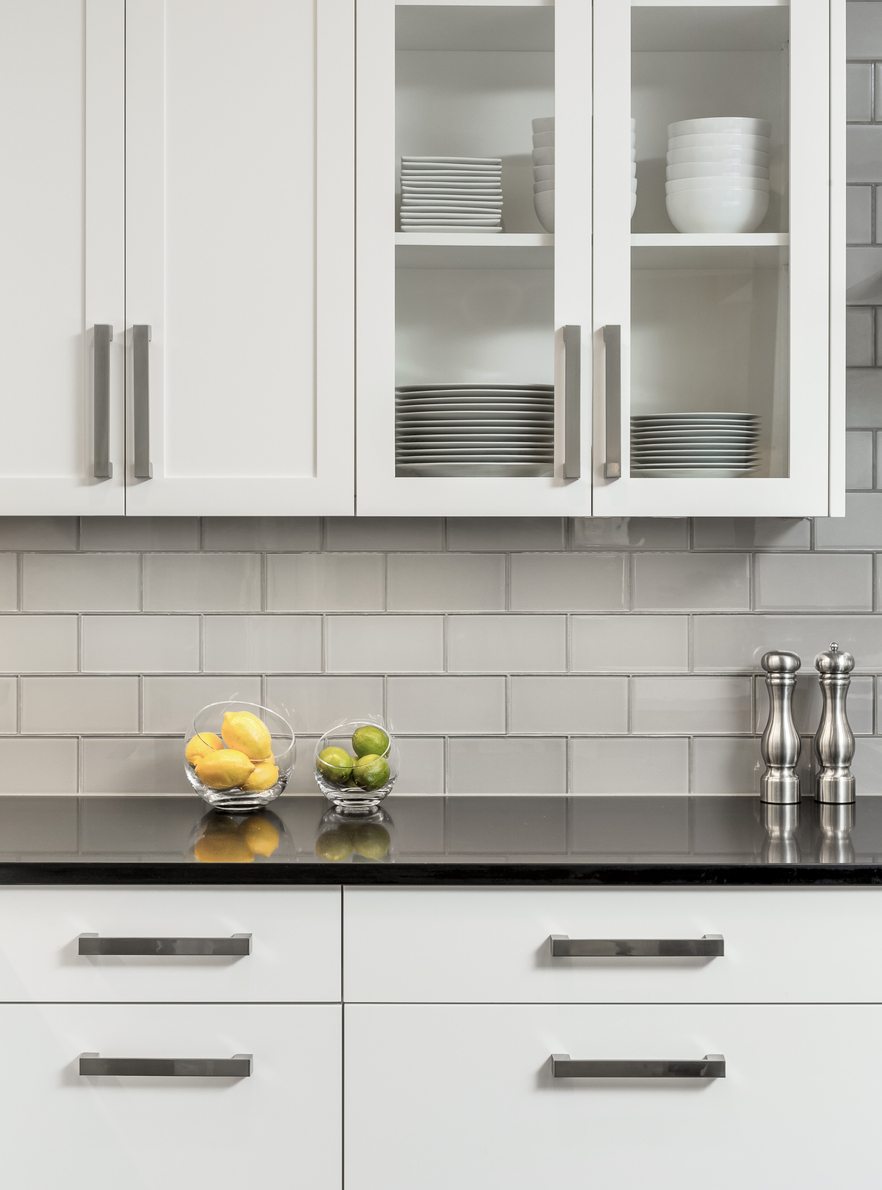
3. Cabinet styles are either framed or frameless.
You’ll see the terms “framed” and “frameless” to describe cabinet builds.
- Framed cabinets are those with a box (i.e., your cabinet) and face frame (i.e., the structure attached to the front of the box that offers reinforcement needed for doors and drawers to attach). With a face frame for reinforcement, the box can be a bit thinner and potentially fit into tighter spaces.
- Frameless cabinets typically feature thicker cabinet boxes to which the doors and drawers directly attach. (For sturdiest options, look for cabinet boxes that are at least half-inch thick or made from a sturdier material, such as plywood instead of particleboard.) Without a face frame that extends slightly past the storage area, it’s easier to access the full interior. A common European style, frameless cabinets often look more contemporary and at home in modern kitchens.
4. When possible, assess a model of the cabinets closely to spot the signs of a quality cabinet.
Ask yourself these questions to evaluate the quality of the cabinets, drawers, doors, and shelves.
Drawers:
- Are they solid wood?
- Do they slide smoothly on ball-bearing extensions?
- Are there dovetail joints holding the drawer firmly together?
- Is the bottom of the drawer sturdy wood slid into grooves, rather than stapled or glued?
Box and doors:
- Does it have solid wood panels? (Plywood panels might not hold up as well over time, especially under the weight of a heavier type of kitchen countertop, like marble.)
- If a frameless cabinet, is the box that the door connects to at least a half-inch thick?
- Does the cabinet door open easily?
- Does the door swing open wide enough to reach in without getting caught on the door edge?
- Are the hinges adjustable?
Shelves:
- Are these at least three-quarter-inch plywood? (Anything less than that, or anything made of particleboard, can begin to sag under the weight of dishes or kitchen items.)
If you answer yes to most or all questions on this checklist, you’re looking at a higher-quality construction. Chances are that the price reflects this to some extent, too, but it’s smart to run down this checklist on more budget-friendly options as well so that you can see where it may fall short (and whether that’s something that will disappoint you down the road).
5. Set a realistic budget.
Before buying kitchen cabinets that look the best and pass a quality test with flying colors, consider your intentions for the home. If the house will soon go on the market or become a rental, you might skimp because, historically, a kitchen remodel does not offer the best return on investment. However, when you’re creating a dream kitchen to enjoy for many years to come, you may wish to invest in mid- to high-end cabinets that suit every need.
Next, measure your kitchen to approximate the amount of space you’ll devote to cabinets. Keep this figure handy to multiply against the price per foot of your selection of upper and lower cabinets. Basic stock cabinets can run about $100 per foot, while premium cabinetry can run up to $500 per foot or more even before the cost of add-ons. Depending upon your selection, buying kitchen cabinets might account for up to 40 percent of a full renovation budget.
RELATED: 10 Total Kitchen Makeovers—and What They Cost
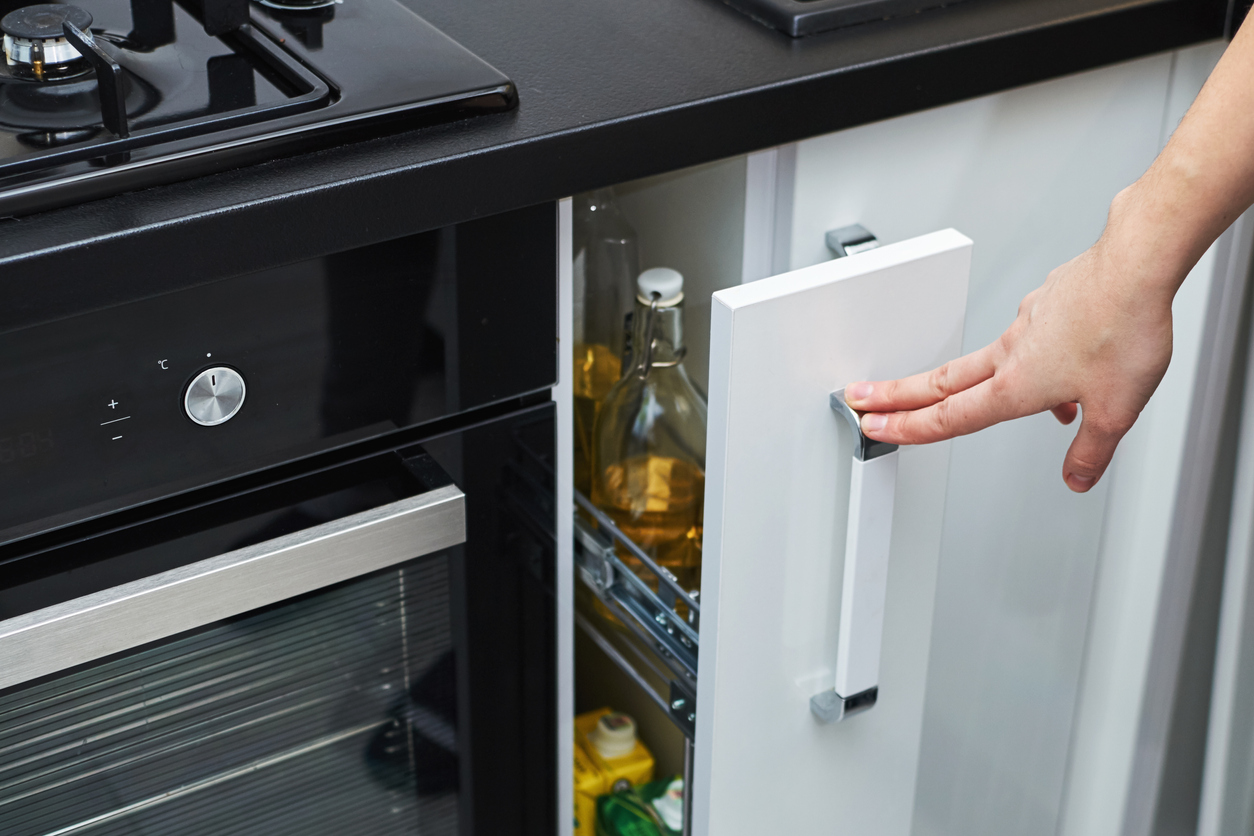
Remember, customization such as increasing or decreasing the depth of the cabinets, installing specialty features like breadboards or wine racks, or even including oak-lined interiors, leaded-glass doors, pull-out trash cans, or roll-out shelves will all cost extra. These personal touches can add more than 20 percent to the cost of kitchen cabinets. However, there are ways to cut costs while still getting what you want; for instance, opting for semi-custom rather than custom cabinets, or limiting add-ons to a few must-haves that you know you will enjoy for years to come. If you’re weighing the cost-benefits in your forever home, consider that quality kitchen cabinets can last up to 50 years.
6. Begin your shopping at a home improvement center or cabinet retailer.
When you’re ready to outfit your kitchen with new cabinets, start the comparison shopping online to get an understanding of who carries what. Take a look at places like Cabinets.com, RTA Kitchen Cabinets Online, or Cabinets To Go to get a good idea of what’s out there. Then head to a few stores to look at various cabinetry options in person. Home improvement centers or kitchen appliance stores may have stock cabinetry available to inspect, while kitchen cabinet showrooms and more specialized stores showcase examples of custom work. The National Kitchen & Bath Association can help you start shopping at stores nearby.