
We may earn revenue from the products available on this page and participate in affiliate programs. Learn More ›
A common problem many homeowners encounter is finding that their lawn mower engine won’t start when they try to mow. This can be a sign that the mower’s carburetor is gummed up or even corroded. The carburetor is the link between air and gas, converting gas in the mower engine into the mechanical force needed to power the motor. It’s important to perform regular cleaning and maintenance of the lawn mower’s carburetor to address any problems, especially those occurring over winter or any other long period without use.
Other signs of a dirty or restricted carburetor include the engine starting, but stalling during use, black smoke coming out of the muffler, a significant increase in fuel consumption, or the engine seeming to run rough during regular use. Keep reading to find out how to clean a lawn mower carburetor, as well as how to diagnose symptoms to determine if you need a lawn mower carburetor cleaner or if a more involved carburetor repair is necessary.
Where is a lawn mower carburetor located?

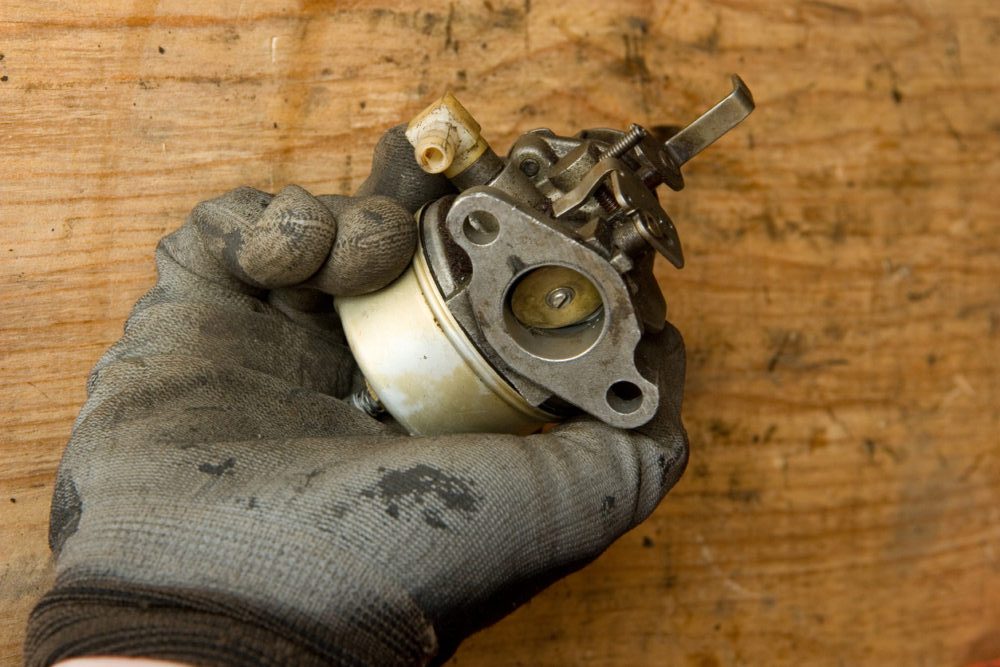
Before learning how to clean a carburetor on a lawn mower, you have to know how to identify and find the carburetor inside the machine. A lawn mower carburetor is a small, metal device that is typically shaped like a box or cylinder. This part of the mower can be found close to the air filter and the engine, secured with a few screws or bolts.
Alternatively, you can track down the location of the carburetor by tracing the fuel line from the gas to the engine. The carburetor is located where the fuel line connects to the engine. If you are still in doubt, check the owner’s manual for the lawn mower to get a definitive answer on where the lawn mower carburetor is located on your specific machine.
What does a lawn mower carburetor do?

The purpose of a lawn mower carburetor is to mix the air and fuel in precise amounts to make the mixture ready for combustion. The carburetor then releases this mixture into the engine’s cylinders where it is ignited by the spark plug, creating a controlled explosion that generates power to run the engine. Depending on the machine, the carburetor can adjust the air and fuel mixture to meet the needs of the lawn mower.
Given the importance of the lawn mower carburetor, it’s necessary to check and clean this part of the mower at least two to three times a year, and that one of those be a thorough cleaning. If the carburetor is not kept clean, you might see signs like black smoke, increased fuel consumption, uneven blade movement or a stuttering engine. The lawn mower also might overheat and stop running. When the issue is left for too long, the lawn mower might not start at all or may start up and then die while in use.
Before You Begin
It’s important to begin the lawn mower carburetor cleaning process by cleaning the outside of the engine while it is turned off. This makes it easier to keep the internal parts of the carburetor clean during disassembly. Also, it’s necessary to take the time to clean your work area, which should be well lit to avoid losing any small parts while you work.
Have a clear space on your workbench where you can disassemble, clean, repair, and reassemble the various parts of the carburetor. Additionally, it’s a good idea to remove the spark plug cable by simply gripping the black plug and pulling directly away from the engine. This prevents the risk of the engine suddenly starting while you work.
How to Remove and Thoroughly Clean a Carburetor
Before learning the in-depth process of cleaning a carburetor on a lawn mower, be aware of methods to prevent carburetor problems like failure to start. Making sure fuel is fresh when you fill the tank is a simple way to avoid a dirty carburetor. Adding a fuel stabilizer to the fuel is also a useful option. However, if the carburetor starts to become clogged, cleaning it will be the best option.
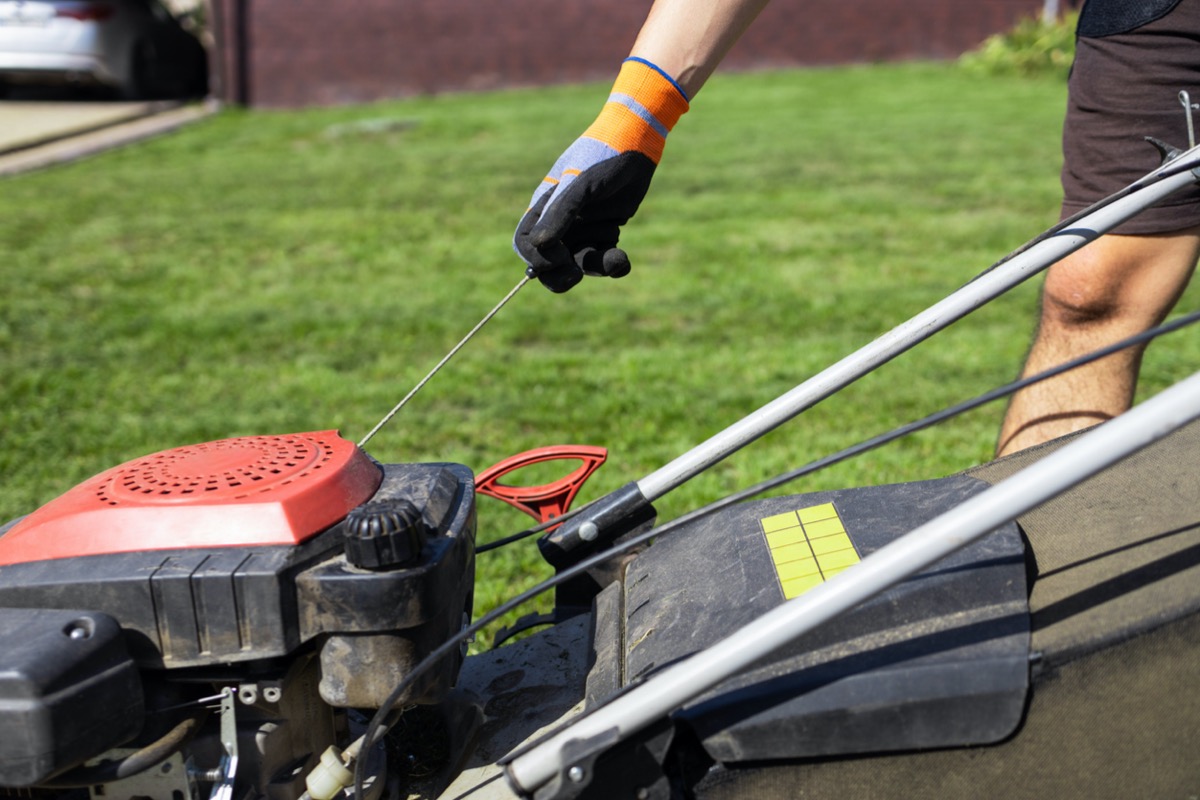
Turn off your mower and give it time to cool down. If you’ve used it recently, the inside of your lawn mower could be extremely hot to the touch. To avoid risking a burn, wait until it’s cooled before getting started, following the steps below.
SUPPLIES
Screwdriver
Nitrile gloves
Carburetor cleaner
Nut driver
Socket set
Needle-nose pliers
Bucket
Compressed air
Step: 1: Remove the air filter to access the carburetor.

To access the carburetor in your lawn mower, you need to remove the air filter housing. The air filter typically sits over the top of the carburetor.
- Inspect the air filter to determine if it’s attached with clips or screws.
- Use a screwdriver to loosen the fasteners and place them in a safe location for reinstallation.
- Remove the air filter.
- Inspect the air filter and either clean it or replace it if necessary.
If you have difficulty removing the air filter, you should be able to find detailed information in your lawn mower’s manual to help with this part of the process.
Step 2: Remove the carburetor.
Once the carburetor has cooled, wear durable nitrile gloves, and use a carburetor cleaner for lawn mowers to spray into the throat of the carburetor or clean the outside of the part. Then remove the carburetor entirely from the engine to clean internal parts:
- As you proceed, place any fasteners or small pieces in a safe location for reinstallation.
- Also note the location of any cables or hoses so you can put them back in the proper place, taking a photo if necessary.
- Use a nut driver or socket set to remove the two bolts that hold the carburetor to the engine.
- Disconnect the throttle and choke linkage cables from the carburetor.
- Prepare a bucket or bowl to catch the fuel before removing the fuel lines from the nipples of the carburetor housing with needle-nose pliers.
- If no gas comes out of the fuel line, you might have a plugged fuel line or fuel filter, which will have to be addressed before reassembling the lawn mower.
- Once you’ve disconnected the carburetor, clamp the fuel line.
- Pull the carburetor off the mounting studs, taking care to avoid damage to the main gasket between the carburetor and the engine.
- Make a note of the position of the carburetor so that you don’t reinstall it upside down.
- Place the carburetor in a bucket to allow any remaining fuel to drain.
Step: 3: Disassemble the carburetor.
A key reminder before disassembling your carburetor is that every piece you remove needs to be put back in the same position. Prepare an appropriate place to disassemble the carburetor if you haven’t already, and consider taking pictures while you work to help prevent confusion during reassembly.
With the carburetor in the middle of your clean work area and while wearing gloves, start the disassembly process by cleaning around the bowl with a carburetor cleaner. Next, unbolt the fuel bowl and ensure the hole in the nut is clear of any obstructions by poking a paper clip or piece of thin wire through it. Then, remove the float, which should be attached to the carburetor with a hinge pin, and also remove and replace the needle, if necessary. Keep all of the parts grouped together.
Step: 4: Replace any worn-out parts.

Even the best carburetor cleaning cannot repair worn-out parts. Should you spot significant wear and tear on carburetor parts, including the float, pin, needle, or gaskets, then get a carburetor repair kit for your specific carburetor to make necessary repairs. Some carburetor parts, like gaskets, wear out more quickly than other parts.
When planning an annual carburetor cleaning, it’s recommended to have spare parts ready on hand to avoid taking the carburetor apart more than once. Simultaneously replacing the mower air filter also helps to streamline the maintenance process.
Step: 5: Clean the carburetor and carburetor parts.
Carb cleaners come in aerosol cans that are great for quick, efficient cleaning, but you can also purchase carburetor cleaner in a bottle or jug. With the carburetor disassembled and your gloves on, spray carburetor cleaner directly into the carburetor jets and passages, allowing the cleaner to soak for several minutes, then use a brush to remove any stubborn debris. The amount of carb cleaner that you use depends on the specific product, so it’s important to read and follow the directions provided by the manufacturer.
If you prefer to use a liquid carburetor cleaner over a spray cleaner, pour the cleaner into an empty bucket. Wire the larger parts of the carburetor together, then carefully lower them into the bucket filled with carb cleaner. Use a piece of aluminum screen or a fine-mesh basket to wrap the small pieces of the carburetor before adding them to the bucket; soak all parts for about an hour.
Step: 6: Reassemble the carburetor.

Rinse the carburetor parts with water to remove excess carburetor cleaner. Then, blow-dry the parts with compressed air or let them air dry. It’s essential that the parts are completely dry before reassembly.
When you’re confident that the carburetor parts are dry, begin putting the carburetor back together. Use any pictures you took during disassembly to ensure that you are correctly reassembling the parts.
Once the carburetor is back together, mount it on the lawn mower, reattach the throttle and choke linkage cables, and reinstall the fuel lines and spark plug cable. Fasten the bolts on the carburetor and reattach the air filter to the mower.
“The best way to clean a lawn mower carburetor is to fully remove it from the mower. This allows you to take the carburetor apart and really get into all the nooks and crannies to clean out any built-up gunk or debris. Trying to clean it while still attached to the mower is quicker, but you can only clean what you can access.”
— Robert Walden, Expert Mechanic at Vehicle Freak
How to Clean a Lawn Mower Carburetor Without Removing It From the Machine

SUPPLIES
Screwdriver
Nitrile gloves
Carburetor cleaner
Compressed air
Although removing the carburetor makes it easier to thoroughly clean each part of this important lawn mower component, it also takes more time and effort. If the lawn mower has been running well and you make consistent efforts to keep up with lawn mower maintenance, it likely needs a thorough cleaning of the removed carburetor only once a year or after extended time not in use. Take these steps a few times each year to clean a lawn mower carburetor without removing it from the lawn mower:
- Turn off the lawn mower and give the engine enough time to cool down before starting the cleaning process.
- Disconnect the spark plug cable by grabbing the plug and pulling away from the engine. This will prevent the engine from starting while you work.
- Remove the air filter housing after a quick inspection to determine if it’s attached with clips or screws. Remove and clean the air filter.
- Spray carburetor cleaner into the carburetor throat and jets, then manually move the throttle and choke back and forth to work the cleaner into any hard-to-reach areas. Read and follow the directions provided by the manufacturer to determine how much carburetor cleaner to use.
- Blow out any remaining debris with a can of compressed air to get rid of stubborn particles that might be clinging to the corners and crevices of the carburetor.
- Reinstall the air filter and spark plug wire once you have finished cleaning the carburetor.
How often should I clean a lawn mower carburetor?
The carburetor is a key component for the smooth operation of the machine, so it’s necessary to be diligent about cleaning a lawn mower carburetor. Generally, the lawn mower carburetor should be cleaned between two and three times a year, although this varies with frequency of use.
It’s wise to remove the carburetor for a thorough cleaning once a year. The best time to conduct this thorough cleaning is before the lawn mower is used, right after the winter ends. This will help ensure the lawn mower is in good condition before attempting to start it up after months of sitting idle and reduce potential mower repair costs. Clean the carburetor without removing it an additional one or two times a year, depending on usage and condition.
Final Thoughts
After you have reassembled and reinstalled the carburetor and air filter, add fuel to the gas tank and start the lawn mower to ensure that the maintenance was a success. Check to see that:
- The engine runs smoothly and efficiently without stuttering, overheating, or smoking.
- Any issues with starting or running have stopped. If they persist, a dirty carburetor likely is not the reason for the problems.
- There is fuel in the tank, the fuel valve is on, and the spark plug is in decent condition, then spray aerosol lubricant or carburetor cleaner into the throat of the carburetor.
- If the engine starts up at all after spraying, even if it shuts down almost immediately. If so, the issue is likely due to the fuel system, not the carburetor.
- If the engine refuses to start after several tries then the problem might be more serious. In that case, take your mower to a small engine repair shop.
To get the longest life possible out of your mower, perform regular cleaning and maintenance throughout the year. This includes cleaning the carburetor thoroughly at the beginning of the mowing season, winterizing the lawn mower at the end of the mowing season, and changing the oil. DIYers should also replace the spark plugs and sharpen the mower blades as needed. If you neglect regular mower maintenance, it may break down in a relatively short period of time, costing you more in expensive repairs.
