
We may earn revenue from the products available on this page and participate in affiliate programs. Learn More ›
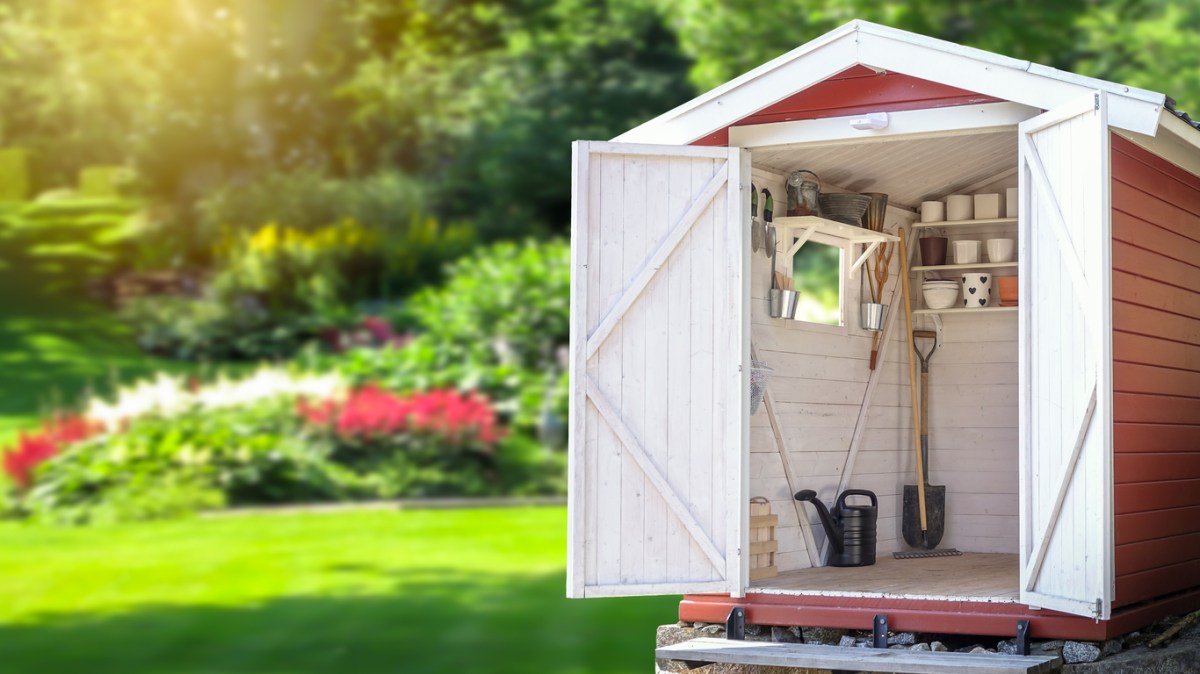
A shed lets you declutter the house, move tools and equipment out of the garage or basement, and be more organized and productive with chores. Hiring a contractor to custom build a shed might be cost prohibitive, and designing and building from scratch could be outside of your home improvement and carpentry skill sets. One affordable solution that’s available from home improvement and hardware stores—and increasingly sold online—is the DIY shed kit.
Cost efficient DIY shed kits often include all of the parts needed to build the shed, pre-measured and cut to size. A kit price is typically lower than the price of materials needed to build from scratch, and all of the planning and cutting has been done for you. It’s an easy choice, but it might not provide exactly the experience you have in mind. Read on to learn everything you need to know before buying a shed kit.
RELATED: How Much Does It Cost to Build a Shed?
1. You may need a building permit to construct a shed.
Once you have decided to build a shed, it might be difficult to contain your enthusiasm to get started. But before buying a shed kit, take some time to visit the local code office to find out about any rules and local codes that may restrict where it is constructed or how it is constructed. Since zoning restrictions sometimes limit the size or location where a shed can be built, you might be required to pull a permit through the local building authority.
If you live in a subdivision, neighborhood covenants may apply and limit details like color or material, so be sure to check with your homeowners association. Learning and following the rules will help you avoid costly penalties and frustrations later on.
RELATED: Setback Requirements: 7 Things All Homeowners Should Know
2. Bigger is usually better.

One of the most common mistakes that homeowners make in the planning process is underestimating the size of shed that they need. Avoid buying too small by listing the items you plan to store inside the shed. If possible, lay them out in one place to measure them.
Also consider any uses for the shed. Will you also use it as a workshop? Will large items like patio furniture be stored there in the off season? You will also want to add some extra space to allow freedom of movement. After determining the amount of space you will need, consider adding about 25 percent to the square footage.
RELATED: The Dos and Don’ts of Building a Shed
3. DIY shed kits come with certain limitations.
One of the big advantages of DIY shed kits is that they make planning and construction faster and easier than building from scratch. Shed kits come with pre-cut parts that are ready to assemble, and ship to your driveway in a convenient package. But they also come with some limitations.
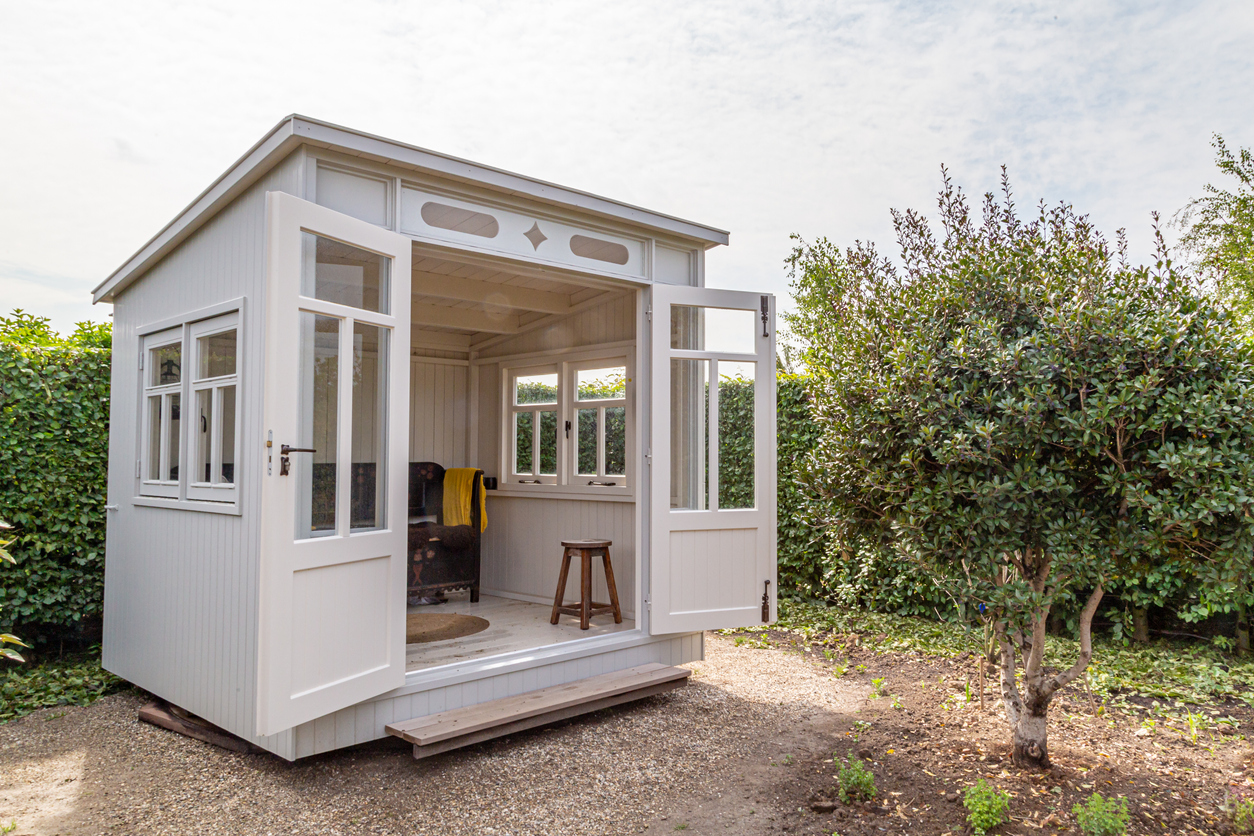
Although you can choose from a variety of styles and sizes, the kits can be difficult to customize. If you want to upgrade with details like operable windows, an extra door, a covered entry, electricity, or plumbing, the cost and complexity of the modifications quickly offsets the advantages of buying a kit (And, with electrical or plumbing, more local codes may need to be followed, and permits may be needed.
RELATED: 10 Rooms You Wouldn’t Suspect Were Actually Sheds
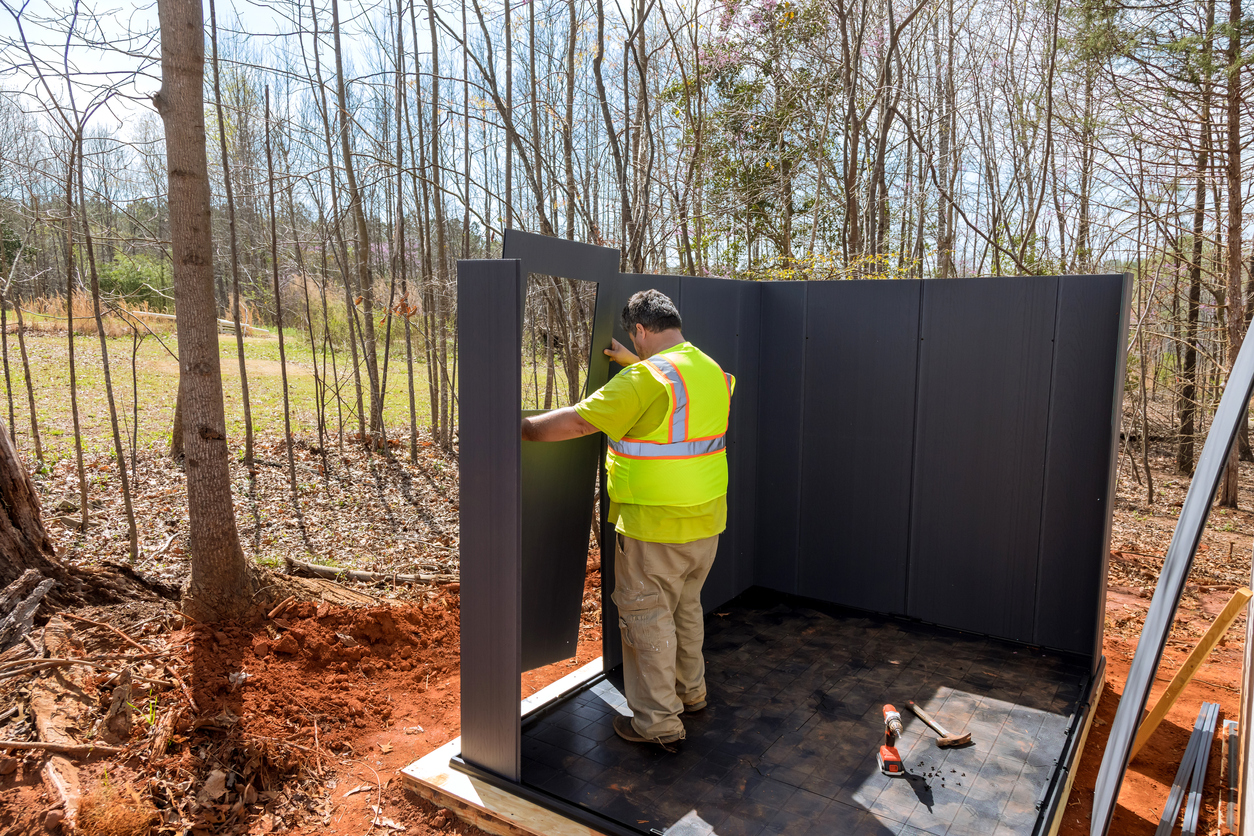
4. Constructing a shed kit can be a complicated project.
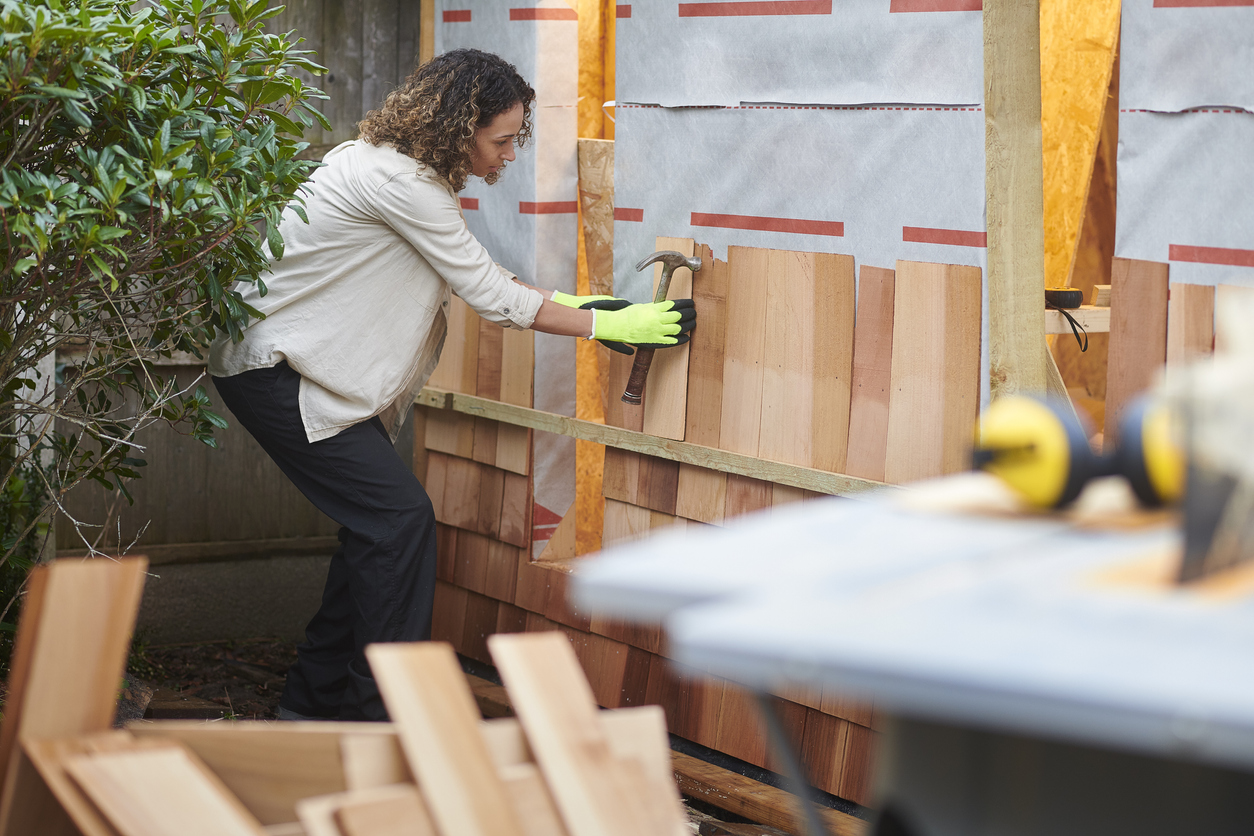
Even though buying a shed kit eliminates much of the planning and preparation, assembling the kit requires a moderate to high level of DIY skill. Parts include pre-cut lumber, pre-drilled sheet metal, and assorted hardware.
A small shed kit will come with hundreds of parts that must be checked before you start to build. Very few of the parts arrive pre-assembled. To assemble the parts correctly, you will need to follow the manufacturer’s directions, the quality and clarity of which varies greatly from one kit to another.
RELATED: Organize Your Garden Gear with 11 Crucial Buys
5. Site preparation is critical and may be costly.
Each assembly site is different, but one thing that remains consistent is uneven ground. Shed kits require a level base. The steeper the slope, the more intensive it becomes to prepare the site—more labor, time, and money.
Some of the most popular level shed bases include gravel pads, concrete slabs, concrete blocks, and screw piles. Each solution offers its own merits for different applications, and they all increase the time and cost of building a shed kit.
RELATED: 10 Totally Unexpected Uses for a Backyard Shed
6. Moving the kit to the site may be difficult.
On delivery day, your shed kit will arrive neatly packed on a pallet, usually on the back of a large truck. Depending on the size of the kit, it may be unloaded with a hand cart, pallet jack, or with a piggyback forklift. However it arrives, the delivery person will most likely leave it in your driveway. The first step of construction will be to move all of the parts to the build site.
Consider the difficulty of accessing the shed site with the building materials. When it comes to a forklift delivery, the driver may be willing to place the kit close to the build site, but you’ll have to make sure the vehicle can get there.
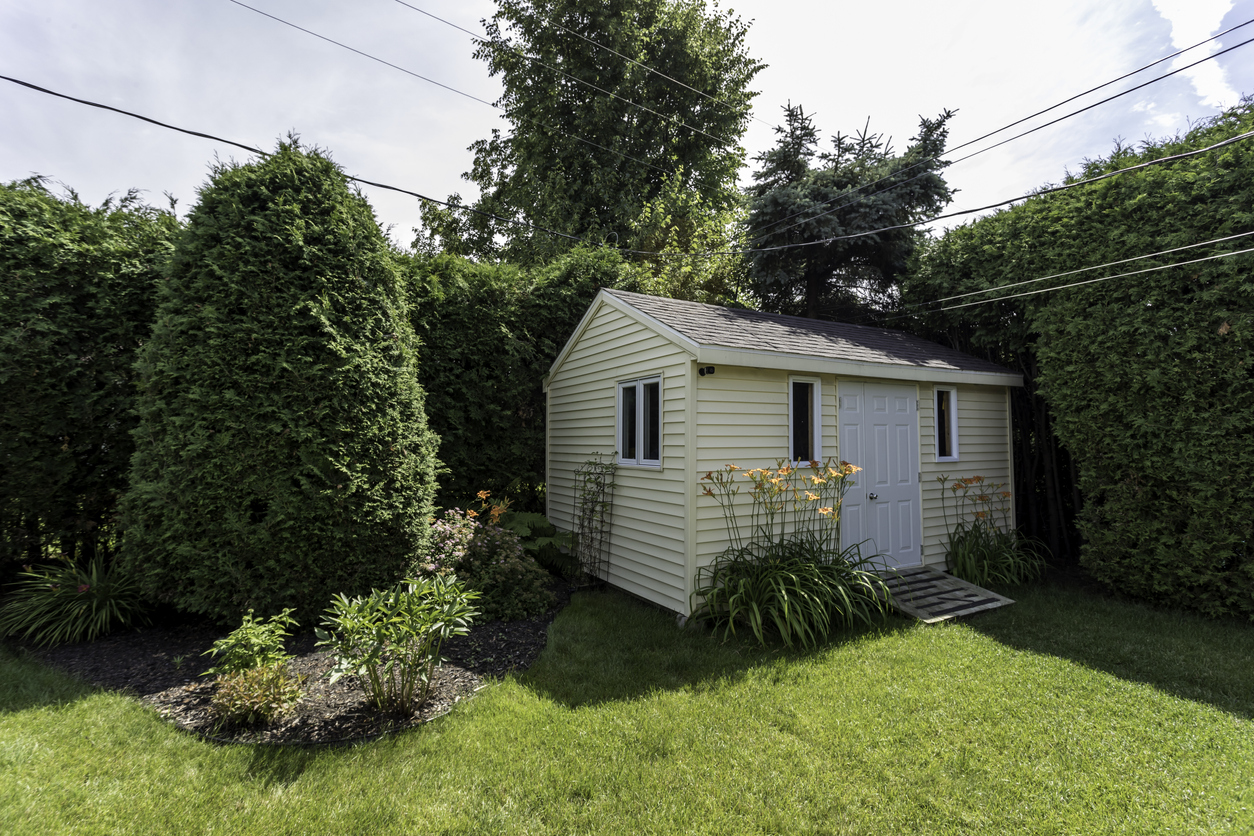
Pro tip: Before arrival day, it may be worthwhile to temporarily relocate landscape plants or remove a section of privacy fence to create an access point.
RELATED: 22 Sneaky Storage Solutions for Your Deck, Porch, and Patio
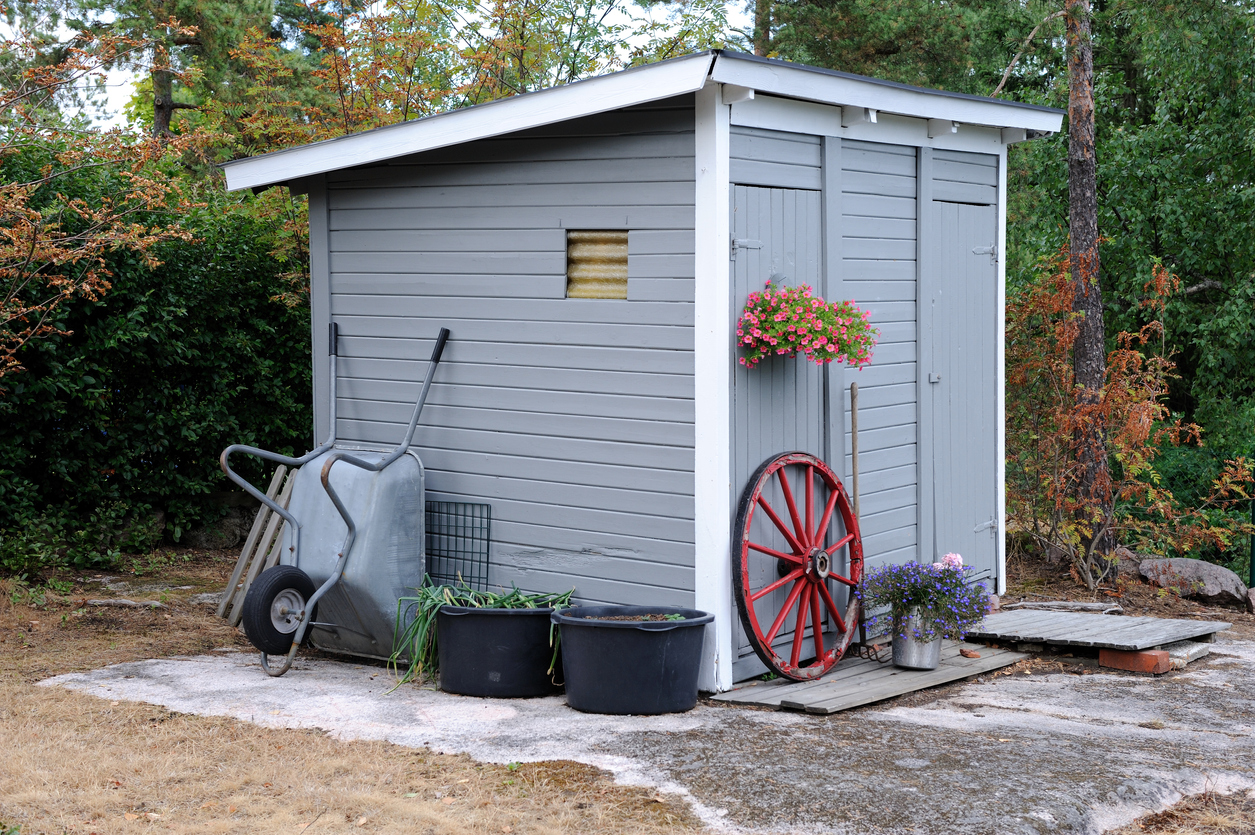
7. Shed kits often include low cost, light-duty materials.

The cost savings normally associated with shed kits may equate to lower quality. Wood shed kits are often framed with 2×3 lumber on 24-inch centers, instead of 2x4s on 16-inch centers. Steel shed kits rely on the structural integrity of lightweight U-channels (also called hat channels) instead of tubular framing, and they almost never include a floor. In the fast production factory environment (in which the parts are cut and drilled), sometimes the measurements are not precise.
Some shed kits may not look perfect once assembled and may not improve the appearance of your yard. These lightweight materials keep the total cost low and make shipping and handling much easier, but the result is a lightweight shed that may not be as durable as you’d prefer.
RELATED: 9 Simple Ways to Make Your Shed Match Your House
8. Consider the tools required to complete the job.
To create a level base for the shed kit, you will need grade stakes, mason’s line, line level, mattock (a pick that is used to loosen dirt), shovel, and rake. Additional tools for carpentry or concrete work will also be required depending on the type of base you are building.
Assembling a pre-drilled steel shed kit may only require a screwdriver, pliers, and a socket wrench. For a wooden shed you’ll need a hammer, tape measure and pencil, builder’s square, level, chalk line, tin snips (for roofing), hand saw (or powered saw), and step ladder. After building a wooden shed, you will need a caulk gun and paint roller and brushes to finish the job so it’s weather-ready.
RELATED: Building the Essential Toolbox: 20 Tools You Can’t DIY Without
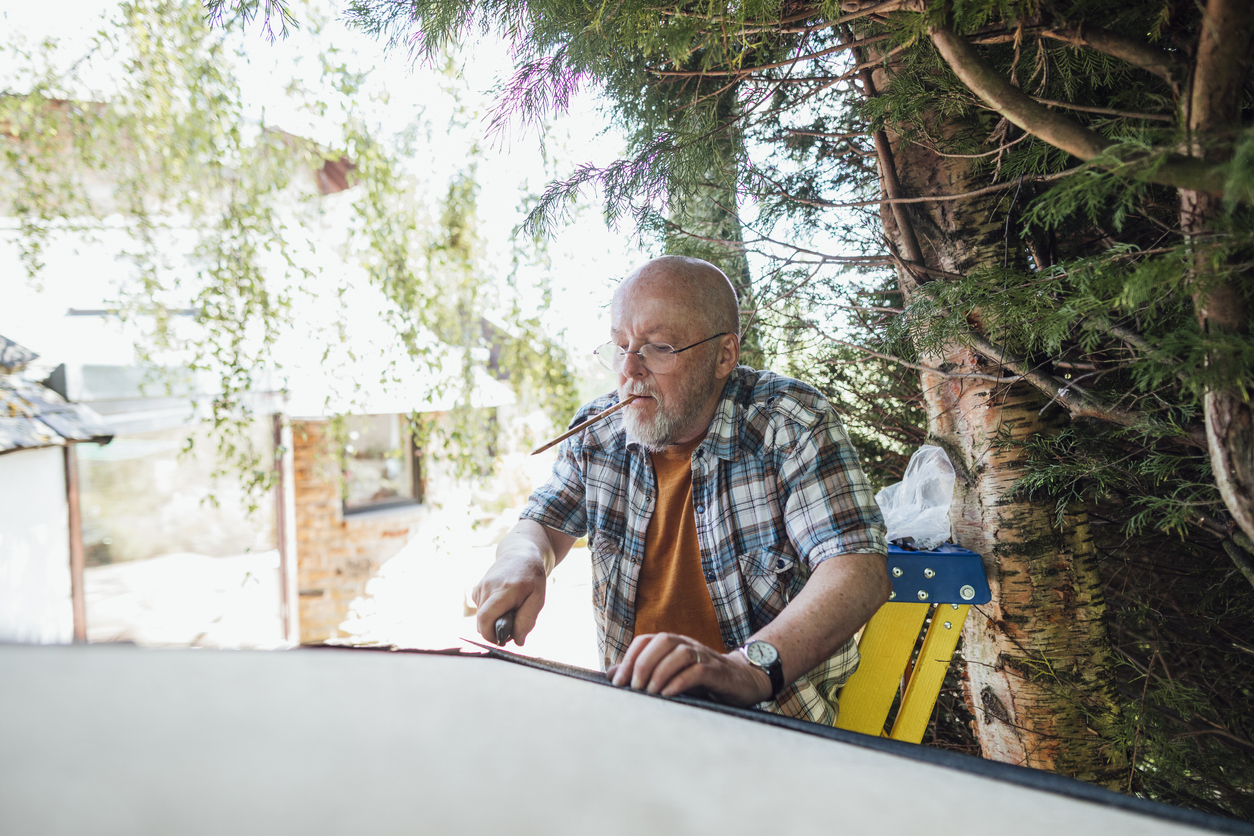
9. Building a DIY shed kit may be more time consuming than you think.
When you factor in site leveling and construction of a level base–and in the case of steel sheds, building a floor–assembling a DIY shed kit might take more than one weekend to complete. Experience matters, too. Advanced DIYers are better equipped than first timers to improvise when a rafter is cut too short or holes don’t align properly.
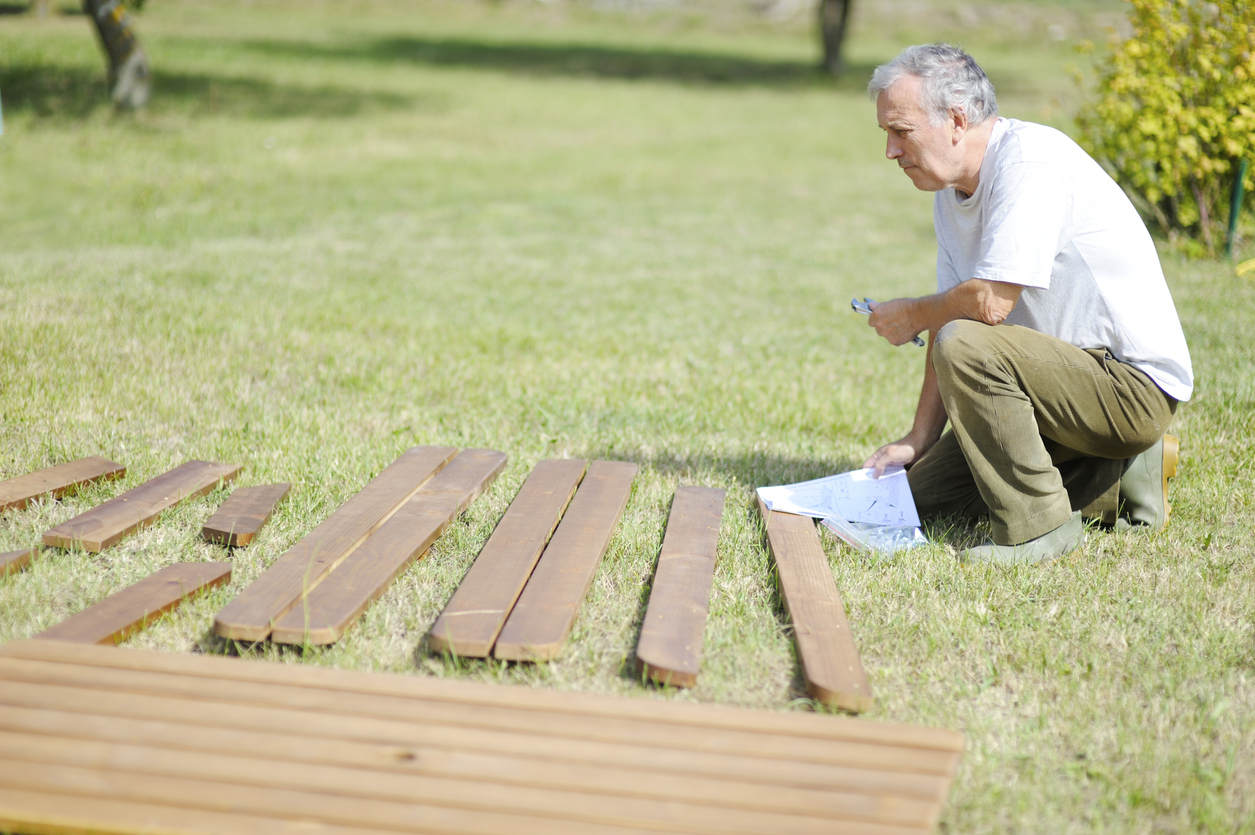
In order to be most productive with your time, read the instructions from start to finish and make sure you have all the parts before you even start. Working with a partner also helps significantly.
RELATED: 8 Tiny Backyard Buildings for Work or Play
10. You could hire a handyman to assemble the kit.
Although a DIY shed kit can be a relatively inexpensive storage solution with much of the planning and preparation done for you, building one isn’t for everyone. If you’re not much of a DIYer but need a simple, inexpensive shed, you may still be able to save money by purchasing a kit and paying someone to assemble it.
Handyman rates vary significantly for a project like this, from less than $50 per hour to more than $125 per hour. The size and scope of the project will determine the exact price. Hiring a pro will add to the overall cost, but you might still spend less than if you hired a carpenter to design and build a custom shed from scratch.