
We may earn revenue from the products available on this page and participate in affiliate programs. Learn More ›
Q: I’ve removed some carpet and want to refinish the hardwood floors below. What should I use to fill the holes left by the carpet tack strip and the staples that held the carpet padding?
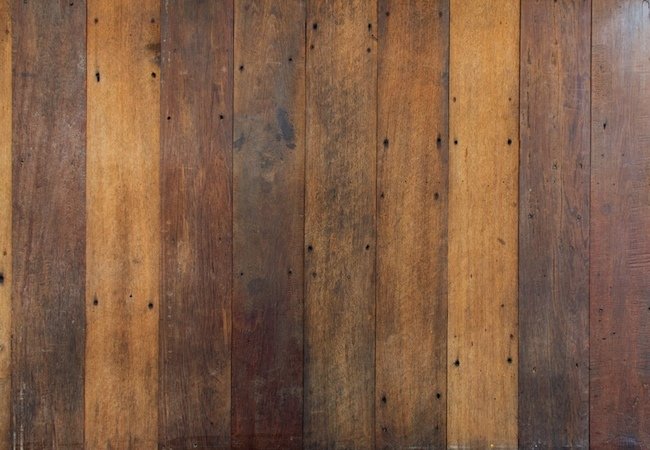
A: Floorboards are rarely face-nailed, at least not in modern installations. So these days, the situation you describe—the condition of a floor after the removal of wall-to-wall carpeting—is one of the only times that a homeowner would encounter hardwood flooring riddled with small holes.
What’s the best remedy? That depends on whether or not, as part of the wood floor refinishing process, you are planning to sand the floor down to bare wood. If yes, then I suggest using wood filler. But if not, I recommend a similar but different product: wood putty. The former hardens and can be sanded. The latter never dries completely and is not intended for sanding; it’s an after-the-fact fix.

Wood Filler for Bare Wood
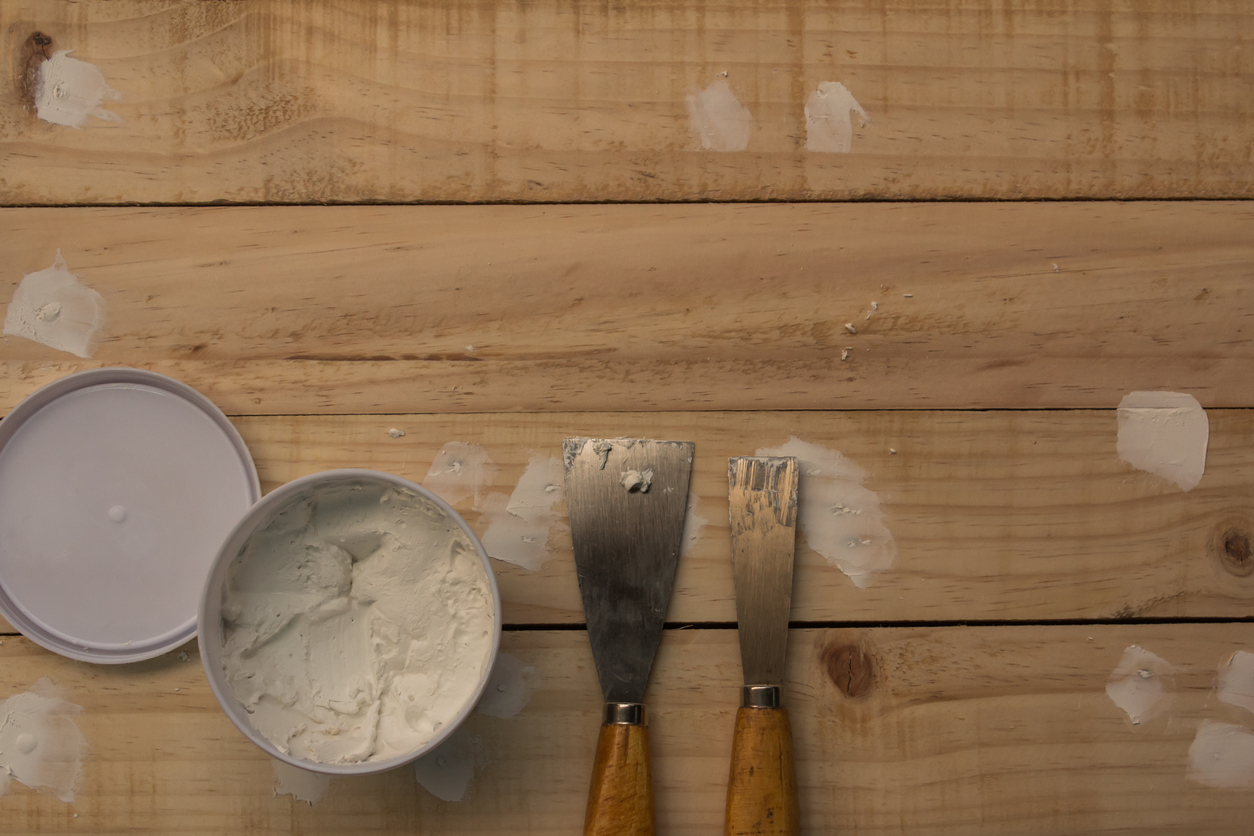
Knead a small amount of stainable latex wood filler (like this one from Minwax, available on Amazon) before pressing some of the product into each nail hole in turn, using a putty knife or a three-inch trowel.
Clean any mislaid filler before it has the chance to harden, but don’t worry if you miss some. There’s no need to be meticulous. After all, you’re going to sand down the entire area.
In the case of shallowly applied wood filler, you can begin sanding once the product has dried, somewhere between 15 to 30 minutes, depending on the depth of the repair. For deeper holes, wood filler takes longer to dry, sometimes as long as 8 or 10 hours.
Be advised that the filler may shrink as it dries, making a second, supplemental application necessary. Also, filler doesn’t take stain the same way wood does, so a seamless look may be difficult to achieve.
Wood Putty for Finished Floors
Whereas it doesn’t so much matter which type of wood filler you end up using, when you’re working with wood putty (view example on Amazon) it’s crucial to select the most appropriate product. Here, the goal is to identify a shade of putty that matches as closely as possible the color of your flooring.
If you can’t find a putty that looks just like your floor finish, consider mixing two or more putty shades together; the blend may get you closer to the mark than any single shade could have. Simply knead the putties together until they become pliable, then press the product into each nail hole.
Be careful to use a tool that won’t scratch the sanded floor—a plastic putty knife is ideal. Don’t worry when the putty doesn’t appear to be drying; it’s actually not supposed to dry. Wipe away the excess with a soft cloth and call it a day.
Tempting though it may be, don’t use plaster-like fillers, such as spackling or joint compound, whether you plan to sand the floor or not. These products dry to a brittle finish and are almost certain to loosen due to floor movement.