
We may earn revenue from the products available on this page and participate in affiliate programs. Learn More ›
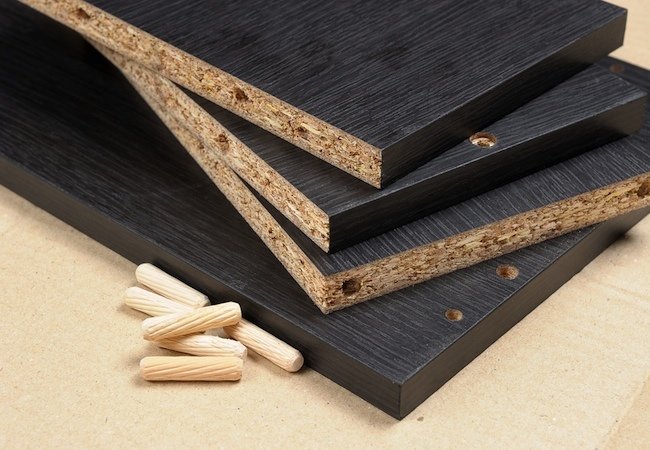
Years ago, you purchased particleboard furniture at IKEA. Maybe it’s begun to show its age, or maybe you simply no longer like the color. Either way, you can—contrary to popular belief—renew your furniture’s lease on life with a fresh coat of paint.
The work demands a certain amount of preparation; paint projects always do. We’ve detailed those steps for how to paint IKEA furniture below. Follow this guide, and it’s eminently possible to get the job done successfully, transforming the look of the Lack or Expedit you’re still not (or never will be?) ready to part with.
RELATED: 10 IKEA Favorites Make Better by a DIY Paint Job
Tools & Materials
Bobvila.com may earn a commission from purchases made through these links.
STEP 1: Start disassembling your IKEA furniture.
When you set out to paint IKEA furniture, start by pulling off all the removable pieces. That includes such things as shelves and doors (components that are easier to paint separately) and hardware, such as hinges and knobs. Label each piece as you set it aside so that once finished, you’ll know what goes where.
STEP 2: Clean any dirt and grime that has collected on the furniture.
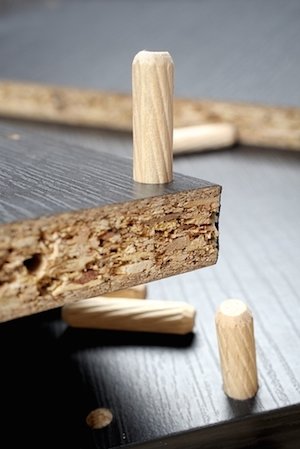
Next, use a clean cloth to wipe down all surfaces with a mixture of warm water and a small amount of dishwashing detergent. The aim here is to eliminate any built-up grit. As you clean the particleboard, be very careful not saturate the material. Clean only the laminate portions of the furniture, not the pressed wood. Once you’ve finished, go over the piece with a dry cloth to remove any lingering soap residue.
STEP 3: Sand all sides to be painted.
Having allowed the IKEA furniture enough time to dry completely, proceed to sand the surface with 120- or 140-grit sandpaper. Here, scuff the laminate enough so that the first primer coat can adhere. Steer clear of sanding too aggressively, which can leave the surface uneven or cause the particle board to deteriorate.
STEP 4: Cover with oil-based paint primer.
When you’ve finished sanding, wipe the sanding dust off the furniture and vacuum the work area so that the dust doesn’t find its way back. Now, with a quality paintbrush, apply a coat of oil-based primer and let it dry.
STEP 5: Apply a second coat of primer and wait for it to dry completely.
Sand the furniture a second time, this time with 400-grit sandpaper. Clean the sawdust off the furniture and work area before applying the second coat of primer. Before you proceed to the next step, be sure to wait a few days—or as long as a week—for the primer to fully cure.
STEP 6: Lightly sand and paint the IKEA furniture.
Lightly scuff the primed surfaces with medium-grit sandpaper, wipe away the sanding dust, then apply the first coat of paint in the color of your choice. Do so in a thin layer, allowing a day or two of drying time.
STEP 7: Apply a second coat of paint.
Lightly sand the first coat of paint, wipe away the sanding dust, then brush on the second, final coat. Give it a couple of days to dry, reassemble the furniture, replace the hardware, and you’re all done!