
We may earn revenue from the products available on this page and participate in affiliate programs. Learn More ›

Shimming a door frame is a skill anyone planning to install a new door into a rough opening should know. When carpenters build the rough framing for a doorway, they typically leave an opening that’s a little larger than the door jamb. This gap allows for some wiggle room so the finish carpenter installing the door frame can make it as level and plumb as possible. The shims help support the door through this leveling process, and provide the finish carpenter sturdy spots through which they can screw the door frame to the rough opening.
Tools & Materials
Bobvila.com may earn a commission from purchases made through these links.
Before You Begin
While installing a door is a job most DIYers can handle, it typically requires two people, as even the lightest interior prehung doors weigh more than 50 pounds. With that in mind, you’ll need an extra set of hands to hold the door frame in place while you install the shims, level the frame, and install the fasteners.
STEP 1: Remove the prehung door from the frame.
Remove the pins in the hinges with a nail set and hammer, then pull the door out of the frame. Set the door aside and place the frame inside the rough opening about where it should be positioned. Make sure the side jambs and head jamb are even with the wall on both sides and the top to allow for the installation of molding later on.
RELATED: Standard Door Size 101: Important Measurements All Homeowners Should Know
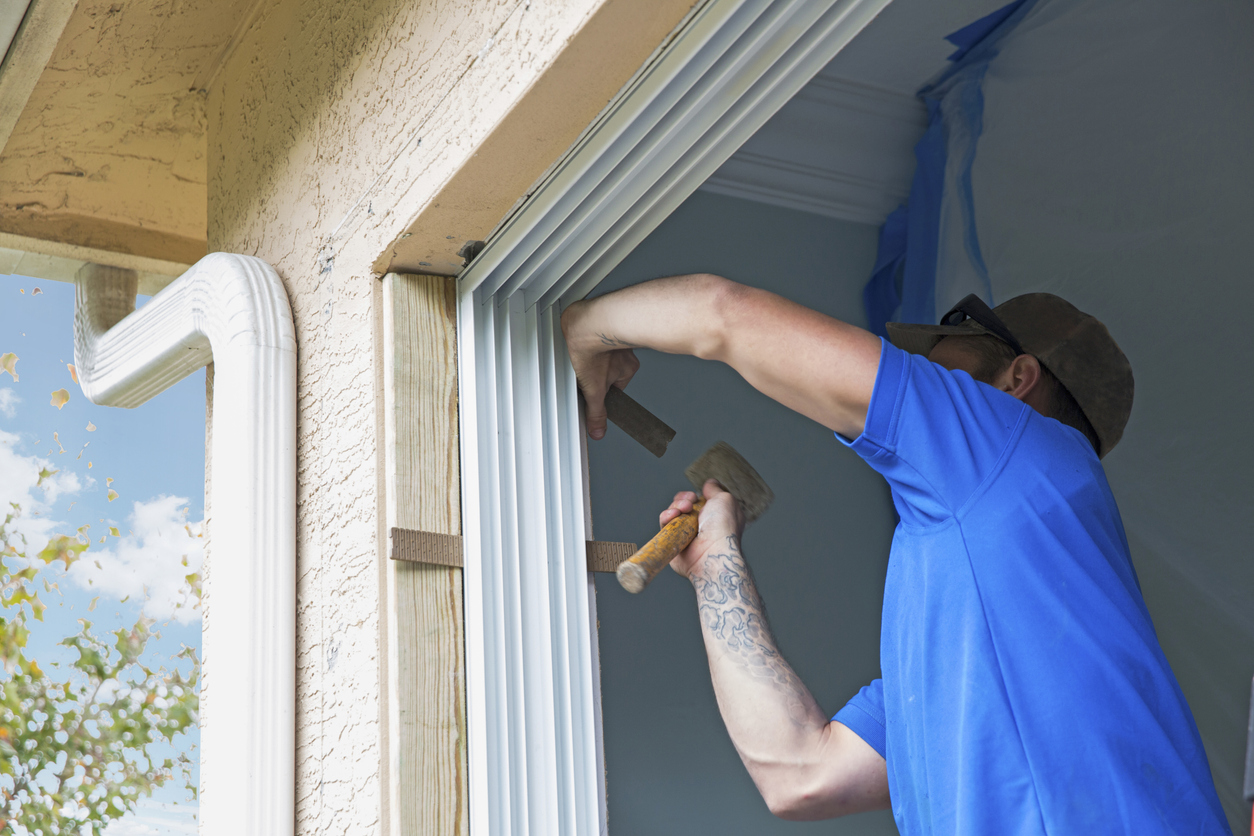
STEP 2: Add shims to the door frame’s sides and header.
Shims are tapered, with a thin end and a wide end. Begin by adding the side shims, which will hold the door frame in place. Insert door frame shims in pairs on either side of the door at the top, bottom, and lower part of the frame at the location of each hinge for a total of six pairs. Tap the shims in with a hammer until there is enough tension to hold the door upright on its own. Use the level as you add each shim to make sure the door is plumb. Finally, add shims thin end first horizontally between the top of the door frame and the rough framing above the doorway.
STEP 3: Adjust the shims so the door is plumb and level.
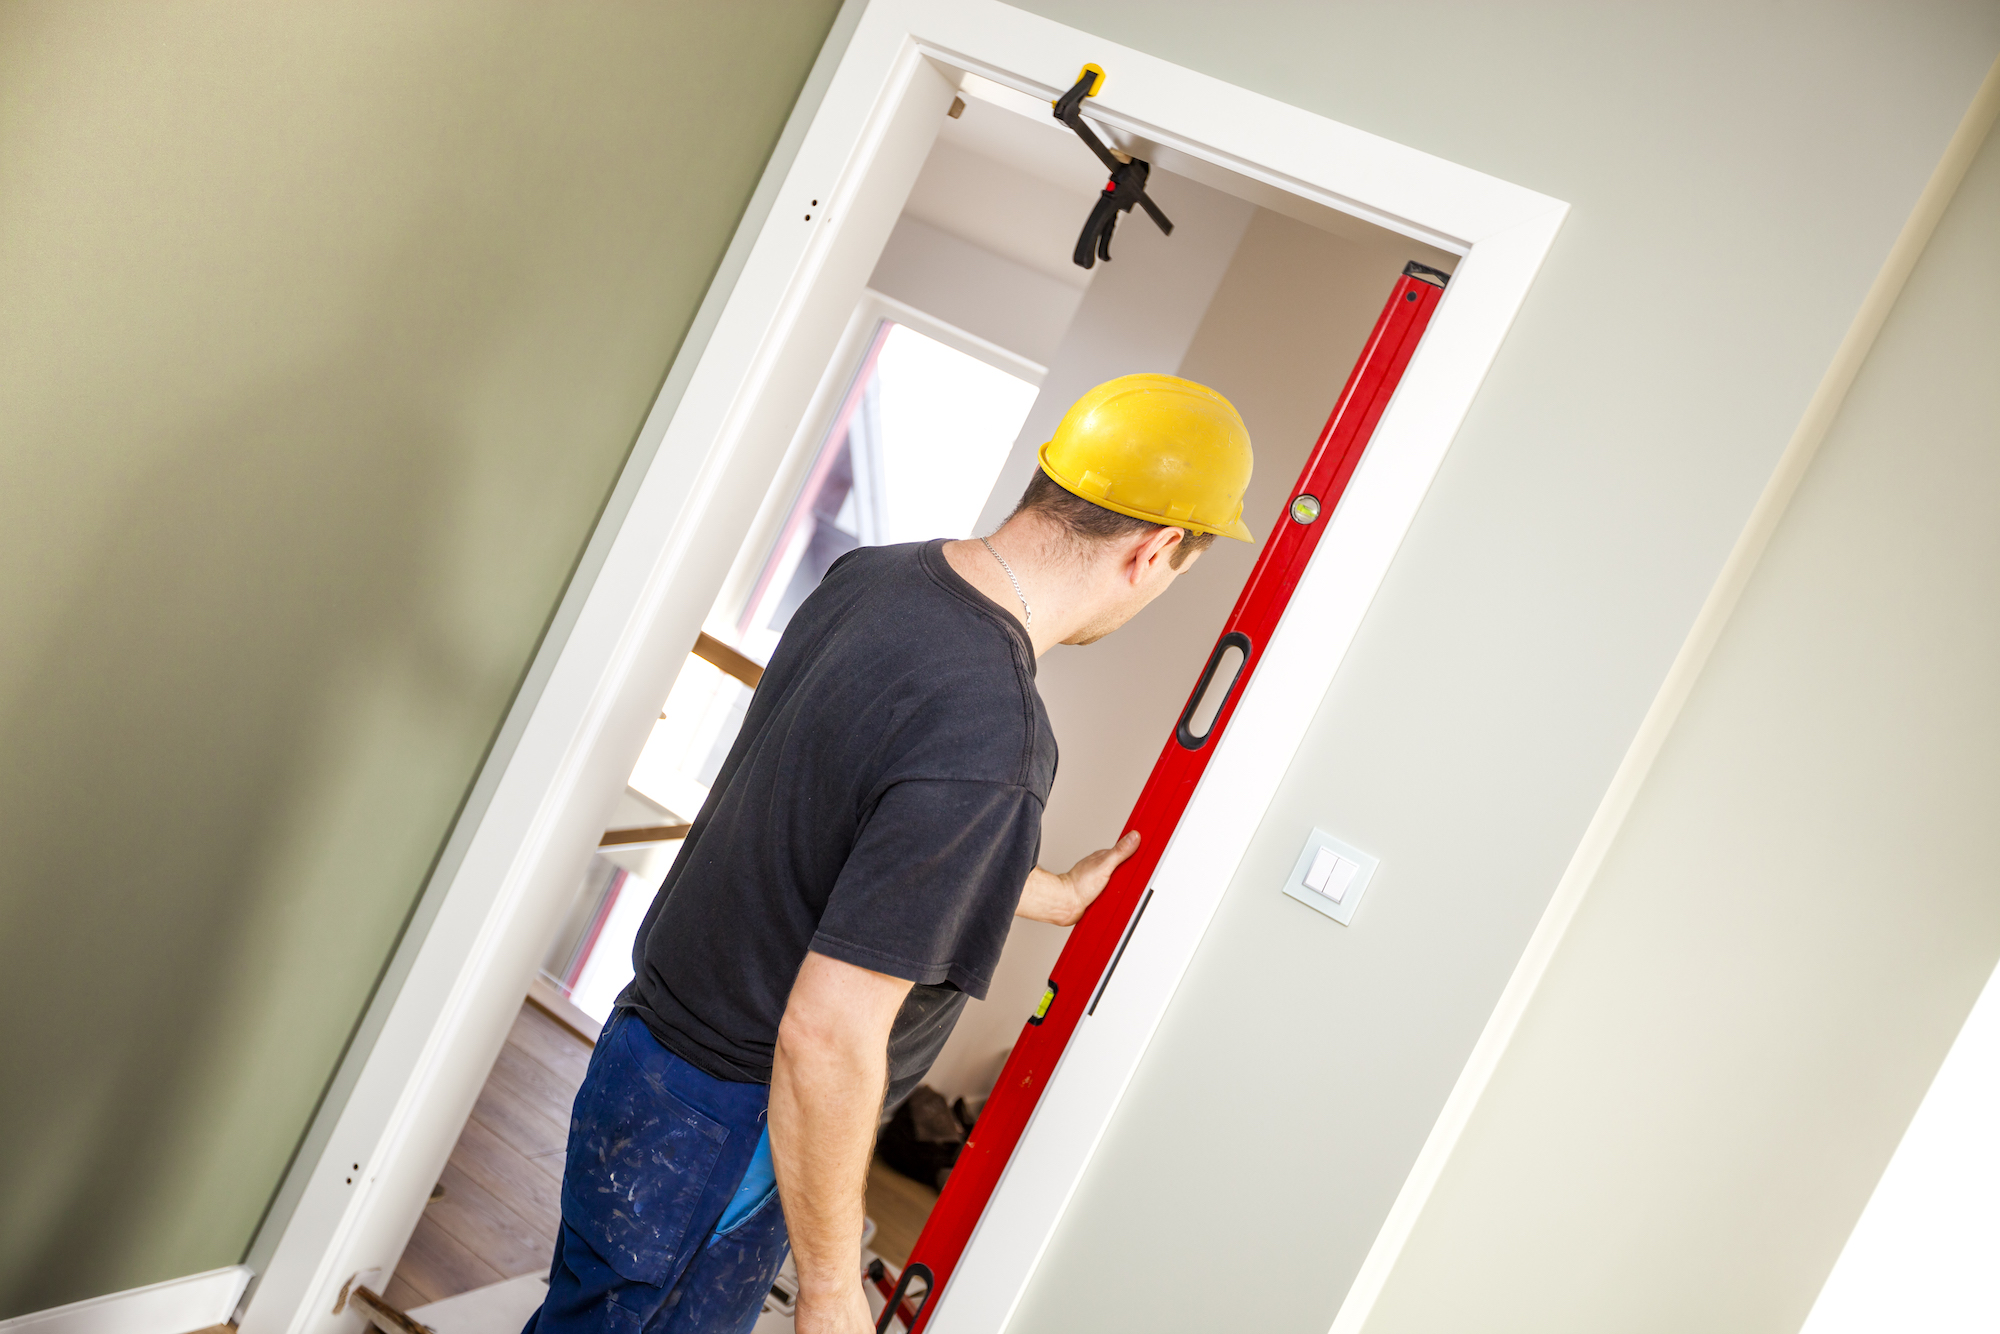
Using the level, check the entire frame, including the interior and edges of the jamb, to make sure it’s properly aligned inside the rough opening. Make adjustments to the shims until the door is level and plumb. Double-check to make sure the door jambs are flush with the rough framing to allow for the installation of the door trim.
STEP 4: Secure the door shims with screws.
Fasten the door jamb to the rough framing with 3-inch screws, using a cordless hammer drill equipped with a Phillips-head screwdriver bit. Make sure to drive the screws all the way through the jamb and the shims and into the rough framing. Each screw must penetrate a door shim. Do not drive screws through parts of the jamb where there is a gap with the rough framing as this will stress the door frame. Countersink the screws so they don’t interfere with the door or hinges, but make sure not to overtighten them, which could affect the door frame’s alignment. Break off any shim ends that are sticking out beyond the edge of the frame.
RELATED: The Best Door Stoppers of 2022
STEP 5: Reinstall the door and trim.
If you’re replacing an existing door, reattach the trim around the door frame, covering the gap between the rough carpentry and the door jamb. If you’re installing a door on a new doorway, you’ll need to use a chop saw or miter box to cut new trim to size to fit around the doorway. Once the trim is in place, reinstall the door by positioning it inside the frame and sliding the hinge pins back into place. Finally, test the door to make sure it opens and closes easily without rubbing against the door jamb.
Final Thoughts

By following the steps in this door shimming guide, you can ensure a successful installation of a new door or the reinstallation of an existing one. Keep in mind that once the door is installed, it may rub against the frame when it opens and closes. This doesn’t mean the door jamb installation was completed incorrectly. It just means that some adjustments are in order. Simply determine where the door is rubbing, and tighten the screws in the hinges accordingly. Tighten the screws in the top hinge if the door rubs near the top of the side jamb or the bottom hinge if the door rubs near the bottom of the side jamb. If that doesn’t solve the problem, consider buying door hinge shims or door hinge spacers, which are used for shimming door hinges.
FAQs About How to Shim a Door
Still have questions about how to get your prehung door level and plumb in its opening? Read on for more details about how to use shims for this project.
Q: What is a shim?
A shim is a thin wedge of wood that is used to fill small gaps between two adjacent objects. There are also shims for door hinges that are used to correct a door that’s rubbing against the jamb. Shims are commonly used in the installation of prehung doors and windows, which are made to be slightly smaller than the rough openings they fit into.
Q: How much space do you need to shim a door?
The rough opening typically allows for about ½ inch of shimming on each side of the door frame. If the rough opening is wider, you can tack ½-inch shims together to fill the space.
Q: Can you hang a door without shims?
While it is possible to hang a door without shims, you do need to secure the door to the rough frame while keeping it level and plumb. Shims are the most common solution, although some manufacturers also make metal brackets that perform the same function.