We may earn revenue from the products available on this page and participate in affiliate programs. Learn More ›
Keep Your Bicycle Safe, Secure, and Out of the Way

Bicycles are a timeless joy. They offer an environmentally friendly mode of transportation, a great tool for exercise, and a fun pastime for enjoying fresh air and seeing the sights. To keep them from adding clutter to your yard, garage, apartment, or home, and to ensure their safety while transporting them, we’ve gathered up some clever bicycle storage ideas for different budgets, styles and purposes.
Simple, Stylish Pegs

If you don’t have a garage to store your bike, try putting it on display the stylish way in your home. These sleek pegs will hold your bike on a wall, offering an aesthetically pleasing option for your bicycle storage idea
Heavy Duty Garage Hooks
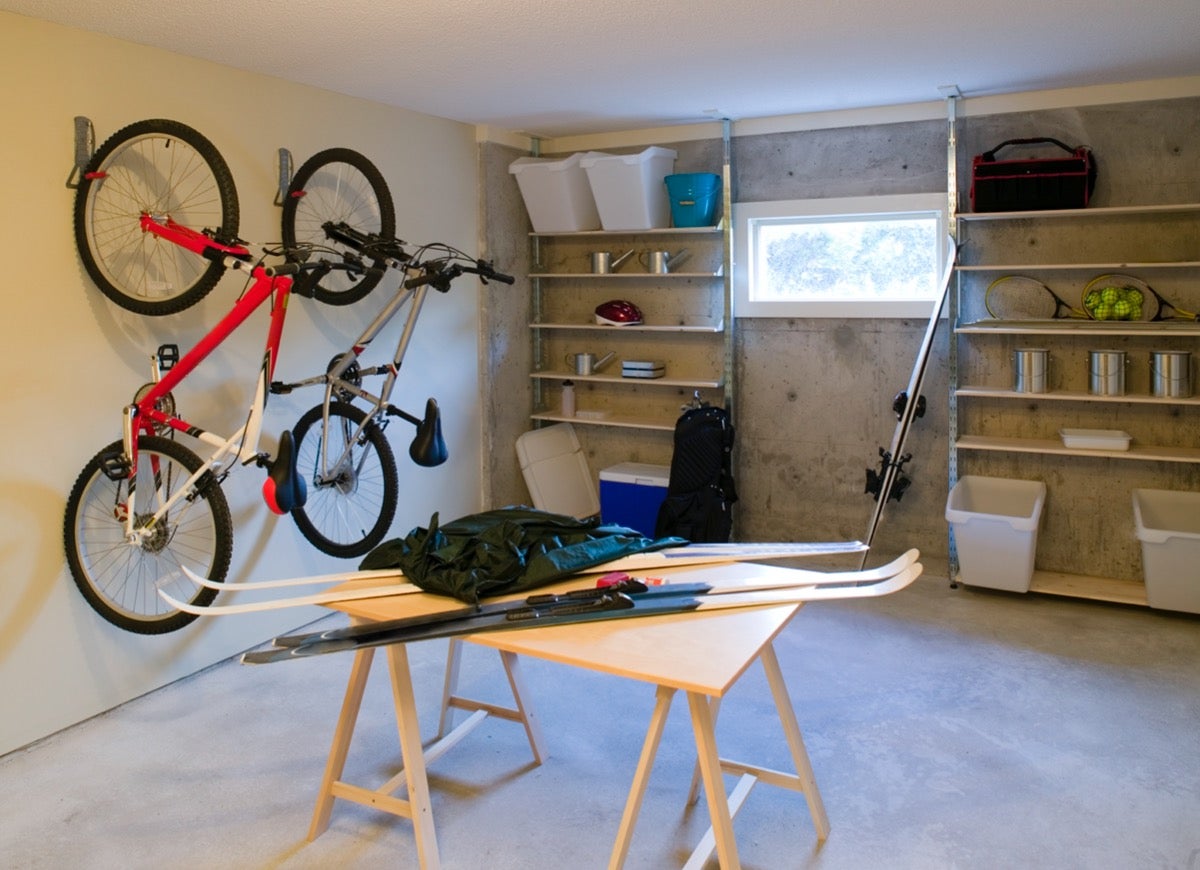
Another option for vertical bike storage are these heavy duty hooks. While it may seem like a quick fix to jam your bikes together in a corner, you’re taking up valuable space! These hooks are a great option for your bicycle storage ideas, as they utilize unused wall space.
Vertical Bike Storage
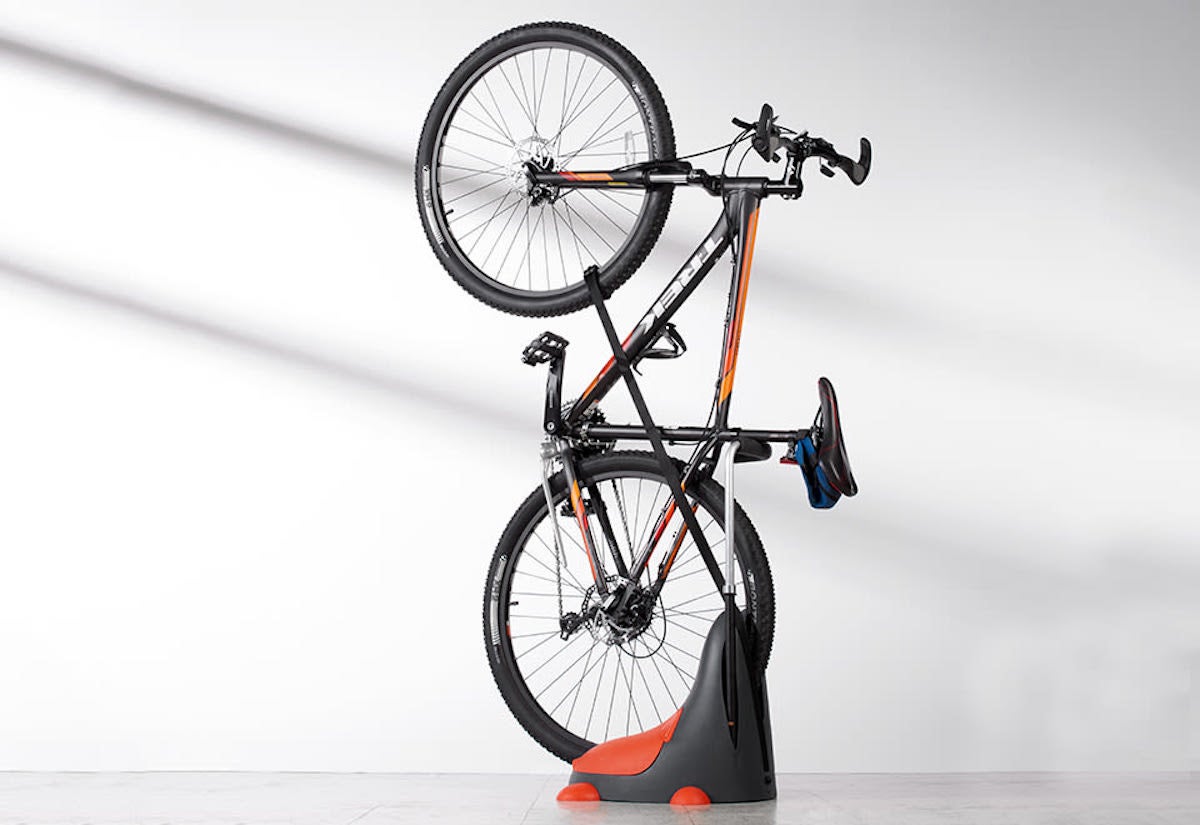
If you’re looking for versatile bicycle storage ideas, check out this design (available at Sharper Image). If you have the wall space, you can roll your front wheel into the stand to secure it horizontally. For vertical bike storage, roll your rear wheel into the stand and flip your bike to store it on one wheel.
Garage Ceiling Bike Storage Hooks
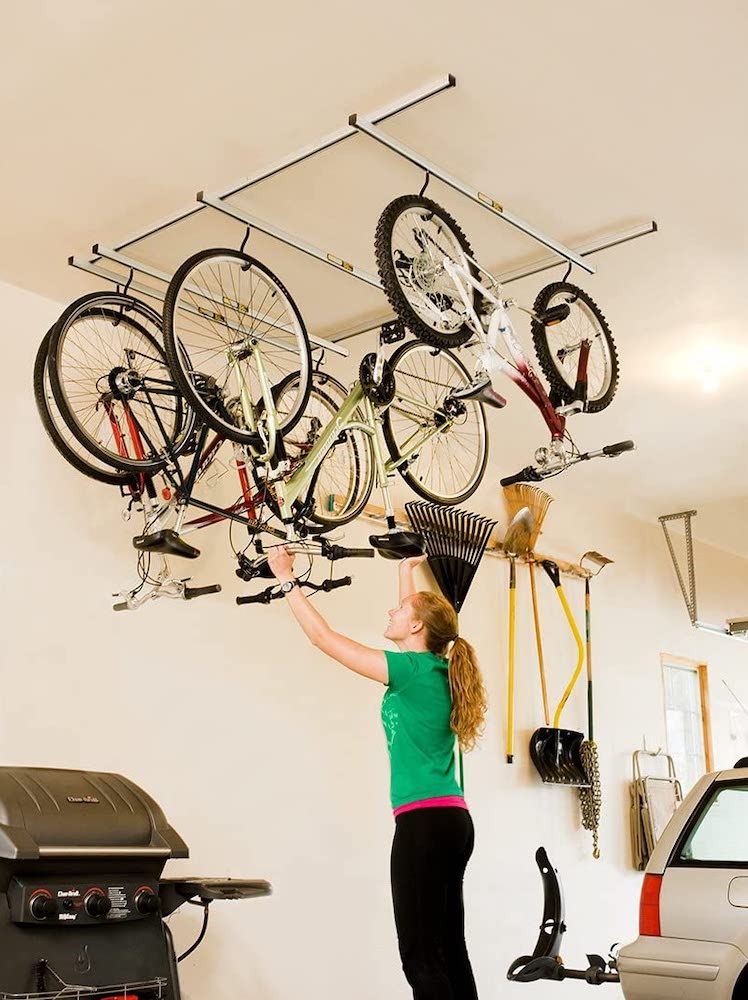
The ceiling is often overlooked in terms of bicycle storage possibilities. With the simple use of these hooks (available on Amazon) screwed into the garage ceiling, you can securely store your bicycle out of the way.
Weatherproof Bike Tent
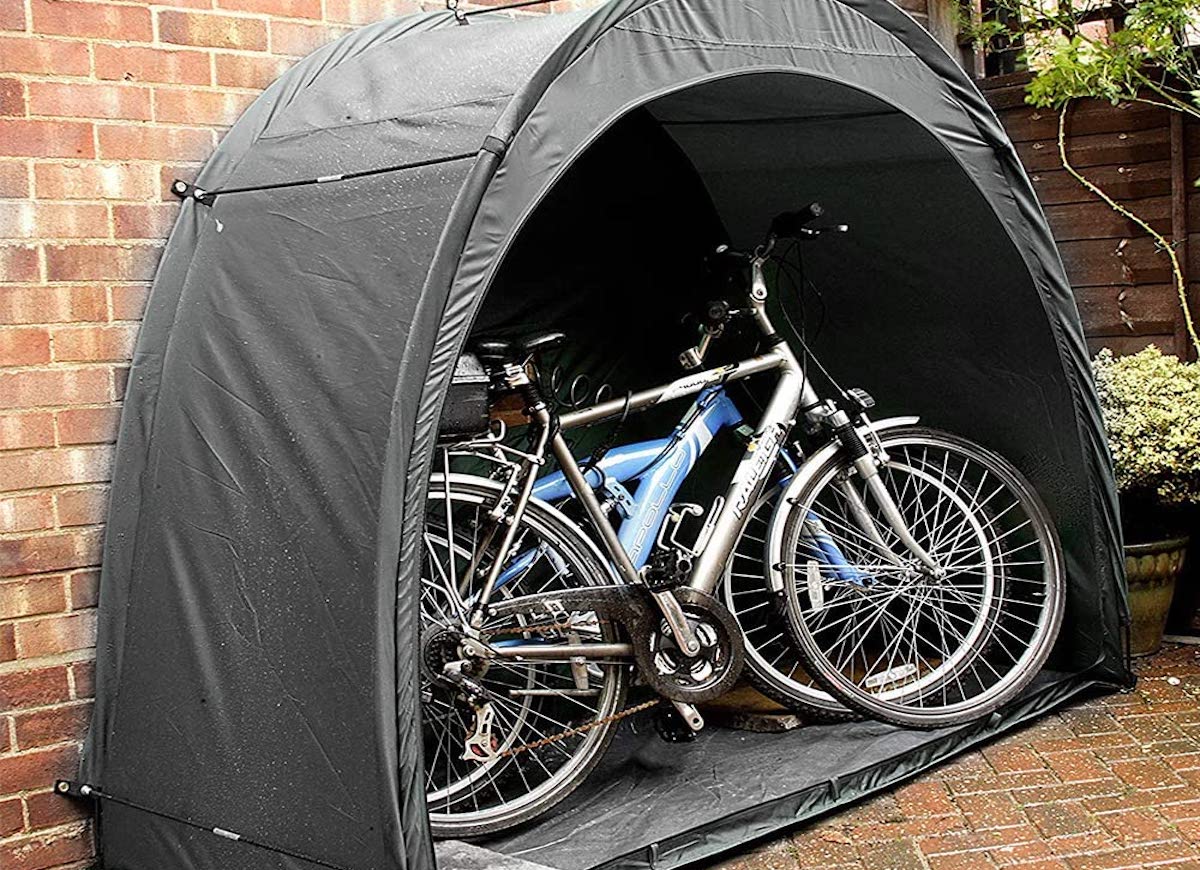
If you have a number of bikes you’d like to shield from the elements, weatherproof outdoor bike storage is essential. A space-saving bike storage tent made of tear-resistant and UV-resistant tarpaulin will do the trick (available on Amazon). And because it can be quickly installed and dismantled in less than 10 minutes without tools, it should definitely be on your list of clever bicycle storage ideas.
Mounted on a Wall
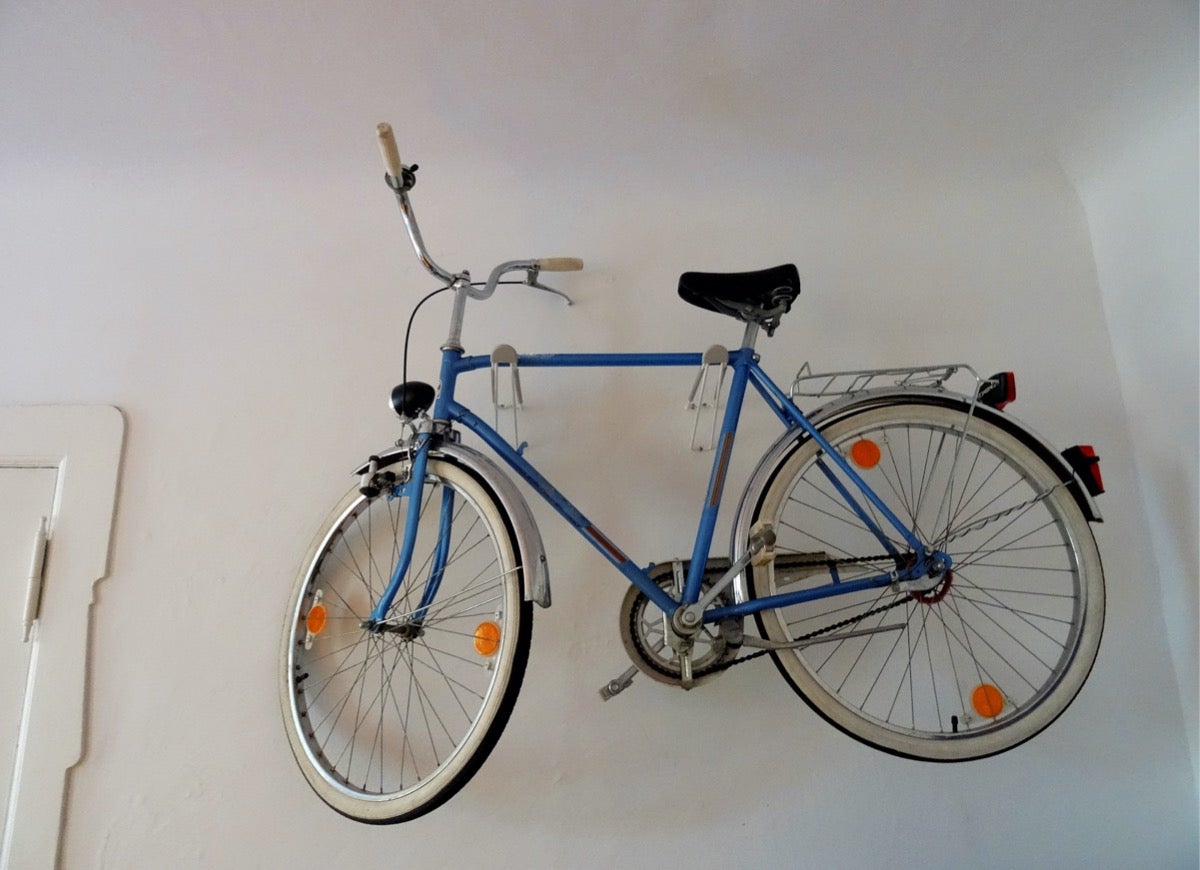
If you have a gorgeous bike you don’t want collecting dust in the garage, and have a wall in your home begging for something unique, try hanging up your wheels. This vintage bike is functional art! It’s a fun bicycle storage option for both an apartment or a big home.
Small Bike Storage Shed

For easy access to bikes, add this clever option to your bicycle storage setup (available at Home Depot). Its large capacity, low profile design and three-door locking system ensure it takes up little space while offering secure bike storage.
Old School Bike Rack
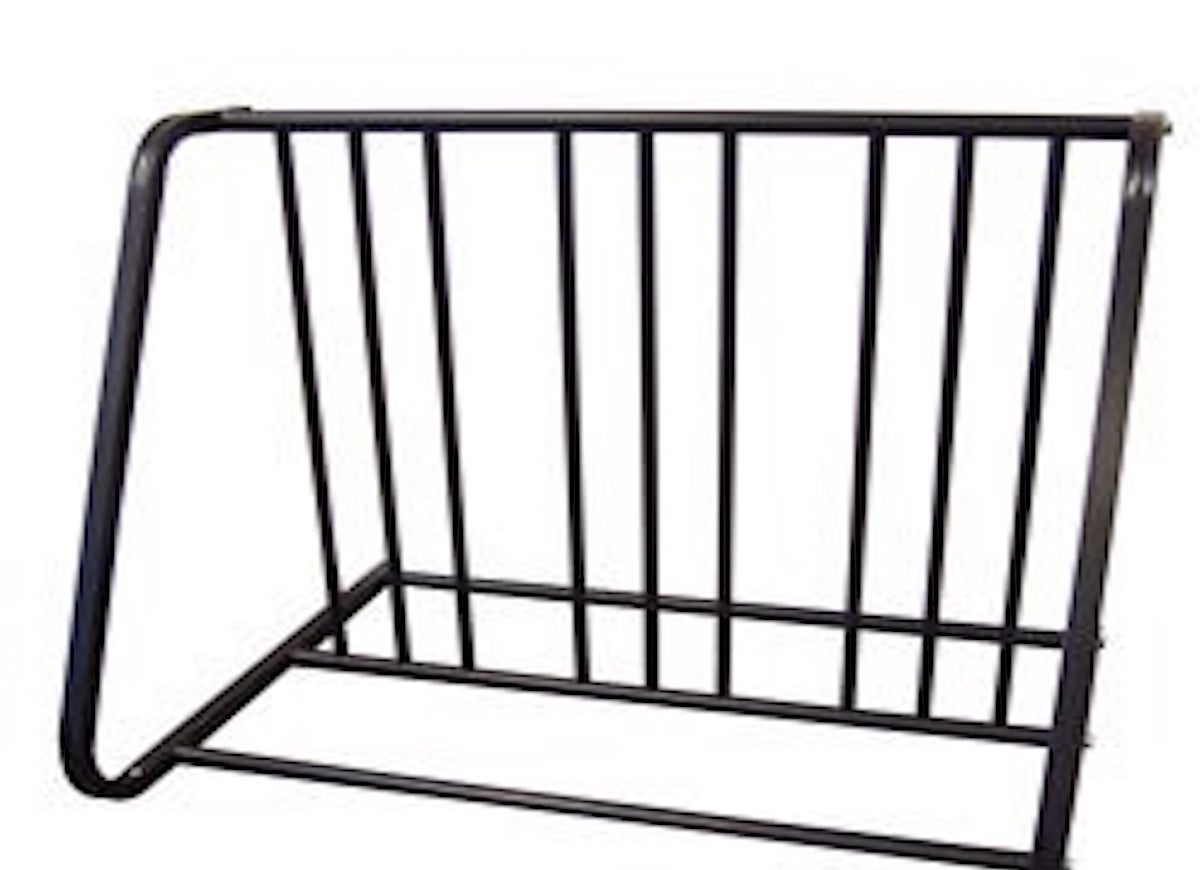
For a fun-meets-functional way to hold bikes, this rack (available on Overstock) should definitely be on your radar for clever bike storage on the floor. Providing easy-meets-organized access in the garage, or out in the open in the driveway, these metal floor racks have room for six bikes.
Durable Cover
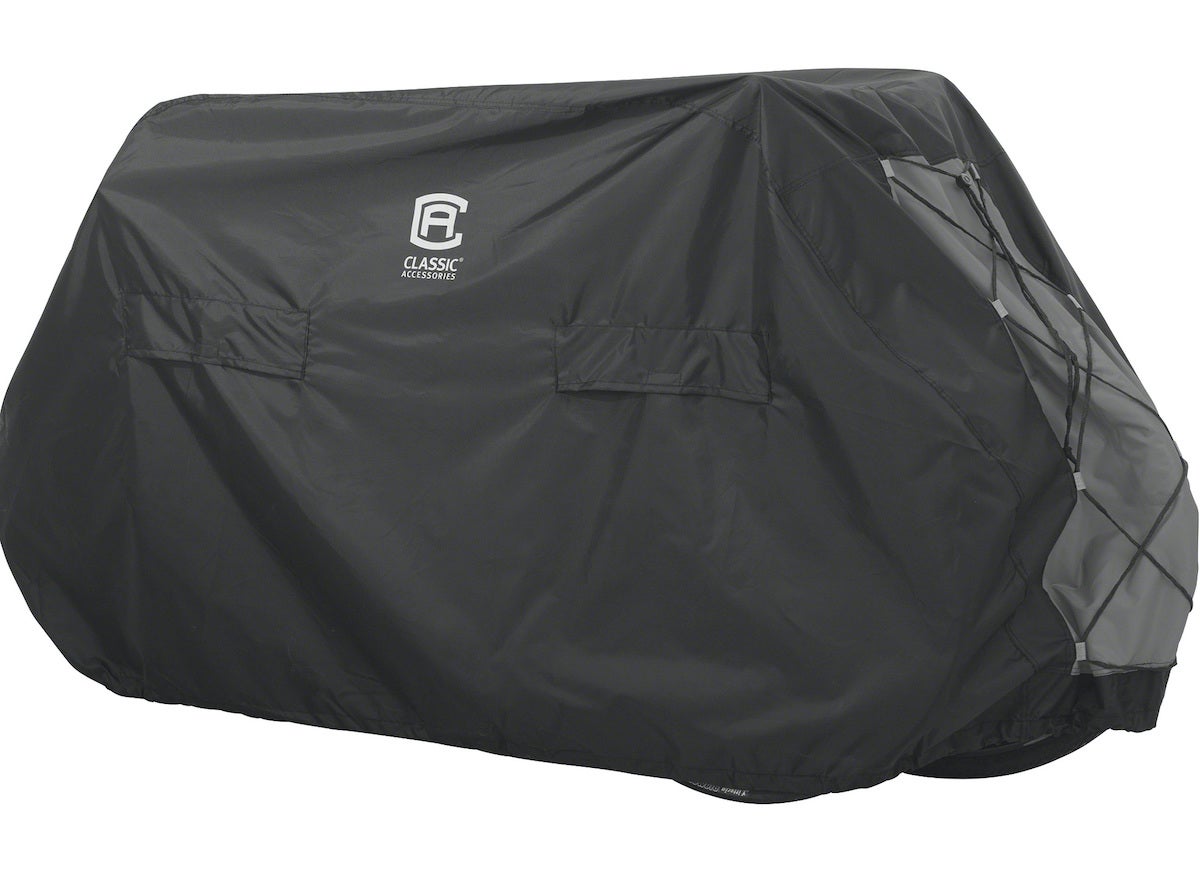
An easy option for keeping your bicycle safe from rain is a durable cover (available at Northern Tool). This clever bicycle storage option features tough fabric and waterproof backing that protects bicycles against rain, snow, dirt and UV damage. It can fit one or two full-size bikes.
In-Home Shelf
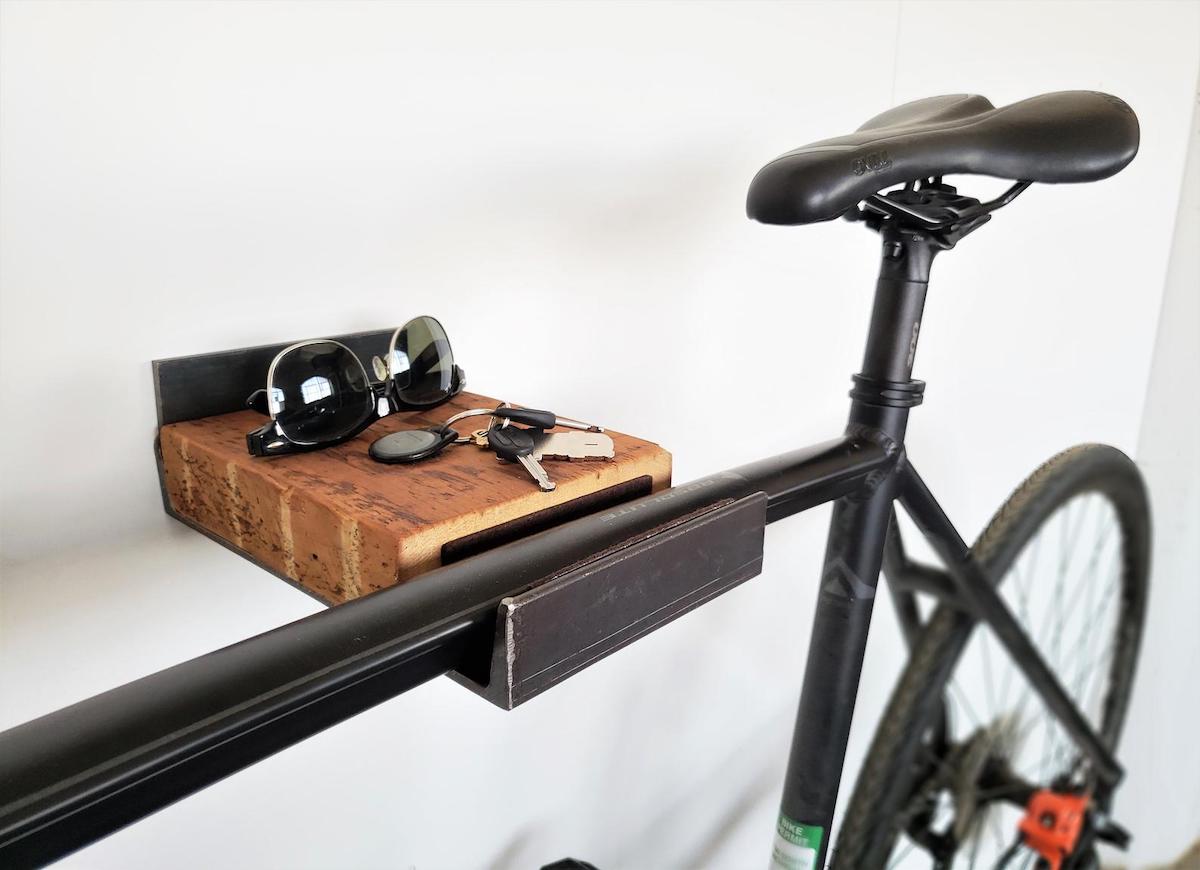
If you’re looking for a stylish, unique option for your bicycle storage, look no further than this beauty! The gorgeous, handmade shelf (available on Etsy) features a modern, industrial design made of metal and wood that mounts on the wall. The shelf holds your bike in front, and allows you to place your keys, wallet and more on top. So clever!
Adjustable Leaning Stand
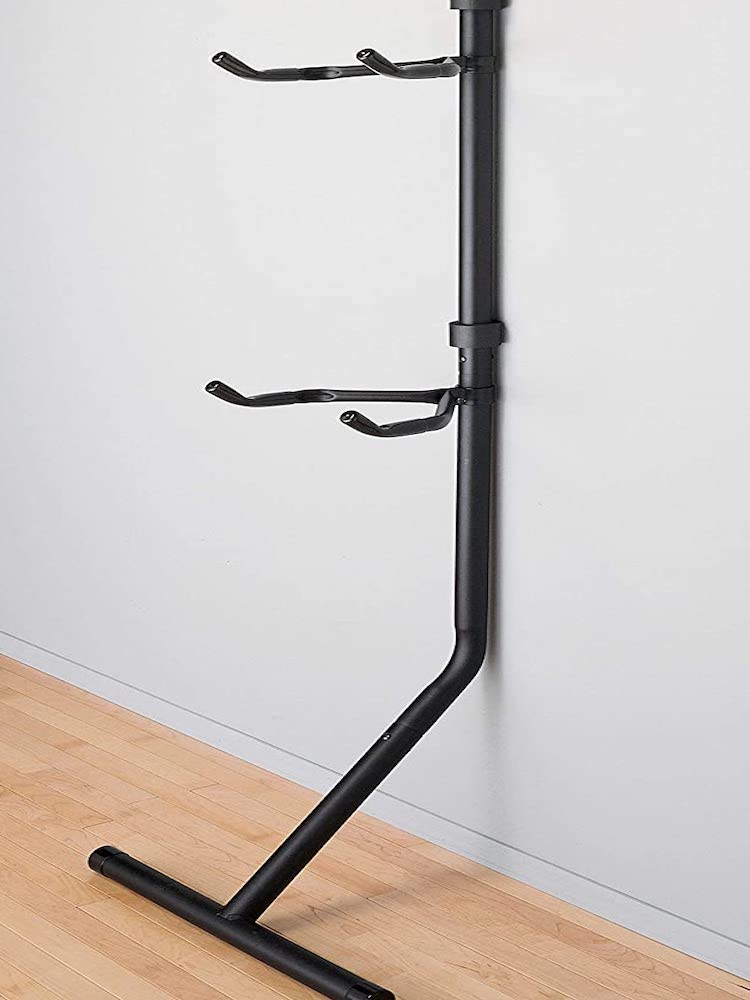
Adjustable stands allow you to work with different spaces and bike designs. This idea for your bicycle storage (available on Amazon) lets you store two bikes vertically without having to mount any hardware into the wall. The adjustable arms move up and down, allowing you to fit differently sized bike frames.
Multi-Bike Storage Pole
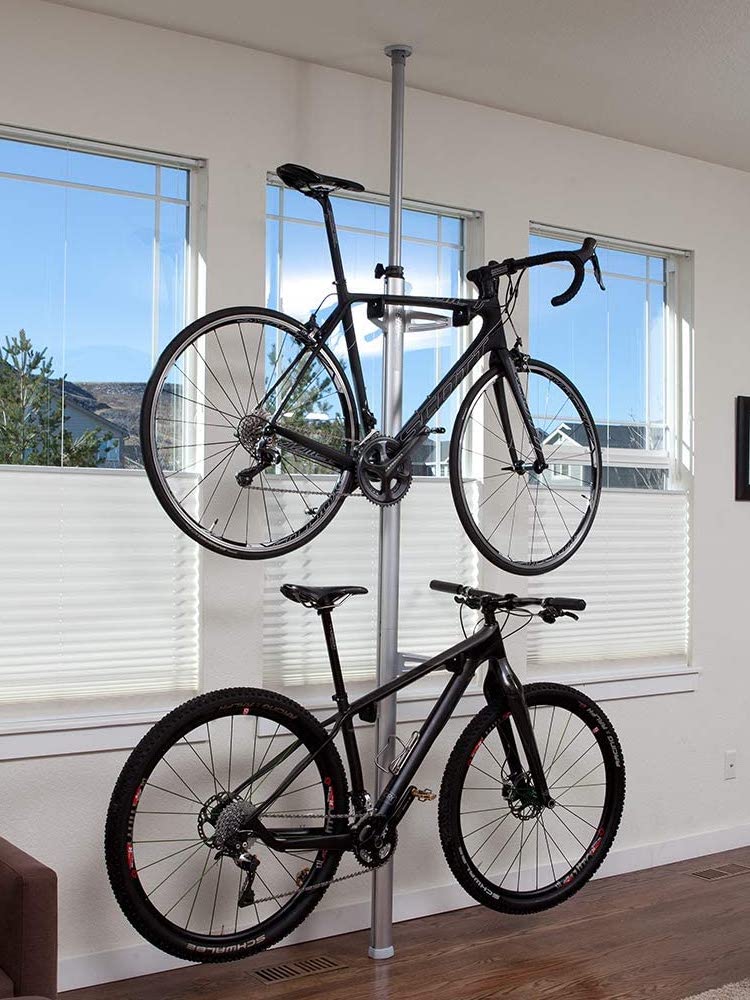
Store multiple bikes the stylish way with this clever option. The system (available on Amazon) features an innovative, spring-loaded floor-to-ceiling design that doesn’t require permanent support. The adjustable frame cradles can fit most bikes, from a road bike to a mountain bike.
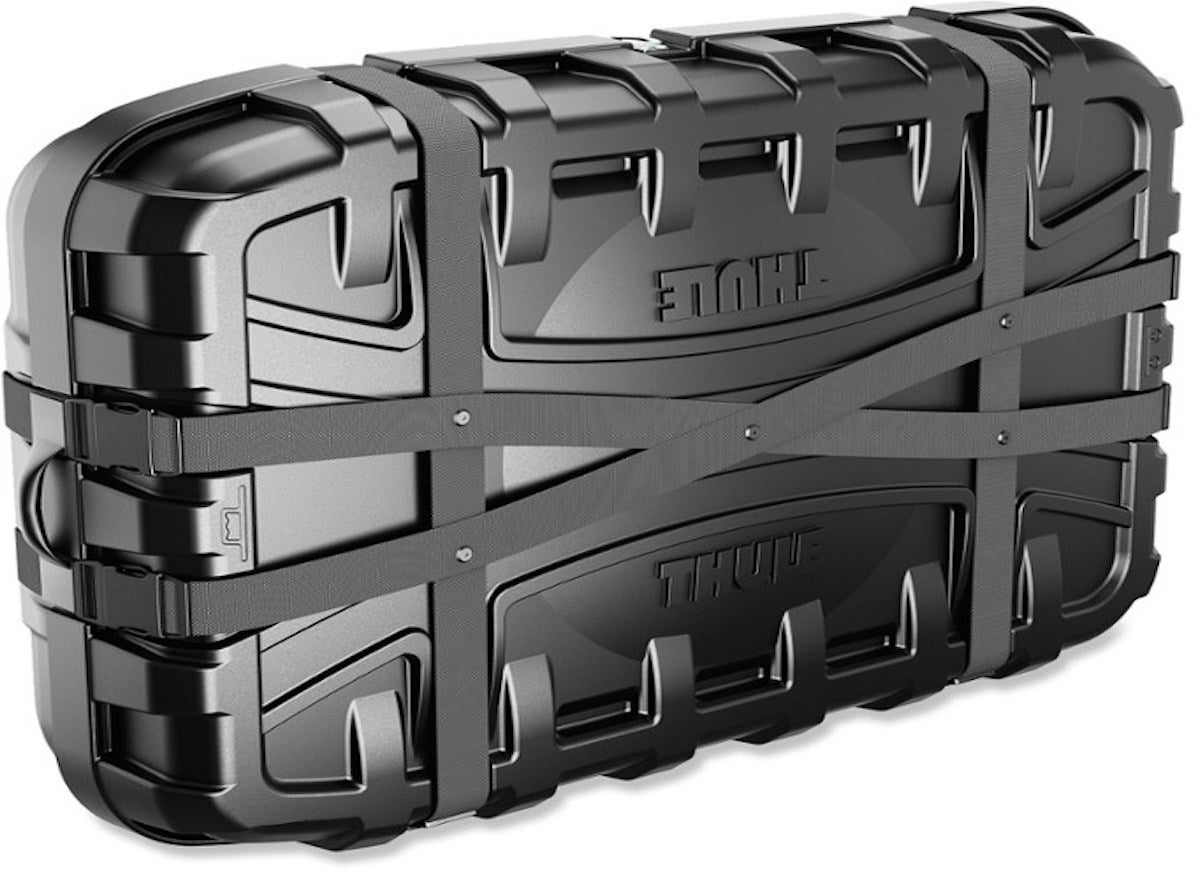
Bike Bag
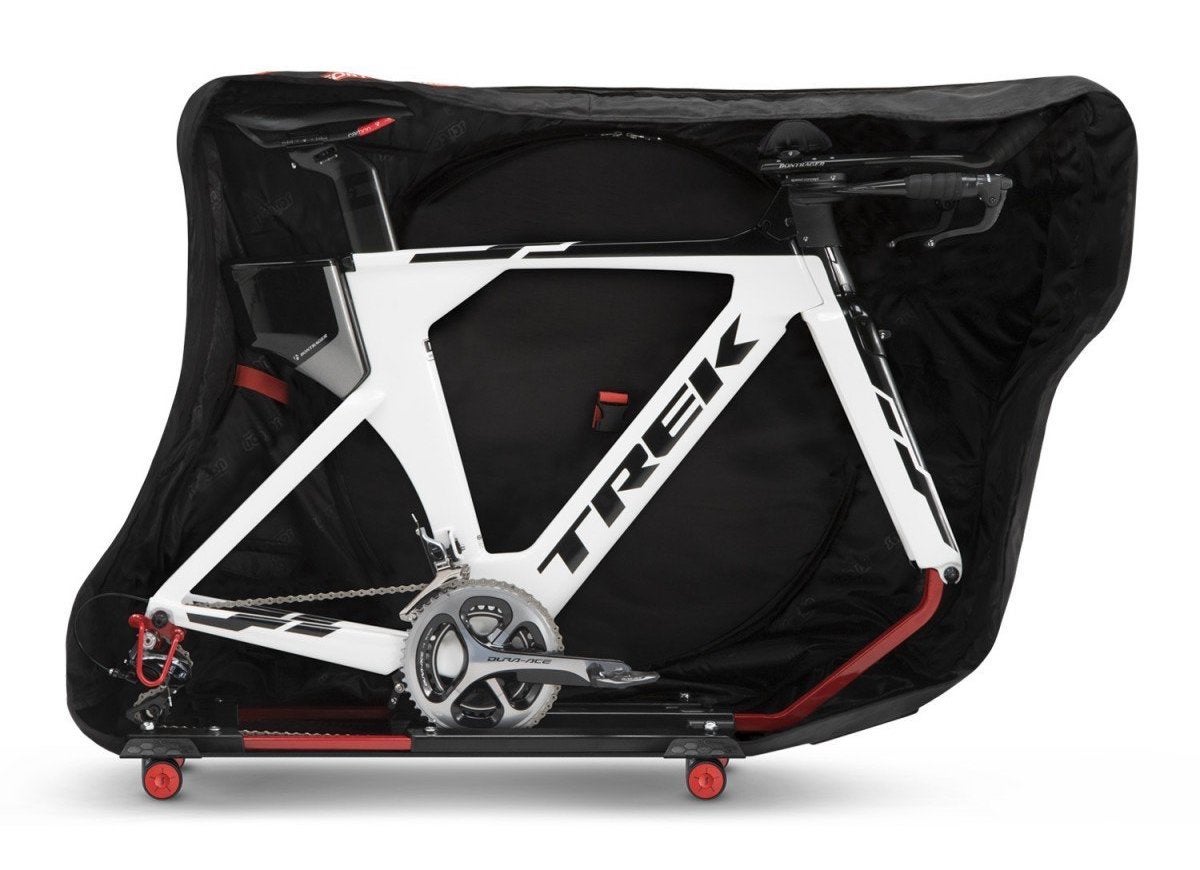
This cool bike storage option allows you to transport your bike while keeping it fully intact. The bag (available at ASG The Store) is lightweight and comfortable to carry. The design is compatible with both thru axle systems and traditional quick-release ones.
Storage Locker
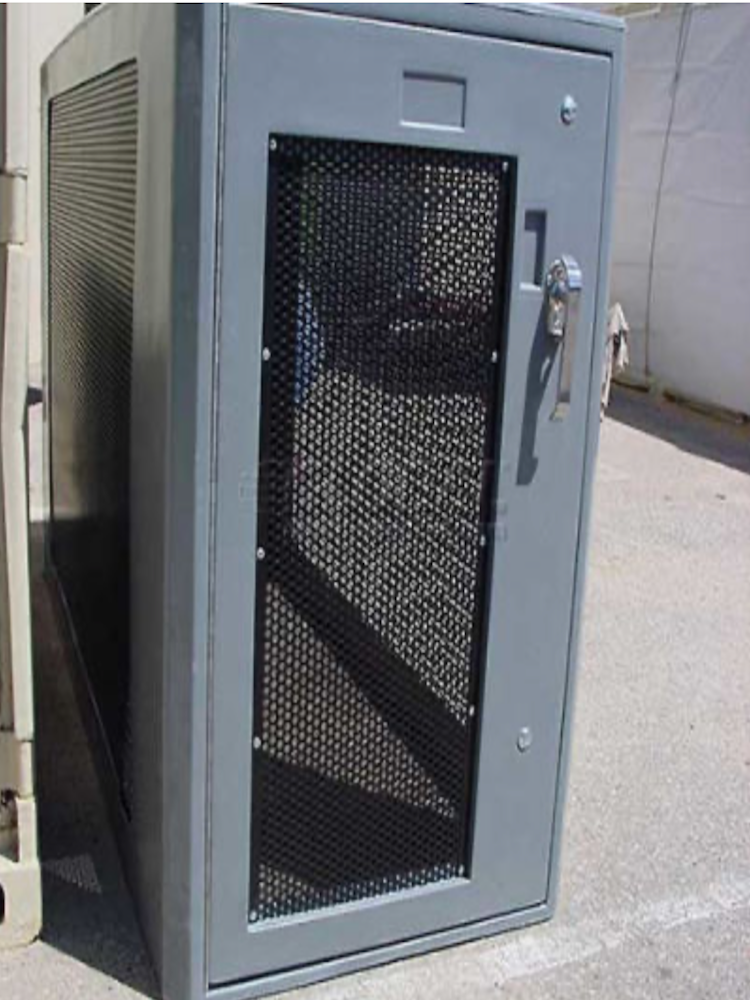
A high-security addition to your bicycle storage setup, this locker (available on Global Industrial) will give you peace of mind when your bike is not in use. The window allows you to keep an eye on what’s inside. Choose between acrylic or perforated steel powder coating.