We may earn revenue from the products available on this page and participate in affiliate programs. Learn More ›
A durable finish for woodworking pieces, furniture, and flooring, varnish beautifies wood and protects it from scratches and stains. To the uninitiated, achieving a smooth and lustrous look may seem like a magician’s trick, but once you understand the basics, varnishing wood couldn’t be much easier.
Make sure the surface you wish to varnish has been sanded smooth, and don’t begin varnishing until you have cleaned your work space. Varnish dries slowly and rarely fails to attract dust, hairs, and loose debris, so the success of your project ultimately depends, in part, on how well or poorly you clean up beforehand.
Tools & Materials
Bobvila.com may earn a commission from purchases made through these links.
- Rubber gloves
- Natural-bristle paintbrush
- Paint stirrer
- Paint mixing and measuring cup
- Respirator mask
Step 1
Use a newly purchased varnish. A product that has sat for years in your workshop may contain lumps that could compromise your final results. (Test the quality of a varnish by coating it on a piece of scrap wood.) Of equal importance is the paintbrush used. Don’t waste time with a subpar tool: Opt for a natural-bristle brush that feels thick at its heel—that is, the bristle area opposite the brush tip. Likewise, pass on any brush whose bristles shake loose when they are firmly clenched.
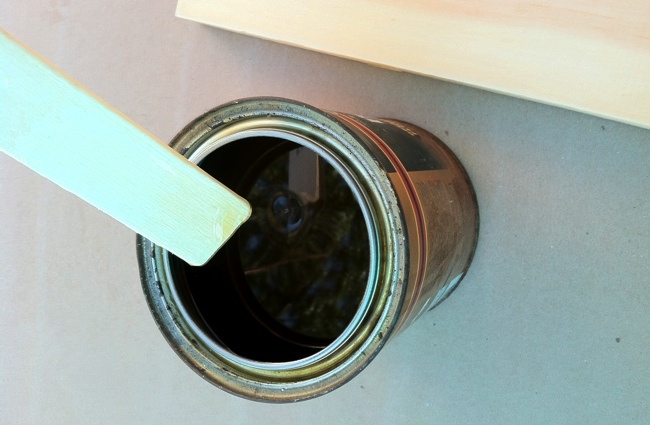
Step 2
With a clean stirring stick, stir the varnish thoroughly, but do it slowly enough to avoid forming air bubbles. (For this reason, take pains to avoid shaking the can excessively in transportation.) Next, carefully pour enough varnish for your first coat into a plastic container marked on its side with volume measurements.

Step 3
Add a thinning agent, preferably gum turpentine, to the varnish in your mixing cup. By making varnish dry more slowly, thinner effectively counteracts surface imperfections like streaks and bubbles. How much thinner is enough? Opinion varies. If the varnish you are preparing will be applied as a first coat, finishing guru Steve Mickey recommends a mixture containing 20 to 25 percent thinner; subsequent coats should contain about 5 or 10 percent thinner.
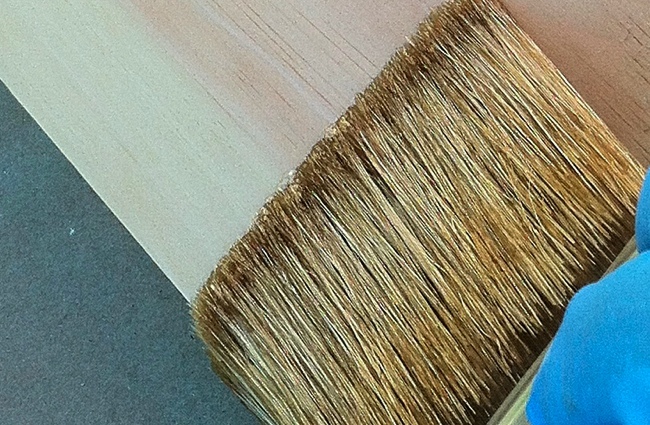
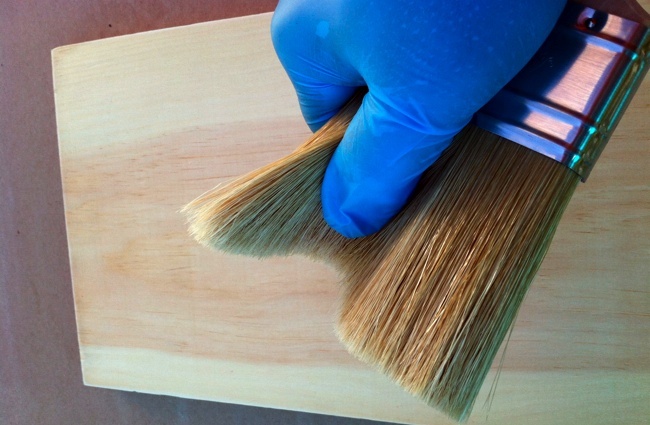
Step 4
When coating on varnish, work with a light touch; only the tip of your brush should bend. If you’re right-handed, start in the upper-left corner of the surface. Varnish a one-foot-square area, brushing in the direction of the wood grain—never back and forth—then move on to an adjacent square of similar dimensions. Proceed in this way until you have a full coat. While the varnish is still wet, remember to “tip off”: Drag the tip of your brush over the work piece to smooth any remaining streaks or lingering bubbles. Your tipping stroke goes in the same direction as your application stroke (in the direction of the grain).
Further Notes
- For best results, apply several thin coats, not a couple of thick ones.
- After the first two coats have cured, lightly sand the workpiece with 320-grit, open-faced abrasive paper. Vacuum and wipe away all residue before continuing.