
We may earn revenue from the products available on this page and participate in affiliate programs. Learn More ›
Home Advice You Can Trust
Tips, tricks & ideas for a better home and yard, delivered to your inbox daily.
By signing up you agree to our Terms of Service and Privacy Policy.
Buy One, Get a Few Free
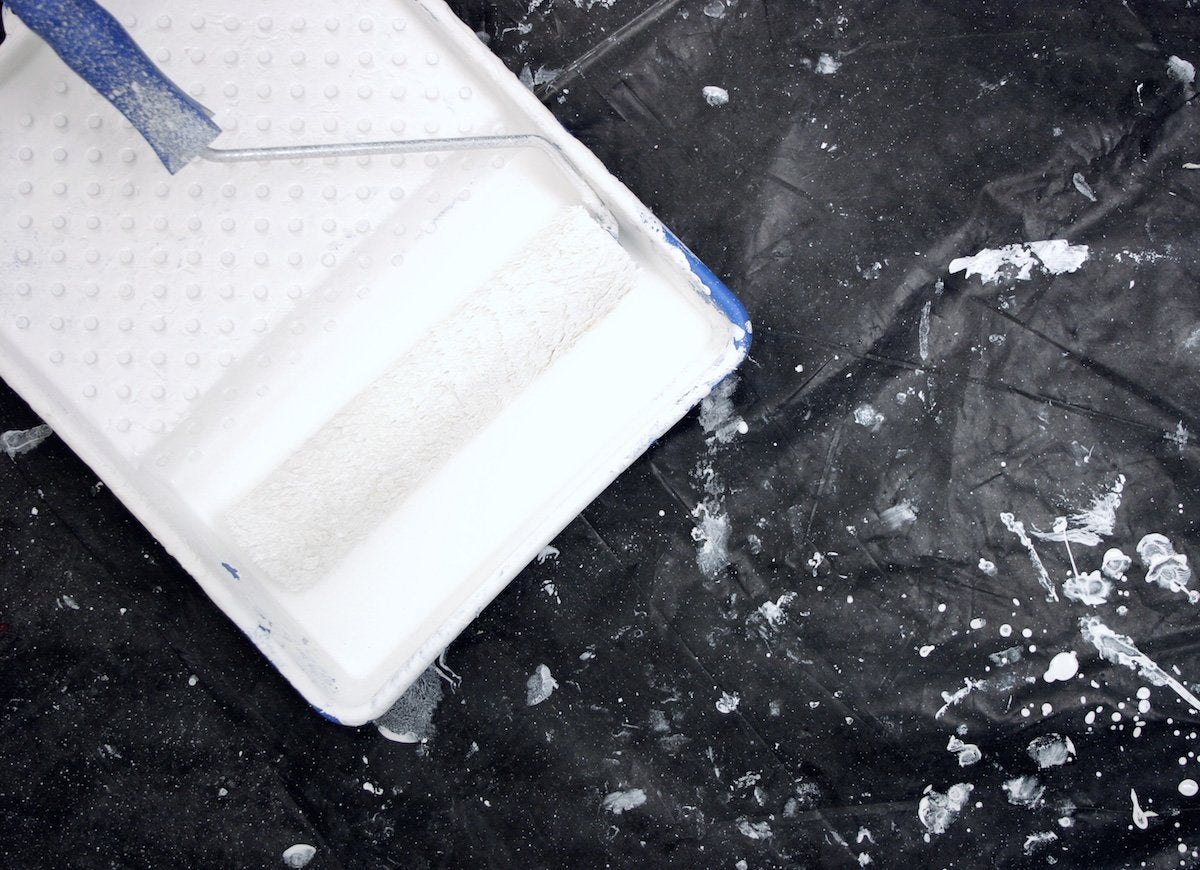
Paint trays make painting easier by giving your roller a convenient place to take a dip. Trays come in an array of materials with varying levels of durability, but whatever tray you’re using, whether it’s made of sturdy metal or throwaway plastic, you can extend its life with a roll of aluminum foil. Lay sheets of foil along the tray’s interior, being careful not to leave gaps where paint can seep through. Repeat this trick for all future paint jobs to save money and materials every time.
Wrap It Up
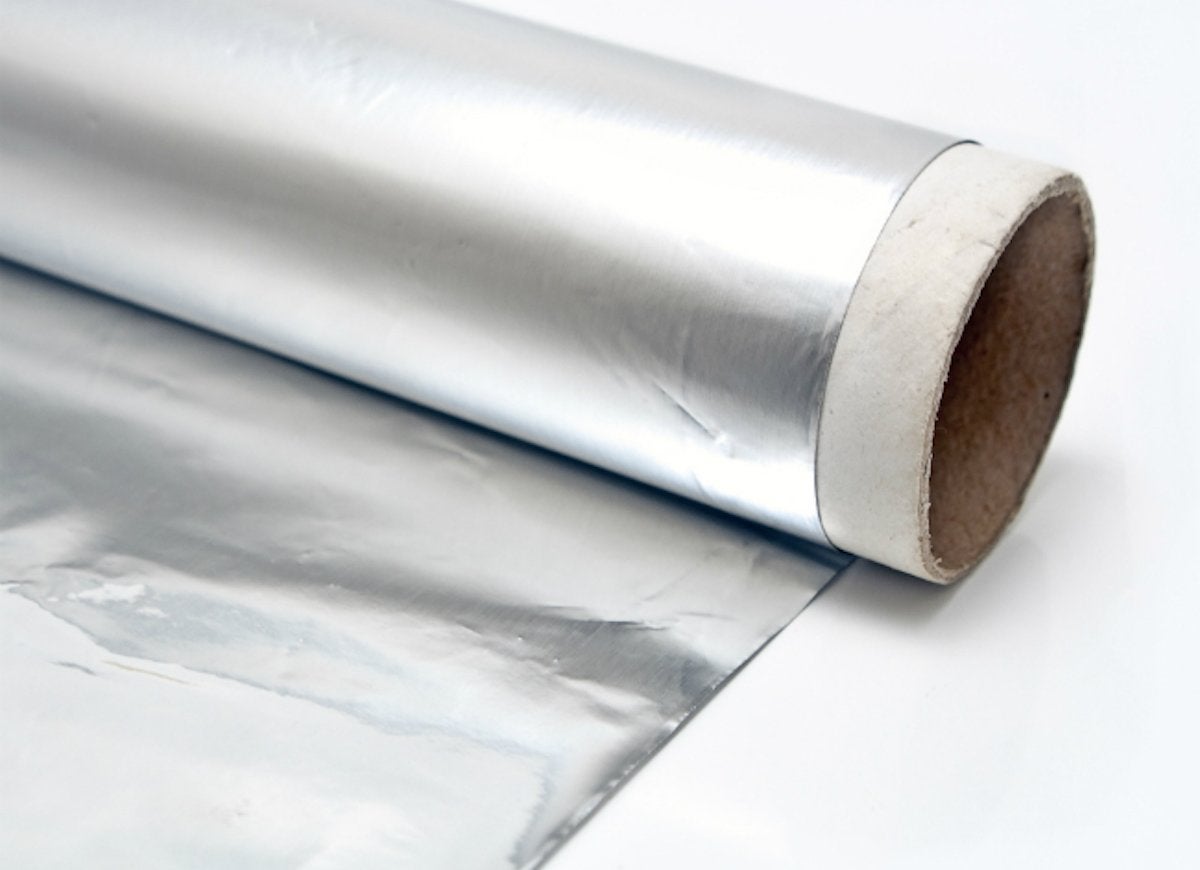
Aluminum foil can also be used to cover doorknobs and hardware. Wrap a bit of foil around the knobs to protect them from stray paint drips, and save your painter’s tape for baseboards and door frames, where those straight blue edges are far more critical.
Related: 19 Aluminum Foil Uses for Laundry, Paint Projects, and More
Make Some Stilts
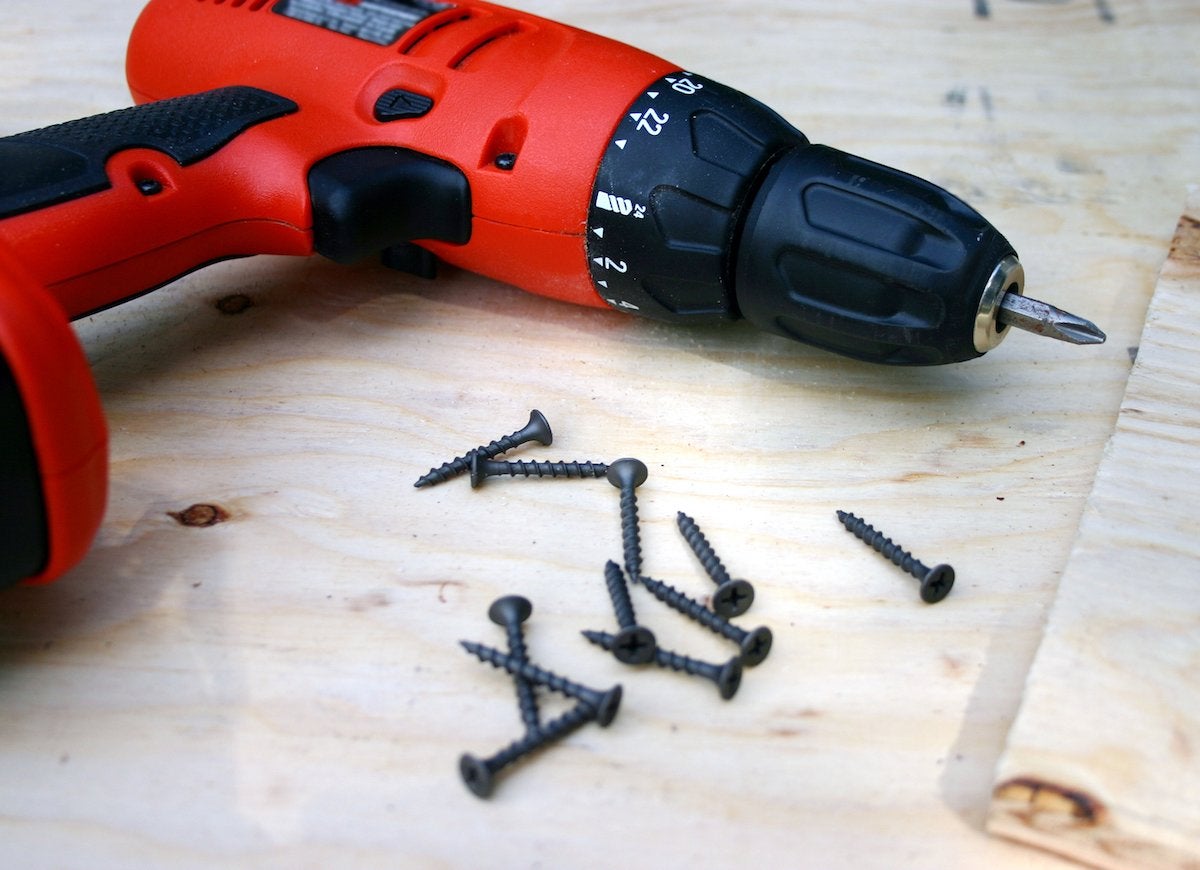
No one likes watching paint dry, especially if that wet paint is standing in the way of finishing a furniture paint job. So, when you’re painting tables and chairs, plan ahead: Insert a screw into the bottom of each leg, creating built-in stilts that will elevate the workpiece so you can paint all of it in one go without having to flip it over.
Keep It Clean
This 60-second fix could save you a supply run to the hardware store. Instead of buying a new paint roller for your next project, reuse a gently used one, even if it’s less than spotless, by using a pair of household scissors to trim away any dried paint from the edges. Giving the nap a quick trim will ensure that paint from past projects won’t interfere with your new DIY job.
Related: 11 Problems You Can Solve with Paint
Change Your Stripes
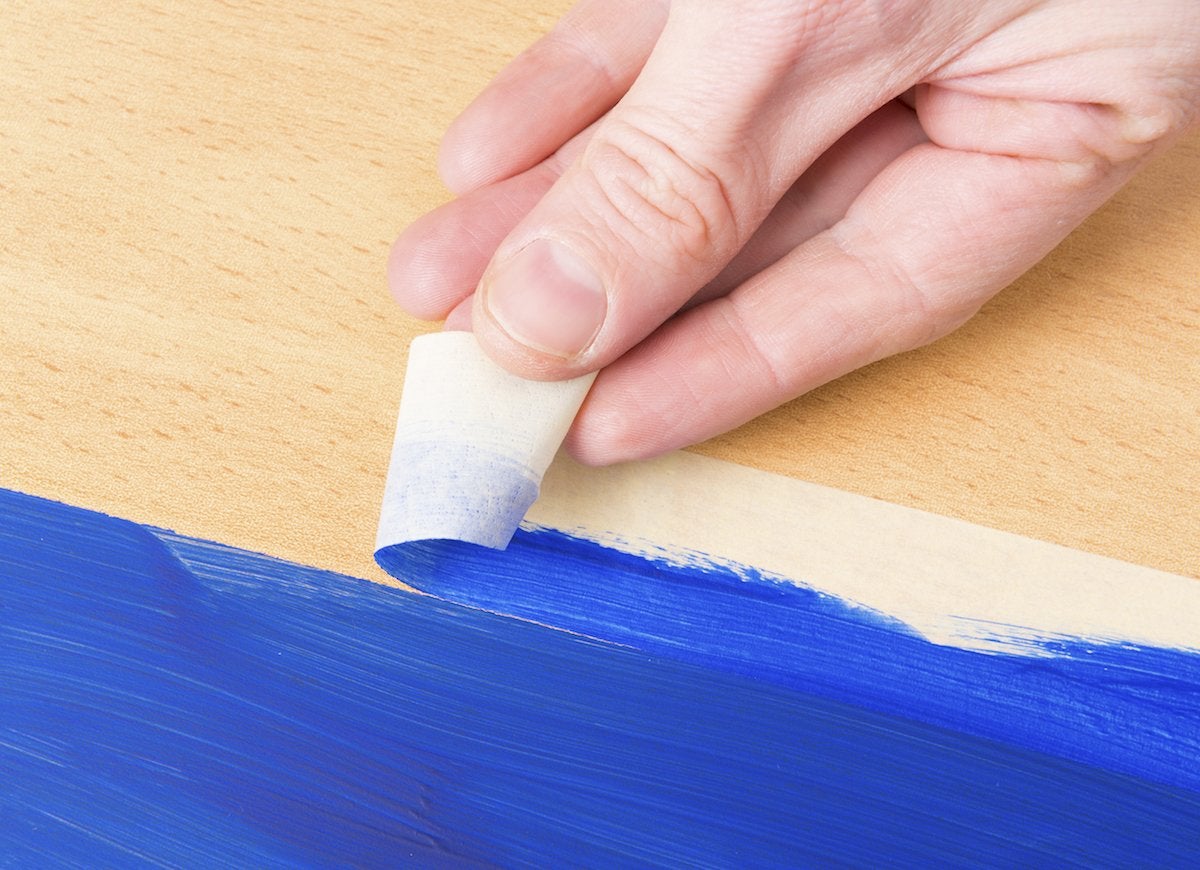
Painting stripes on the wall? Conventional wisdom dictates that it’s best to use painter’s tape. If you want to avoid bleeding, though, go a step further by using the blue stuff as your foundation, then following along its edge with a thin line of latex caulk. This watertight bond seals off the perimeter better than the tape on its own. Once the caulk is dry, paint just up to the caulk line, then wait a couple of hours before peeling away both tape and caulk. Ta-da! Perfect stripes.
All in One Go
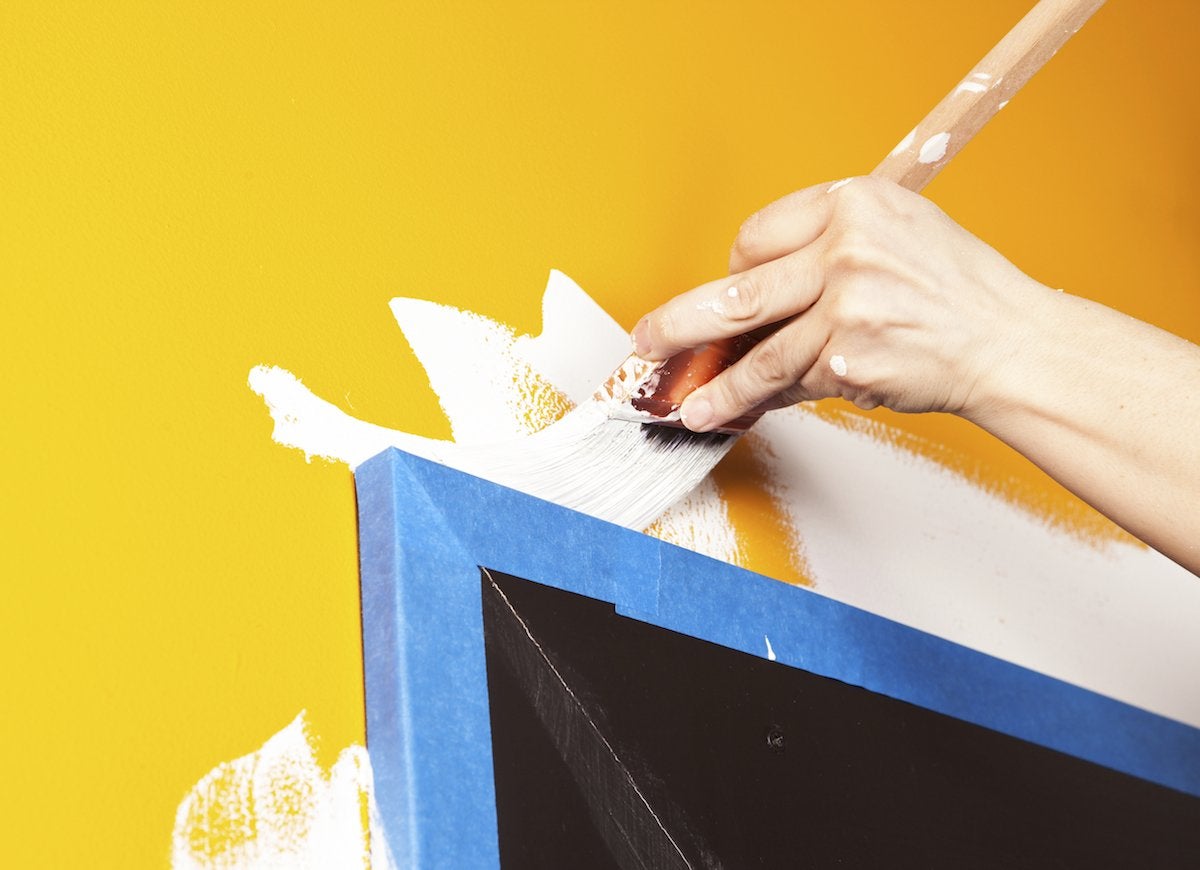
You’ve probably heard that it’s best to paint a wall in a single stretch to avoid unintentionally creating stripes and patches that can show when fresh, wet paint meets a dry paint job. Most professional painters manage to paint an entire wall quickly by “cutting in” paint around doorways, in corners, and along baseboards, and then filling in the walls before the edges have dried. If you don’t have time to paint an entire room at one time, tackle it in pieces, being sure to finish one entire wall at a time.
Skip (to) the Loo
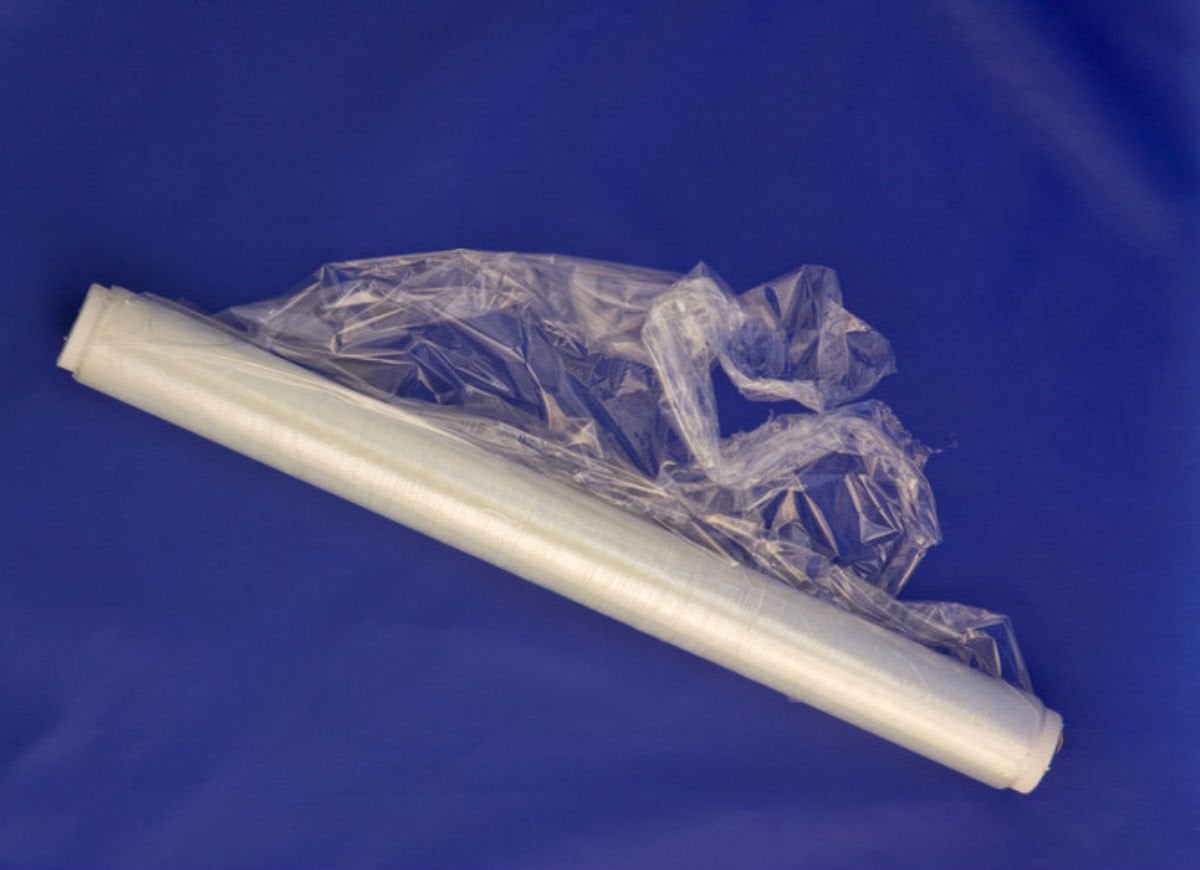
It’s a regrettable law of nature when you’re painting a bathroom: No matter how many drop cloths or tarps you put down, someone’s going to get paint on the toilet. A simple way to prevent this all-too-common mishap is to wrap the john with a few feet of ordinary plastic wrap from the kitchen. Once the paint has dried, unwrap the perfectly pristine porcelain.
Lay It Off
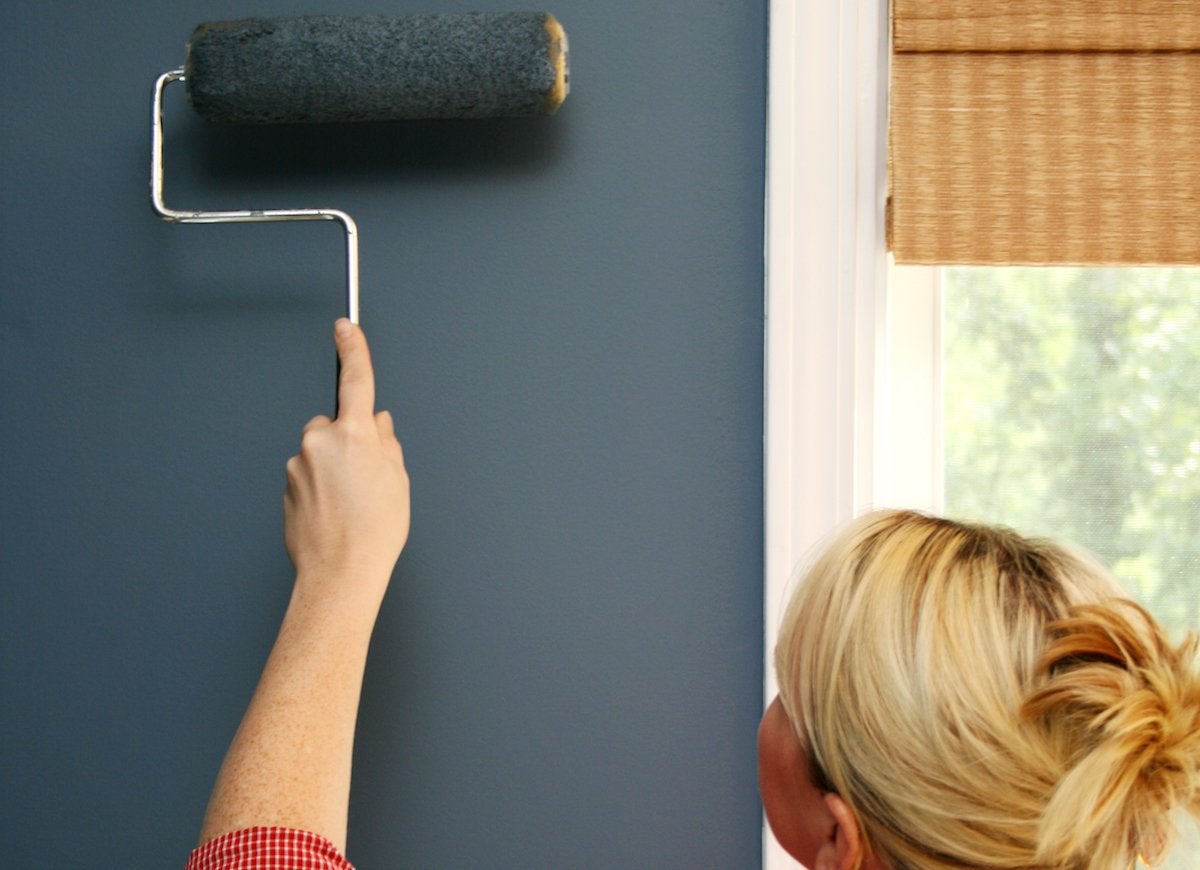
Before you call it quits on a painted room, take a look around to examine the walls. Even if you’ve got what appears to be an ideal amount of paint on every wall, there’s still one last step to take for the perfect finish. Run your roller across each wall one last time in long, even strokes to make sure the finish is uniform. Not only will this simple step give you a flawless finish, but it could save you the trouble of extra touch-ups down the line.
Related: 7 Top Tools for No-Mess Painting
Rubber Band Trick
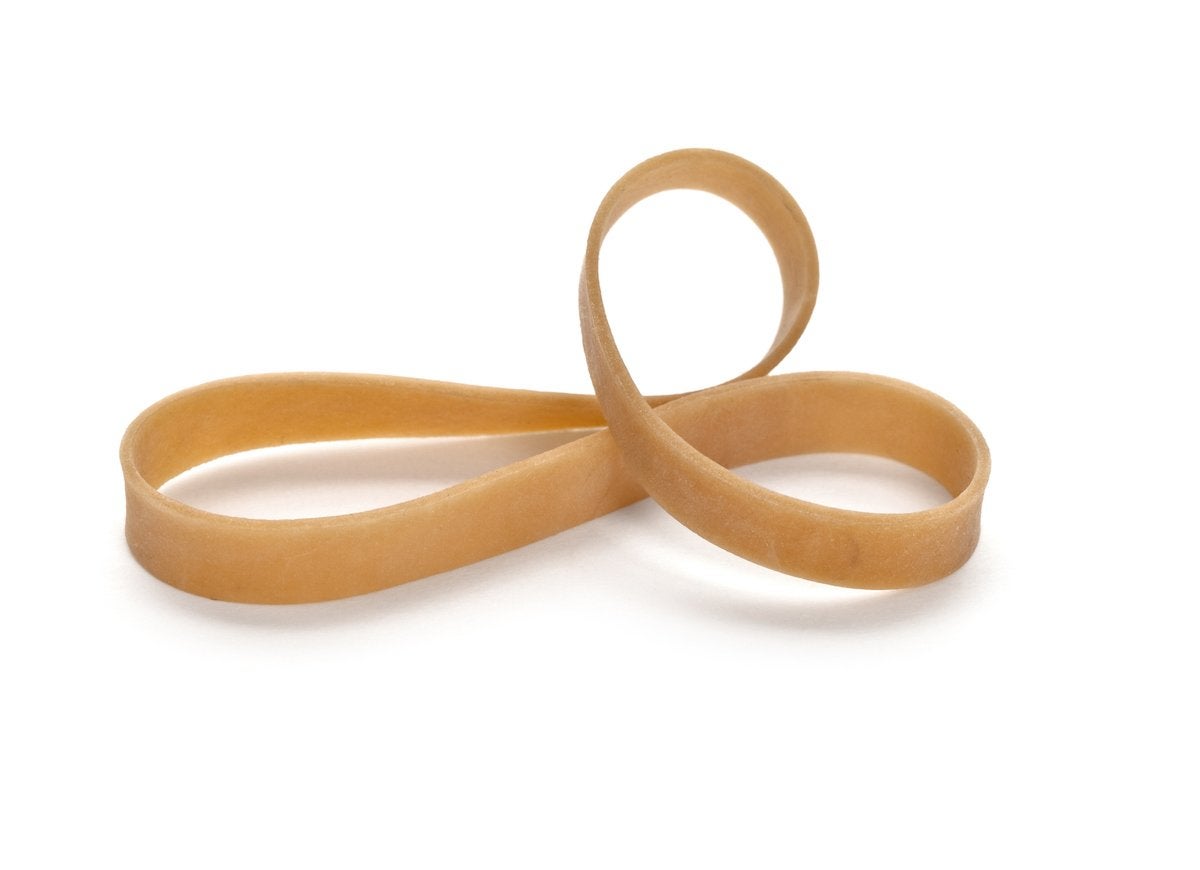
Say goodbye to messy, drippy paint cans. Stretch a rubber band across an open paint can so that the rubber serves as a built-in drip catcher. When you dip the brush in the paint, run it along the rubber band to wipe off the excess. You’ll keep the rim of the can clean and prevent paint splatters from marring walls and drop cloths.
Trade Up to a Pail
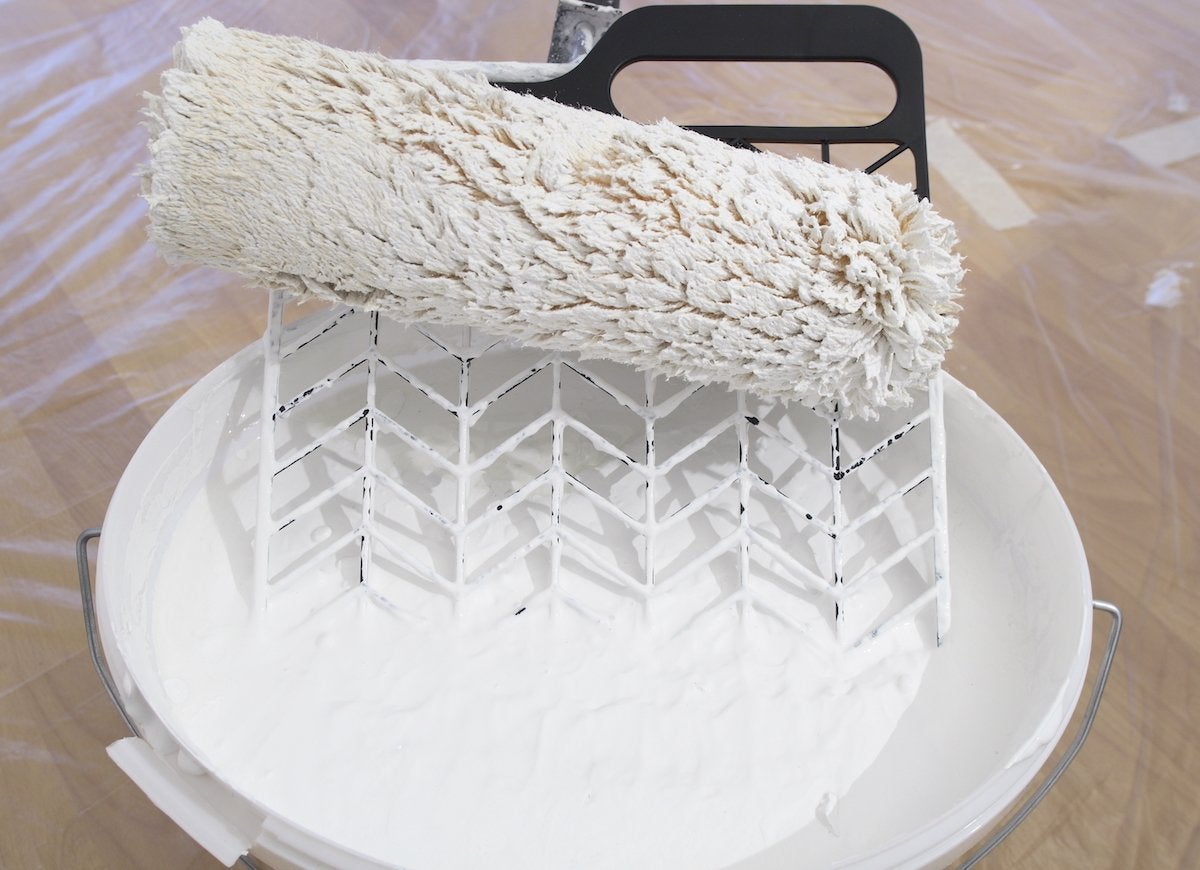
Trays are undeniably convenient. They make it easy to dip the roller and remove excess paint for a clean paint job. On the other hand, if you’re painting a sizable room, you’ll need to refill a tray many times before the job is complete. Save yourself the trouble by pouring the paint into a large bucket with a top that’s wide enough to accommodate your roller. Add a grate to help remove excess paint, and your workstation is ready to go.
Related: 9 Paint Color Rules Worth Breaking
Get Started
With these clever painting tricks up your sleeve, you can begin your next painting project with confidence. Happy DIYing!

This Is the Year for a Kitchen Renovation
Whether you’re selling or staying, everyone can get something out of a kitchen update. Learn why we consider this renovation the Most Valuable Project of 2025 and how to stay on budget.