We may earn revenue from the products available on this page and participate in affiliate programs. Learn More ›
If the right house paint is used, the results can look fresh for a decade on a stucco surface and as long as seven years on siding. The best exterior paint forms a durable bond on exterior surfaces and offers protection from the elements while giving a fresh, new look.
Since outdoor surfaces are subject to extreme weather conditions, including harsh ultraviolet (UV) rays, temperature fluctuations, and storms, choosing the right protective paint for the intended surface matters. Our top pick is the Sherwin-Williams SuperPaint Exterior Paint; it’s extremely hard-wearing thanks to advanced resin technology, plus buyers can choose from 100 color options.
Keep reading to learn what makes an excellent exterior house paint and why the following formulas made the list for outdoor projects.Some of our top picks even went through hands-on testing to ensure they could meet our standards.
- BEST OVERALL: Sherwin-Williams SuperPaint Exterior Paint
↓ Jump to Review - RUNNER-UP: Sherwin-Williams Duration Exterior Latex Paint
↓ Jump to Review - BEST BANG FOR THE BUCK: Rust-Oleum Zinsser Perma-White Exterior Paint
↓ Jump to Review - BEST FOR BRICK OR STUCCO: Valspar Masonry, Stucco, & Brick Paint
↓ Jump to Review - BEST FOR WOOD SIDING: Sherwin-Williams Emerald Exterior Acrylic Latex Paint
↓ Jump to Review - BEST FOR PORCH FLOORS: Behr Premium Low-Lustre Porch & Patio Floor Paint
↓ Jump to Review
How We Chose the Best Exterior Paints
In our search for the best exterior paint, we only considered options from the top paint brands. Certain key factors, including durability, longevity, and weather resistance, determined which paints stood out above the rest. Each top pick covers at least 130 square feet per gallon and will last for years.
With a variety of exterior surfaces in mind, we chose paints that can be applied to siding, trim, deck flooring, and more. Some options also resist mold, mildew, moisture, stains, dirt, and UV rays. The featured list includes formulas that are low in volatile organic compounds (VOCs) for users looking to minimize chemical smells. Most latex and acrylic latex formulas are either tintable or come in numerous colors.
Our Top Picks
There are many factors to consider when choosing an exterior paint for a home. To make the search easier, we assembled the following list of some of the best options based on category. All of these high-quality paints can help deliver a long-lasting finish to help with curb appeal goals.
Best Overall
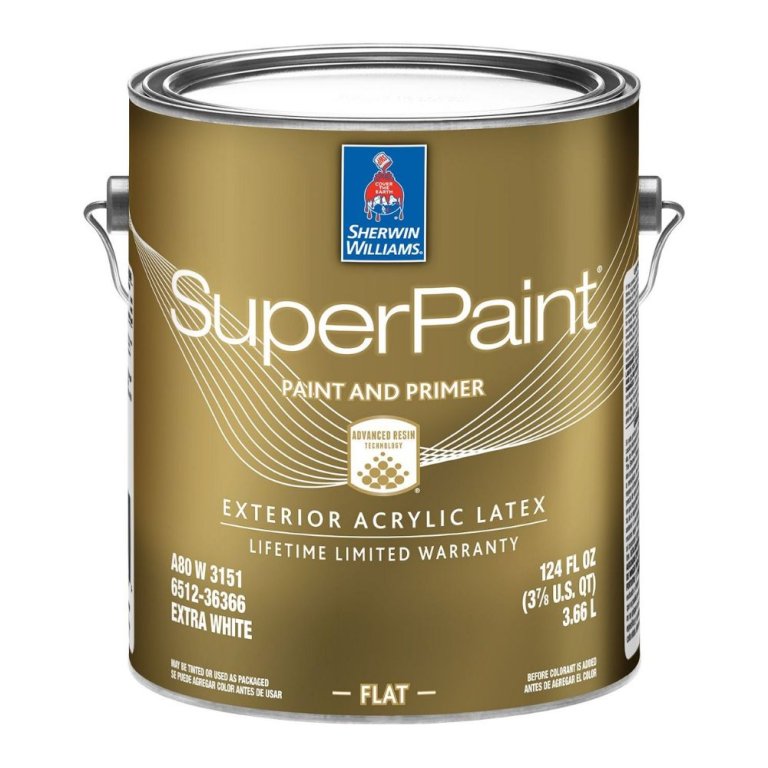
Sherwin-Williams SuperPaint Exterior Paint
See ItWhat We Like
- Made with advanced resin technology and dirt- and mildew-resistant coating
- Comes in 100 colors and 5 sheens
- Can be applied in temperatures as low as 35 degrees Fahrenheit
What We Don’t Like
- Painting a large project can be quite expensive
Product Specs
- Type: Acrylic latex
- Coverage: 350 to 400 square feet per gallon
- Colorways: 100
This exterior house paint option is called SuperPaint for a reason. The protective and water-based paint from Sherwin-Williams withstands cold and warm temperatures without fading, cracking, or peeling thanks to the integrated advanced resin technology. It also comes with a dirt- and mildew-resistant coating for added protection.
This acrylic latex exterior house paint is available in 100 colors to match a home’s color scheme. It also comes in flat, high-gloss, satin, gloss, and low-luster sheens. Sherwin-Williams made this high-quality paint easy to apply in temperatures as low as 35 degrees Fahrenheit.
What our testers say: Mark Wolfe, a Bob Vila staff writer and product tester, notes the following: “I‘ve used it on a couple of outdoor projects. The consistency is very thick, so it usually takes just one or two coats for initial coverage on raw wood. I’ve never had to do a second coat when repainting a previously finished project.”
Glenda Taylor, another Bob Vila staff writer and product tester, says that “SuperPaint from Sherwin-Williams is a game changer. It goes on smooth and self-levels to give you a uniform finish, and it’s the longest-lasting exterior latex paint I’ve ever used. It might be a tad on the pricey side, but it’s worth it.”
Get the Sherwin-Williams SuperPaint exterior paint at Sherwin-Williams.
Runner-up
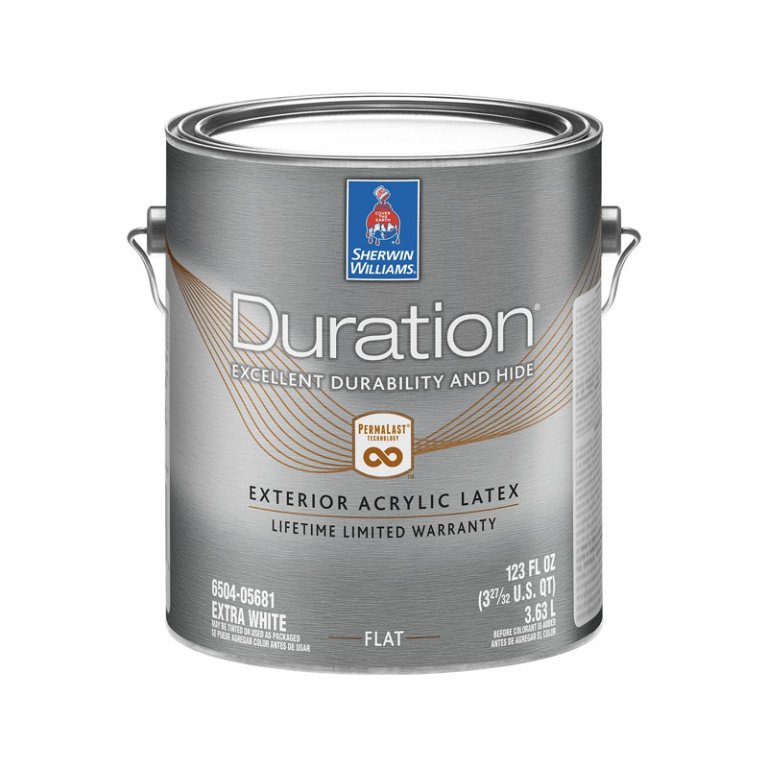
Sherwin-Williams Duration Exterior Acrylic Latex Paint
See ItWhat We Like
- Low-VOC formula
- Resists cracking and peeling for long-term durability
- Self-priming formula is easier to apply than other paints
- Can be applied in temperatures down to 35 degrees Fahrenheit
What We Don’t Like
- Comes at a premium price; may require a significant investment for a large project
Product Specs
- Type: Acrylic latex
- Coverage: 250 to 300 square feet per gallon
- Colorways: 100
Made with advanced acrylic copolymers for lasting durability, Sherwin-Williams Duration paint is an excellent option for many exterior painting projects. The exterior house paint contains a high amount of acrylic solids and is self-priming, so DIYers need only apply a single coat to prepainted wood and two coats to cover bare wood. One of the manufacturer’s top paint lines, Duration is designed to resist cracking, blistering, and peeling.
As a bonus, Sherwin-Williams Duration Exterior Acrylic Latex Paint is a low-VOC option, making it less likely to create objectionable fumes than other exterior paints. Available in more than 100 color options, Duration can be applied at temperatures as low as 35 degrees Fahrenheit, making it versatile and long lasting. One gallon covers up to 300 square feet.
Get the Sherwin-Williams Duration exterior paint at Sherwin-Williams.
Best Bang For The Buck

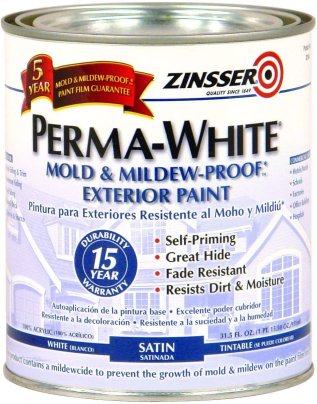
Rust-Oleum Zinsser Perma-White Exterior Paint
See ItWhat We Like
- Resists mold and mildew
- Blocks stains, dirt, and moisture without tarnishing or wearing
- Easier to apply due to its self-priming formula
What We Don’t Like
- Contains VOCs
Product Specs
- Type: Acrylic latex
- Coverage: 300 to 400 square feet per gallon
- Colorways: 50
Protect and update the look of siding, sheds, and outdoor furniture with Rust-Oleum Zinsser Perma-White exterior paint. Zinsser, from Rust-Oleum’s professional line of paint and coating products, is a pure-white latex paint that’s well suited for painting numerous exterior surfaces, such as siding, Adirondack chairs, and picket fences. The paint is self-priming, so only one coat is needed on previously painted materials and two on bare wood.
Zinsser has mold- and mildew-inhibiting ingredients to protect exterior wood, as long as the surface is clear from any existing mold or mildew before painting. The paint offers good coverage and, like many Rust-Oleum products, blocks stains from bleeding through. It comes in a tintable semi-gloss sheen that repels dirt and moisture. One gallon covers up to 100 square feet.
Get the Rust-Oleum exterior paint at Amazon.
Best For Brick Or Stucco
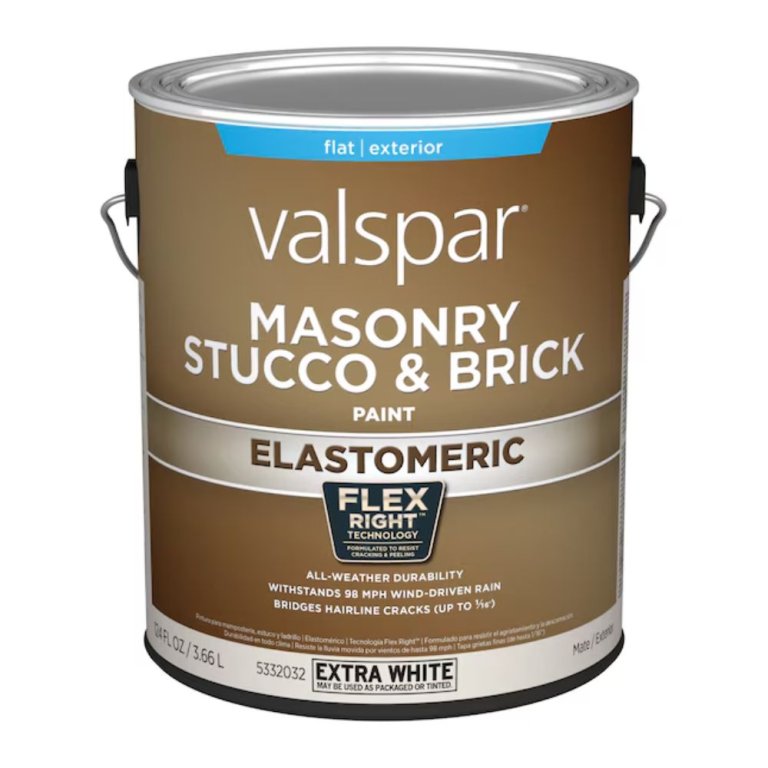
Valspar Masonry, Stucco, & Brick Paint
See ItWhat We Like
- Tintable acrylic latex-based formula
- Weather-resistant formula resists cracking and peeling
- Provides an ultraflat finish that hides imperfections
What We Don’t Like
- Contains VOCs
Product Specs
- Type: Acrylic latex
- Coverage: 90 to 130 square feet per gallon
- Colorways: Tintable
Latex-based Valspar Duramax Flat Masonry, Stucco, and Brick paint dries to an ultraflat finish, making surface imperfections on brick virtually unnoticeable. The paint contains elastomers to help resist cracking and peeling. It’s available in a 5-gallon bucket (enough to cover up to 650 square feet) and can be applied by brush, roller, or sprayer.
Duramax contains FlexShield365 technology designed to increase its resistance to weather extremes, such as high winds and driving rain, while offering a measure of mold and mildew resistance. This house paint is a 100 percent acrylic latex formulation, effectively covering hairline cracks in existing paint for a smooth surface look. It comes in a 1-gallon tintable can of exterior white, which can cover up to 130 square feet.
Get the Valspar exterior paint at Lowe’s.
Best For Wood Siding
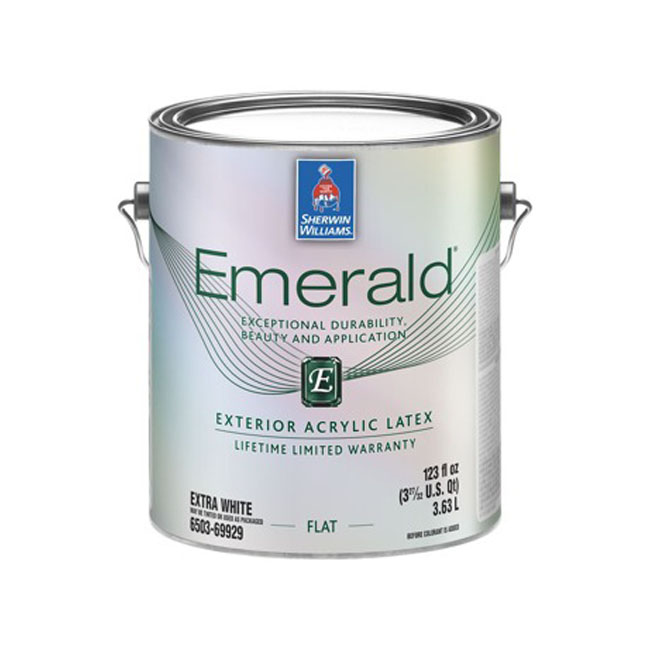
Sherwin-Williams Emerald Exterior Acrylic Latex Paint
See ItWhat We Like
- Low-VOC formula
- Flat finish hides imperfections
- Mildew-resistant formula
- Self-priming formula is easy to apply
What We Don’t Like
- Materials and grime may get stuck to the paint, causing imperfections
Product Specs
- Type: Acrylic latex
- Coverage: 250 to 300 square feet per gallon
- Colorways: 1,000+
Available from Sherwin-Williams, Emerald exterior acrylic latex paint resists blistering and peeling and provides a high-hiding flat finish to conceal imperfections on a home’s siding. The low-VOC house paint contains mildew-resistant additives and mildewcide, which is well suited for humid areas.
Sherwin-Williams’ Emerald Exterior is a self-priming paint that produces a smooth, flat coat and does not require a separate primer application. One gallon of the Sherwin-Williams Emerald paint can cover up to 300 square feet and provide a strong, resilient surface that discourages dirt. The paint is easy to apply by brush, roller, or sprayer.
Best For Porch Floors
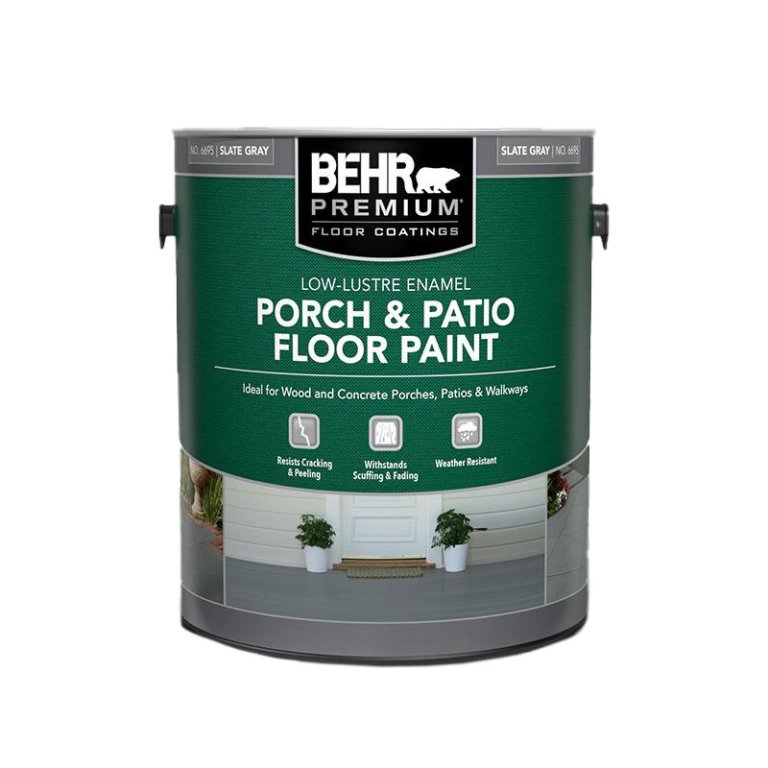
Behr Premium Low-Lustre Porch & Patio Floor Paint
See ItWhat We Like
- Offers a tough, low-luster finish that resists mold and mildew
- Provides UV and fade resistance
- Quick-drying formula is available in 82 exterior colors
What We Don’t Like
- Contains VOCs
Product Specs
- Type: Acrylic latex
- Coverage: 200 to 400 square feet per gallon
- Colorways: 82
Porch and patio floors see a lot of traffic and need tough color retention to withstand it. Behr Premium Low-Lustre Porch & Patio Floor paint fills the bill without scuffing, cracking, peeling, or wearing down underfoot. The paint contains a mildewcide to help prevent mold and mildew from forming and is suitable for use on concrete and wood surfaces. The house paint is also UV- and fade-resistant.
This premium porch paint provides a strong, low-luster finish, ideal for most home porch applications. One gallon can cover up to 400 square feet, and the paint comes in 82 traditional colors. Behr Premium dries to the touch within 1 hour in temperate weather, and a second coat can be applied after 4 to 6 hours.
Get the Behr exterior paint at The Home Depot or Behr.
Jump to Our Top Picks
What to Consider When Choosing an Exterior Paint
A home’s exterior is the foundation for creating pleasant curb appeal, which makes choosing the right exterior paint essential. The best exterior paints stand up to all types of weather conditions, resist moisture, and protect wood surfaces while providing a low-maintenance finish. No matter the outdoor project, consider the following factors when purchasing paint.
Durability
Top-of-the-line latex and acrylic paints usually contain higher-quality ingredients, such as more acrylic solids and pigments. They’re often thicker and more viscous (sticky) than lower-quality paints. This does not hold true, however, for oil-based paints, which are typically thinner and runnier. In general, oil-based paints are more durable than acrylic or latex paints but tend to yellow more quickly. Also, due to their high VOC levels (see the Low VOCs section below), they’re becoming less popular. The quality of acrylic and latex paints has dramatically improved in the past few decades.
Durability also relates to the number of coats of paint applied, with more coats rendering a more durable surface. Well-mixed paint also affects durability since ingredients can settle to the bottom of the can over time. If the paint has been purchased a while ago, stir it thoroughly before use. Also, applying paint with a paint roller or brush instead of a sprayer can leave a thicker, more durable coating on a surface.
Sheen is also an indicator of durability. The higher the gloss, the more washable and durable the paint. Paint finishes range from a low-sheen eggshell finish to a high-gloss enamel for trim or exterior furniture. Be aware, however, that high-gloss sheens or finishes will show flaws in the surface, such as rough patches, whereas flat or matte sheens can help camouflage minor imperfections.
Low VOCs
Chemicals and solvents found in paint products can emit toxic fumes known as VOCs. Carbon-containing substances create noxious fumes during the painting process. These compounds have long been added to oil-based paints to improve their hardness and increase drying time. Many acrylic and latex paints also contain VOCs to a lesser degree, although the trend is toward reducing or eliminating the compounds to offer a healthier painting experience.
These malodorous fumes can cause headaches and nausea if inhaled. While these fumes are less likely to bother users when painting outdoors, they may still wish to choose a paint labeled as “Low-VOC” or “Zero-VOC.” Of the two types of exterior paints—oil and latex—oil paint is higher in VOCs. The amount of allowable VOCs varies by state, but generally, a “Low-VOC” label indicates the paint contains fewer than 50 grams of VOCs per liter. Those seeking minimal fumes will want to look for no-VOC or zero-VOC paint, which contains fewer than 5 grams per liter.
Dry Time
Different paints have different dry times, and waiting until the first coat is dry before applying a second coat is key to achieving a quality finish. Most latex paints dry to the touch within a couple of hours, and a second coat can be applied in 4 to 6 hours. Oil paint, however, dries to the touch in 6 to 8 hours and may require up to 24 hours before a second coat can be applied. Dry times are usually listed on the paint can.
While paint may feel dry to the touch in a few hours and even be ready for a second coat, it may not be cured. When the paint’s liquid ingredients have evaporated, the paint is completely cured. Cure time varies by paint, with latex and acrylic taking a couple of weeks and oil-based paint taking up to a month to cure. Cure time can be slower in humid and cold conditions and faster when the temperature is above 50 degrees and the humidity level is low. Until the paint is cured, care should be taken not to brush against the painted surface.
Lasting Color
Low-quality paints can contain cheap pigments, such as talc, clay, and silica, that tend to fade over time, especially if the painted surface has a southern exposure and receives direct sun.
Keep in mind that dark colors are more likely to fade than light hues on the exterior. If a dark or bright shade is chosen for trim or shutters, look for “titanium dioxide” on the ingredient list. This pricey but long-lasting pigment is usually found only in premium paint lines. Those looking to create faux textures, such as painting to look like wood, will want to try exterior paints that contain UV protectants to keep the painted-on effects from fading.
Weather Resistance
Good paint should be able to handle whatever Mother Nature throws its way. Oil paints are very good at withstanding rain and are easy to clean. Until the development of acrylic-based latex paint, oil was the standard exterior paint for many years.
Acrylic is a binder that allows latex to flex slightly, making it less likely to become brittle and crack and, therefore, better able to repel rain. The highest-quality latex paint labels feature the words “all acrylic” or “100 percent acrylic.” While cheaper paints often contain a small amount of acrylic, they usually don’t contain enough for the paint to be weather-resistant.
Climate Suitability
Paint needs vary by region, and a paint suitable for the high desert region of New Mexico may not be the best choice for a humid area such as Louisiana. Paint additives can make the difference between a paint job that lasts more than a decade and one that lasts only a couple of years.
For paint jobs in humid or rainy areas, paint labeled “mildew-resistant” may be preferred. If the sun shines most of the time, paint labeled “UV-resistant” can be helpful.
Surface Suitability
While there are exceptions, the general rule is to use the same type of paint already on the surface. For example, if the siding was already painted with latex, choose latex. Conversely, if it was painted with oil, choose oil. Putting oil paint over latex often causes bubbling and peeling, as the solvents in oil paint may melt the latex.
The success of the paint will also be affected by whether it is compatible with the material being painted. Paint designed to cover wood siding may not adhere as well to aluminum or vinyl siding. Compatibility is usually listed on the paint can and in the product’s online description.
- For siding: Today’s composite and fiber-cement siding hold exterior paint very well if first coated with an acrylic masonry primer followed by one or two coats of exterior latex or acrylic paint. When purchasing pre-primed siding, the primer step can be skipped.
- For wood: Wood is porous and tends to absorb moisture, which can cause many types of paint to release and peel off a surface. Oil-based paint offers the best protection and longest-lasting results when painting exterior wood. Next in line are high-quality exterior acrylic paints, which have been improved and are less likely to crack and peel than latex paint.
- For brick: Painting brick, concrete, stucco, or any type of exterior masonry first requires applying a masonry primer that will help the paint adhere. Users will want to follow up with good-quality masonry paint containing elastomeric ingredients that will flex slightly if the brick expands or contracts, rather than becoming brittle and cracking. Using an exterior paint brush can make application easier, too.
- For porches and patios: Exterior walking surfaces, such as patios and decks, see a lot of traffic and require durable paint. Shoppers will want to look for paint designed specifically for decks, offering added protection for horizontal porch and deck surfaces where water can pool. High-quality deck paints are available in oil- and water-based paints, and while oil-based will last longer, water-based paints will not fade as quickly.
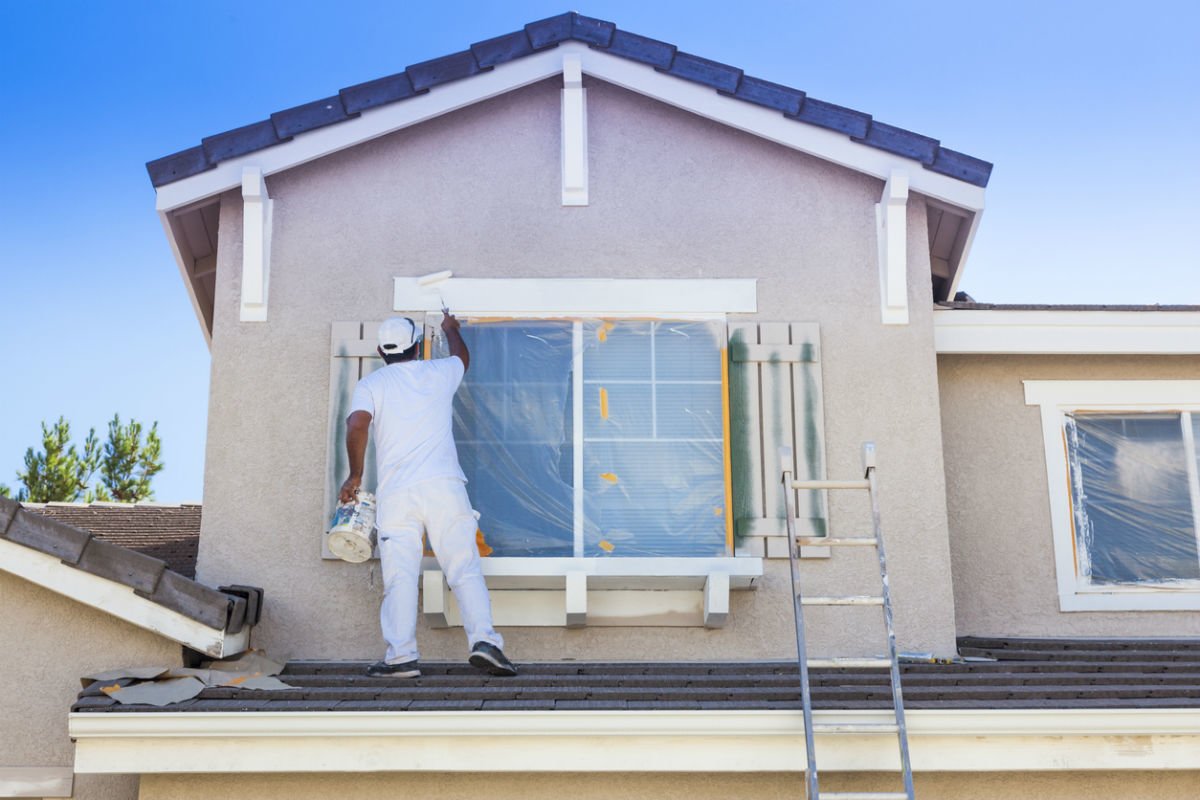
Prep and Application
Adequate prepping is essential for a long-lasting exterior paint job. For the best adherence, the surface must be clean of all dirt and grease. It should also be dry, as paint does not adhere well to damp surfaces. In addition, any loose or peeling paint should be scraped away. Smaller projects, such as patio furniture, can be prepped using a paint stripper to remove existing paint.
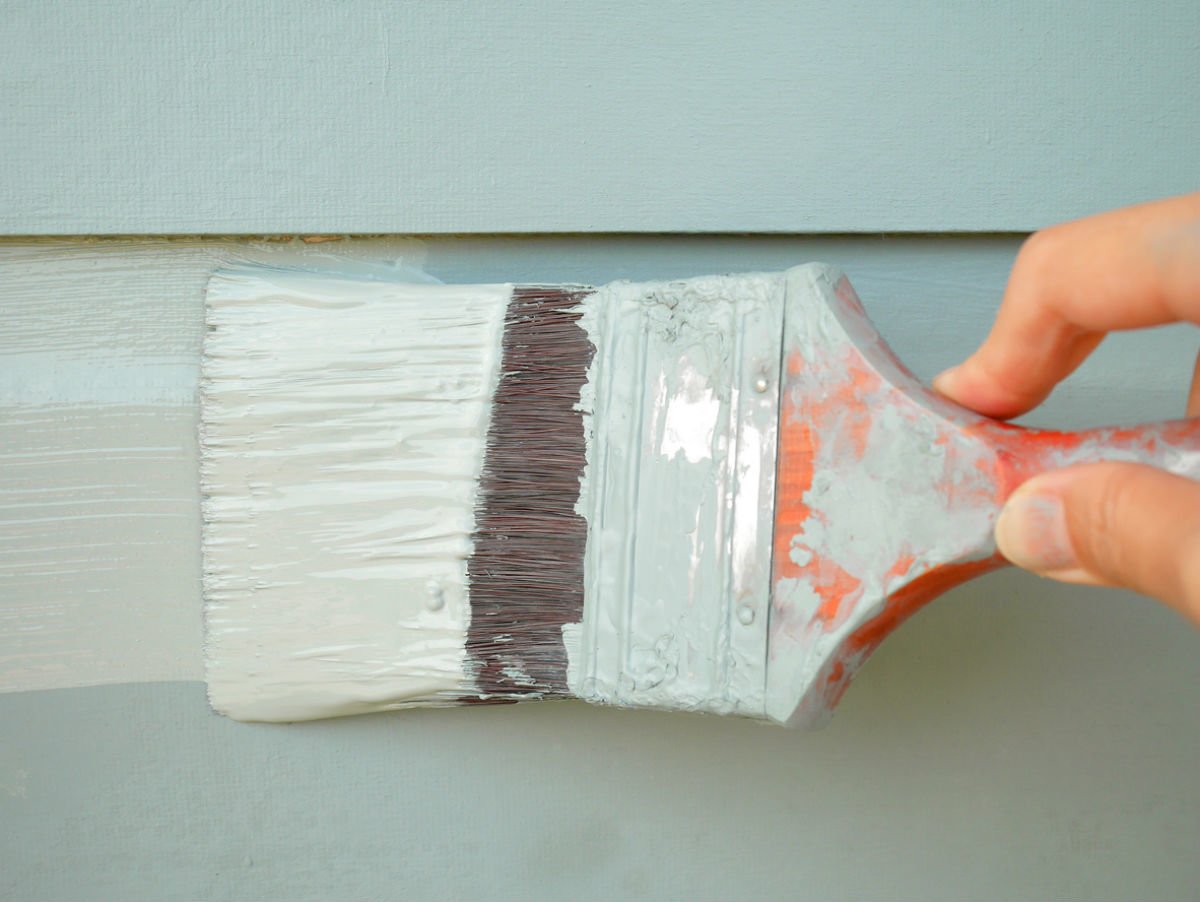
As for any painting project, proper precautions keep paint from accidentally getting on trim or other items where it’s not wanted. Draping nearby objects with drop cloths protects them from splatters, and painter’s tape can help create a clean, crisp paint edge. Exterior paint is easy to apply with exterior paint brushes, which are well-suited for working the paint into seams and wood grain.
For narrow siding strips, use small paint rollers that are the same size as the strip. The quickest application method involves a paint sprayer, but it’s also the riskiest in terms of accidental overspray. A combination of techniques can be used to ensure the paint adheres well, such as spraying or rolling on a coat of paint, followed by brushing in a process known as “back brushing.”
FAQs
Now that you know more about the characteristics that differentiate exterior paints, you may have new or lingering questions. The following answers to some of the most popular questions about exterior paint may help.
Any paint designed for use outdoors should be labeled as “Exterior Paint.” Paints used exclusively indoors do not contain the ingredients necessary to resist damage from rain, snow, and temperature fluctuations. However, slight gloss paint and high-gloss paint should always be used for exterior jobs. These paint types resist scuffs and clean easily, perfect for areas exposed to the elements.
Oil-based paints have the longest useful life, but tinted water-based paints are less likely to fade. Acrylic paints are also a viable option since they can resist extreme weather while never losing their pigment.
Primer fills in gaps or imperfections before paint application. Therefore, a primer is usually required on bare wood or porous materials. However, paint-and-primer combination products do not require a separate primer.
Painting over an old painted exterior is a good way to seal any existing hairline cracks in the material and add to its weather resistance. The general rule, however, is to apply oil paint over old oil paint and acrylic or latex paint over old acrylic or latex. If you want to paint over old exterior paint with a different type of paint, some new primers are available to help the transition between the different types of paint.