We may earn revenue from the products available on this page and participate in affiliate programs. Learn More ›
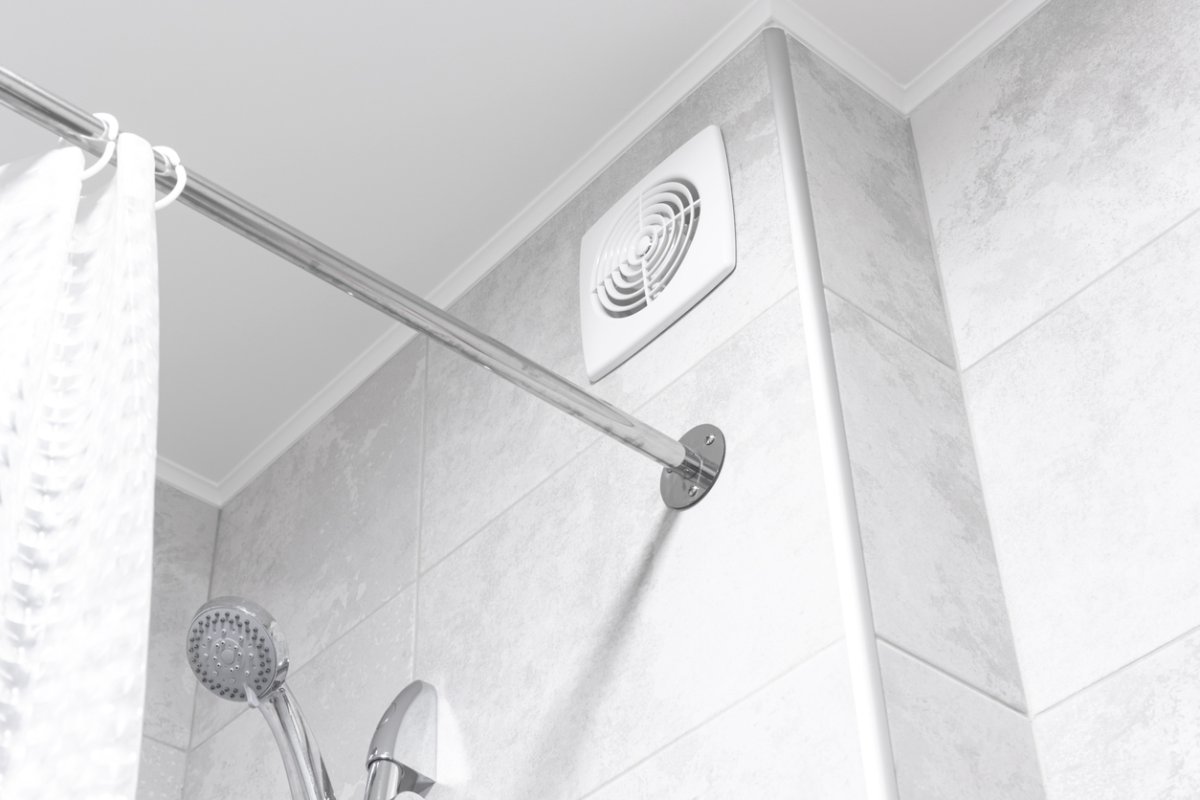
Keeping the bathroom exhaust fan clean is an important—yet often overlooked—home maintenance task. A layer of dust covering the fan can impact the fan’s ability to do its job of removing moisture, contaminants, and odors and controlling bathroom ventilation. Moreover, not cleaning the fan can increase the chances of mold growth and could potentially cause a fire.
Fans in bathrooms that are used regularly should be cleaned twice a year. For bathrooms that are not used on a regular basis, cleaning the fan once a year should suffice. While you may want to hire an electrician to install a new bathroom fan, cleaning one is a task you should be able to handle on your own. Read on to learn how to clean a bathroom fan the right way.
RELATED: 8 Ways to Clean Stained Grout
Tools & Materials
Bobvila.com may earn a commission from purchases made through these links.
Project Overview
Working Time: 20 to 45 minutes
Total Time: 30 minutes to 1 hour
Skill Level: Beginner
Estimated Cost: $5 to $20
BEFORE YOU BEGIN
You may want to start by reading through the use and care instructions from the manufacturer before cleaning the bathroom fan. Some manufacturers may include special directions for cleaning.
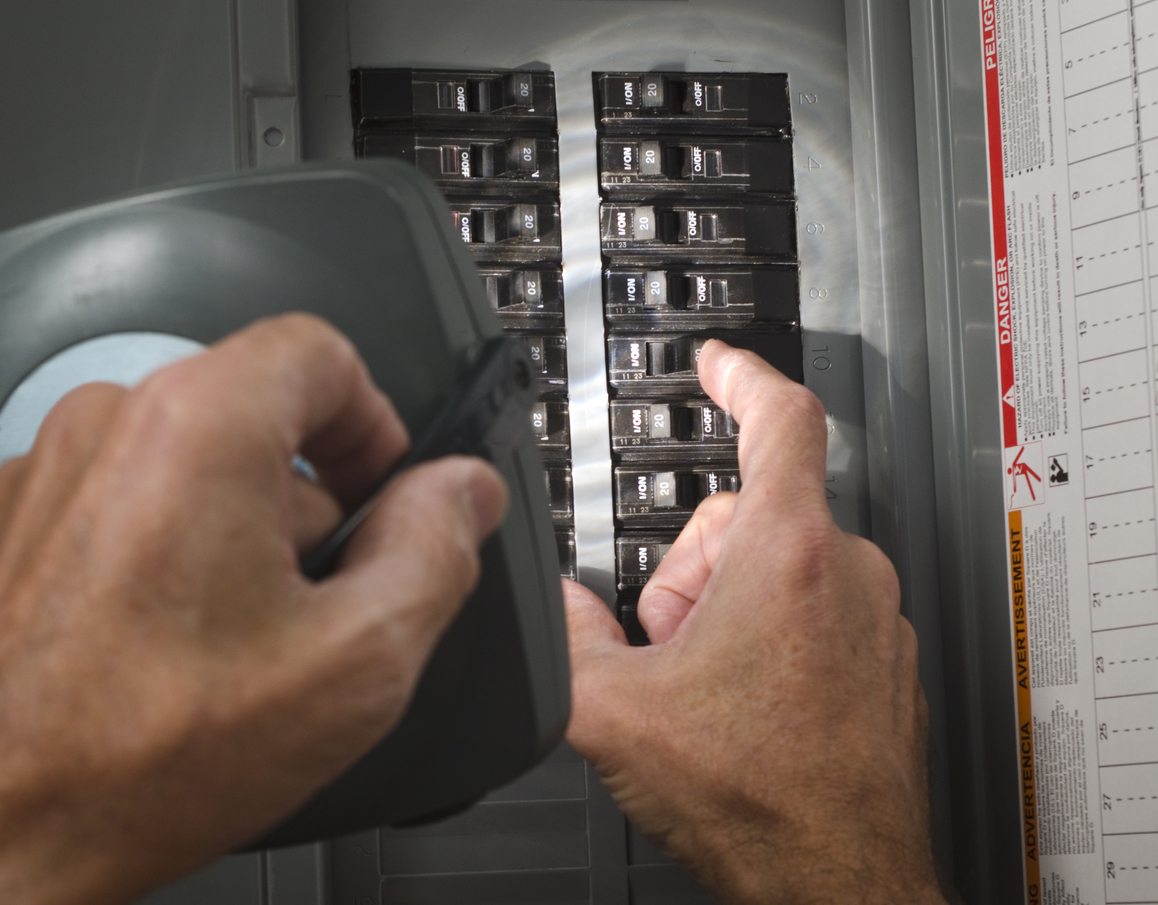
STEP 1: Turn off the power to the fan.
Whether you are cleaning a large or small exhaust fan, the first step is always the same. You should cut off the power to the fan to avoid accidentally electrocuting yourself. To do this, you will need to find the breaker box and flip the circuit that controls the bathroom. Confirm that the power to the bathroom extractor fan is off before starting.

STEP 2: Remove the exterior vent cover.
After confirming that the power is off, remove the bathroom vent cover. For fans with no light or heater, you should be able to remove the cover by pulling down on it enough to expose the mounting wires. Squeeze these wires together, and pull them out of their slots to fully remove the bathroom fan cover. For fans that have lights or other electrical components, you’ll need to disconnect the wires before pulling the cover off. If a lot of dust has accumulated on the outside of the cover, you may want to vacuum it off using a brush attachment before removing it to prevent dust from getting everywhere.

STEP 3: Clean the exterior vent cover.
The steps to clean the bathroom air vent cover will differ slightly based on whether the fan has a light or other electrical components. Covers for basic fans can be placed in a tub of warm soapy water to soak and loosen any residues. After soaking, you can use a soft-bristled brush to clean the fan and get in between the grates. Once clean and rinsed, lay the fan cover out to dry on a towel.
Fans with lights or any electrical components should not be submerged under water. Rather, you’ll need to use a vacuum with a brush attachment and/or a microfiber towel to get the dust off the cover. After dusting the cover, use a damp cloth to wipe it down and remove any additional dust and debris. Then, lay the cover on a clean towel to dry.
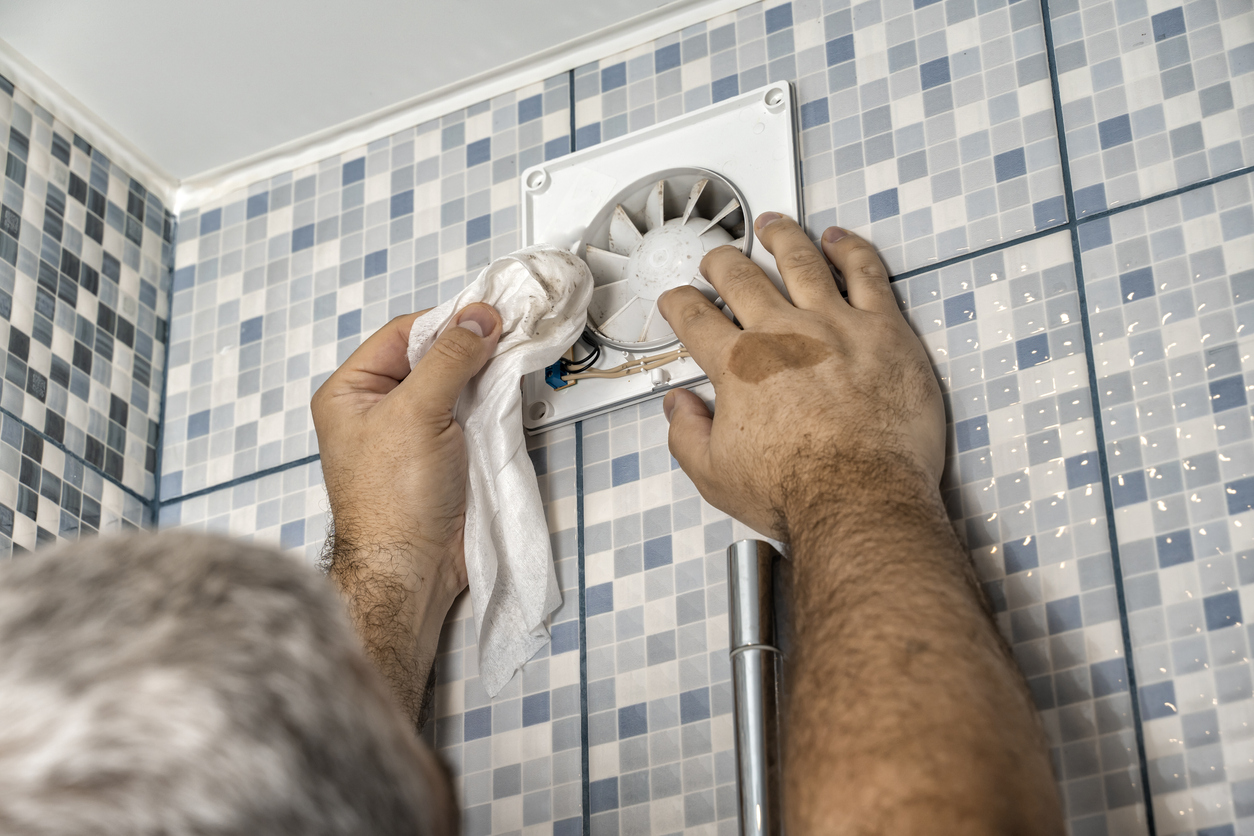
STEP 4: Clean the fan blades and recessed housing.
Now that the cover is clean, you’re ready to move on to cleaning the fan blades. You may be able to remove the fan and motor assembly out of the housing using a screwdriver. This will allow you to vacuum or wipe them down more easily and thoroughly. If you are not able to remove the bathroom fan motor and blades, you can carefully clean them while they’re still attached using the crevice tool and brush attachments and a microfiber cloth. Don’t forget to also clean the housing around the blades and motor.

STEP 5: Reassemble the fan once everything is dry.
After everything has been cleaned, it is time to put the extractor fan back together. If you removed the motor or fan blades, put those back into place, working backwards to follow the steps you took when removing them. Check to make sure any screws are securely fastened and that the fan blades can spin properly without bumping into anything.
Replace the exhaust fan cover until it clicks into place, just as you did when you originally installed the bathroom fan. Wait until the cover is fully dry to put it back on. After everything has been put back together, turn the power to the vent fan back on. Test it to make sure that it sounds like it is working properly.
RELATED: How Much Does Air Duct Cleaning Cost?
Final Thoughts
Cleaning a bathroom fan is a relatively simple task that won’t take up too much of your time. However, it is also an important task that should be completed regularly—about twice a year—to keep your bathroom well-ventilated and minimize the risk of mold or house fires. Use the steps outlined above to clean your ceiling exhaust fan, and then add this task to your yearly maintenance and cleaning list.
