

We may earn revenue from the products available on this page and participate in affiliate programs. Learn More ›
Creative art-and-craft projects as well as utilitarian home repairs sometimes call for gluing cardboard to cardboard or to an array of diverse materials. When these projects come along, the crafter or DIYer will want to have the appropriate type of adhesive on hand.
Shoppers may consider the characteristics of various glues, including their application methods, bonding strength, drying and curing times, and safety. Read on to compare their qualities and determine the best glue for cardboard projects.
- BEST OVERALL: Lineco Books by Hand pH Neutral PVA Adhesive
- BEST BANG FOR THE BUCK: Elmer’s Glue-All Multi-Purpose Glue
- BEST TACKY GLUE: Aleene’s Quick Dry Tacky Glue
- BEST SPRAY ADHESIVE: Gorilla Spray Adhesive
- BEST HOT GLUE STICKS: AdTech Multi-Temp Mini Glue Sticks
- BEST SUPER GLUE: Gorilla Super Glue Gel
Types of Glue for Cardboard
Not all glues are created equal. Certain types of glue work best with certain types of substrate. Cardboard is a paper-pulp material, frequently manufactured from recycled wood shavings and chips. DIYers consider the composition of glues when working with cardboard, and these include super glue, contact cement, tacky glue, hot glue, spray adhesive, and epoxy glue.
Super Glue
Super glue is popular with crafters and DIYers because of its fast drying time and powerful adhesion. It’s made from cyanoacrylate, an acrylic monomer that transforms to a plastic state when it dries. Super glue works on cardboard as well as other surfaces, including vinyl, leather, ceramic, metal, and some plastics.
Because of super glue’s fast set time and strong adhesion, DIYers need to work fast when using super glue. There’s not much time to reposition surfaces before the glue holds tight.
Contact Cement
Contact cement is a useful glue that sets fast and creates a flexible, permanent bond. It’s a neoprene rubber adhesive that is especially practical for gluing nonporous substrates. These include plastics, glass, metal, rubber, and leather. Contact cement will also adhere to cardboard and may provide a viable method for gluing cardboard to plastic and other nonporous materials.
Unlike glues that are applied wet and rely on the drying process to create a bond, contact cement is dry when it’s applied. As soon as the solvent evaporates, contact cement forms a strong, permanent bond between two surfaces.
Tacky Glue
Also known as white glue, tacky glue is made from polyvinyl acetate (PVA). With its thick, acrylic-based formulation, tacky glue grabs on to surfaces and forms a strong, permanent, flexible bond. It works on cardboard, paper, fabric, wood, metal, glass, ceramics, and many plastics.
Tacky glue is water soluble when wet but cures to a water-resistant state. Most tacky glues are white but dry to a transparent finish. Because the glue is nontoxic and easy to clean up when wet, adults can enjoy peace of mind when children use tacky glue.
Hot Glue
Hot glue is useful for bonding cardboard to cardboard as well as paper to cardboard. It’s also useful for gluing cardboard to metal, plastic, glass, and other materials. Users insert hot-melt adhesive (HMA) sticks into a hot glue gun to melt the glue and dispense it from the heated gun tip. For safety reasons, children should not use hot glue.
Crafters like hot glue because it grabs quickly and dries in less than a minute to form a permanent bond. In craft projects using cardboard, hot glue is the ideal method for attaching embellishments such as ribbons, buttons, wooden cut-outs, and stickers.
Spray Adhesive
Spray adhesive offers a practical method to cover large surfaces when gluing cardboard, metal, wood, glass, leather, foam, rubber, and some plastics. It dries to a transparent finish with a strong, permanent bond. Regular spray adhesives work well for most projects, and heavy-duty spray adhesives form more powerful bonds in projects where load bearing is a factor.
DIYers and crafters should take precautions when using spray adhesive. Work in a well-ventilated area with drop cloths or coverings on the work surfaces. Wear a mask to avoid inhaling fumes. Additionally, nitrile gloves provide necessary protection. Do not use spray adhesives around children.
Epoxy Glue
Epoxy glue is stored in two parts, and users mix the two liquids in a 1:1 ratio prior to application. A chemical reaction occurs when the liquids are mixed, and epoxy glue forms a strong, durable, and permanent bond on numerous substrates. In fact, epoxy is such a powerful adhesive that it’s used for industrial applications.
In projects with cardboard, epoxy glue is a viable choice for adhering cardboard to metal, plastic, ceramic, glass, and other materials. Use it in a well-ventilated area to avoid the unpleasant odor before it dries. Let epoxy glue dry for 24 hours before handling the finished product.
What to Consider When Choosing the Best Glues for Cardboard
Certain materials call for specific types of glue. For example, the best glue for paper crafts may not be the best glue for paper to cardboard. On the other hand, the best glue for projects involving thick, corrugated cardboard may not be the same as the best glue for cardstock. Therefore, shoppers may want to consider their proposed cardboard projects before selecting the optimal glue. Factors to consider include the application method as well as the bonding strength and the time required for drying and curing. Additionally, some glues require safety precautions.
Application
Many users consider polyvinyl acetate (PVA) glue to be among the best glues for crafts. It’s a liquid white glue that dries to a transparent finish, and it works well on cardboard. PVA glue (white glue, or tacky glue) is usually packaged in plastic bottles with applicator caps. Squeeze the bottle to dispense a bead of glue through the applicator tip. Let it dry for a few minutes to begin setting up. Then join the two surfaces and press to form a bond, allowing 30 minutes of drying time. Allow 24 hours for full curing.
If a spray-on application is preferred, apply an even mist of spray adhesive via an aerosol can. Follow the manufacturer’s directions regarding safety precautions.
Hot-melt adhesive (hot glue) is another effective option for gluing cardboard. Insert hot glue sticks into a hot glue gun to apply the melted adhesive to cardboard and additional substrates. Follow safety precautions to avoid burns.
Bonding Time and Strength
When shopping for the best craft glue for cardboard, users may consider their needs related to projects. Will they work with small, lightweight pieces of cardboard? Or, will they need to glue large, heavy pieces of thick cardboard for load-bearing projects? Understanding the requirements of projects will help shoppers select glues with the appropriate bonding time and strength.
A heavy-duty spray adhesive forms a strong bond with heavy cardboard material. Similarly, a super glue (cyanoacrylate) can handle a heavy-duty gluing job. For lightweight or medium-weight cardboard, a PVA glue (white glue) or hot glue will do the job.
Glues vary in their drying time. Super glue and hot glue set up fast, requiring quick work because there is not much time for repositioning the surfaces before the bond forms. Spray adhesive and PVA glue (white or tacky glue) have longer drying times, providing more opportunity to reposition the materials. In all gluing jobs, users should allow the projects to cure overnight before handling them. Manufacturer’s directions may call for a 24-hour curing period.
Finish Color
Most of the adhesives for cardboard-gluing projects dry to a transparent finish. PVA glue, one of the most popular cardboard glues, is white in its liquid form. However, it dries to a clear finish, like other glues.
Hot glue sticks melt in glue guns to a clear, liquid state. When it hardens and cures, hot glue is colorless. The same colorless quality is true of adhesive spray as well as super glue.
A transparent finish is preferred by crafters and DIY enthusiasts because it does not affect the appearance of the finished project.
Safety
PVA glue (white glue) is safe and nontoxic. It does not require safety precautions. White glue is water soluble before it dries, so cleanup is easy. Additionally, white glue does not pose a health risk through skin contact, and it does not emit fumes.
Conversely, spray adhesive requires safety precautions. Be sure to cover work surfaces and provide ample ventilation. Users should wear masks and nitrile gloves when working with spray adhesive to avoid inhaling fumes and making skin contact.
Hot glue is nontoxic and does not pose a risk of toxic fumes. However, hot glue applied through a hot glue gun requires safety precautions to prevent burns. Super glue is such a strong adhesive that it poses a problem when it contacts human skin. Although it’s not poisonous, users may want to remove super glue from their skin by soaking in warm water and rubbing with mineral oil or petroleum jelly.
Our Top Picks
Based on considerations of various types of cardboard-gluing projects as well as various types of adhesive, we’ve assembled a list of our top picks in glues for cardboard. Read on to discover our recommendations.
Best Overall
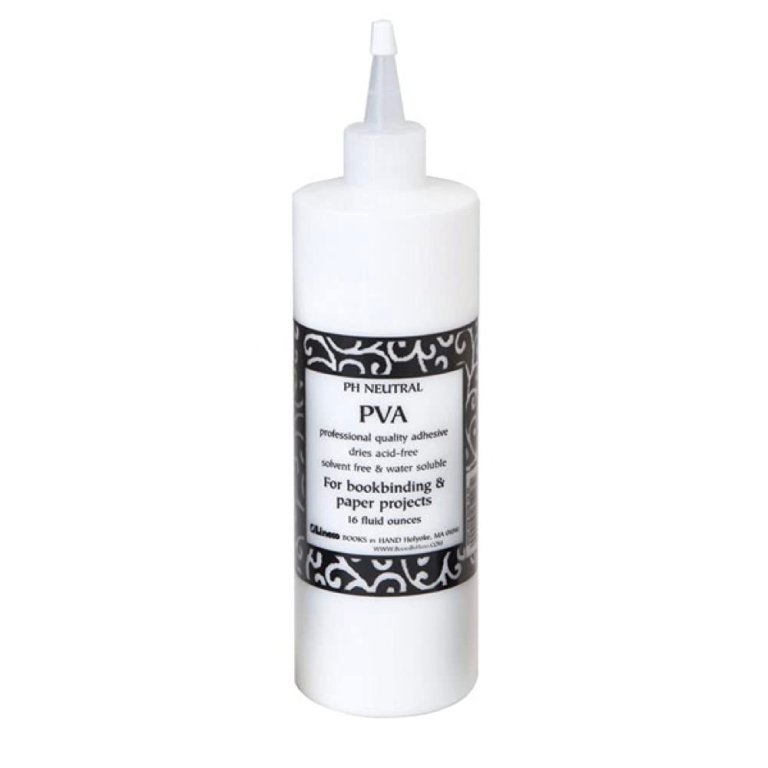
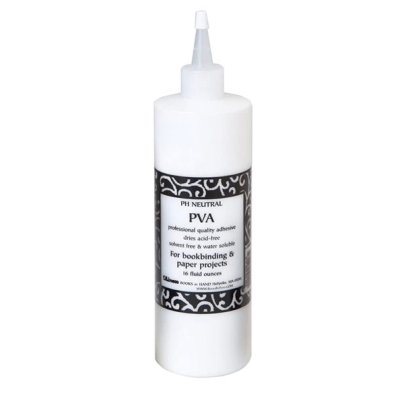
Lineco Books by Hand pH Neutral PVA Adhesive
See ItPros
- Acid-free
- Non-yellowing
- Water soluble
- Dries clear
Cons
- Not ideal for heavy-duty bonds where load bearing is needed
Product Specs
- Product volume: 16 fluid ounces
- Application method: Squeeze the bottle to apply through the applicator cap
- Compatible materials: Cardboard, paper, bookbinding
This adhesive from Lineco Books by Hand offers several advantages for cardboard-gluing projects. It provides archival-quality adhesion and a quick drying time. The acid-free glue dries to a clear finish that does not yellow with age.
Use this glue for photographs, bookbinding, and artwork framing as well as cardboard projects. It’s water soluble when wet, so the glue can be diluted for a longer drying time.
Lineco Books by Hand glue is made from polyvinyl acetate (PVA), a thermoplastic adhesive. When dry, it forms a flexible finish along with a strong, permanent bond. PVA glue is safe and easy to work with. It does not emit toxic fumes or odor, and it cleans up with water before it dries to a permanent state.
Get Lineco Books by Hand glue for cardboard at Amazon, Blick, or Walmart.
Best Bang For The Buck
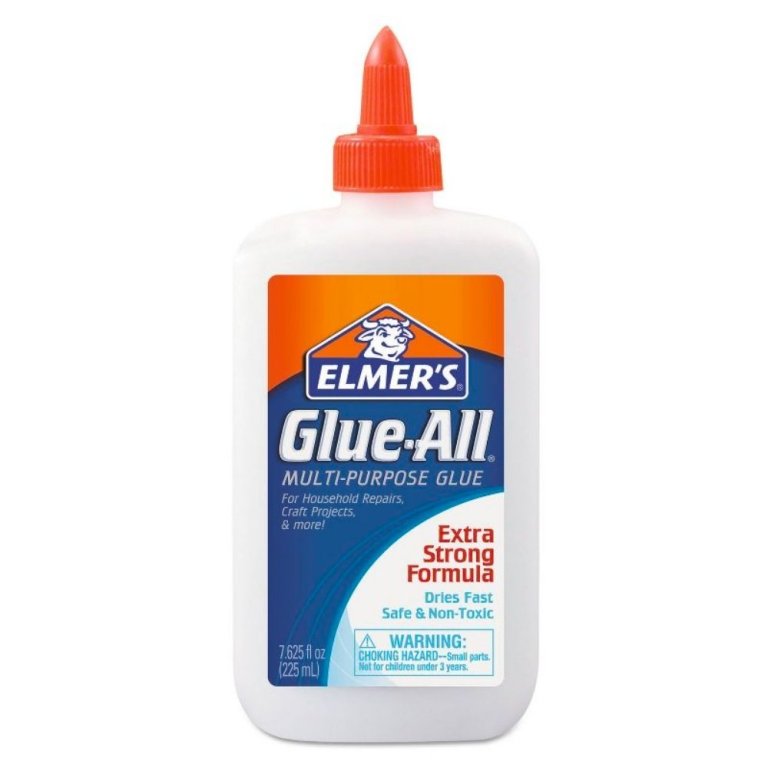
Elmer's Glue-All Multi-Purpose Glue
See ItPros
- Nontoxic
- No fumes, no odor
- Safe for children
- Strong, permanent bond for cardboard projects
Cons
- Not ideal for heavy-duty bonds where load bearing is needed
Product Specs
- Product volume: 7.625 fluid ounces
- Application method: Squeeze the bottle to apply through the applicator cap
- Compatible materials: Cardboard, paper, wood, ceramics, fabric, leather
This Glue-All Multi-Purpose glue from Elmer’s boasts an improved formula with stronger bonding power than the popular Elmer’s school glue. Its superior strength makes Glue-All an ideal choice for gluing cardboard as well as wood, paper, fabric, ceramic, and leather.
This nontoxic and quick-drying glue goes on white and dries to a transparent finish. It’s safe for use by children as well as adults. Keep this multipurpose glue on hand for repairs around the house and for craft projects. It’s made from polyvinyl acetate (PVA) for safe and effective adhesion of multiple materials.
In addition to this glue’s numerous practical purposes, it can be used to make the ever-popular slime that kids love. Elmer’s provides the easy recipe to make this safe and nontoxic substance using Glue-All glue and baking soda, and children love playing with the ever-fascinating slime.
Get Elmer’s Glue-All glue for cardboard at Target, Joann, or Walmart.
Best Tacky Glue
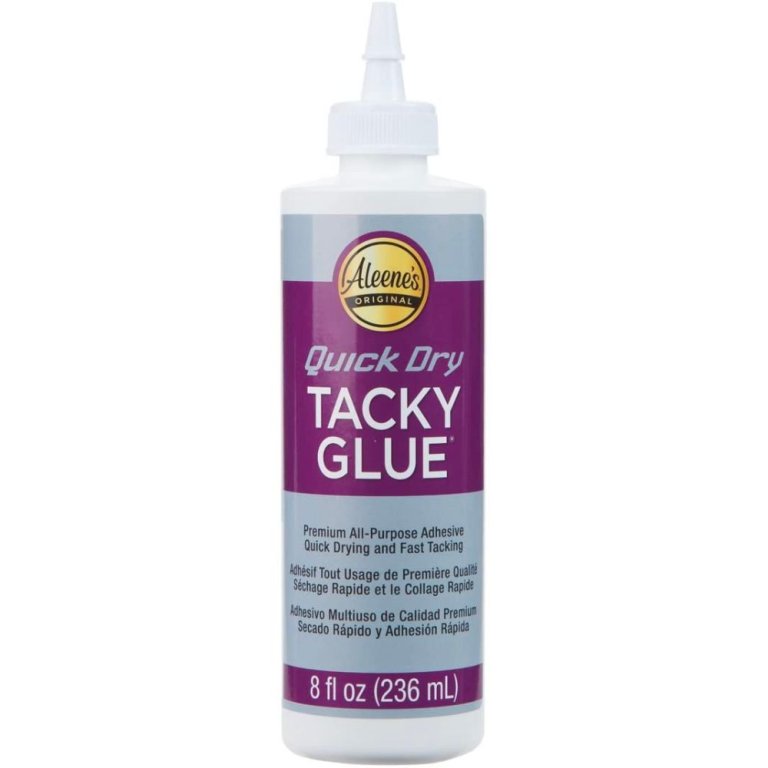
Aleene's Quick Dry Tacky Glue
See ItPros
- Quick drying
- Transparent finish
- Thick consistency
- Nontoxic
Cons
- Not ideal for gluing paper
Product Specs
- Product volume: 8 fluid ounces
- Application method: Squeeze the bottle to apply through the applicator cap
- Compatible materials: Cardboard, fabric, foam, wood, metal
Here’s an additional glue made from polyvinyl acetate (PVA). Aleene’s Quick Dry Tacky Glue offers several advantages for cardboard-gluing projects. It’s nontoxic and quick drying. When it’s wet, this glue is water soluble, so cleanup is easy. After it dries, Aleene’s tacky glue forms a permanent bond.
This glue goes on white but dries to a clear finish that will not yellow over time. In addition to cardboard projects, Aleene’s tacky glue is ideal for adhering fabric, foam, wood, and metal substrates.
Because of its thick consistency, this glue is a practical choice for adhering to vertical surfaces. It does not run as readily as thinner liquid glues.
Get Aleene’s Quick Dry glue for cardboard at Amazon, Michaels, or Walmart.
Best Spray Adhesive
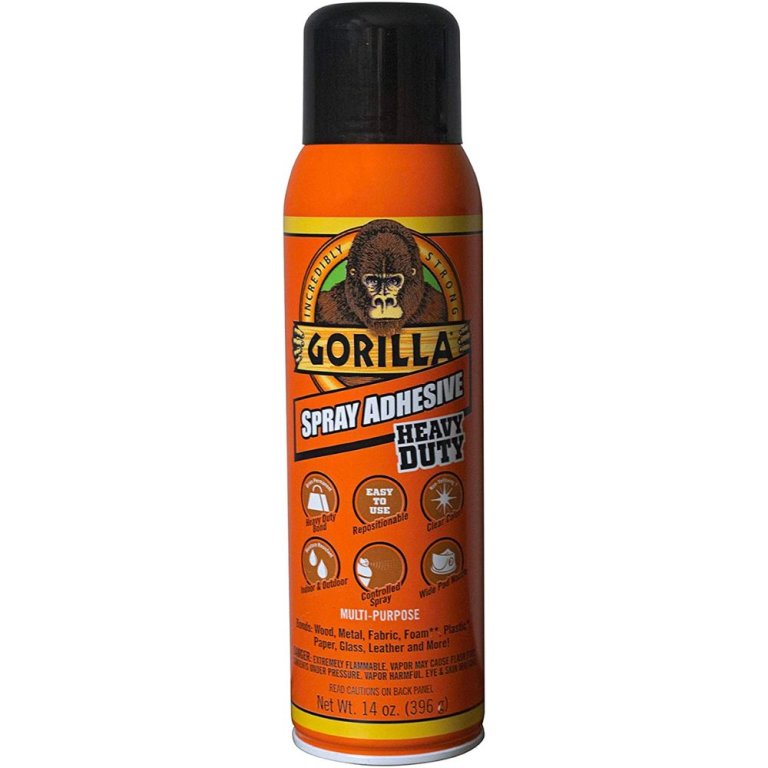
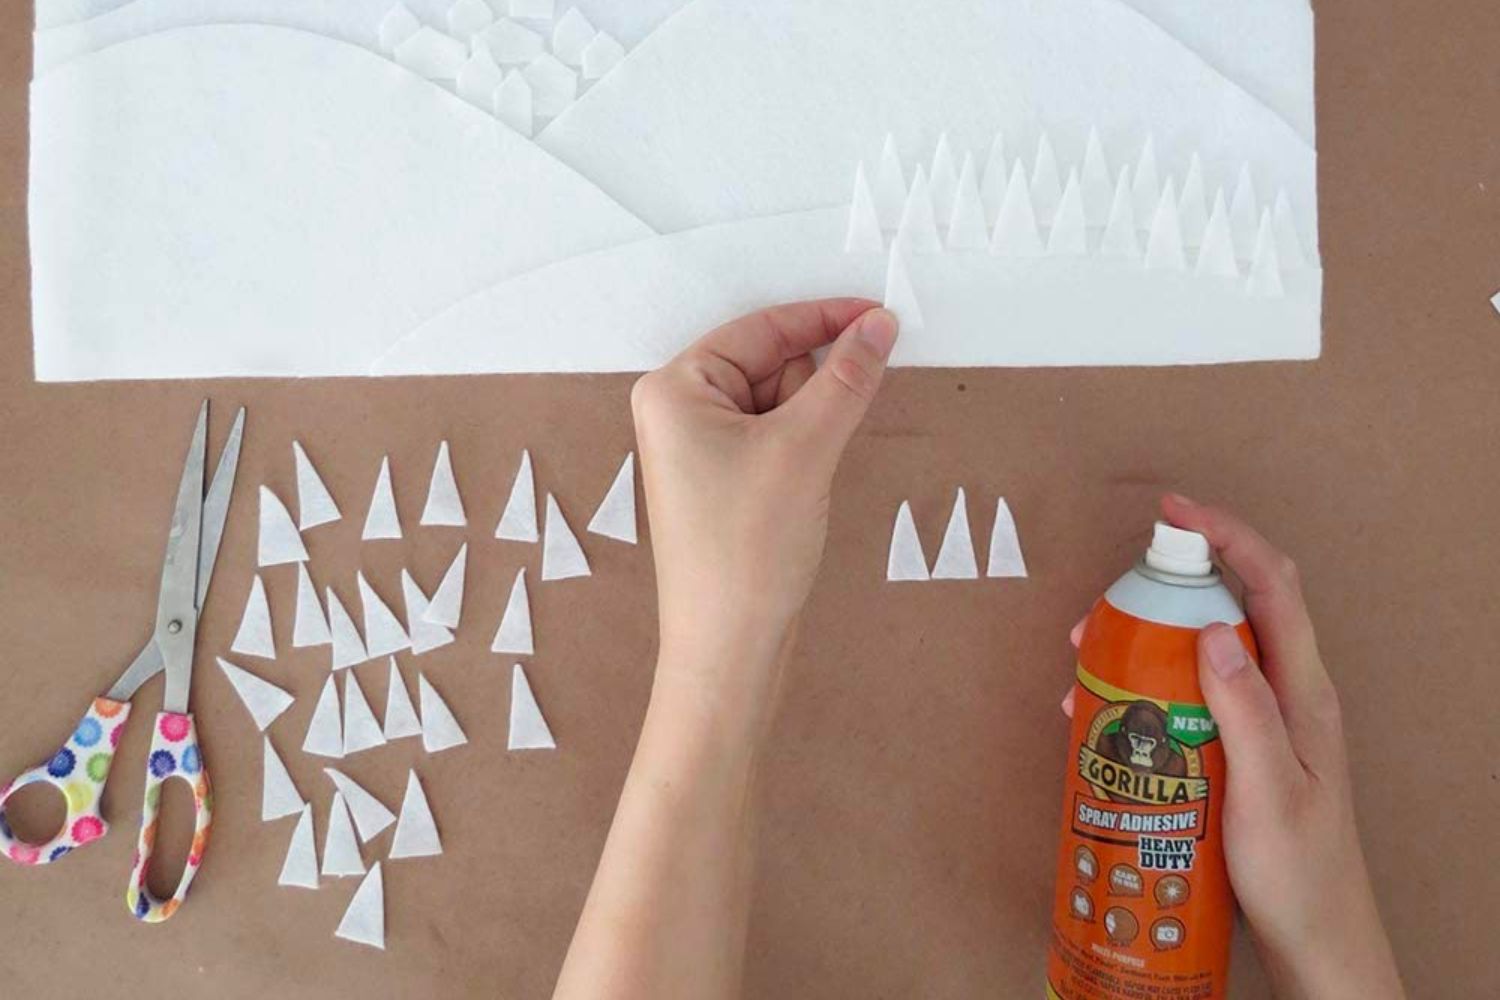
Gorilla Spray Adhesive
See ItPros
- Quick, even coverage
- Clear, non-yellowing finish
- Repositionable up to 10 minutes after application
- Versatile for use on multiple materials
Cons
- Emits fumes
- Safety precautions required
- Not safe for children
Product Specs
- Product volume: 14 fluid ounces
- Application method: Spray from the aerosol can
- Compatible materials: Cardboard, paper, fabric, foam, wood, glass, leather, plastic
When it’s necessary to distribute an even application of glue over a large cardboard surface, Gorilla Spray Adhesive does the job. It’s suitable for gluing cardboard to cardboard or to a variety of substrates, including photos, metal, fabric, paper, leather, foam, glass, wood, and some plastics.
This heavy-duty spray dries to a transparent finish that does not turn yellow with age. The user may reposition the glued surfaces for up to 10 minutes after applying this spray adhesive.
Gorilla Spray Adhesive is dispensed from an aerosol can. It meets Environmental Protection Agency (EPA) standards for volatile organic compound (VOC) emissions. When applying this spray adhesive, users should work in well-ventilated areas and wear masks and nitrile gloves. Spray adhesive is not recommended for use around children.
Get Gorilla Spray Adhesive glue for cardboard at Amazon, Ace Hardware, The Home Depot, or Walmart.
Best Hot Glue Sticks
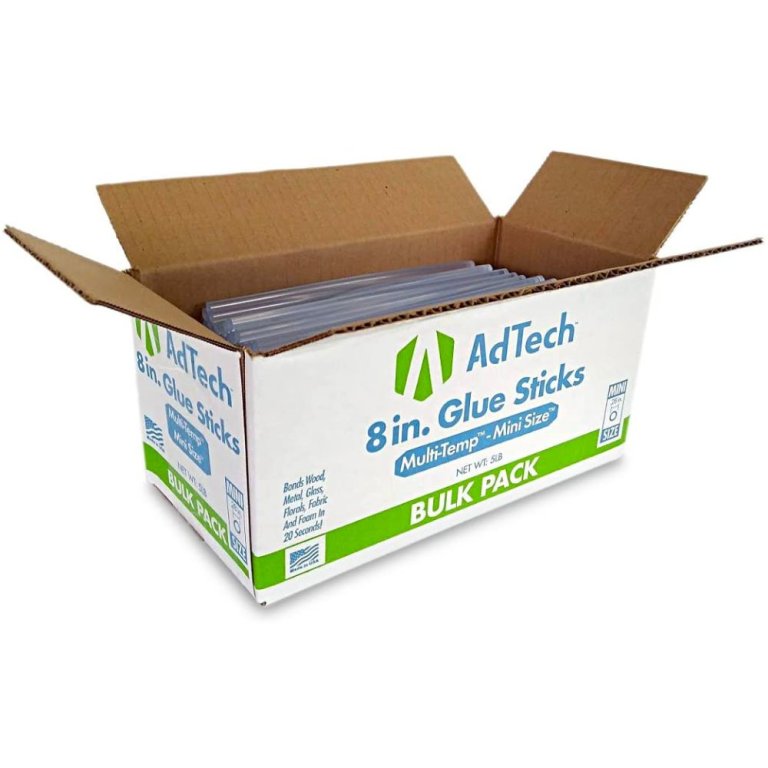
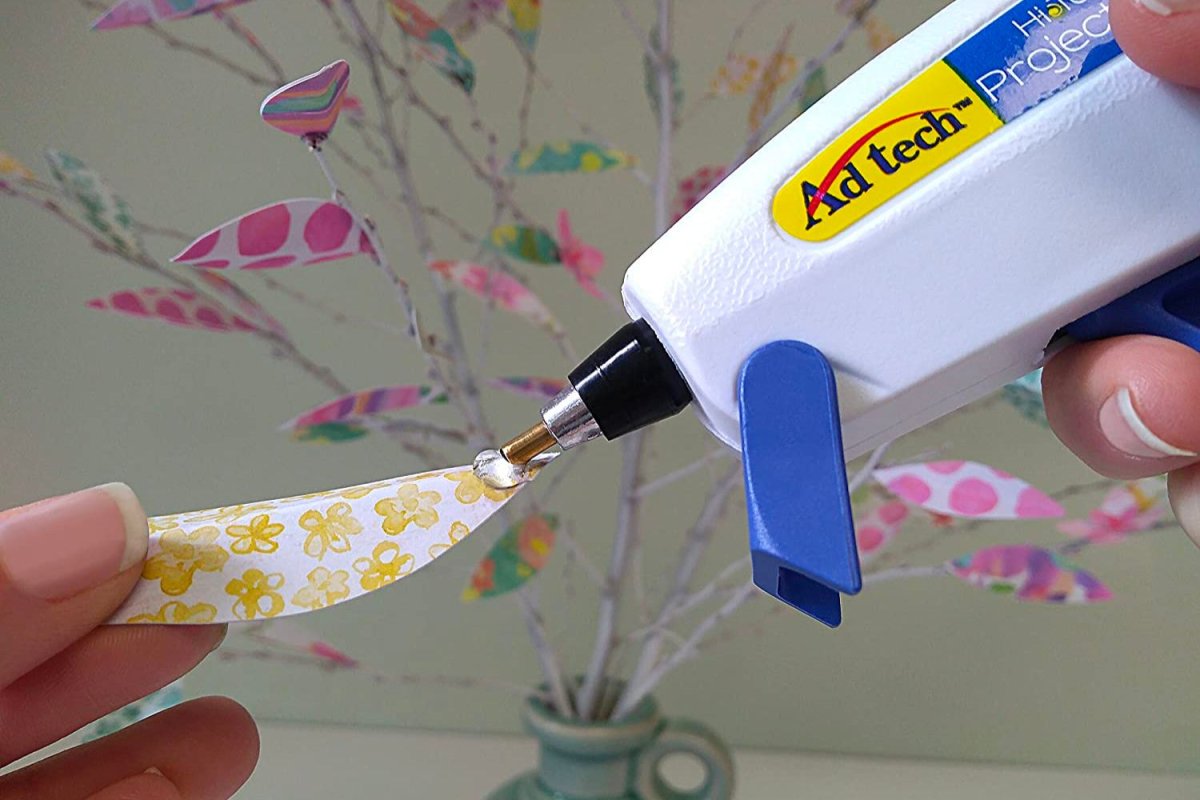
AdTech Multi-Temp Mini Glue Sticks
See ItPros
- Sets fast, forms an immediate bond
- Works in low-temperature or high-temperature glue guns
- Clear, non-yellowing finish
- Extra-long sticks for mini hot glue guns
Cons
- Not for use by children because of the risk of burns
- Does not allow time for repositioning surfaces
Product Specs
- Product volume: 5-pound bulk pack; each stick is 8 inches long by 0.28 inches in diameter
- Application method: Dispense the melted glue sticks from any mini hot glue gun
- Compatible materials: Cardboard, paper, fabric, glass, metal, plastic
Hot glue sticks and glue guns are the best friends of many crafters and DIY enthusiasts. Use these 8-inch sticks from AdTech in any mini-size hot glue gun. Twice as long as the average glue sticks, they cut down on interruptions for changing the sticks.
As an adhesive for cardboard, hot glue offers the advantage of a quick drying time. In about 30 seconds, hot glue sets to form a tough bond. Use it to adhere cardboard to cardboard or to paper, fabric, glass, metal, and some plastics. Hot glue is clear in color and dries to a transparent finish that does not turn yellow over time.
These hot glue sticks from AdTech are formulated for use in either high-temperature or low-temperature glue guns. The high-temperature hot glue guns work well with heavy materials such as glass and metal. Conversely, users may prefer low-temperature glue guns when working with fabric, paper, and delicate materials.
Get AdTech Mini Glue Sticks glue for cardboard on Amazonor The Home Depot.
Best Super Glue
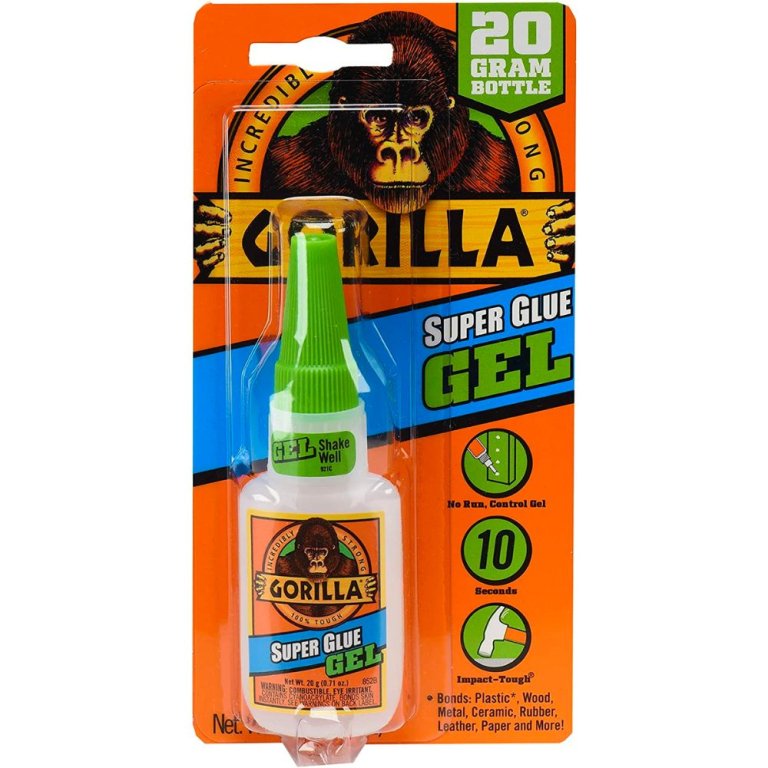
Gorilla Super Glue Gel
See ItPros
- Anti-clog applicator cap
- Fast set-up time
- Nontoxic
- Versatile for multiple applications
Cons
- Mildly irritating on skin
- Somewhat difficult to remove from skin
Product Specs
- Product volume: 0.71 fluid ounce
- Application method: Squeeze the bottle to apply through the applicator cap
- Compatible materials: Cardboard, paper, leather, wood, metal, ceramic, rubber, some plastics (not for polyethylene or polypropylene plastics)
Super glue is a handy product to keep around the home for any number of repair jobs and quick fixes. Gorilla offers this super glue in gel form to facilitate precise application with less mess. It sets up in only 10 to 45 seconds to form a powerful and permanent attachment.
This gel super glue does not run, whereas liquid glues do. Because of this, it’s an optimal choice for vertical gluing projects. It works well with cardboard as well as with paper, wood, ceramic, leather, rubber, and some plastics.
Cyanoacrylate is the active, adhesive ingredient in super glue. It’s a nontoxic, acrylic monomer that transforms to a plastic state as it dries and cures.
Get Gorilla Super Glue glue for cardboard at Amazon, The Home Depot, Target, or Walmart.
Our Verdict
We recommend Lineco Books by Hand pH Neutral PVA Adhesive as an all-purpose PVA glue for cardboard. Budget-minded shoppers may prefer another PVA adhesive: Elmer’s Glue-All Multi-Purpose Glue. Both glues offer safe and effective methods for gluing cardboard to cardboard and to a diverse array of additional materials.
How We Chose the Best Glues for Cardboard
To begin our research into the best types of glue for cardboard, we read nine articles that detail the pertinent criteria related to selecting appropriate adhesives. These articles include information about an assortment of glue options along with how they apply to adhering cardboard to cardboard and to a variety of other surfaces. As we developed our article, we consulted an additional 14 articles to discover relevant information about adhesive formulations and their characteristic performance when applied to cardboard.
We considered glues that are appropriate for lightweight cardboard projects as well as heavy-duty adhesives that work well for heavier materials or projects that require load-bearing capacity. Additionally, we explored a variety of application methods, knowing that users might have specific preferences for diverse cardboard-gluing jobs. Finally, we appraised various cardboard glues for safe use, advising precautions for some and indicating the child-safe quality of others.
Tips for Using Glue for Cardboard
Cardboard is a practical material for a number of applications, including craft projects and home repairs. It is best used indoors, because cardboard is not weatherproof. Here are tips for using glue for cardboard.
- Be sure the cardboard is clean and dry before gluing.
- Use glue sparingly, applying only the necessary amount to achieve a strong bond.
- In most cases, clamping is not necessary, although weighting the project may be a useful option while the glue is drying and curing.
- When using white glue (PVA glue), allow the liquid glue to set for a few minutes before joining the surfaces together.
- Super glue and hot glue require fast work because they set almost immediately and do not allow time for repositioning or adjusting the surfaces.
- Although drying times may be quick, glued projects should cure overnight before users handle them.
- For thick, corrugated cardboard, a heavy-duty spray adhesive or a super glue may be an effective choice.
- Follow the manufacturer’s recommended safety precautions when working with spray adhesives and hot glue.
FAQs
When a creative project or quick home repair requires gluing cardboard, there are several types of glue available. After choosing an appropriate product, the crafter or DIYer may still have questions about gluing cardboard. Here are the answers to a few frequently asked questions.
Wood glue is not the best choice for gluing cardboard. Instead, use polyvinyl acetate (PVA) glue. It’s also called white glue.
Yes. Hot glue is a satisfactory adhesive for cardboard. It sets up quickly to form a strong, permanent bond.
Yes, super glue works on cardboard. It works on regular cardboard as well as the smooth surface of sealed cardboard.
PVA glue is polyvinyl acetate, a synthetic polymer that is used for many adhesive applications.
The best glue for adhering paper to cardboard is polyvinyl acetate (PVA) glue, also known as white glue.
Apply a thin layer of PVA glue to both pieces of cardboard. Let the glue dry a few minutes, until it is no longer liquid but still tacky. Then press the two pieces together and weigh them down until the glue is fully dry.
