We may earn revenue from the products available on this page and participate in affiliate programs. Learn More ›
Medium-density fiberboard (MDF) is commonly used in furniture and home construction these days. An inexpensive, engineered wood material, MDF is a composite of sawdust and resins, fused together in a high-heat, high-pressure process. Typically it comes in 4-foot × 8-foot sheets and smaller project-sized boards ranging from 1/4 inch to 1 inch thick, much like boards of plywood.
But unlike plywood, which is manufactured from many thin sheets of wood veneer, MDF is free of the knots, rings, and grain of real wood. The result? A composition that is very easy to cut, and therefore often used for such upscale applications as custom trim work and cabinetry. Plus, its hard, smooth surface takes veneer and paint very well.
Painting MDF requires an understanding of the material, however: It comes from the factory sanded to a 150-grit smoothness, so the face is ready to paint, but the edges are more porous, almost fuzzy, and require some prep for a smooth, uniform finish. The other important thing to know about painting MDF is that the material’s porosity also makes it unsuited to water-based products for the initial coat. Follow the guidelines here for how to paint MDF and your colorful project will turn out great!

Tools & Materials
Bobvila.com may earn a commission from purchases made through these links.
Step 1: Protect the work area—and yourself.
If you’re painting a piece of furniture, remove any hardware and put it aside until you’re done painting and sealing the workpiece. Then protect the work area with drop cloths to make cleanup easier. MDF produces a lot of dust when sanded, and the fine particles can irritate eyes and lungs, so be sure to wear protective eyewear and a tight-fitting dust mask.
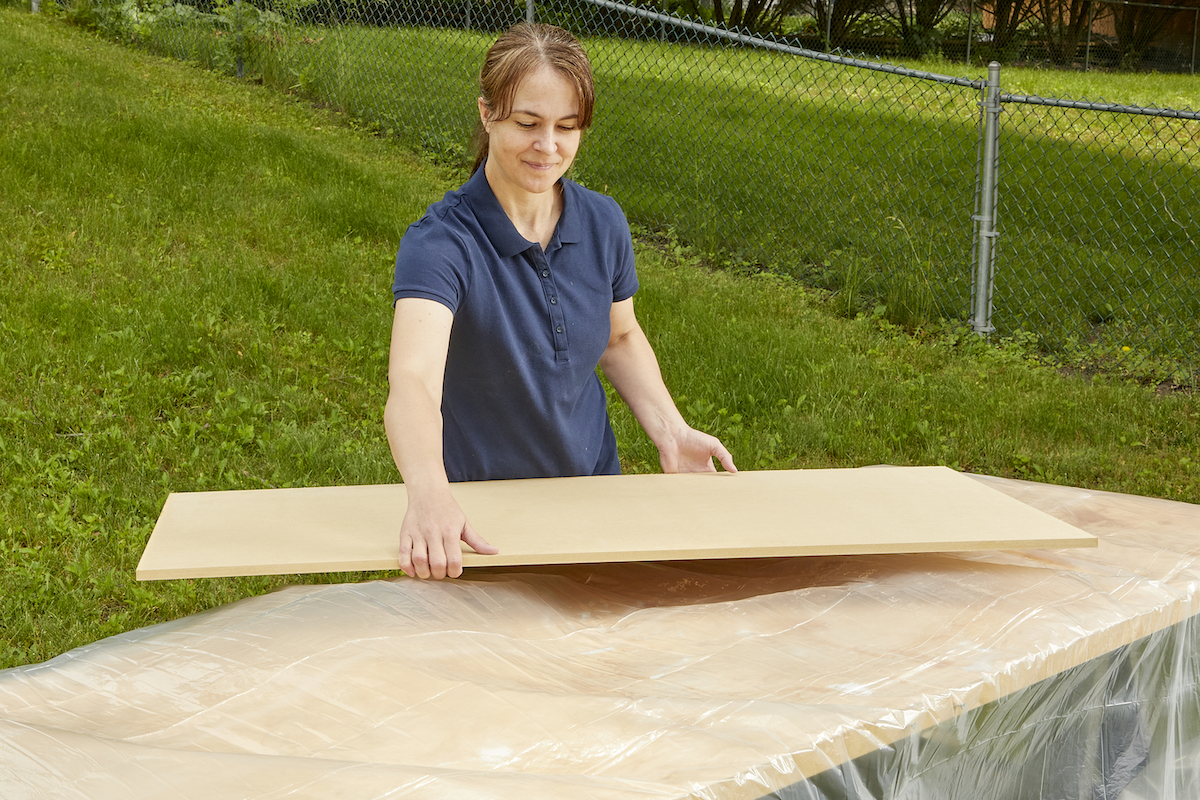
Step 2: Prepare the MDF for painting.
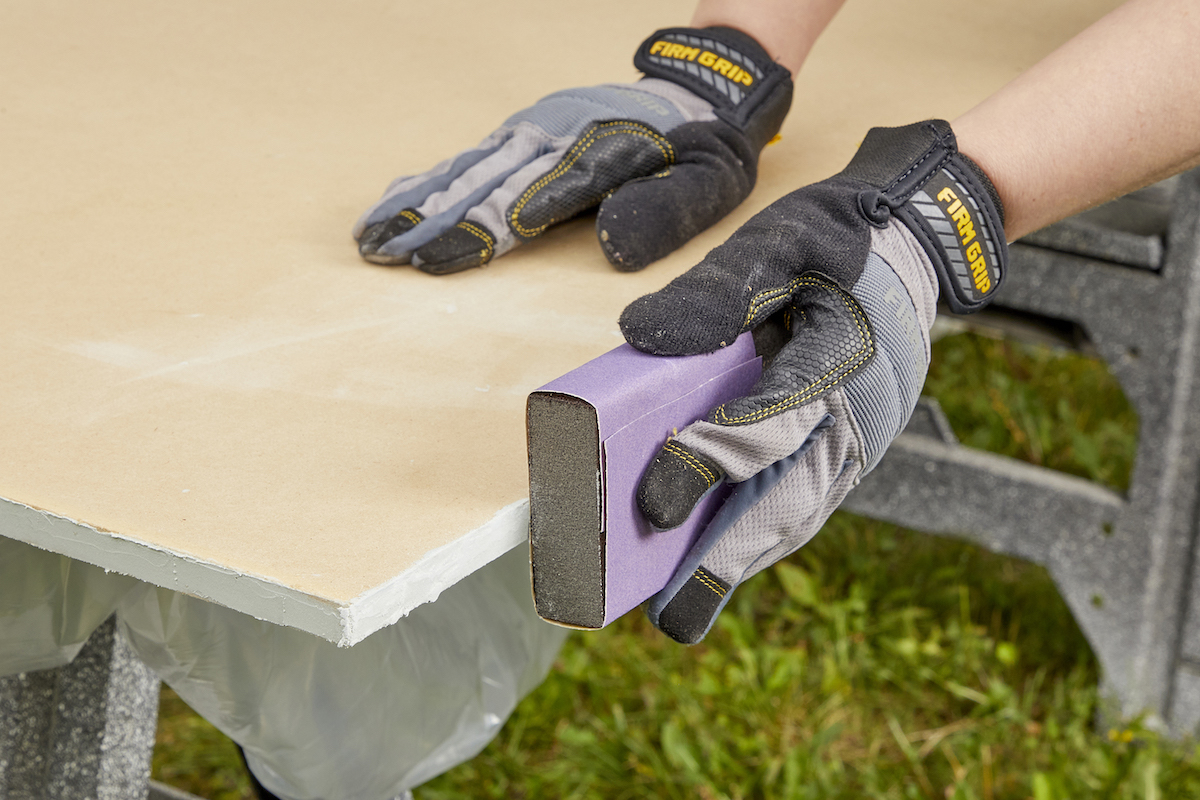
Whether your MDF project has a factory edge or has been custom routed, the edges must be sealed to accept paint in a way that matches the smoother face of the material. Seal the edges by running a generous coat of filler over them with your finger. Once it has completely dried, sand edges smooth with 220-grit sandpaper. Seal any scratches on the face of the MDF with filler as well, as any mars or scratches will be painfully obvious once painted. Sand the entire piece with 220-grit sandpaper, then wipe it all down with tack cloth to remove fine dust and any remaining dirt or debris.
Step 3: Prime the MDF.
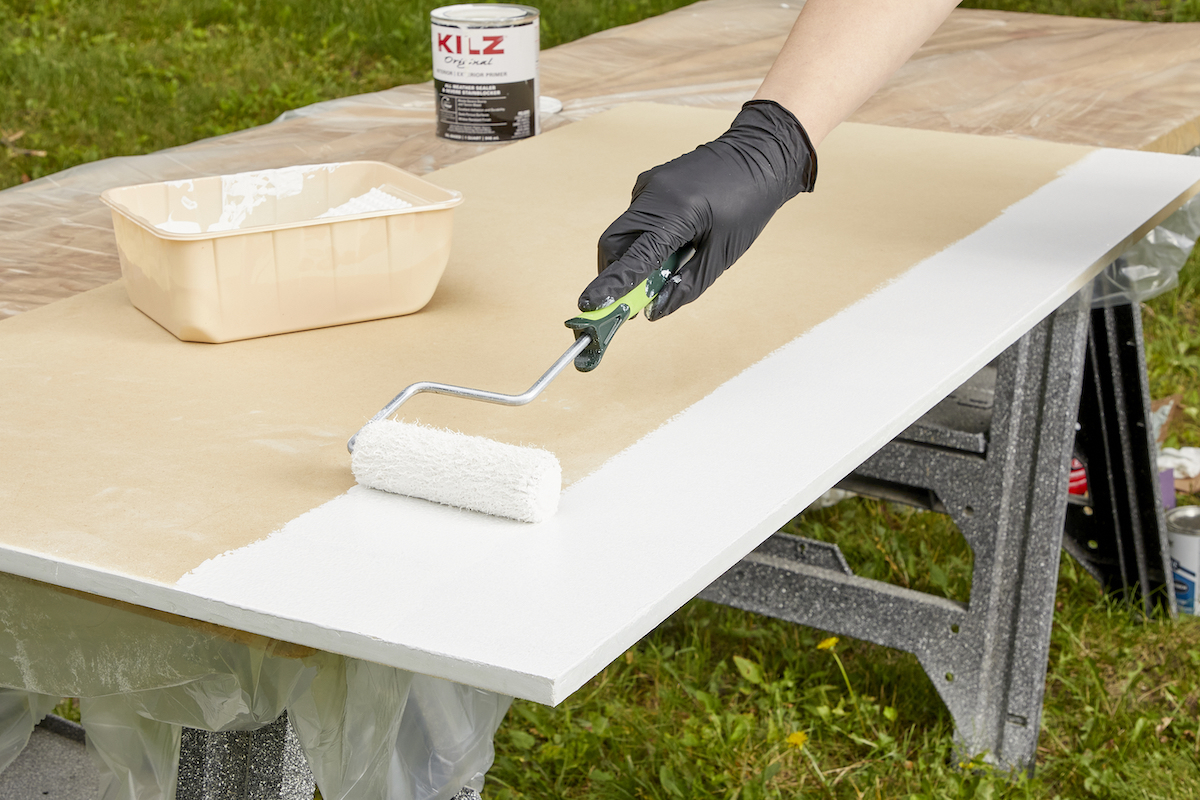
Prime the MDF with a solvent-based primer, such as Zinsser or KILZ. Avoid water-based primer, as it may cause the wood fibers to swell, resulting in a surface that appears to have a raised grain (no matter how much effort you put into sanding). Use a brush, roller, or spray gun to apply the primer—whichever is appropriate for the project.
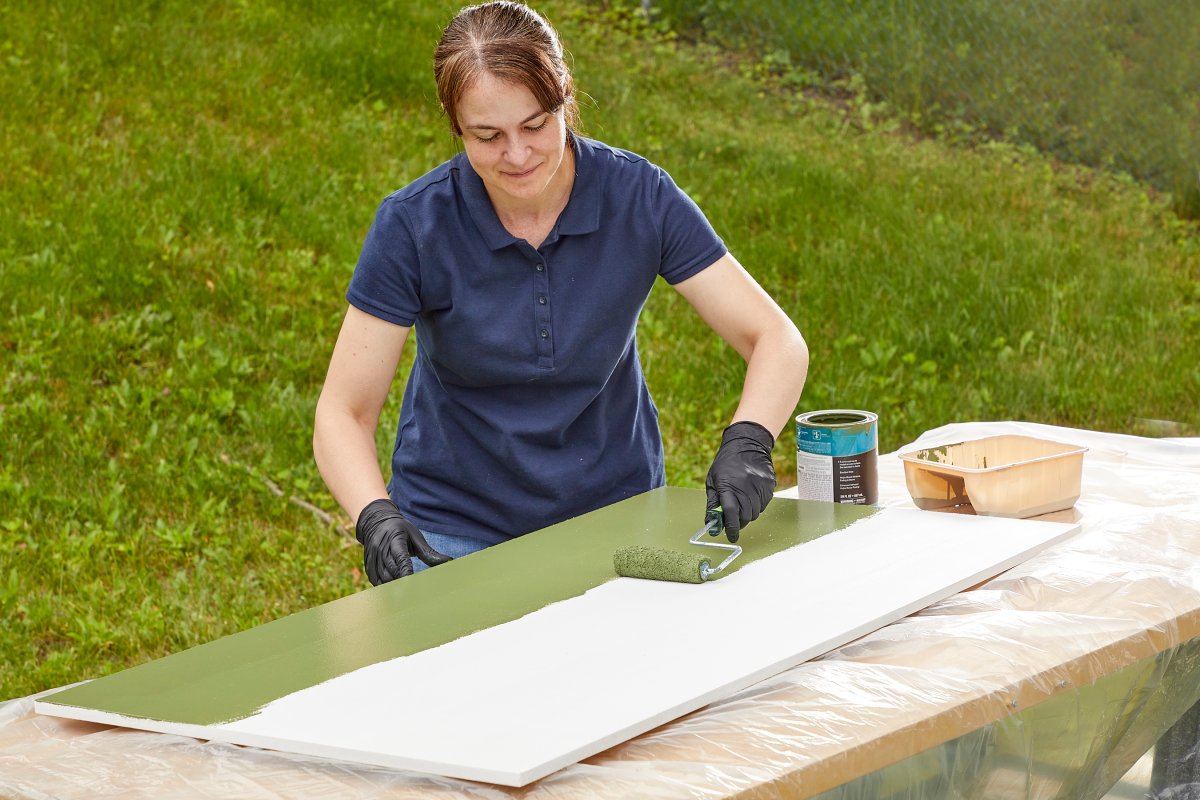
Step 4: Paint the MDF.

You can use your preferred paint on primed MDF, and you can apply the paint finish with your preferred applicator, be it a brush, roller, or spray gun—whichever best suits the project. Once the first coat of paint feels dry to the touch, assess if your work needs a second coat. If you spot any patchiness, cover the entire MDF project with another layer of paint.
Step 5: Seal the MDF.
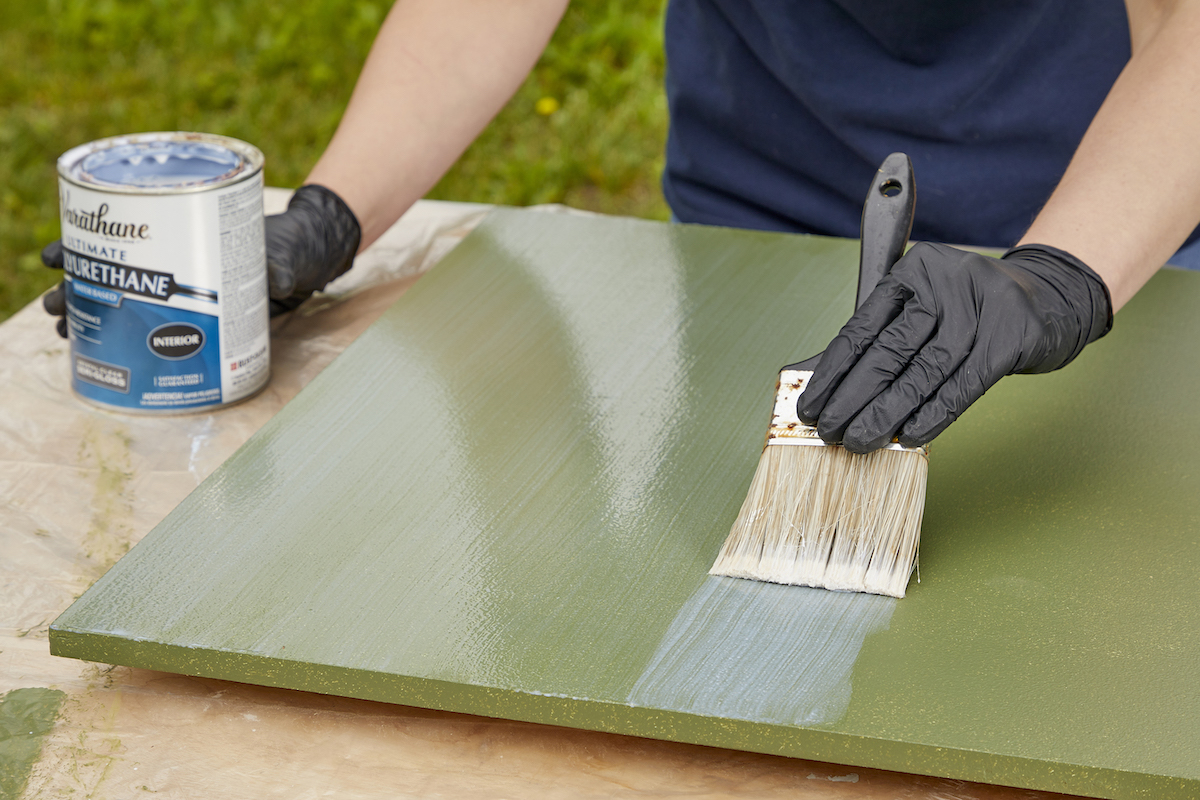
Allow paint to dry thoroughly. Then, apply a sealer such as polyurethane, lacquer, or wax, if you expect your MDF project to get daily use. The sealer will help preserve your paint job. For example, painted cabinet doors could benefit from an extra layer of protection from wear and tear; MDF crown molding, on the other hand, will be out of reach and therefore probably won’t need a sealer.
Step 6: Replace the hardware.
When the project is completely dry, replace any hardware you may have removed and step back to admire your work. After a coat of color, MDF will look just like any other painted wood. In fact, DIYers can create custom trim, wainscoting, or furniture partly with MDF and partly with wood, and once painted, the final piece will blend seamlessly together.
