
We may earn revenue from the products available on this page and participate in affiliate programs. Learn More ›
Painter’s tape is used to create crisp lines, protect ceilings and trim, and make a painting job look like it was done by a professional. Using painter’s tape, however, can be trickier than it looks.
While experienced painters sometimes cut in without tape, beginners usually use painter’s tape to mask off areas that they don’t want to paint and then peel the paint off to reveal perfectly painted lines.
This guide will teach you about the different types of painter’s tape, and how to use this kind of tape around doors, windows, and other areas you want to protect from paint spatter.
5 Types of Painter’s Tape DIYers Should Know
These are the most common types of painter’s tape you’re likely to see at your local home improvement store. The best painter’s tape for you depends on the task at hand.
1. Multipurpose Painter’s Tape
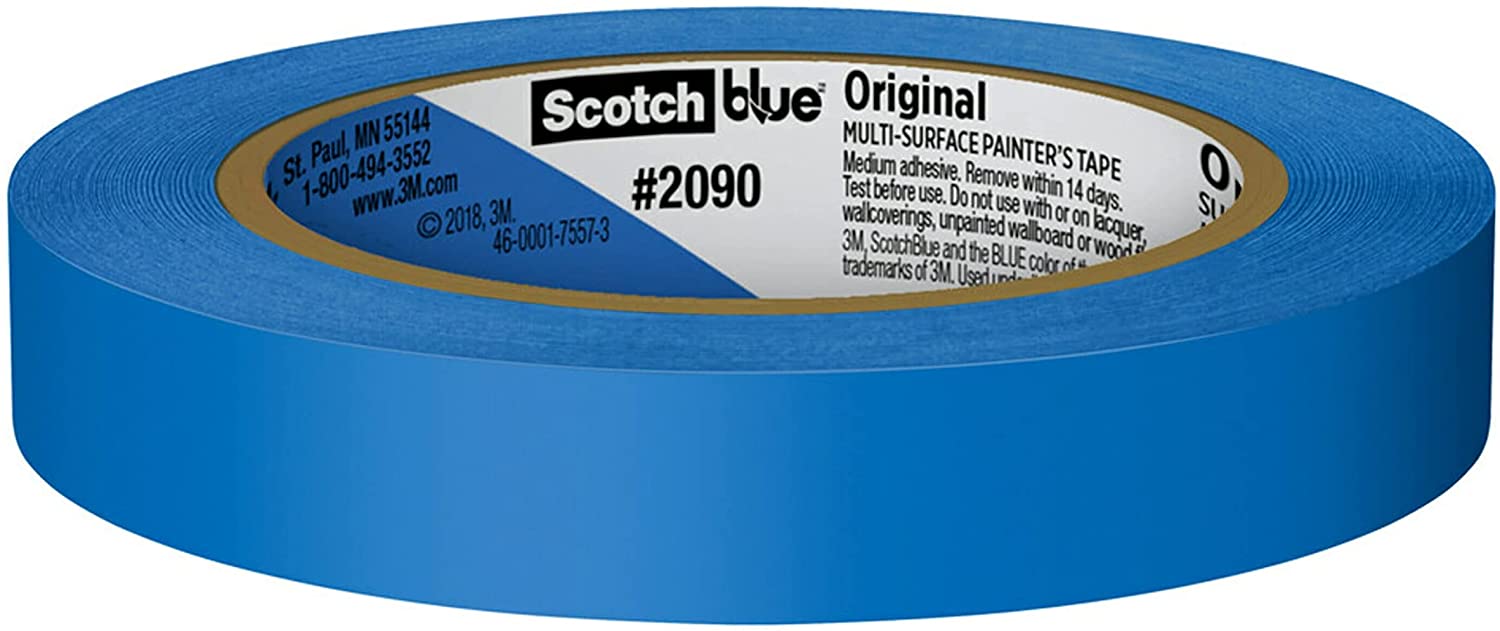
Multipurpose painter’s tape is suitable for most common household projects. It has a medium level of adhesion and sticks to most painted walls without causing any damage. It can also be used on floors, trim, baseboards, tile, and glass. Some tape brands use colors to differentiate their painter’s tape varieties, and most blue tape is considered multipurpose tape.
Our Recommendation: ScotchBlue Original Multi-Surface Painter’s Tape at Amazon (0.7 inches / 60 yards) for $6.05
ScotchBlue’s Original Multi-Surface Painter’s Tape is an excellent all-around pick with medium adhesion that works well for a wide variety of surface types.
2. Textured Surface Painter’s Tape

When masking textured surfaces for paint, it’s important to use a style of tape with a higher level of adhesion that’s ideal for rougher materials like brick, concrete, and wood. Many brands make their high-adhesion tape green.
Our Recommendation: Scotch Rough Surface Extra Strength Painter’s Tape at Amazon (0.94 inches / 60 yards) for $5.99
This tape from Scotch adheres well to rough and textured surfaces and resists UV rays.
3. Delicate Surface Painter’s Tape
One of the risks of using painter’s tape is potentially damaging the surface. With delicate surface painter’s tape, however, that’s not a concern. Some brands use the color purple to designate their delicate surface painter’s tape.
Our Recommendation: FROGTAPE Delicate Surface Painter’s Tape (24mm x 55m) at Acme Tools for $7.49
This low-adhesion tape is easy to tear and gives you very sharp paint lines while protecting the delicate surface underneath.
4. Exterior Painter’s Tape
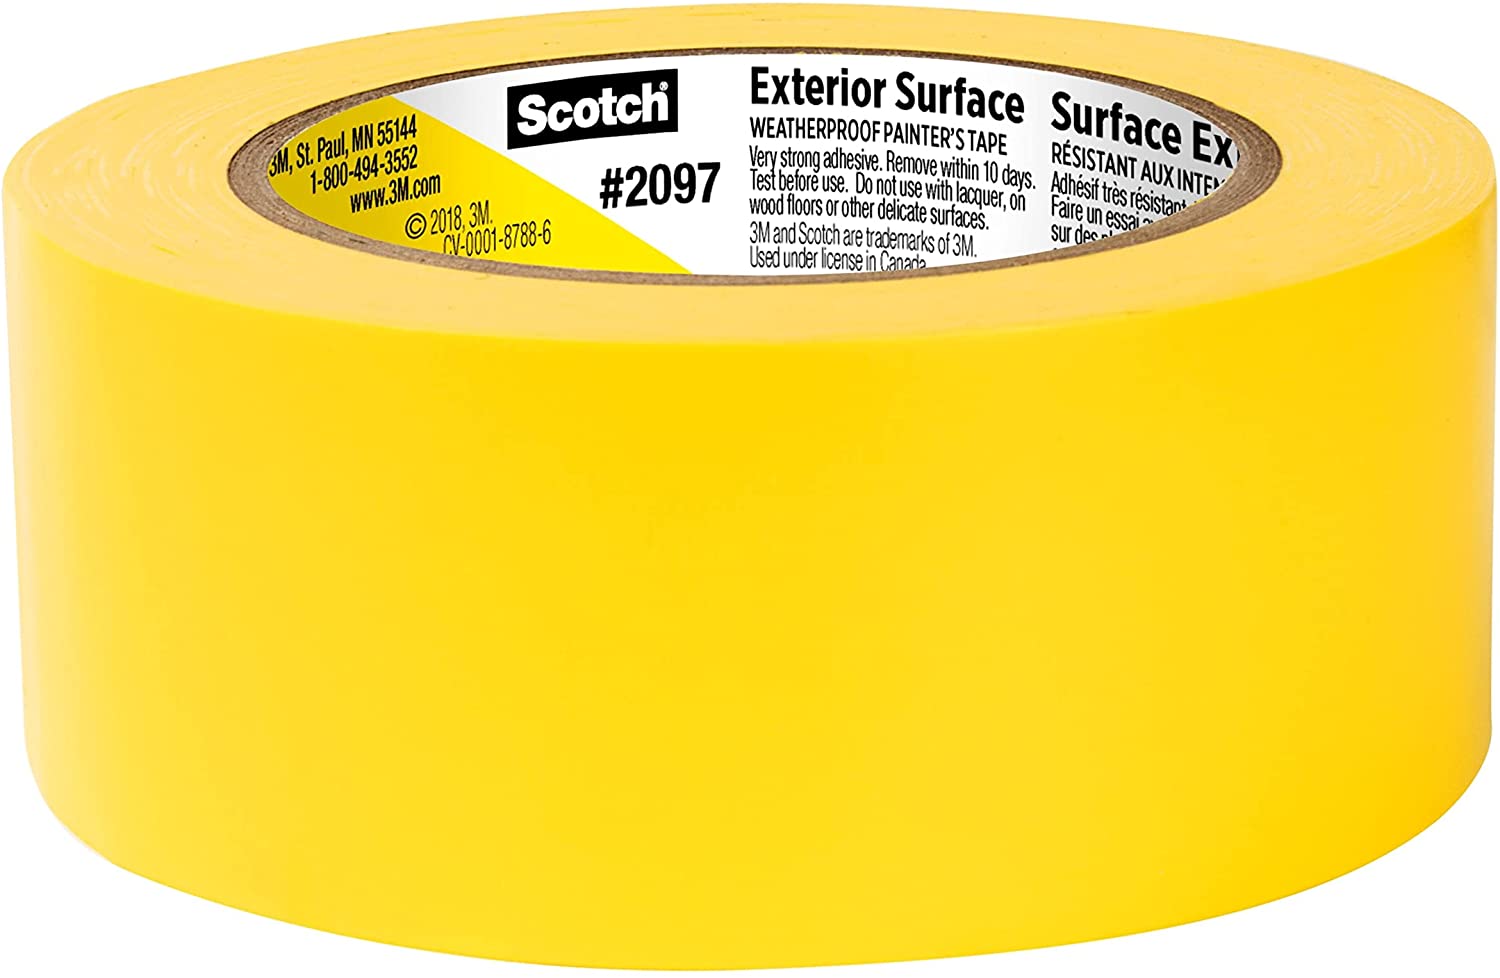
When working outdoors, the highest level of adhesion is necessary—especially if your project takes a few days. Exterior painter’s tape is designed to withstand the elements and won’t peel off if it rains.
Our Recommendation: Scotch Exterior Surface Painter’s Tape (1.88 in. / 45 yards) at Amazon for $19.99
This tape adheres well to common outdoor surfaces like metal, vinyl, painted wood, and glass, and it’s ideal for when you need a high-adhesion option.
5. Decorative Shape Tape
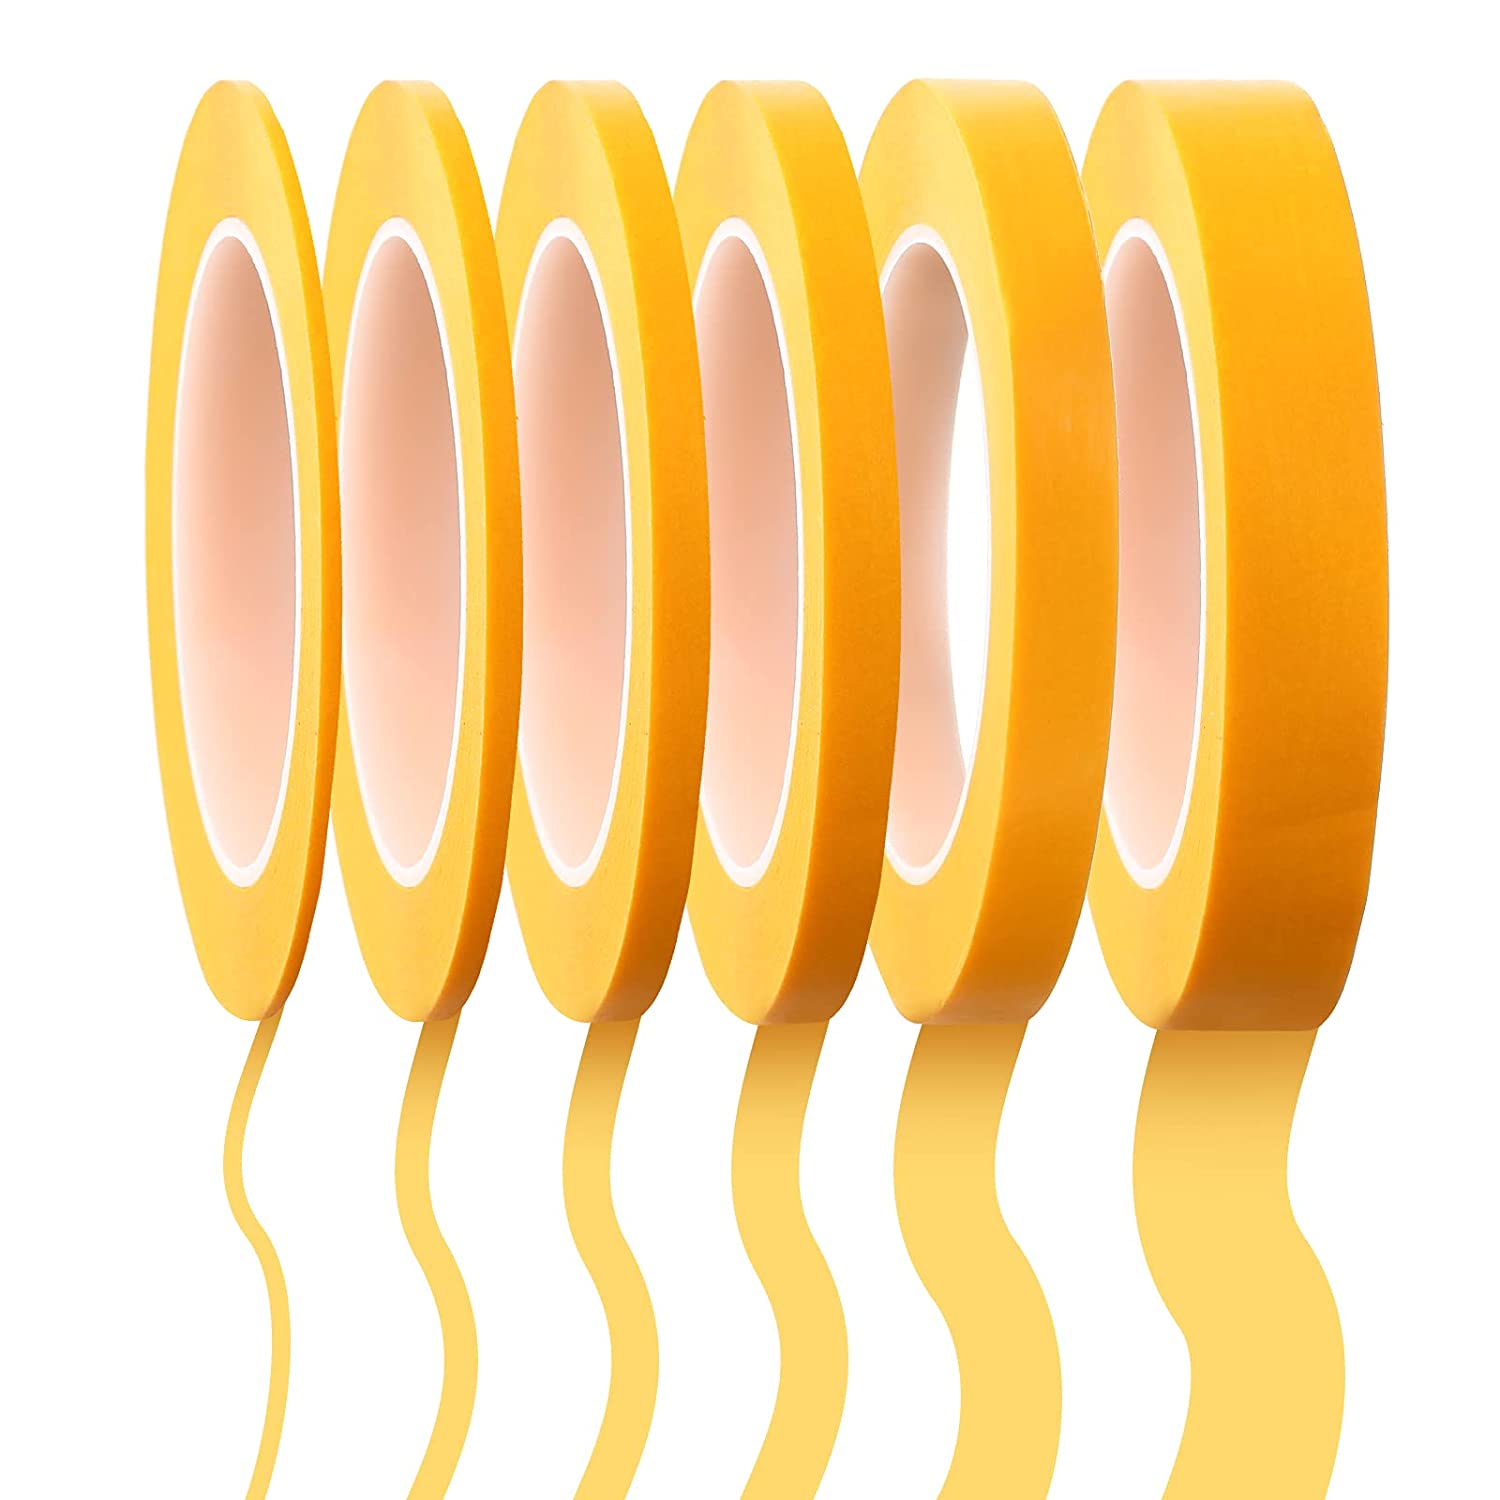
Those attempting crafty DIY projects may appreciate thinner rolls of painter’s tape, which allow them to create thin lines for a design. Some decorative tapes come in unique patterns like chevrons, which can be used to create a graphic effect on walls and other surfaces.
Our Recommendation: Chinco Painter’s Automotive Masking Tape (6 rolls) at Amazon for $12.99
This set of six tape rolls comes in a variety of widths so that users can use them for myriad artistic painting projects.
How to Protect Trim and Ceilings Using Painter’s Tape
When painting walls, painter’s tape can be used to protect ceilings, baseboards, and trim. The following steps will help ensure that your paint lines are crisp and that no paint splatters onto unwanted surfaces.
Step 1: Prep and clean walls, ceiling, and trim.
Before starting any painting project, it’s important to ensure that all of the surfaces are clean and free of dust. This is especially important when using painter’s tape since it won’t adhere properly to dirty surfaces.
After cleaning, make sure everything has dried completely before moving on to the next step.
Step 2: Apply the tape to the trim and ceiling.
The next step is identifying the areas you need to protect. In most rooms, this means the ceiling, the trim around windows and doors, and baseboards.
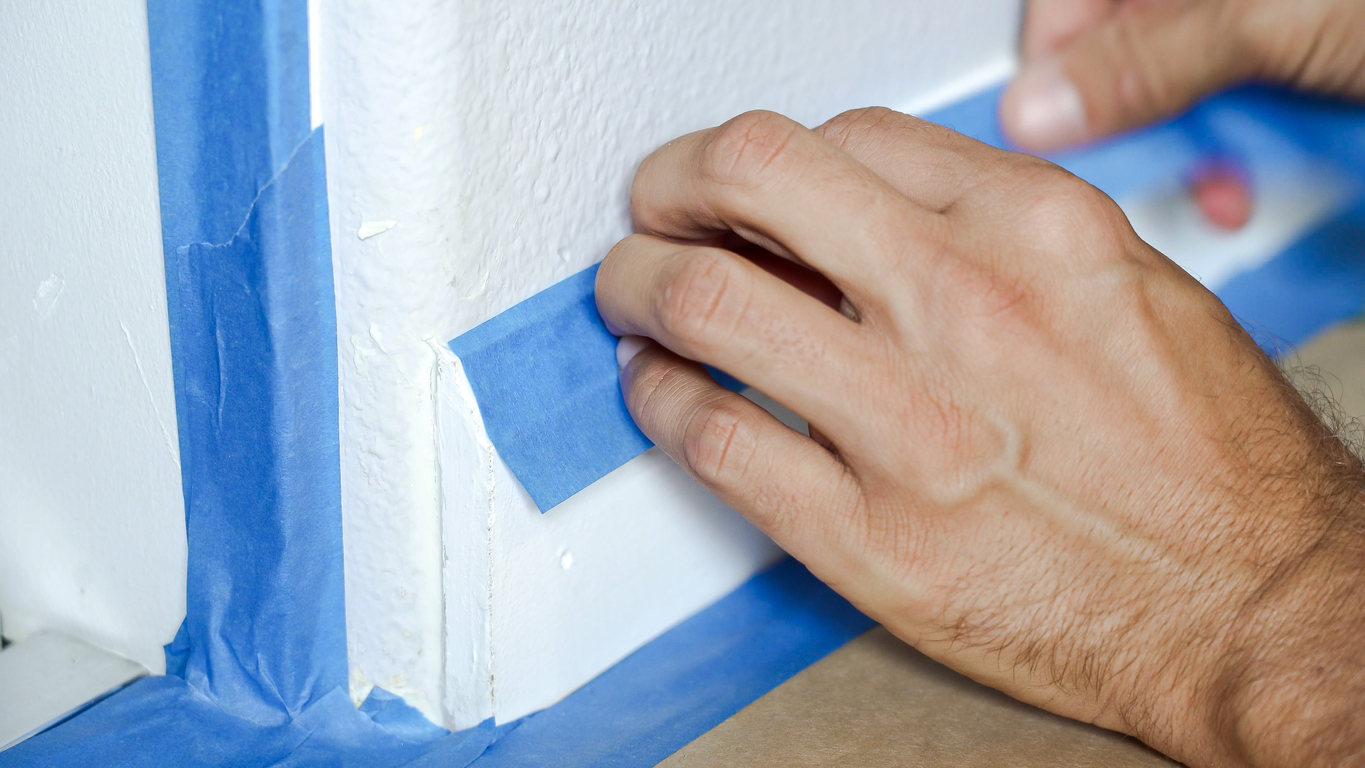
Rip off 1-foot-long pieces of tape, which are easier to handle. Apply them to the intended area in a straight line. Start in the middle of each piece, smoothing it down with a finger or putty knife as you go. If any pieces bubble or lay unevenly, it’s best to pull them up and try again.
Step 3: Remove the tape as soon as you’re done painting.
While painter’s tape can usually remain in place for hours—or even days—without causing any damage to the surface underneath, it’s best to remove it as soon as possible to ensure the best results.
Slowly peel the tape off the trim at a 45-degree angle. If any sections don’t come off easily, a putty knife usually helps.
How to Use Painter’s Tape When Painting Trim

When it’s time to paint your trim, you’ll need to protect your walls, floors, and ceiling from becoming covered in paint.
Step 1: Apply tape to the floor, whether it’s carpeting or a hard surface.
When painting trim, painter’s tape can be used to protect hard flooring like wood and tile as well as carpeting. It’s especially important to protect wall-to-wall carpeting from paint because it’s really hard to get paint out of carpet.
Ensure that the floor is clean, and then apply a wide piece of painter’s tape along the edge where the baseboards meet the ground, working one foot at a time. For carpets, use a putty knife to tack the tape down so that no carpeting is exposed to paint while you work.
Step 2: Use tape to protect your walls from paint.
The next step is applying painter’s tape to the walls where they meet the trim. Ensure that walls are clean and free of dust before applying the tape along all of the trim.
If you painted your walls first, it’s important to wait 24 hours—or until the paint has dried completely—before using painter’s tape to ensure the paint doesn’t peel off when it’s removed.

Tried-and-True Advice
“Choosing the correct painters tape for the surface makes a big difference for me. It ensures the tape adheres and functions as it should. I find it easier to tape long surfaces with a partner. Together, we pull out the correct length of tape and line it up before setting over the surface. While not mandatory, it does make for even lines with less fuss.
At the end of the day, taping is tedious and takes time to get everything perfect. Don’t rush and pay attention to the details. It will make for a cleaner and better looking paint job when everything is finished.”
—Zach Lazzari, Contributing Writer
Step 3: Apply painter’s tape to the ceiling.
If your trim includes crown molding or any other style of molding that abuts the ceiling, the ceiling will need to be protected. It would be easy to assume that white trim paint won’t be noticeable on a ceiling, but trims are typically painted with semi-gloss paint, whereas it’s generally recommended that ceilings are painted with flat paint.
Apply paint along the upper edge of the trim, smoothing it down as you work.
How to Use Painter’s Tape When Painting a Ceiling
When painting a ceiling, protect your walls—especially if they’re freshly painted. Similarly, if the space has crown molding, tape can be used to maintain its crisp, white color.
Step 1: Apply tape along the edges of the ceiling.
If the room in question doesn’t have an upper molding, apply painter’s tape directly onto the walls where they meet the ceiling. If the walls have recently been painted, make sure they have dried completely.
Ensure the tape lies perfectly flush with the edge of the ceiling and doesn’t have any bubbles or ripples. Take your time—it’s important to ensure the tape is straight.
Step 2: Apply painter’s tape to the crown molding.
If the room has a molding that meets the ceiling, use the same technique detailed above, applying the tape to the molding instead.
Press down the edges of the tape using your fingers or a putty knife, ensuring it adheres to the molding. When working with a particularly detailed molding, this may require a bit more time.
Step 3: Remove the tape as soon as you’re done painting.
Once you’ve finished painting the ceiling, remove the tape from the walls or moldings as soon as possible. If the paint has already dried, you may need to use the straight edge of a putty knife to score the tape in order to cleanly peel it away without causing the ceiling paint to chip.
The prices listed here are accurate as of February 11, 2025.
