We may earn revenue from the products available on this page and participate in affiliate programs. Learn More ›
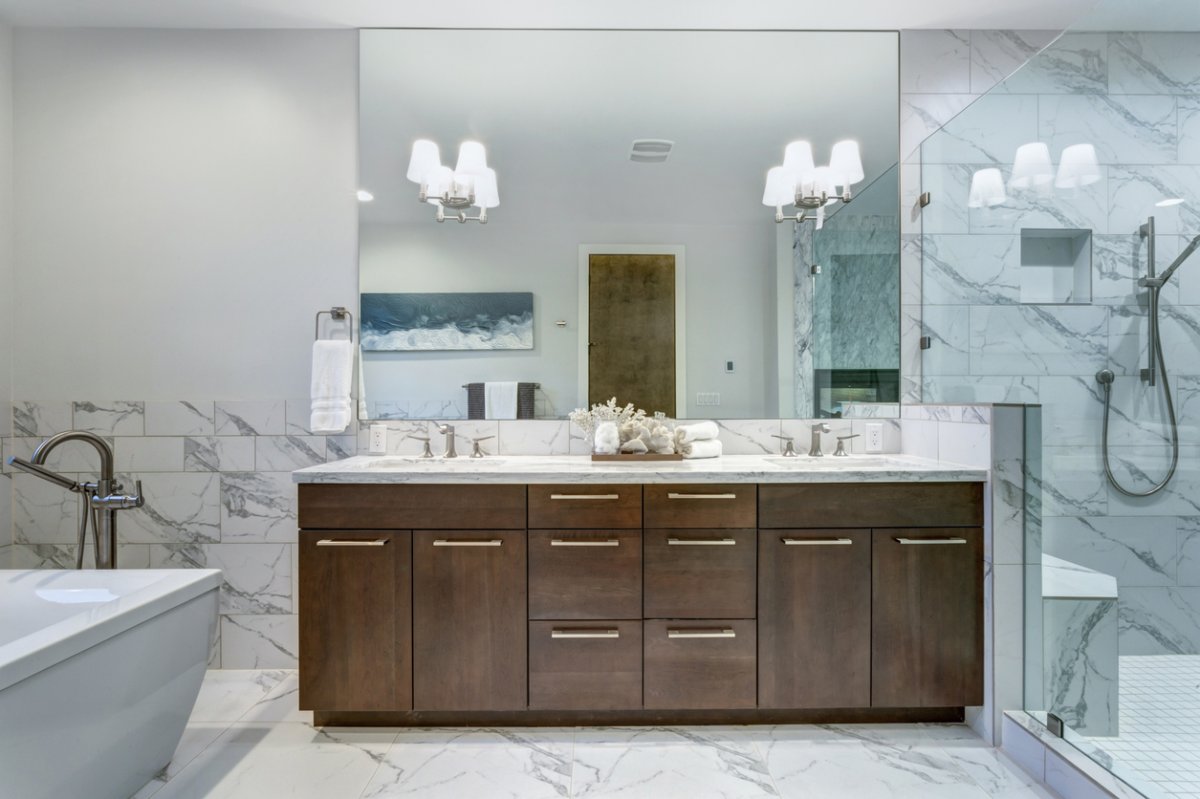
While builder-grade mirrors are perfectly functional, they can be quite boring. Compared to more decorative mirrors you’ll find at the store, these mirrors don’t have a frame or any visually intriguing elements. Fortunately, just as you can spruce up the look of an old medicine cabinet, there are also several ways you can enhance the look of a builder grade mirror by using a little creativity and DIY know-how.
RELATED: How to Remove a Wall Mirror
Simple Wooden Frame
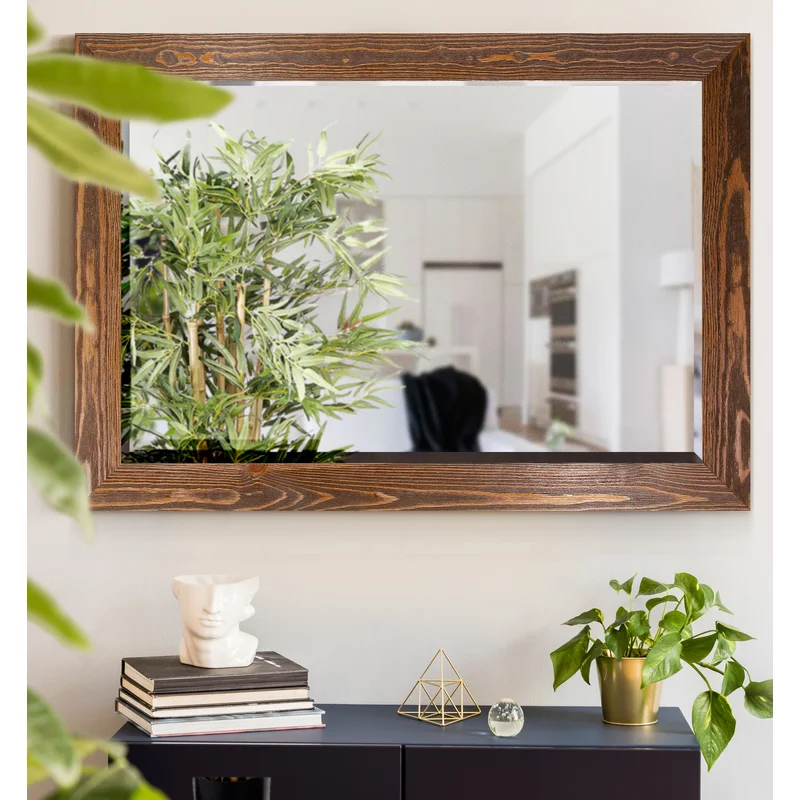
Creating a DIY frame for your mirror requires just a few woodworking tools and a little bit of time. One style to consider is a mitered frame. With this style, each side of the frame is given a 45-degree angle cut—or miter. When two sides join together at the cut edges, it creates a square corner. If you want to build a mitered frame for your mirror, you’ll need to measure its dimensions and cut the wood appropriately to fit.
Alternatively, you could purchase four pre-cut lengths of wood from your hardware store measured to fit the length and width of your mirror. Then sand, paint, and adhere them to the mirror. The corners will not be mitered, giving a more rustic or contemporary look.
Corner Block Frame

You could also build a corner block frame for your bathroom mirror. While this frame may cost a bit more with the added materials, it can also be a bit easier to build because you don’t have to worry about making precise 45-degree cuts for the corners as with a mitered frame. For this frame style, you’ll need to purchase four corner blocks, like these rosettes from Home Depot, along with the wood for your frame.
If you want to paint or stain your frame or corner blocks, paint all sides first before cutting and attaching the pieces to the mirror. Then, use your choice of adhesive to place the four corner blocks flush with the edge of the mirror. Measure and cut the selected wood trim to fit exactly between each of the corner blocks. Apply it using the same strong adhesive you used for the four blocks.
RELATED: The Best Bathroom Mirrors
Natural Elements
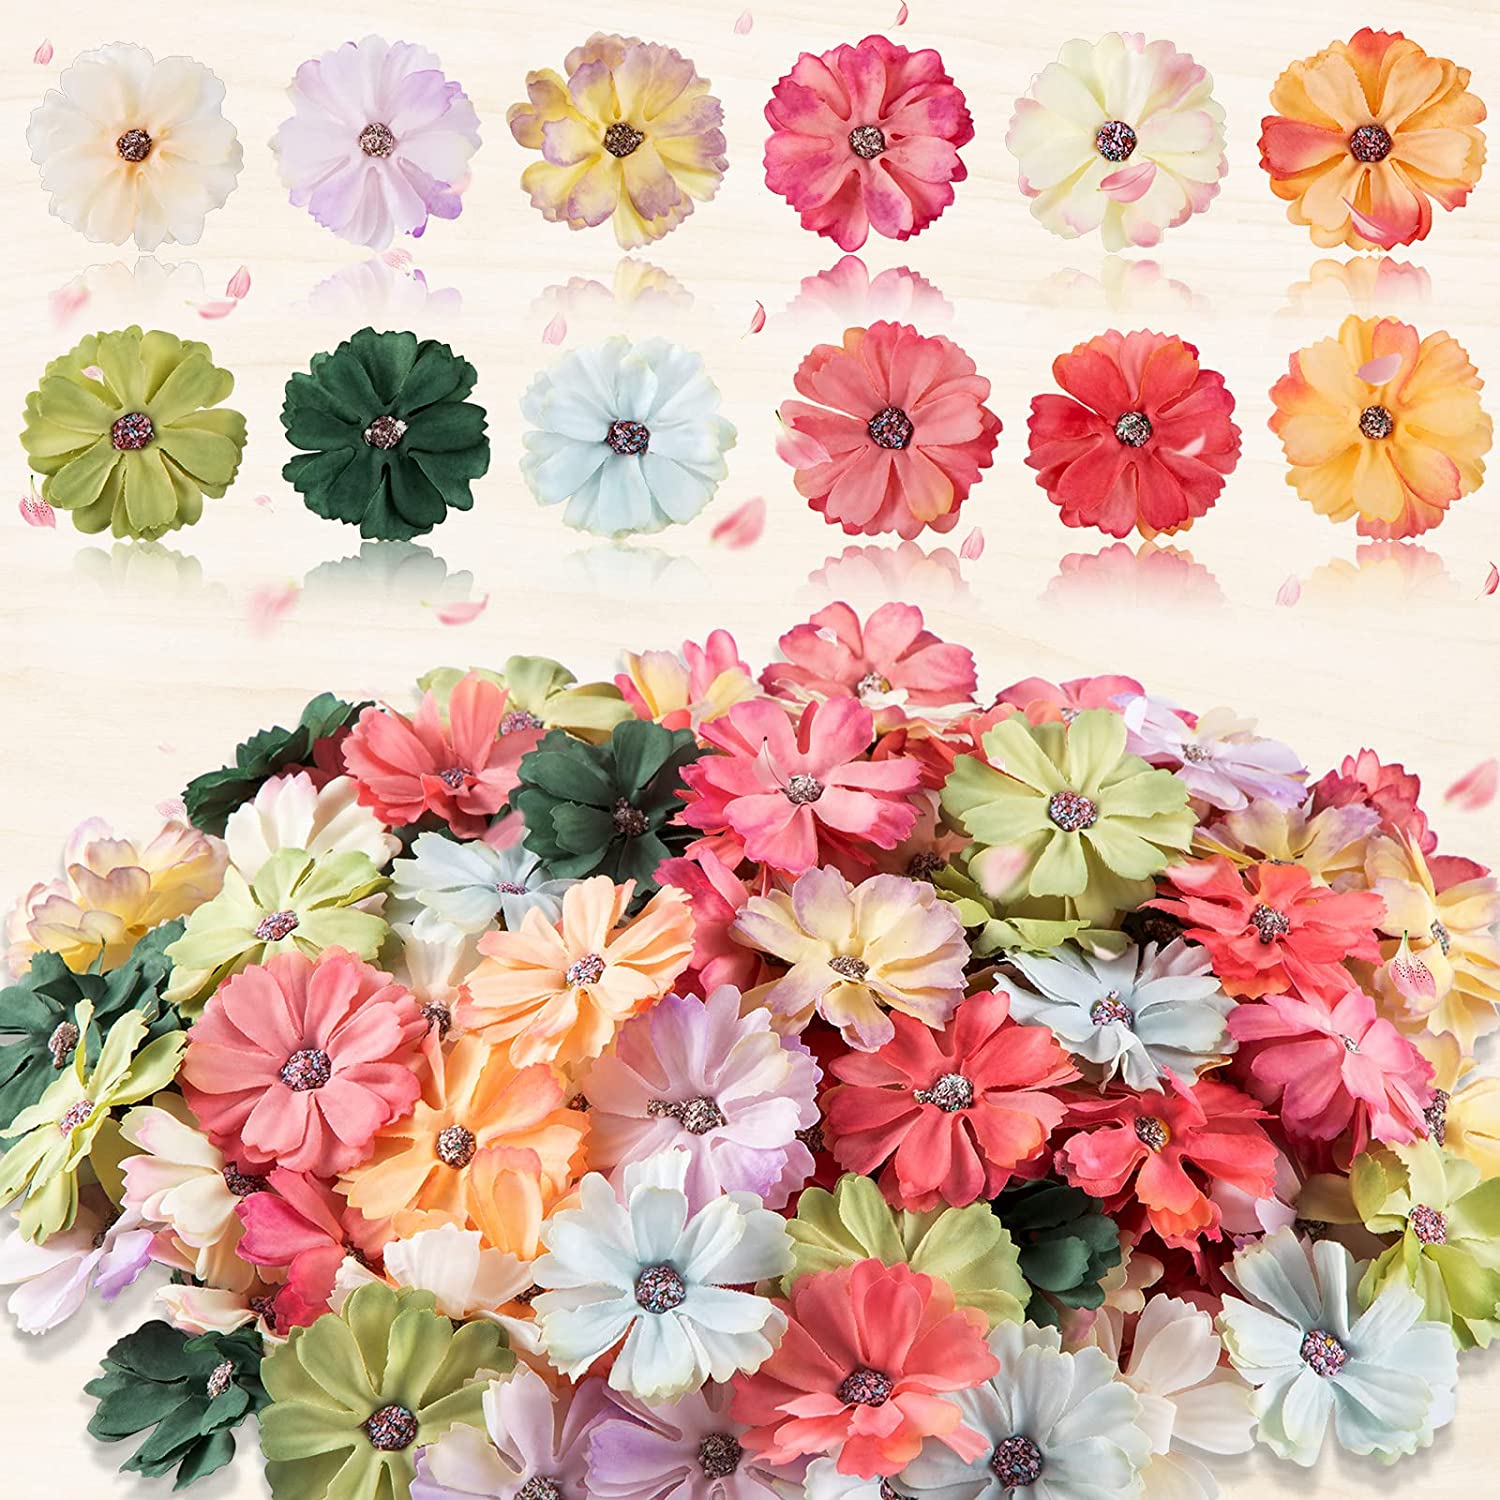
Going for a floral theme in the bath? Or maybe you like boho style with baskets or beachy with seashells. No matter what elements of nature you prefer in your home, you can use those same elements to decorate your builder grade mirror.
For a whimsical or floral look, try adhering rows of flower blooms along the edges of your mirror, like these multi-colored daisies from Amazon. You can do the same with seashells, pebbles, small pinecones, trimmed rafia, faux leaves, or other decorative items from your local craft store. For a nautical theme, try using thick lengths of rope to border your mirror.
RELATED: 12 Bathroom Remodel Ideas On a Budget
Get a Clear View

Working with an extra large mirror? Create a DIY faux window frame and divide the view in two while creating an interesting decorative look. Start with half round molding, like this unfinished pine trim at Lowes, and cut pieces to create a window pane look. Include a single large pane on the left and right side of the mirror, or divide it up into smaller sections like a window grille. You can sand and stain or paint the trim before adhering to the surface.
Crown Molding
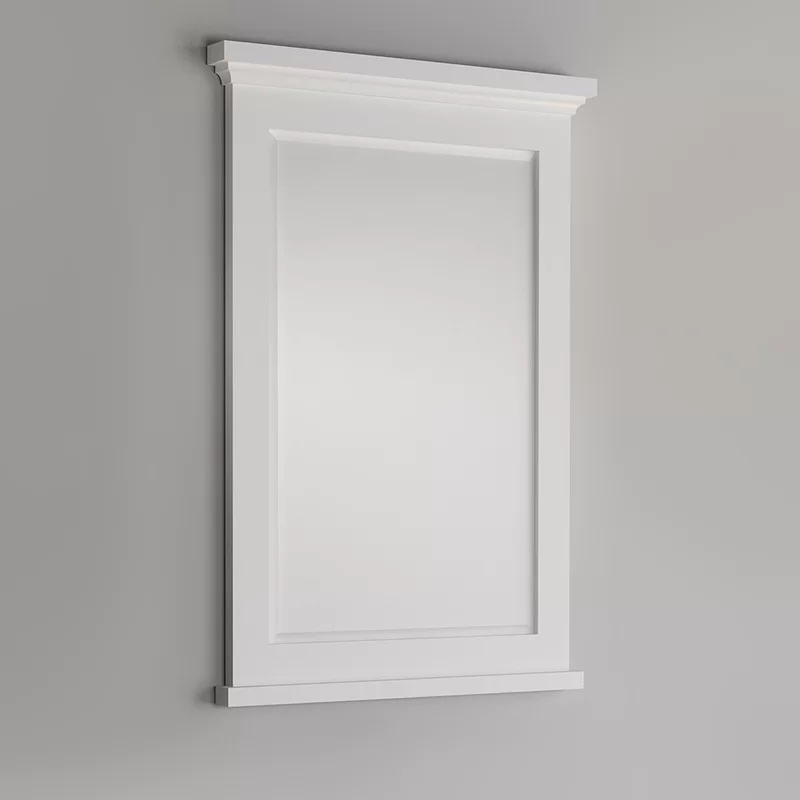
If you desire a more elaborate and classical-inspired look, you can use crown molding to make the mirror look like an extension of the woodwork in the home.
Begin by purchasing crown molding for the top of the mirror and wood trim for the remaining three sides. Then, measure the length and width of the mirror. Cut the crown molding and the bottom piece of trim to match the mirror’s width. The two side pieces will need to be cut to fit between the crown molding and the trim, so they’ll be a bit shorter than the mirror’s length.
After cutting and sanding each piece as needed, apply your desired paint or stain. Always stain or paint the back, since it will be reflected in the mirror’s surface.
Artful Frame
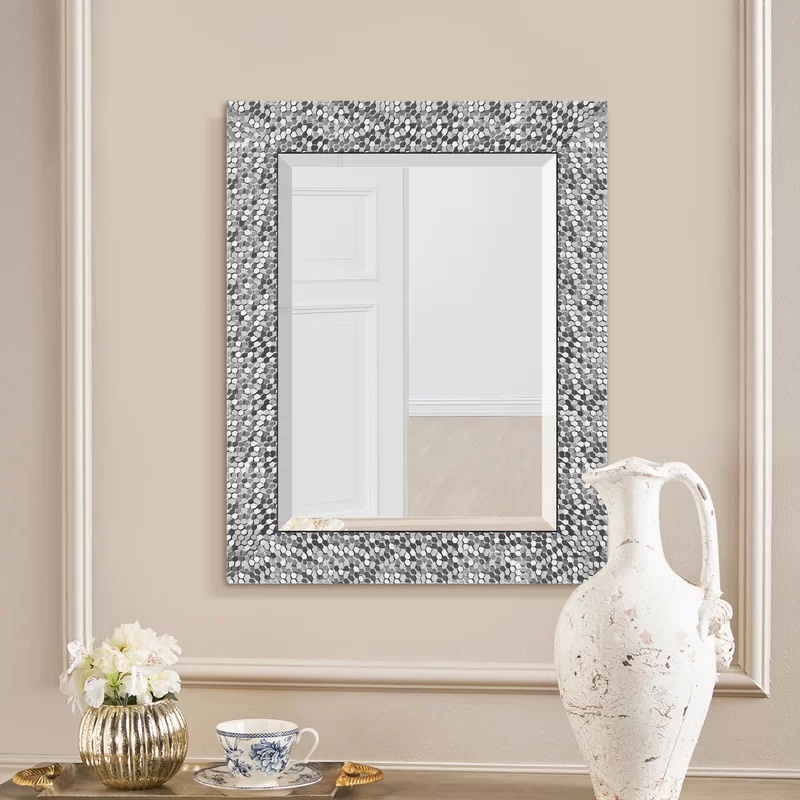
Wooden mirror frames are beautiful, but they aren’t the only way to upgrade the look of a boring builder-grade mirror. Another option is to use mosaic tiles to make a decorative frame for your mirror. As with the other techniques shared above, you can apply the mosaic tiles directly to the mirror without taking it off the wall—just be sure to clean the mirror and remove dust so that they’ll adhere properly.
Start by choosing a 12-inch by 12-inch mosaic tile square, like this marble, glass, and metal mosaic square at Home Depot. Then, decide the width of the border you’d like around the mirror, and cut the mesh backing to match the dimensions. If you’d prefer, you can create a custom design using loose mosaic glass tiles, like these stained glass tiles available on Amazon. However, keep in mind that individually gluing each tile will be more labor-intensive.
Another artistic option is to paint a border or design on your mirror with acrylic or water-based enamel craft paint. Start by taping around any part of the mirror you’d like to paint with painter’s tape, like our favorite Frog Tape available on Amazon. Get creative with more than a border by taping stripes or using a stencil to paint a decorative border around the sides. Keep in mind that paint will reflect back so the design will look doubled as if reflecting in a body of water.
Mounting Options
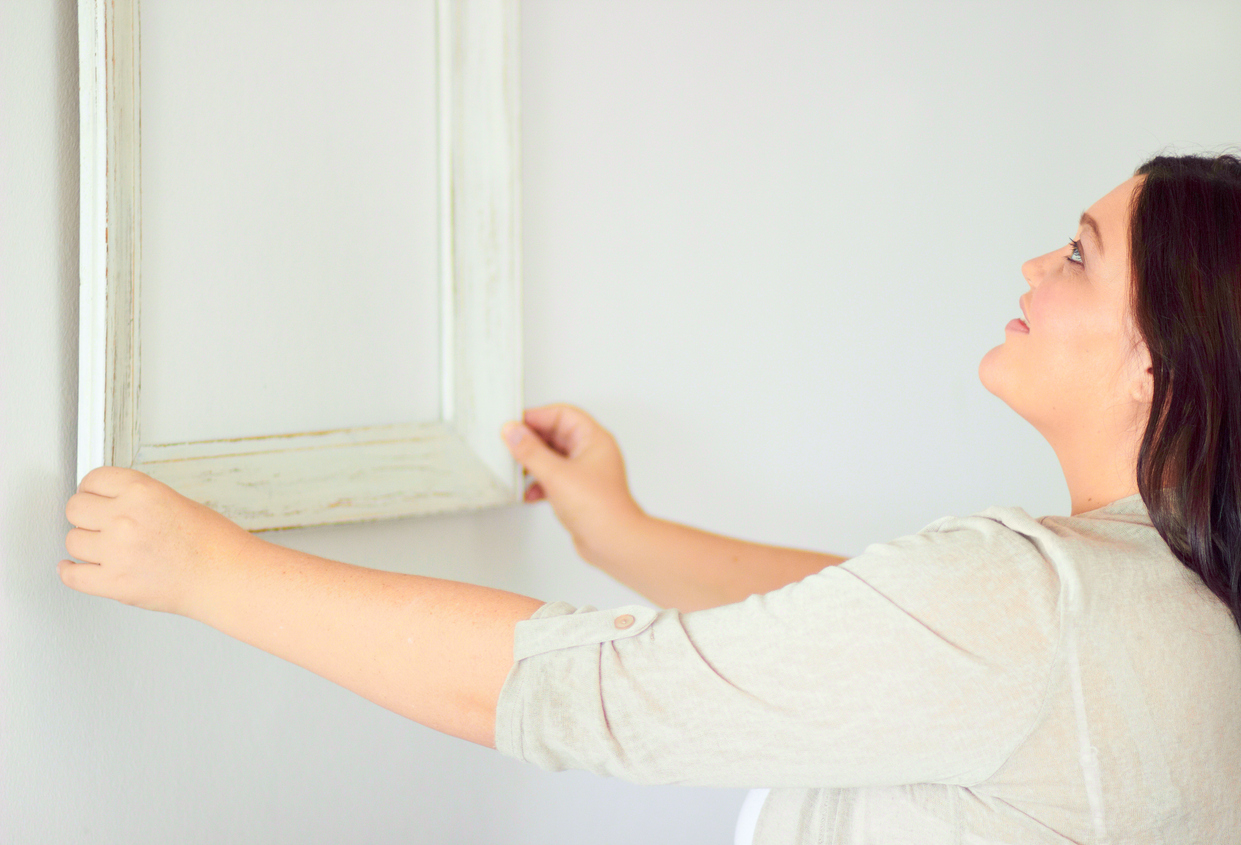
No matter what you choose as a border or decorative element for your mirror, keeping it in place can be a challenge. First, examine the portion of the mirror you want to decorate for anything that sticks up, flakes off, or causes an issue with adherence.
Older builder grade mirrors have plastic brackets that stick out on the corners or sides of the mirror, making the job of attaching a flat frame or decorative piece to the edges a tricky prospect. To compensate for those extra raised places, try using heavy-duty velcro, like these industrial strength strips available on Amazon, or for a less permanent fix, try using these Command velcro strips that you can remove to either clean the mirror or change up the look.
If you need to cover more than a couple of inches with adhesive, try double-sided mounting tape, like this waterproof foam tape on Amazon that stays on even the foggiest mirror. To permanently adhere heavier frames, use a heavy-duty glue, like this strong gel adhesive from Amazon.
RELAED: 9 Ways to Make Your Old Bathroom New Again
Made for You
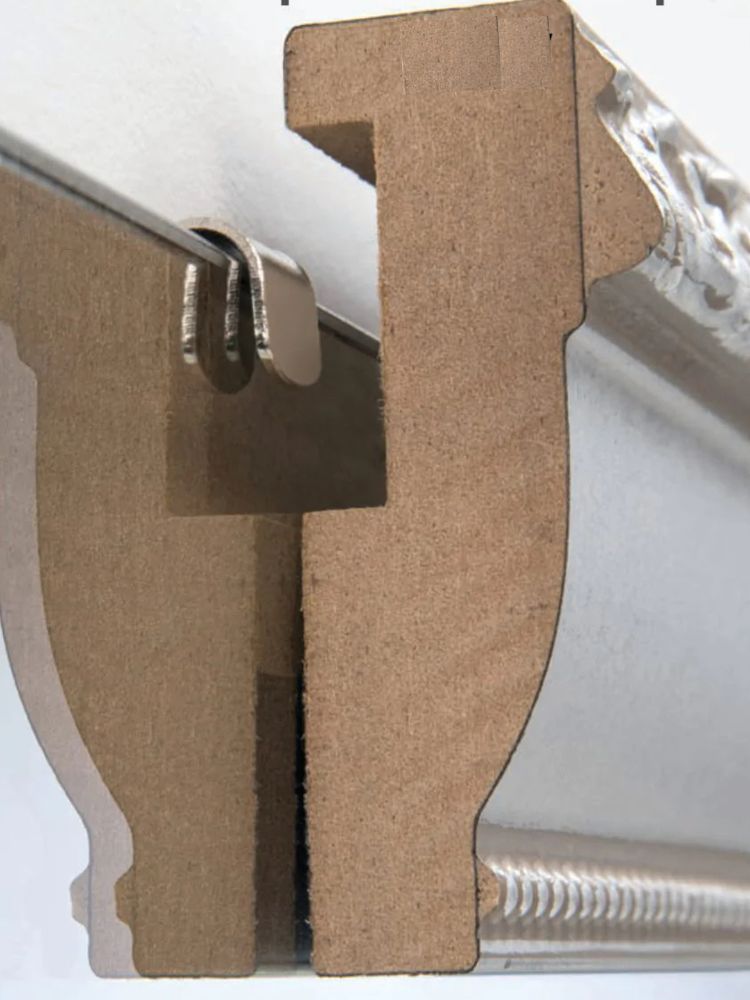
DIY projects aren’t for everyone. If you’d prefer to avoid the hassle and stress of making your own frame for a mirror, you can order a custom frame from MirrorMate. MirrorMate specializes in making affordable frame kits that adhere directly to mounted mirrors.
Their frames even offer a recess along the back that allows for a flush install over the clips or strips that are holding the mirror to the wall. Simply measure the height and width of your mirror, and then select and order the style you like. Once your frame is delivered, follow the directions to assemble it, peel off the adhesive backing, and stick the frame directly over the edges of the mirror.
