We may earn revenue from the products available on this page and participate in affiliate programs. Learn More ›
Board-and-batten has traditionally been the stuff of barns and exterior cladding. Often rough-sawn and ready for the weather, the cladding style is designed to (a) last harsh conditions and (b) be made from locally available material. Originally a European style of siding, once colonists set up sawmills in North America, the technique was employed in and on many folk-style homes.
Boards (1×12 or similar) were cut and applied vertically to the building frame. To cover the gaps between boards and seal out the weather, battens (1×2 or similar) were nailed on top of the gap where the boards meet.
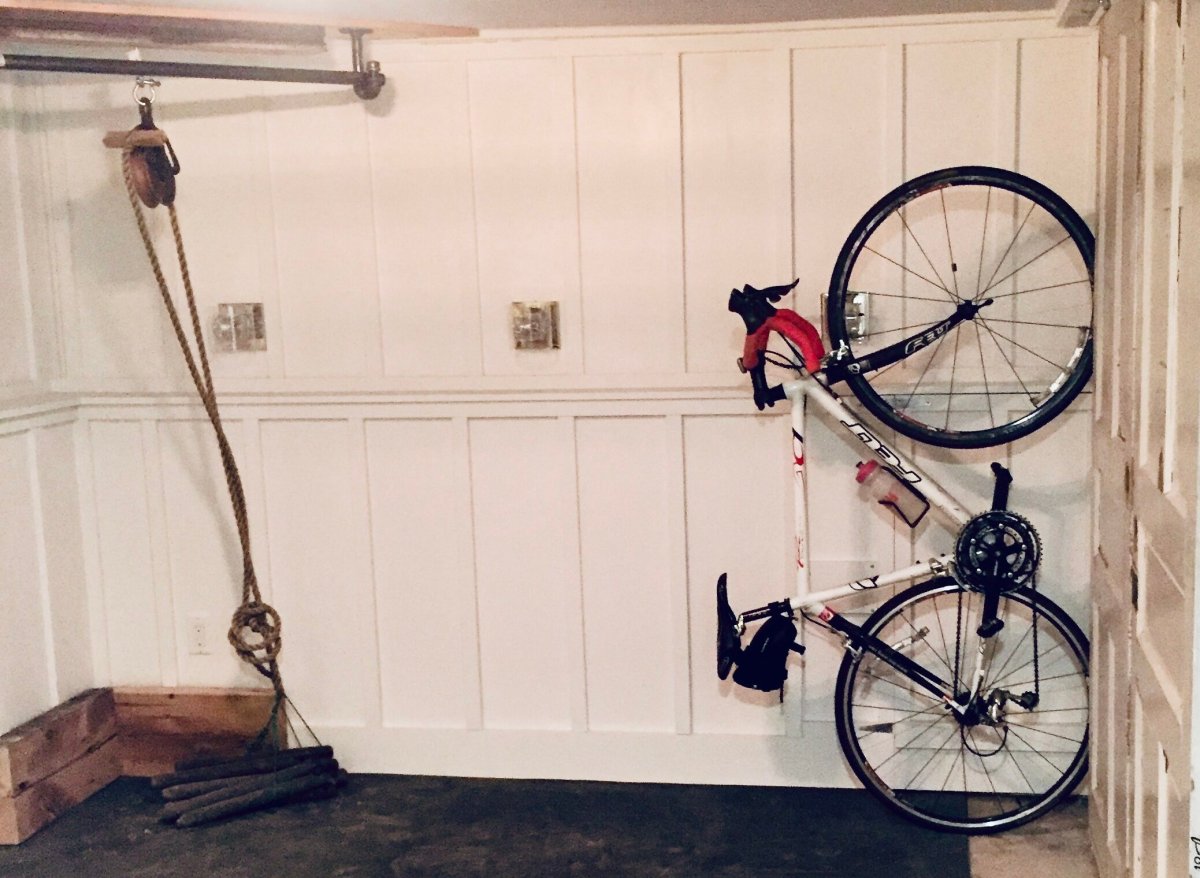
While the look of board-and-batten siding came about from necessity, it’s now a stylish look. Instead of those rough-sawn boards used for barns, use smooth, factory-primed finger joint material. The look is refined and easily used as wainscoting, in a basement remodel, or on a feature wall.
A DIY board-and-batten wall shines as a focal point in a home. However, it takes a little care and forethought to get it right. This guide for how to make a board-and-batten wall walks you through the basics and points out the details that can stymie a project.
Tools & Materials
Bobvila.com may earn a commission from purchases made through these links.
- Miter saw
- Work table for miter saw
- Pneumatic nailer (15-gauge finish nailer)
- Compressor
- Caulk gun
- Tape measure
- Flat pry bar
- 4-foot level
- Oscillating tool
- Table saw
- Construction adhesive
- Spackle
- Caulk
- Paint
- 1×12 finger joint primed pine
- 1×2 finger joint primed pine
- 1×6 finger joint primed pine
Project Overview
Obviously, the amount of time it takes depends on how much board-and-batten you’re installing. If you’re doing a single feature wall, from start to finish, it’ll probably take 2 full working days after the materials are on site and the tools are set up.
Working Time: 16 hours
Total Time: 22 hours
Skill Level: Intermediate
Estimated Cost: $900 to $2000 (for those who need to buy everything on the list)
BEFORE YOU BEGIN
Before starting this project, it’s important to note that the following steps explain how to install board-and-batten over existing drywall with stud framing or plywood. In a room without either base, it’s recommended to add the necessary blocking to make installation easier.
Another important factor is picking the right wood. The easiest options to work with are usually 1×12 and 1×2 finger joint primed pine. Note that 1×12 is probably available at your local home center or online, but 1×2 may not be as easily available. However, it can be made by ripping a 1×12 on a table saw.
The next pre-project concern worth considering involves layout. The goal is to have each end piece on the left and right be the same width. This guide shows how to get that layout right.
STEP 1: Pick a layout control point.
Measure and mark the center of your feature wall. Next, measure to each intersecting wall as if the center of the center board is on the layout mark on the wall. That will show you the approximate width of each end piece.
If it’s too thin to your liking, imagine the edge of the center board is on the layout mark on the wall, which will change the sizes of the end pieces. If you still aren’t satisfied, make a mock-up by cutting sample pieces and laying them out on the floor to illustrate the look in real time.

STEP 2: Remove the existing base molding.
Board-and-batten cannot be easily integrated with typical base moldings. Remove the existing base molding on the feature wall. A provision also needs to be made to remove 1½ inches of base molding on the intersecting walls. An oscillating tool is helpful with this cut.
STEP 3: Install the horizontal baseboard.
Locate and mark the wall studs with either a stud finder or with the knocking method to listen for the change in sound along the wall. A hollow sound means there’s no stud behind. Nail holes from the old base molding will also help show where the studs are located. Fasten a 1×6 piece to the wall where you marked the studs.
STEP 4: Strike a plumb line.
Plumb (straight up and down) is key here. Strike a plumb line for the first board using a 4- or 6-foot level. Bear in mind, the boards should be gapped about ¼ of an inch for expansion and contraction as temperature and humidity changes. Wood moves across the grain (the board’s width) more than along it (the length), so you’ll need to install each board ⅛ of an inch to the side of the plumb line.
STEP 5: Start with the center board, and then work left and right.
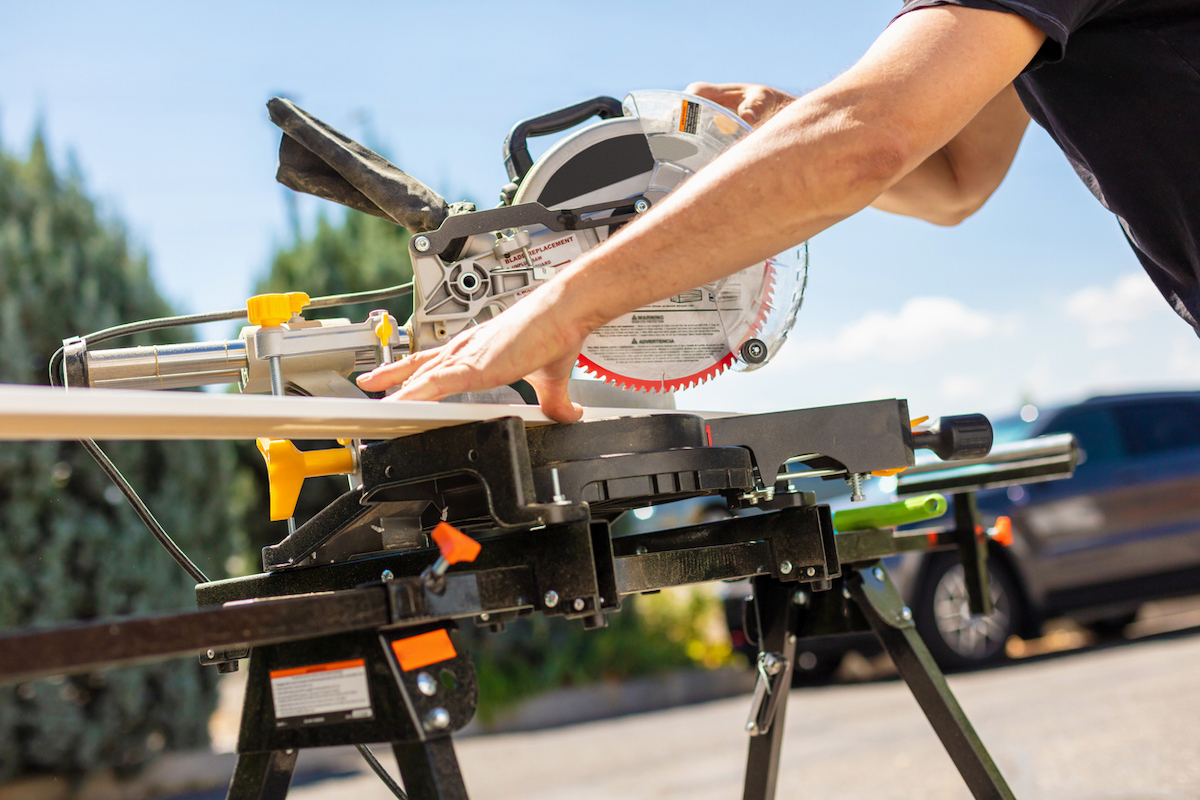
On the miter saw, cut each board to length. A length that’s within ¼ inch of the measurement is fine, as it will be covered later by a horizontal batten. Apply construction adhesive to the back of each board and nail them to the wall studs or plywood. Ensure there is at least a ¼-inch gap between boards and work toward the intersecting corners. On the table saw, rip each end board and then install.
STEP 6: Install the top batten.
Measure and install the batten that covers the board ends at the ceiling. Often, 1×2 is not available at big box stores, so it may need to be ripped on the table saw. If this is the case, install the saw-cut side toward the ceiling and the primed side down.
For saw-cut vertical battens, swirl marks from the saw blade will be visible after you paint it. Run a sander over them to smooth them out before installing.
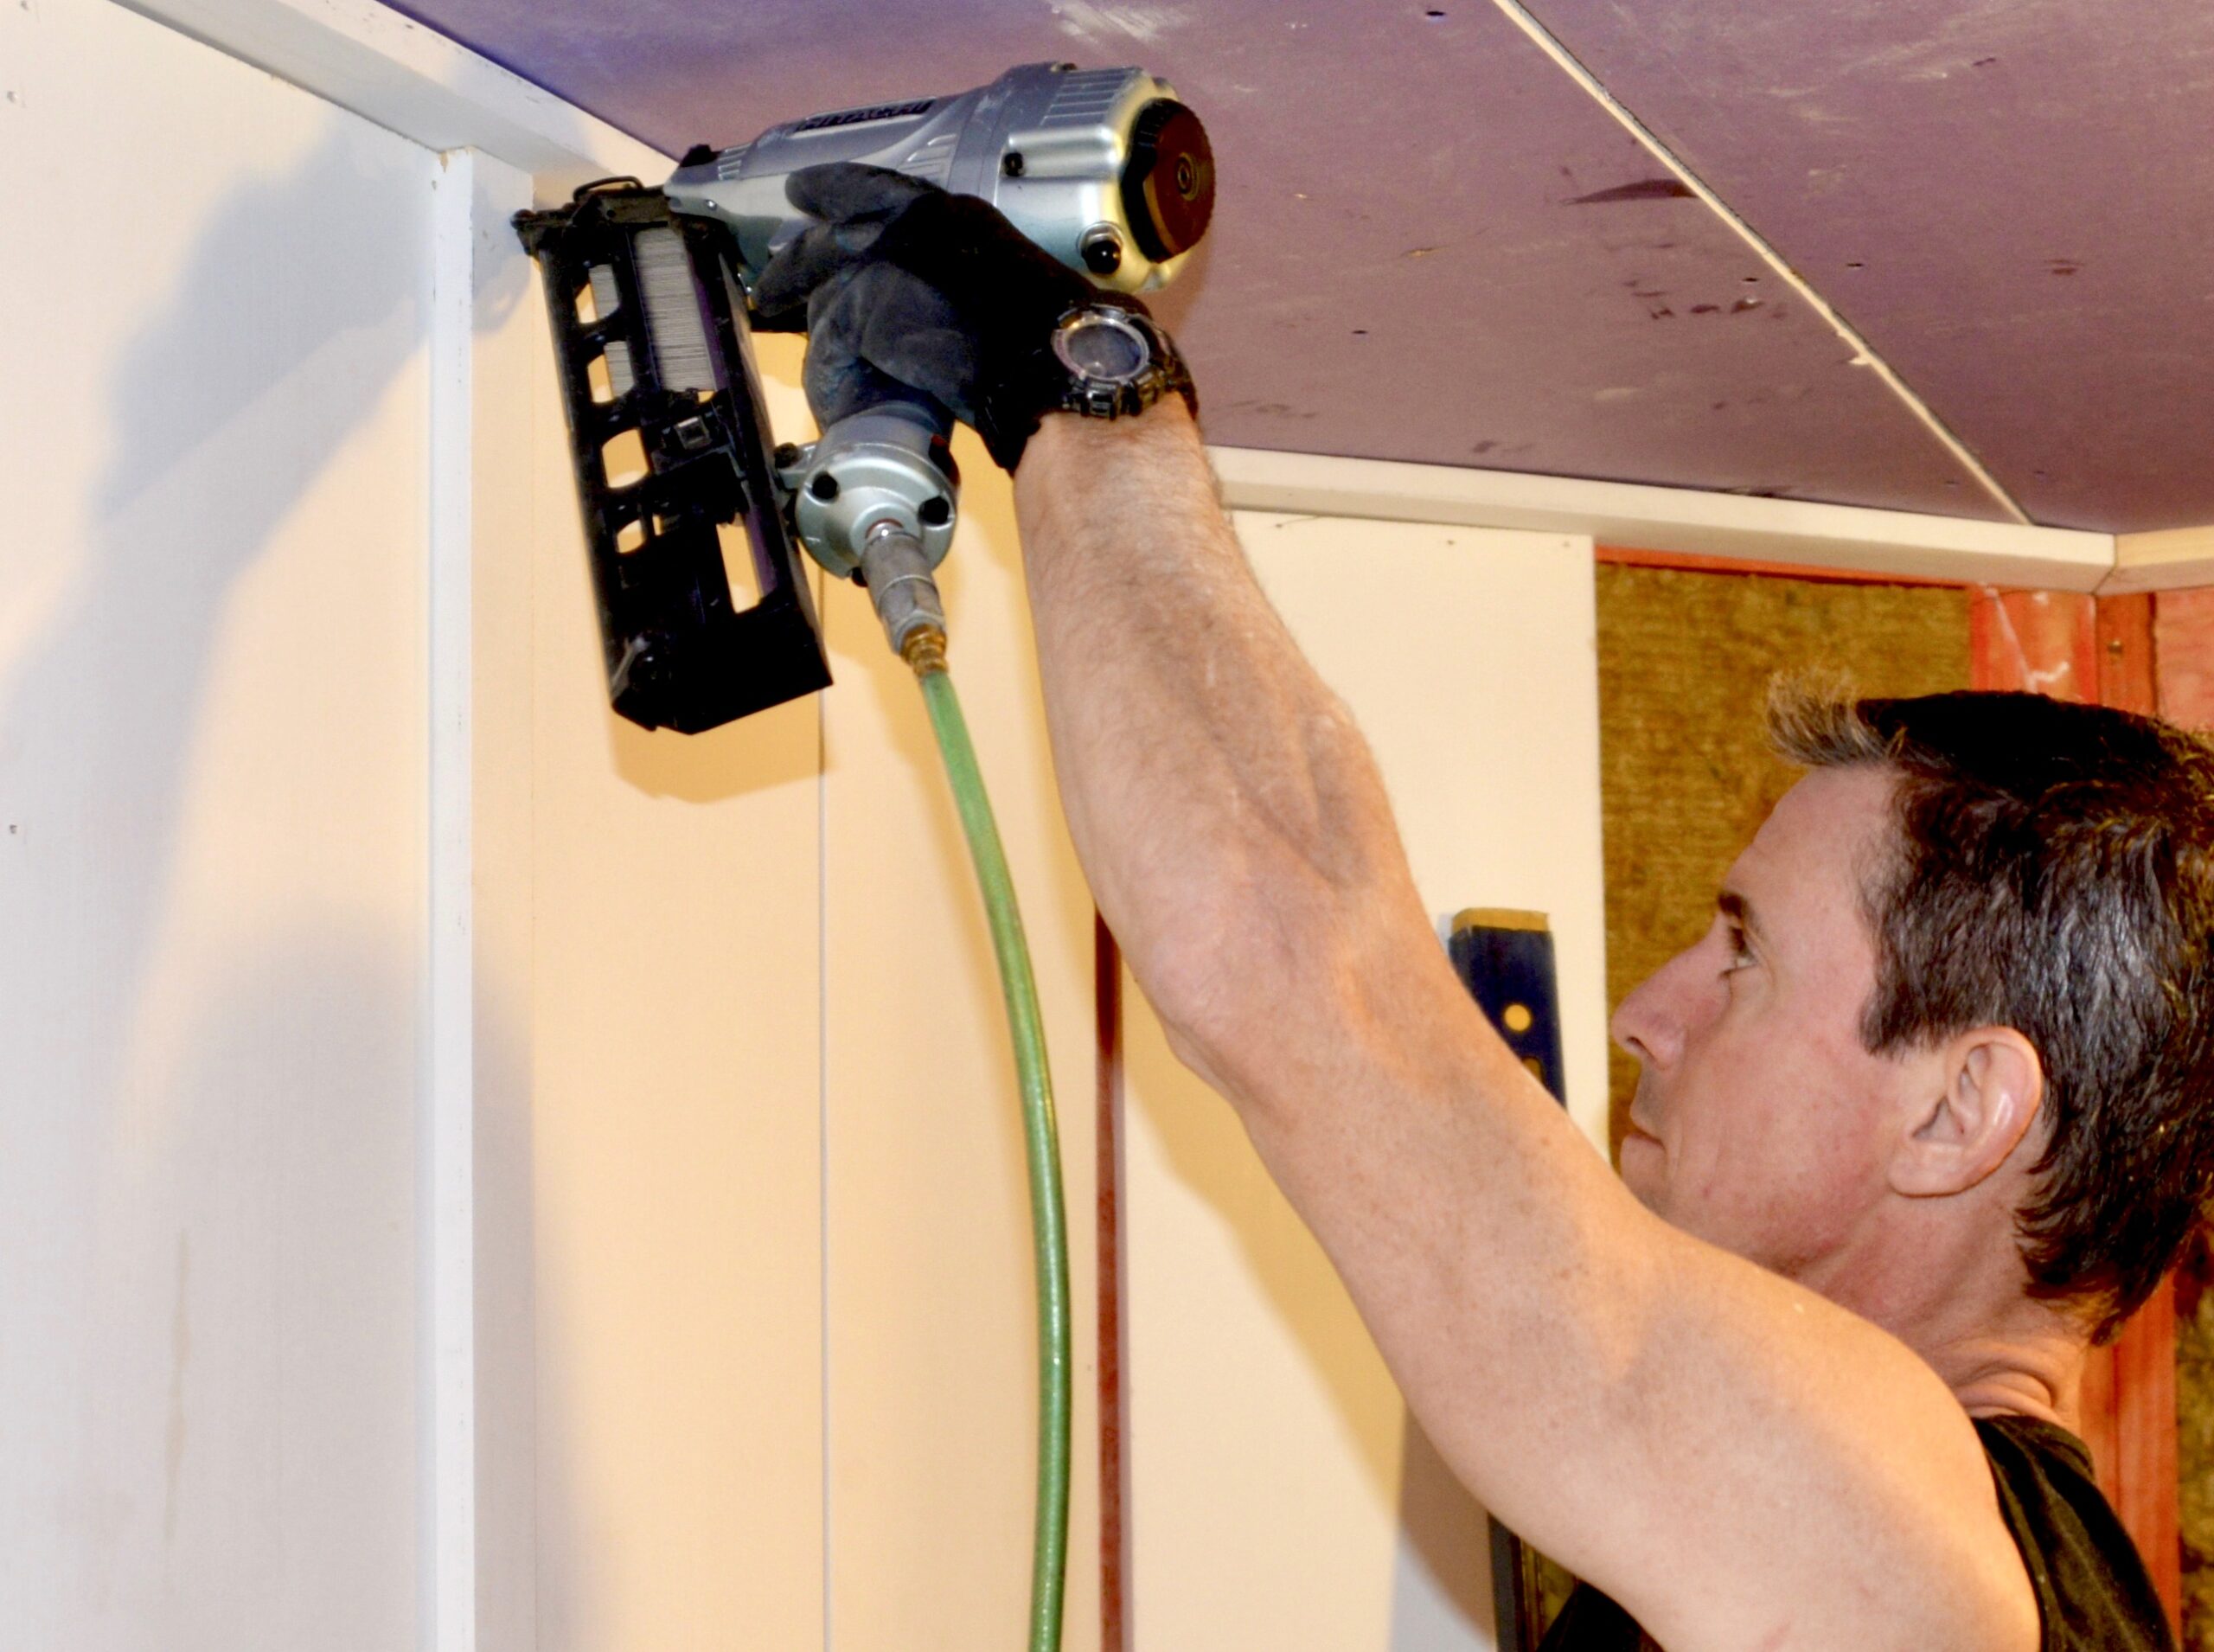
STEP 7: Install the battens.
Measure and install battens over the gaps in the boards. This is a precise cut. Don’t assume they’re all the same size; measure the length needed for each one. Make sure they are plumb and pretty close to centered over the gap in the boards.
STEP 8: Prep the wall for painting.
Fill the nail holes with spackle. For seamless results, it’s worth filling the nail holes, sanding them, then filling them again. Water-based fillers shrink as they dry. Caulk the joints as needed, including the transitions at intersecting walls and along the ceiling, for a seamless look.
STEP 9: Paint the board-and-batten feature wall.
Apply paint in your color choice. While white is traditional, a matte black feature wall is on trend. However, a gloss finish reflects light and is easier to clean.
A quality 3½-inch paint brush is great for cutting in along the ceiling and floor, and it applies enough paint to the “field” (everything that’s not a border) efficiently. It also enables you to get paint into the right angles between the boards and battens, which are places a roller cannot go. Two coats of paint is usually 10 times better than one coat.
Final Thoughts
A board-and-batten feature wall can be an easy DIY lift with proper planning and the right tools. As with all trim work, attention to detail is very important. Taking a little extra time and care will pay off in the finished project.
