We may earn revenue from the products available on this page and participate in affiliate programs. Learn More ›
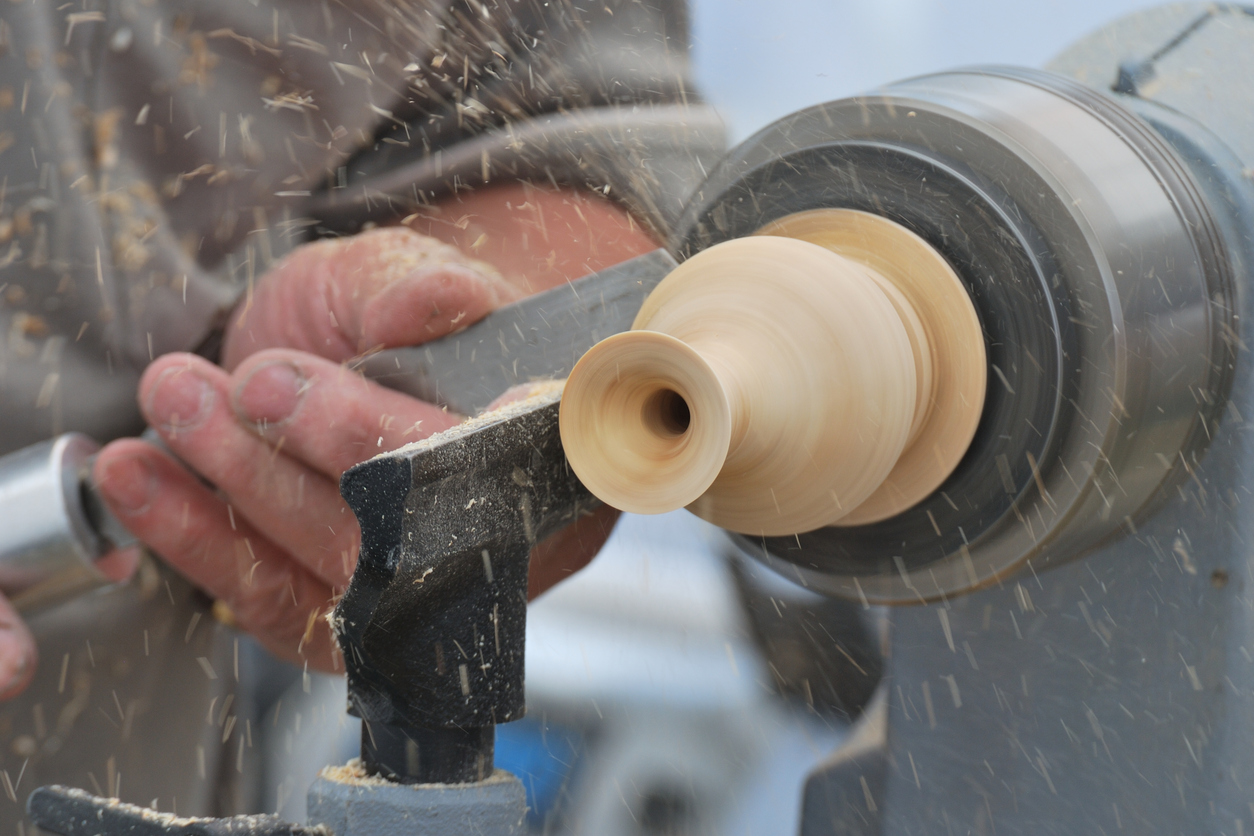
As far as woodworking projects go, few are as satisfying as those turned on a lathe. But what is a lathe? A lathe is a power tool that spins chunks of wood at high speeds, allowing woodworkers to trim and shape them with sharp tools. Long shaped items like table legs, baseball bats, and balusters are typically the products of work on a lathe.
But, woodturning (as the act of using a lathe is called) is somewhat of a nuanced art. It can be a little intimidating for those new to the woodworking world, and knowing how to choose the best tools and how to use a lathe requires a bit of background or woodworking classes. Luckily, this guide will explain the basics.
RELATED: The Best Woodworking Tools
Important Lathe Parts
Lathes come in several shapes and sizes but generally contain the same parts, although on different scales. The following are some of the most important lathe parts to know.
- Bed: The main frame of the lathe is the bed. It stretches between the headstock and the tailstock and receives the tool rest.
- Motor: The motor assembly typically lives underneath the bed, and it drives the headstock through a series of pulleys and belts or gears.
- Headstock: The headstock is the part of the lathe that attaches to the wood stock and spins it. Users can swap out the headstock for different jaws or attachments for particular projects. The headstock’s speed is usually adjustable.
- Tailstock: The tailstock is the free-spinning piece at the end of the bed, opposite the headstock. This piece keeps the wood centered and secure against the headstock.
- Tool rest: When turning, the user has to place chisels, gouges, and other carving tools against something to keep them steady, and this is the job of the tool rest. They attach to the bed and slide up, down, in, and out, according to the user’s needs.
3 Types of Wood Lathes to Know
There are a few different types of wood lathes to know about, as each has its pros and cons in a given situation. Knowing the types of lathes on offer will help shoppers choose the vc for their needs. But first, a bit of terminology:
- DBC: Distance between centers (DBC) refers to the maximum distance between the headstock and the tail stock. It will determine the maximum length of wood that the lathe can handle. Lathes typically come with DBCs of under 20 inches or up to 45 inches, depending on their tool’s size.
- SOB: Swing over bed (SOB) refers to the maximum thickness of wood that a lathe can handle. A lathe’s SOB can be as small as a few inches or as large as 15 or more inches, depending on the tool.
RELATED: The Best Woodworking Books for Honing Your Craft
Benchtop or Mini Lathes
Mini lathes are excellent for small woodturning projects like ornaments and pens. They’re able to sit on a benchtop without taking up much space, yet they have the power to spin small chunks of wood quickly enough for turning.
Benchtop lathes invariably have DBCs of under 20 inches, and their SOBs are typically 8 inches or less. This gives them enough space to turn ornaments, pens, wine stoppers, and other small items or crafts while also remaining light and compact enough to move around the shop.
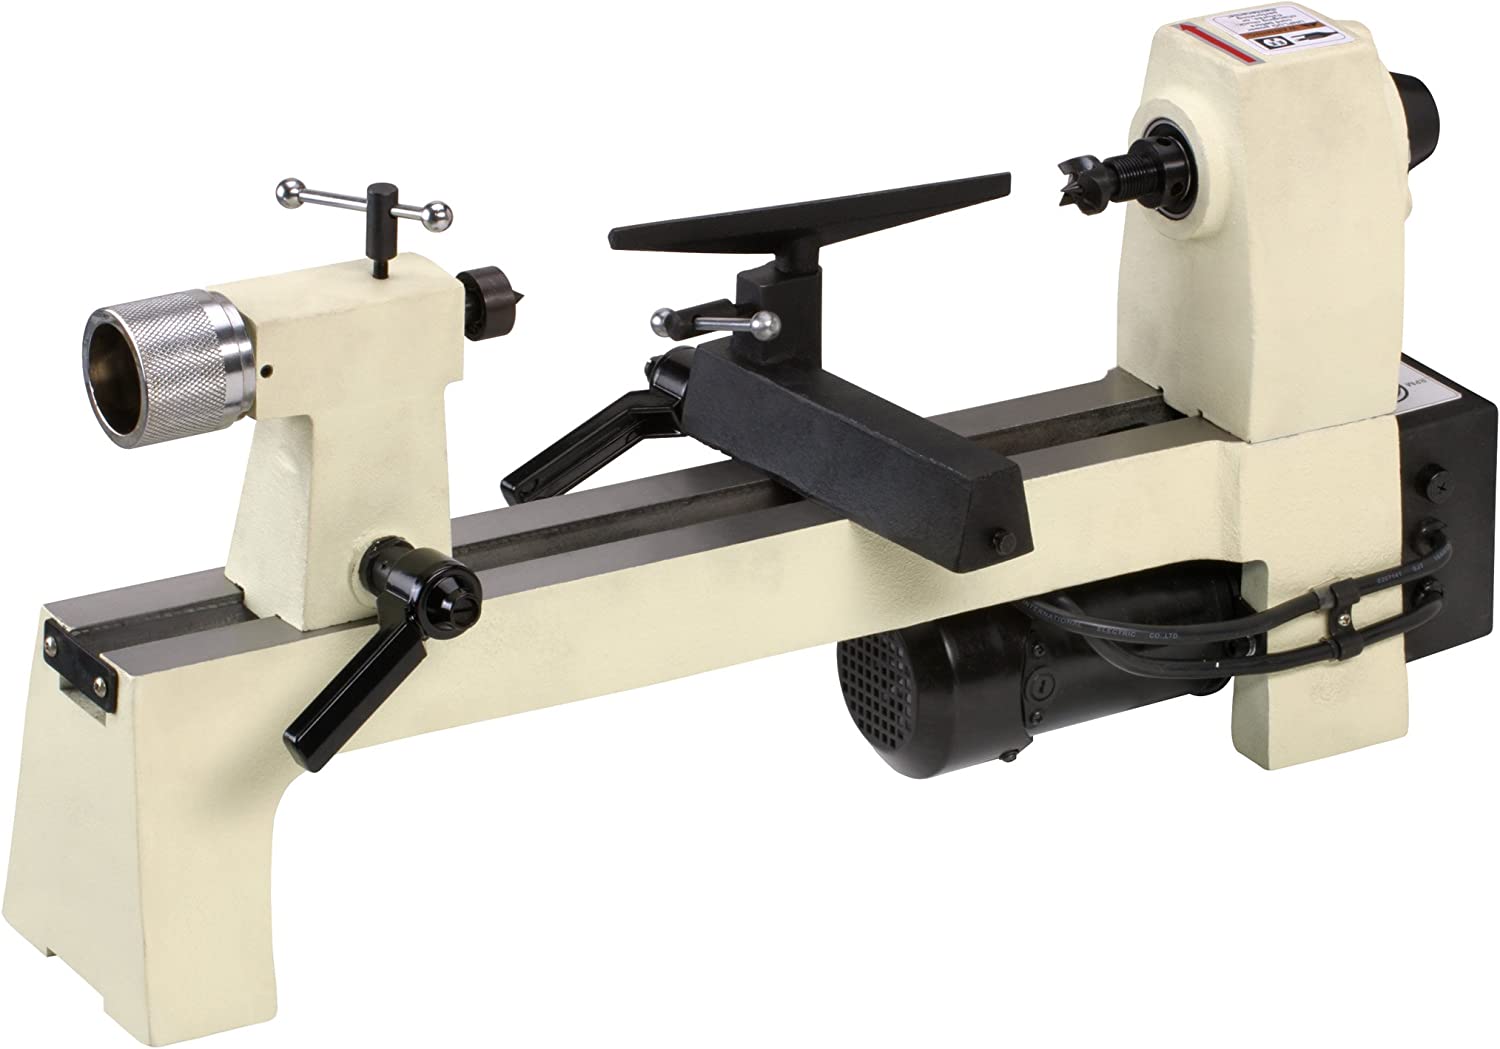
Our Recommendation: Shop Fox 1/3-Horsepower Benchtop Lathe on Amazon for $289
The Shop Fox W1704 features a 1/3-horsepower motor, a 12-inch DBC, and an 8-inch SOB make it capable of turning high-quality small crafts.
Midi Lathes
Midi lathes have more power and capability than a mini lathe, and they are also a bit larger. However, they can still fit on a workbench. While DBCs aren’t typically much longer, the SOBs are usually substantially thicker—generally by more than 12 inches.
Midi lathes depart quite a bit from benchtop lathes in terms of power, price, and additional features. Adjustable speeds, digital readouts, and more professional-grade features are available with midi lathes, despite these tools not taking up much more space than their smaller counterparts.
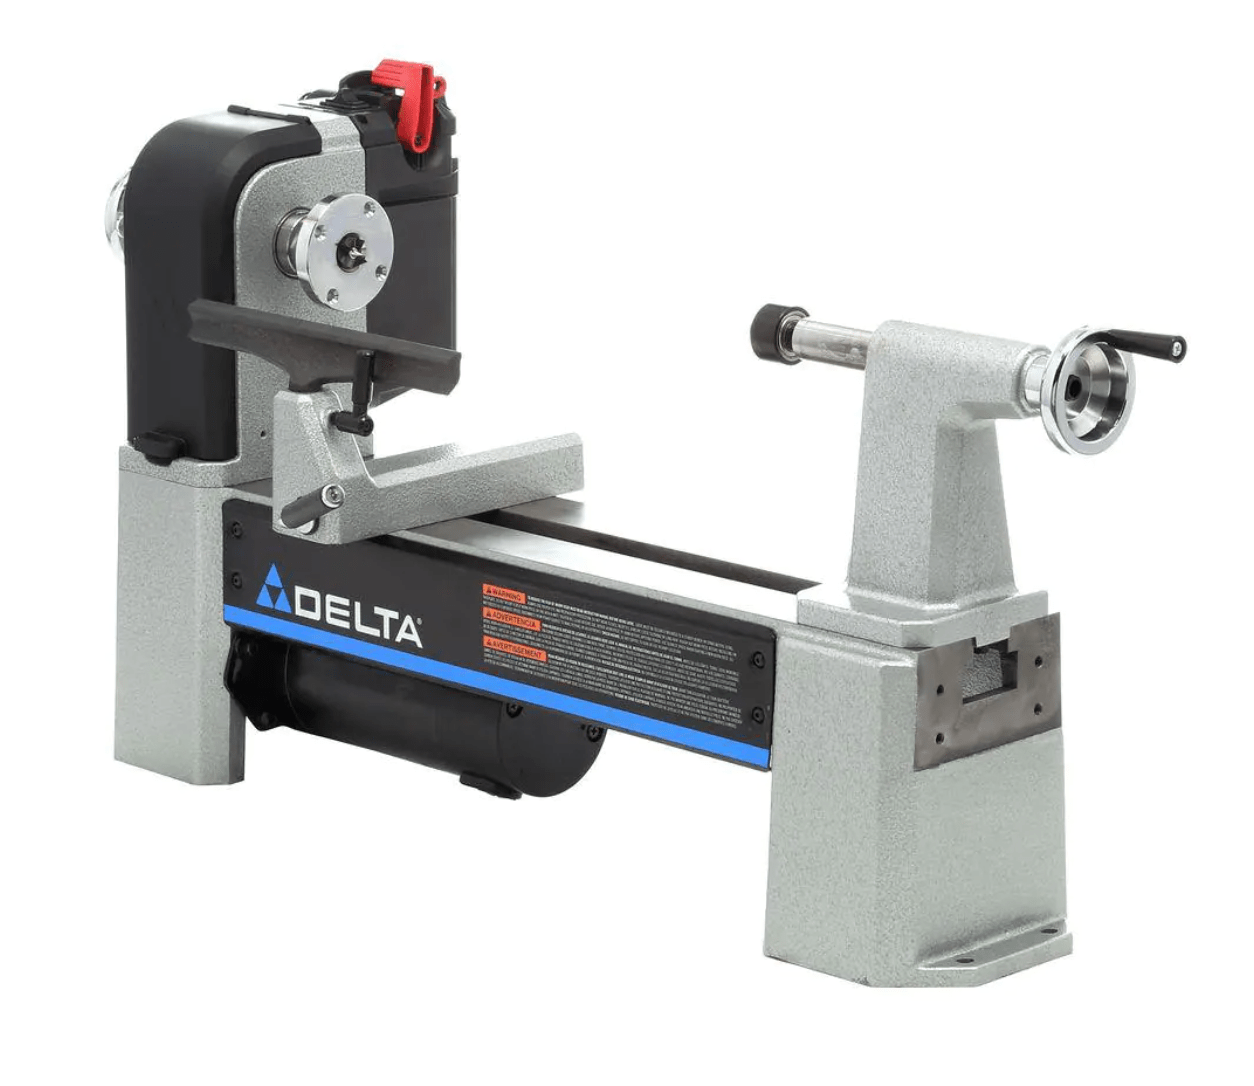
Our Recommendation: Delta 12-1/2-Inch Variable-Speed Midi Lathe at The Home Depot for $1,041.02
Delta’s midi lathe features a large 12 1/1-inch swing capacity, as well as a DBC of 16 1/2 inches, allowing it to turn anything from a pen to a salad bowl, or even a short table leg.
Full-size Lathes
Full-size lathes are for larger turning projects like table legs and baseball bats. These models typically have their own stands, and the working height is around 4 feet. Their DBCs often exceed 40 inches and their SOBs are usually in the 15-inch range.
These models are expensive, but for good reason. The wood stock they spin can be heavy, and these models need precision machining, tight tolerances, and powerful motors to do their job and keep the user safe. These lathes can also last a lifetime if built by a reputable manufacturer.
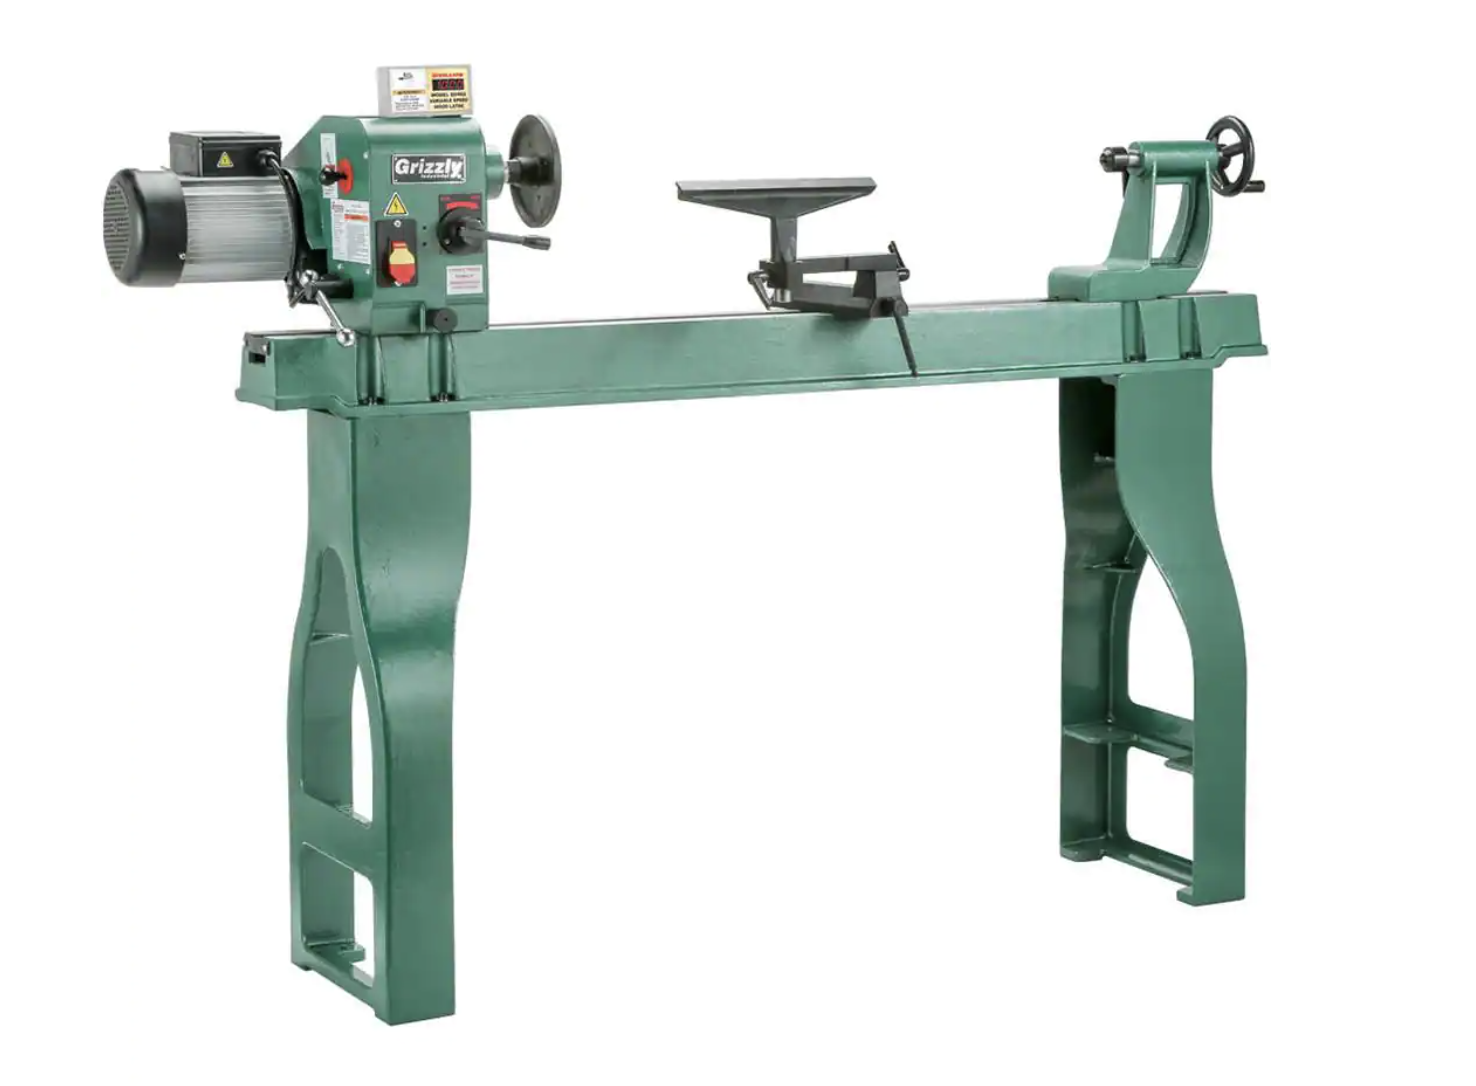
Our Recommendation: Grizzly 16″ x 46″ Wood Lathe with Digital Readout at The Home Depot for $1,464
Between the 43-inch DBC, a massive 16-inch SOB, and a repositionable headstock for faceplate turning, this full-size lathe has what it takes to help users make a variety of turned wood items in hobby garages and pro shops alike.
Lathe Safety Tips
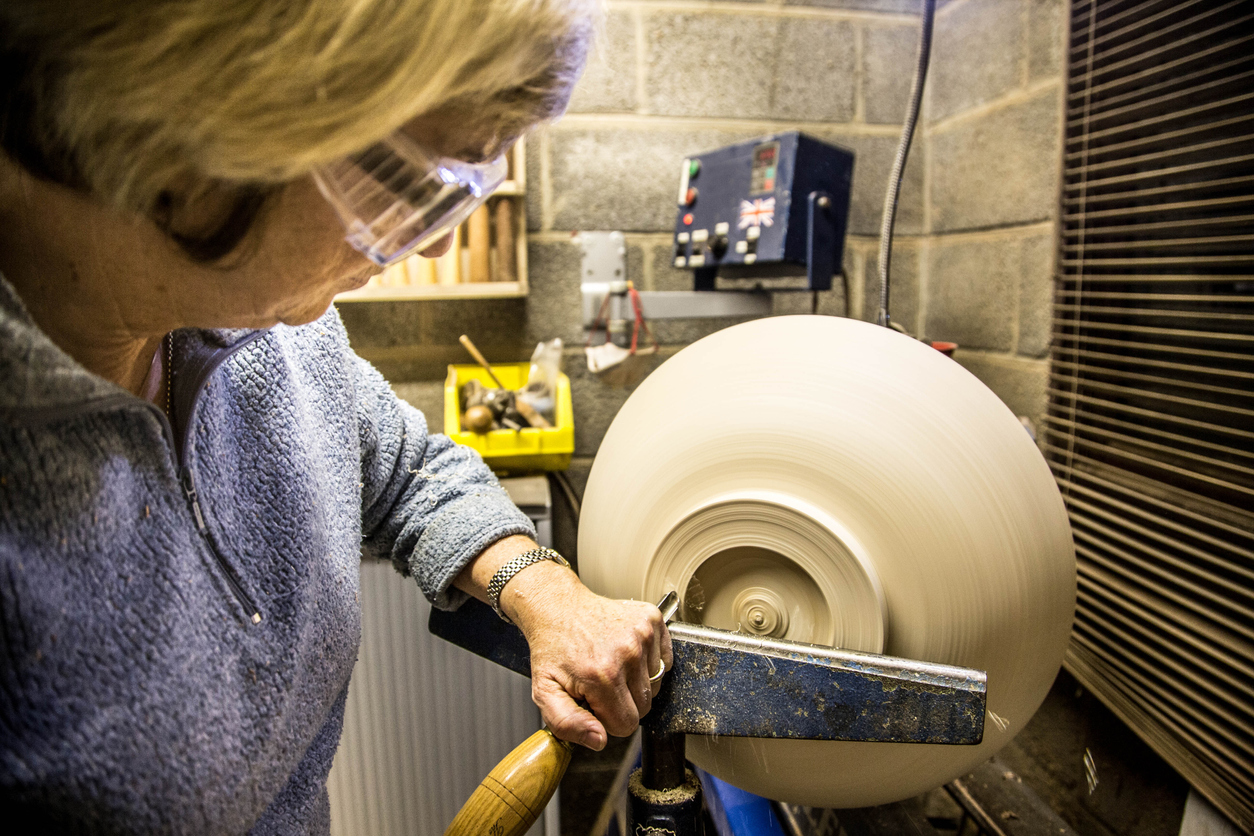
New woodturners need to know that there are some inherent safety risks involved with spinning a chunk of wood at more than 1,500 RPM. As a natural material, wood’s grain pattern and strength are not necessarily consistent throughout most pieces of stock, and these pieces have been known to fail and fly off a lathe. For that reason, it’s important to clamp a stock carefully at the dead center of the stock whenever possible and always wear a face shield while woodturning.
Another lathe safety tip is to dress carefully. Lathes spin very fast and don’t stop quickly, so getting a loose sleeve or long hair wrapped up can be disastrous. Be sure to avoid loose fitting clothing and keep hair tied neatly back.
Finally, only use wood that appears to be in good condition, free from knots or cracks. Taking these safety precautions will help keep the user safe while turning.
RELATED: Fractal Wood Burning: What You Need to Know About TikTok’s Most Dangerous DIY Trend
Essential Lathe Cutting Tools for Beginners

There are a few lathe cutting tools and marking tools that all beginning woodturners need to familiarize themselves with. Depending on the planned projects, they may be able to add them to their collection of tools one at a time.
There are more tools for a lathe than those included in the following list, but this list is a good start for a beginner.
- Roughing chisel: This chisel is thick and burly, and its purpose is to knock the edges and corners off of a piece of stock to make it smooth and cylindrical.
- Parting chisel: This chisel is thin and sharp and its purpose is to cut the finished workpiece free from the spindle. It can also mark locations down the length of the wood to show where to start the different sections while carving.
- Bowl gouge: A bowl gouge is a rounded chisel used to shape bowls and other rounded projects.
- Spindle gouge: These gouges are smaller and used for detail work on pens or spindles.
- Calipers: Calipers help ensure consistent or accurate thicknesses. Turners can set these calipers to their chosen thickness and use them down the length of the spindle to check for accuracy.
- Face shield: Chips and chunks of wood go flying during woodturning projects, so it’s a good idea to protect the face and throat with a full-size face shield.
- Steel ruler: The steel ruler will help users find the very center of the wood stock blanks they’re using.
With this basic set of tools, novice woodturners can create ornaments, pen bodies, small spindles, wood bowls, cups, and other small lathe projects in very little time at all.
Initial Setup and Calibration
The first thing to do when setting up a lathe is to determine the type of centers required. The standard head and tailstock work well for longer objects like spindles, while face turning bowls may require switching to a set of jaws. Each lathe changes center slightly differently, so refer to your particular model’s manual.
After the wood is clamped in the lathe, adjust the tool rest. It should be close enough to the wood to provide tool control and maintain a pivot point far toward the end of the chisel while still allowing the wood to spin freely without smacking the rest.
Also, it’s best to level your lathe machine before starting. Place the lathe on its workbench and place a level across the bed. Many lathes have adjustable feet that the user can turn to tweak their positioning, so adjust them as necessary to create a stable, level base.
RELATED: 16 Workbench Plans Perfect for Big or Small Home Shops
How to Use a Lathe for Turning Wood
With the basics covered, learning how to use a lathe for successfully turning wood is built on experience. However, the following should help get most users started.
STEP 1: Select the right blank.
The first step is choosing the right blank piece of wood. Generally speaking, the best piece of wood will be from a material that turns well. Hardwoods such as maple, walnut, cherry, ash, and hickory are all woodturner favorites, but softwoods like clear pine may even be enjoyable. Cut this piece to its finished length before clamping it in the lathe.
Also, the wood should be free of knots or cracks. With time, woodturners will learn how to compensate and even incorporate imperfections, but in the beginning, it’s best to avoid them altogether.
STEP 2: Draw a plan.
Take a few minutes to draw a plan for the project. Draw the length, shapes, curves, and other touches on a piece of paper and pin it on the wall near the wood lathe. If possible, include thicknesses and lengths for each section in order to have a road map to follow.
Don’t get too hung up on following this roadmap down to the millimeter at first. However, having a design to follow will help you stay on track and build newfound skills without wasting wood as readily.
STEP 3: Find the centers on each end.
It’s important to clamp the blank as close to the center as possible on each end. Do this by using a pencil and a steel ruler.
Stretch the steel ruler from across two opposing corners and draw a line along the edge of the rule. Flip the steel ruler to the other two opposing corners and repeat. The two lines should intersect at the dead center of the blank. Repeat this process on the other end of the blank, as well.
STEP 4: Clamp the blank in the lathe.
Place one end of the board against the headstock’s center point, aligning the tip with the center mark. Maintaining pressure against the wood and headstock, slide the tailstock toward the blank, aligning the other center mark with the tailstock’s point.
Check to ensure that each end is aligned properly. Once satisfied that everything is where it’s supposed to be, lock the tailstock in place with the lever. Tighten the tailstock using the hand crank. Tighten firmly.
STEP 5: Adjust the tool rest.
Be sure to adjust the tool rest before starting the lathe. It should be close enough to the workpiece to provide control, but far enough away that the stock does not strike it when swung by hand. A good general distance is 3/4 of an inch, but experienced turners will learn what works for them over time.
Unlock the rest’s base from the bed and slide to where it needs to be. Adjust it in or out to the desired distance before locking it back down against the bed. Next, adjust the height so it’s somewhere around the middle of the stock, but the exact height should allow the user to hold their carving tool comfortably.
After positioning the tool rest, spin the stock to ensure it won’t strike the rest.
STEP 6: Turn on the lathe.
Put on your face shield and power up the lathe. Allow the lathe to get up to speed and stabilize before moving on to carving. It’s a good idea to stand to the side of the lathe closest to the power button upon startup.
Watch for any severe wobble or vibration in the lathe and immediately shut down the lathe if a wobble is noticed. The blank may not be centered or its natural shape may make it unusable for a lathe.
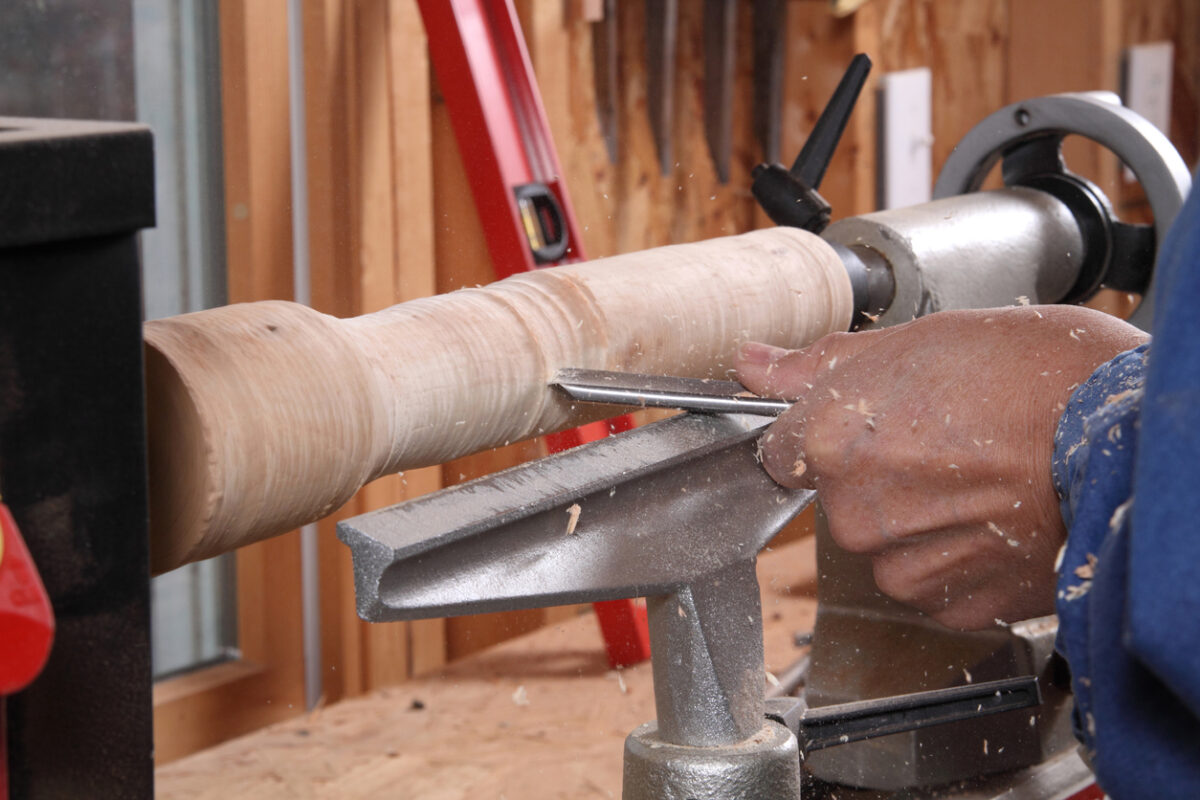
STEP 7: Start roughing.
Place the roughing chisel on top of the tool rest. Applying light pressure with a firm grip, slide the chisel forward until it begins to contact the workpiece. Work slowly, taking off small bits of the corners at a time until the blank is smooth and cylindrical. Move up and down the tool rest. If it’s necessary to reposition the rest, turn the lathe off and let it come to a complete rest.
Getting too aggressive can cause tear-out in the workpiece and send chunks of wood flying. Also, the roughing chisel may dull faster if forced into a spinning workpiece.
STEP 8: Follow the plan.
With the workpiece cylindrical, it’s time to follow the plan drawn in step two. Use the parting chisel to mark sections of the spindle design. Next, use spindle gouges to cut the shapes of the spindle. Work slowly to create smooth curves and transitions, and when necessary, move to differently-sized chisels.
Make sure to maintain contact with the tool rest the entire time. Also, use the calipers to check the diameter of the workpiece often.
STEP 9: Sand the workpiece.
Turn the lathe off and let the workpiece come to a stop. Swing the tool rest out of the way and lock it back down or remove it altogether. Start the lathe again and let it get back to speed.
With the workpiece spinning, carefully hold a piece of sandpaper against the workpiece, sliding it up and down until the surface is smooth. If desired, move to a finer grit and repeat for an extremely smooth finish.
Lathe Maintenance Tips
Keep your lathe free from wood chips, dust, and debris. Use compressed air and an air choke to spray small bits of wood from around the headstock, tailstock, and motor. Use a lint-free cloth to wipe down the headstock, tailstock, and any machine threads or holes.
Additionally, lubricate the lathe’s bed, tailstock, and hand crank with a bit of penetrating oil. Be sure to allow it to dry before turning on the lathe or it could sling grease around your workshop.
While this is more of a need for the workspace than the lathe itself, be sure to sweep away wood chips and shavings. Not only are these potential slip or trip hazards, but piles of chips are fire hazards. Be sure to clean them up after each turning session.
RELATED: The Best Paints for Wood Crafts
Final Thoughts
Whether it’s spindles, table legs, pens, bowls, ornaments, or other items, all it takes is a little basic knowledge and careful practice to get started working with a lathe. While the tool may seem intimidating, and there are some safety considerations to keep in mind, woodturning can be a wonderful hobby. DIYers can make gifts or crafts, and mastering the art can be a lifetime pursuit. That pursuit has to start somewhere, and reading this guide on how to use a lathe could be just the kickstart needed to head down this rewarding path.
The prices listed here are accurate as of publication on August 31, 2022.
