We may earn revenue from the products available on this page and participate in affiliate programs. Learn More ›
Whether it’s for cutting framing lumber square and true, or cutting a perfect crown molding joint, a miter saw can be indispensable. Miter saw uses range from rough framing to trim and complex woodworking, and this power tool allows users to cut through dense materials quickly, accurately, and safely, flattening much of the learning curve of DIY-ing.
However, if you don’t know how to use a miter saw, they can be extremely intimidating. With a bit of knowledge and practice, this is one tool that’s easy to master. Keep reading to find out more.
Parts of a Miter Saw
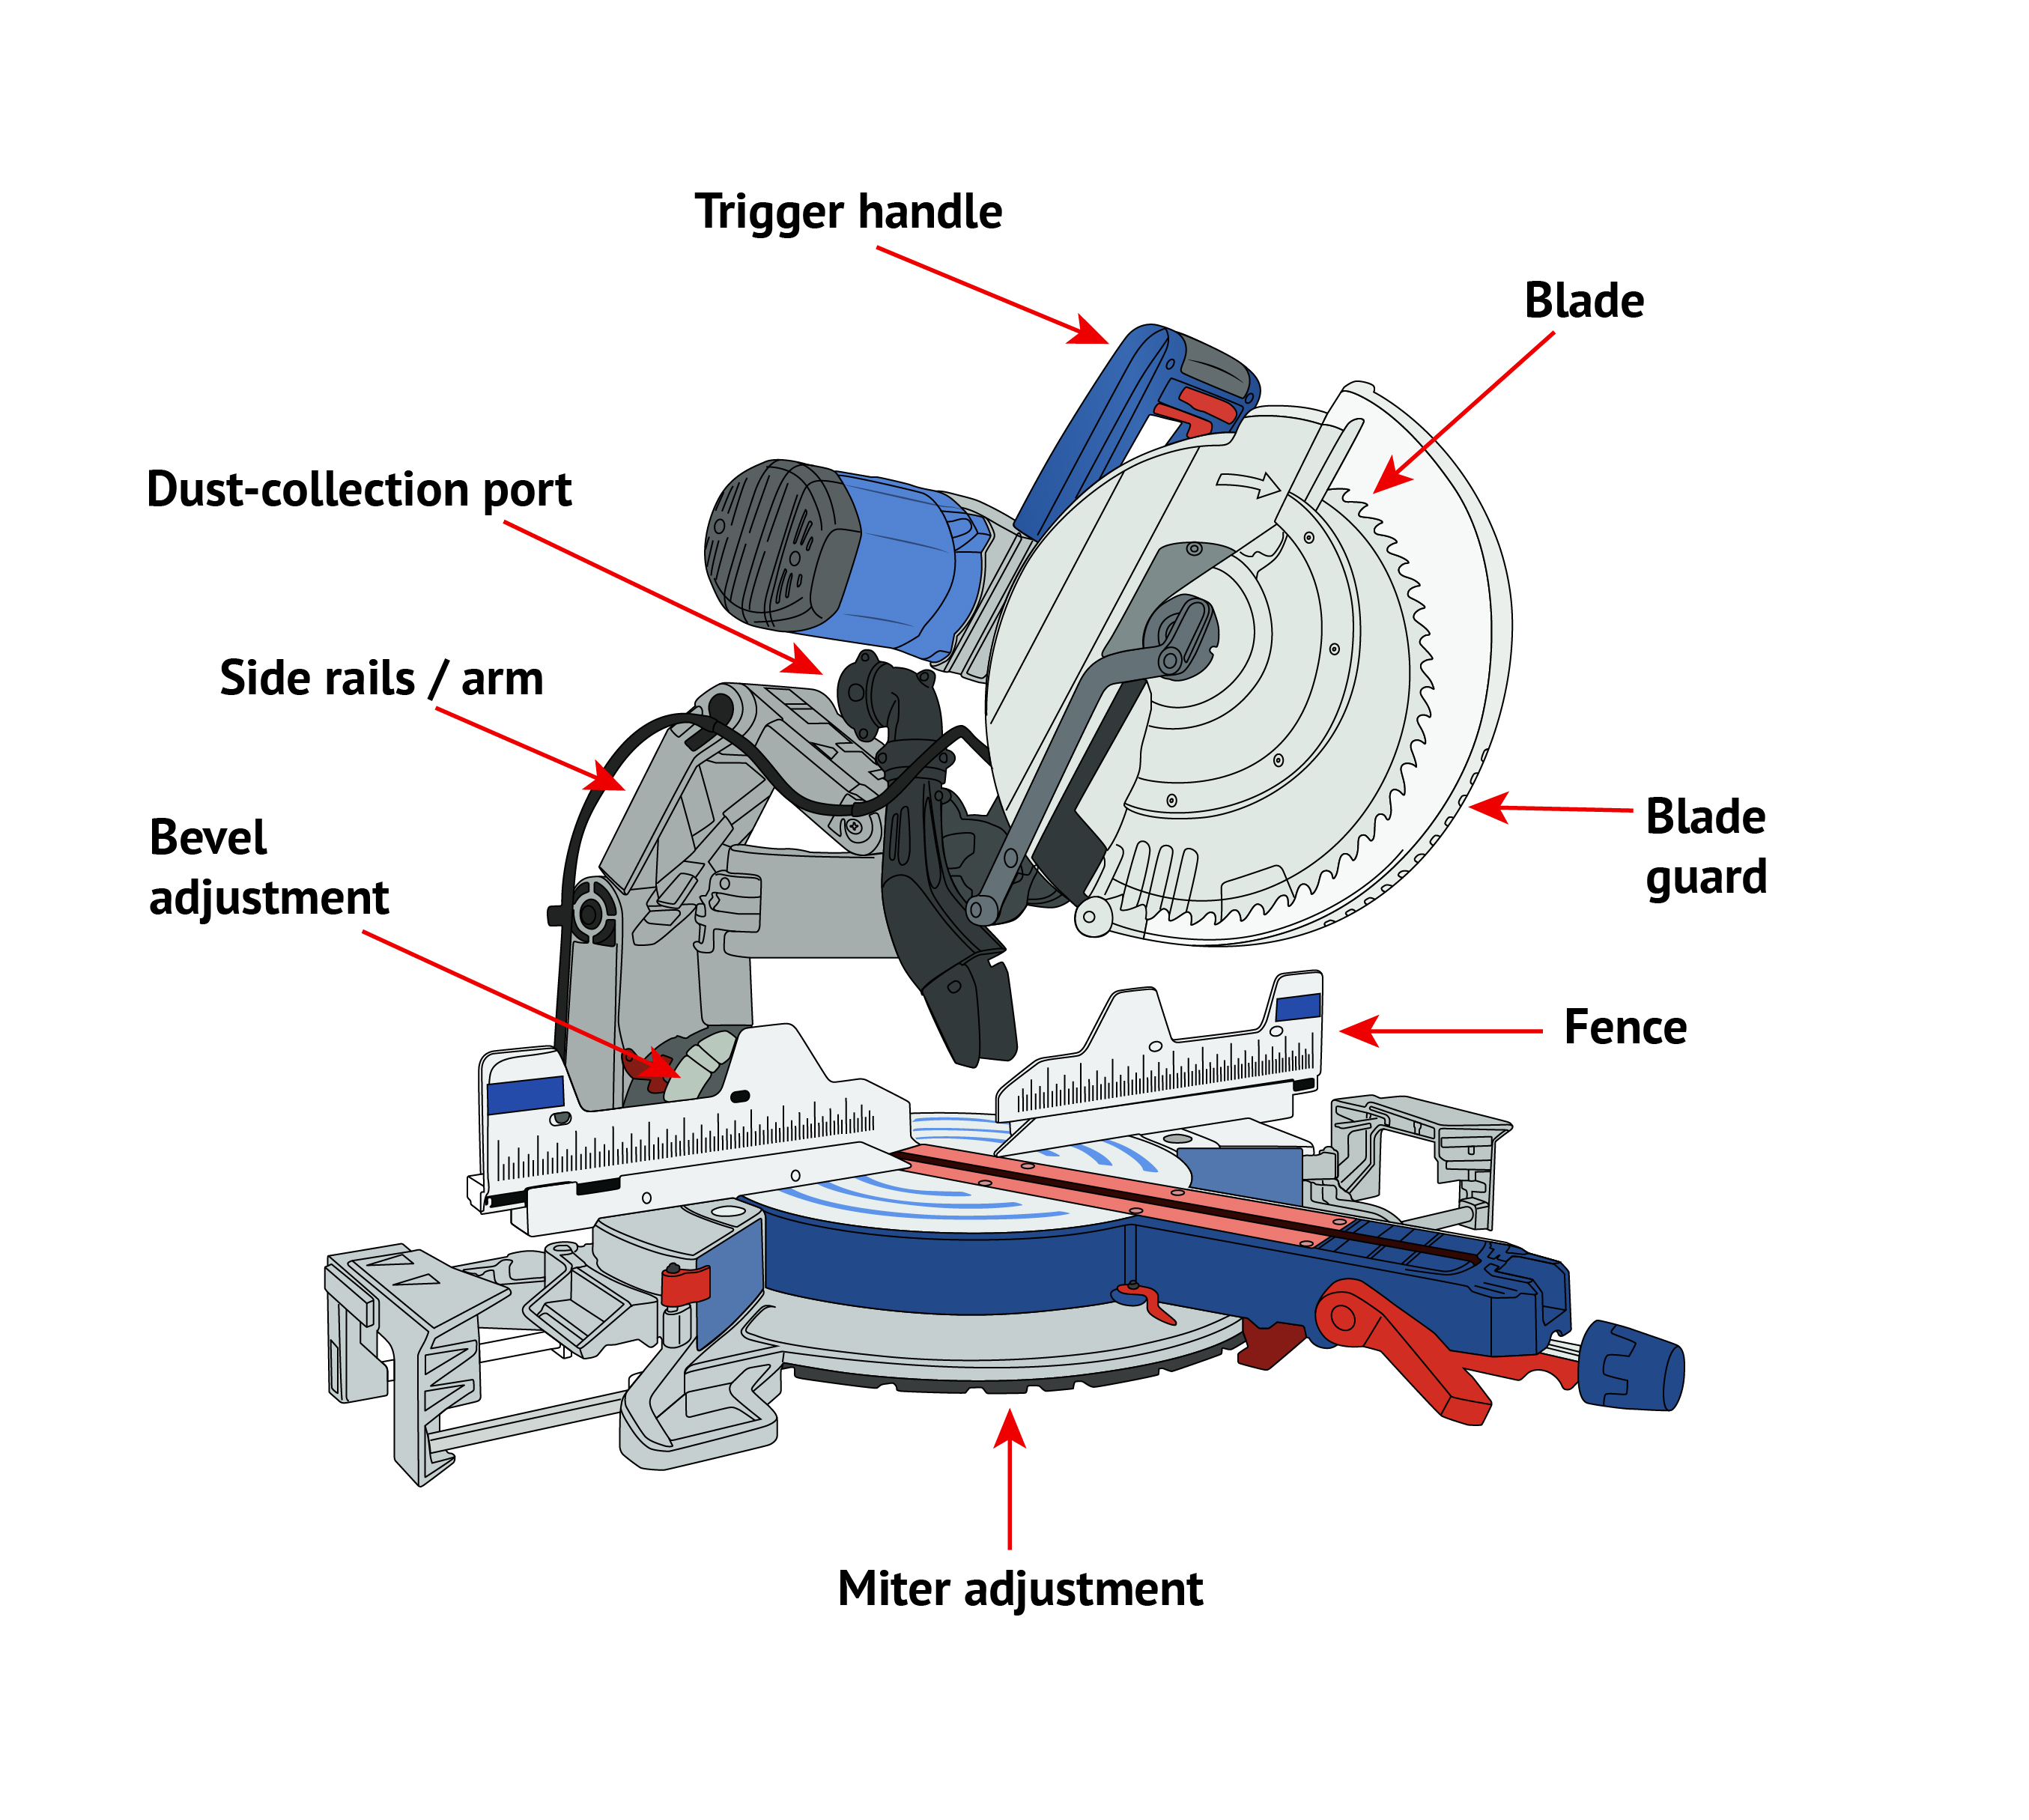
- Blade: Cuts the wood, MDF, plywood, or other materials
- Blade guard: Protects the user from accidentally touching the blade but retracts automatically when cutting
- Trigger handle: Starts and stops the saw
- Miter adjustment: Allows the user to change the angle of the blade
- Bevel adjustment: Allows the user to change the tilt of the blade
- Fence: Provides a 90-degree surface for a user to hold material against
- Dust collection port: Collects sawdust as the user cuts
- Slide rails/arm: Allows the saw to slide back and forth for longer cuts
3 Types of Miter Saws
What is a miter saw? It’s a power tool with a pivoting arm and spinning blade that quickly and accurately cuts materials like wood, plywood, MDF, and plastic. In some cases, metals can be cut by a miter saw, too.
A power miter saw can be one of three main types, and each has its pros and cons. One type might be better for a particular project or budget than another; it’s a matter of knowing a bit about each type and choosing the best for the situation.
1. Miter Saw
A standard miter saw has an adjustable base that the user can adjust to cut angles in either direction. As the name implies, it’s capable of cutting miters and square butt joints. The blade doesn’t tilt, though, so all cuts will have 90-degree ends. These saws are typically most useful for simple framing and woodworking projects.
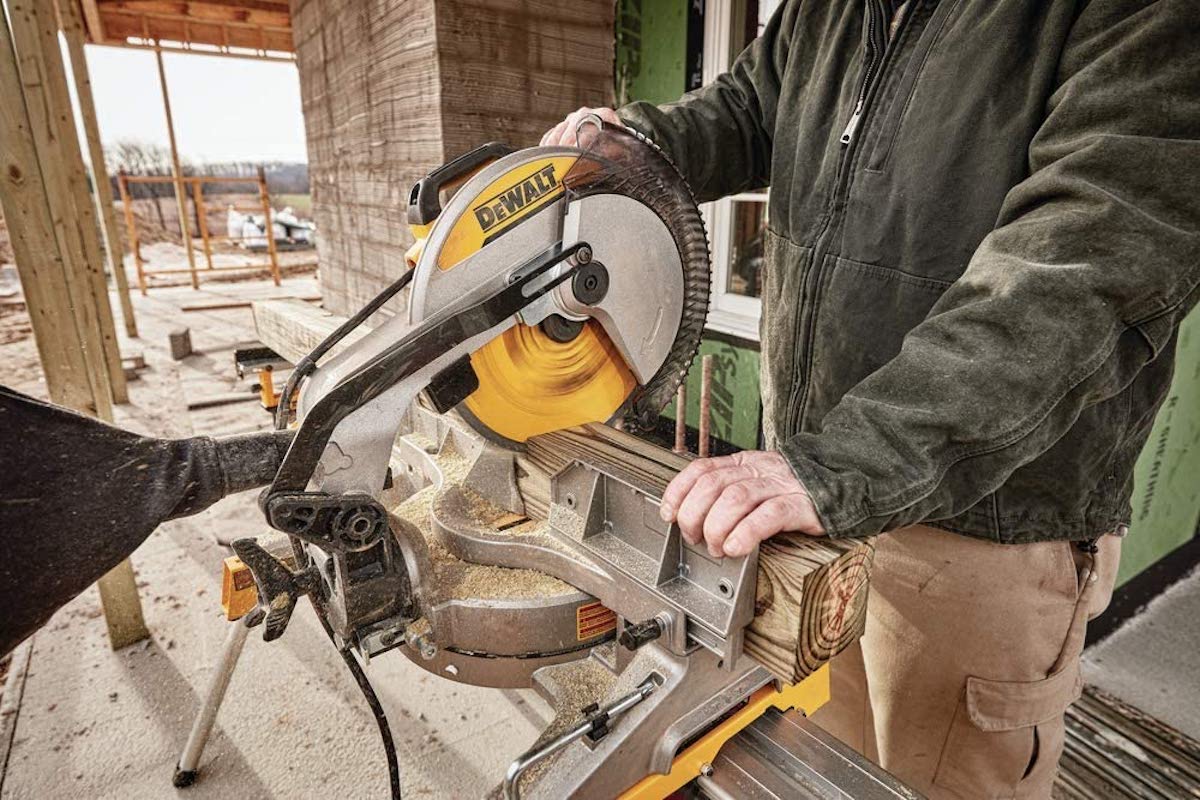
Our Recommendation: DEWALT 12-Inch Miter Saw 15-Amp Single Bevel on Amazon for $229
For around-the-home trimming and crosscutting, the DeWalt 12-inch single compound miter saw has all the necessary power and precision without a large price tag. It cuts boards up to 8 inches wide and cuts bevels in one direction. It comes with a slide-out fence that extends to help support the board being cut. For safety, the DeWalt saw also features a mechanism that automatically locks the spring arm in the “down” position unless it’s manually unlocked with a button on the back.
While technically a single-bevel compound miter saw, this model is about as basic as it gets these days. There aren’t any extra bells and whistles, as DeWalt chose to focus on quality and affordability over features.
2. Compound Miter Saw
Compound miter saws have adjustable bases and adjustable arms, allowing the user to change the angle and the tilt or bevel of the blades. Beveling allows for more flexibility and capability than a standard miter saw, making these saws ideal for trim work and framing alike. And, despite the extra features, learning how to use a compound miter saw doesn’t have to be overwhelming.
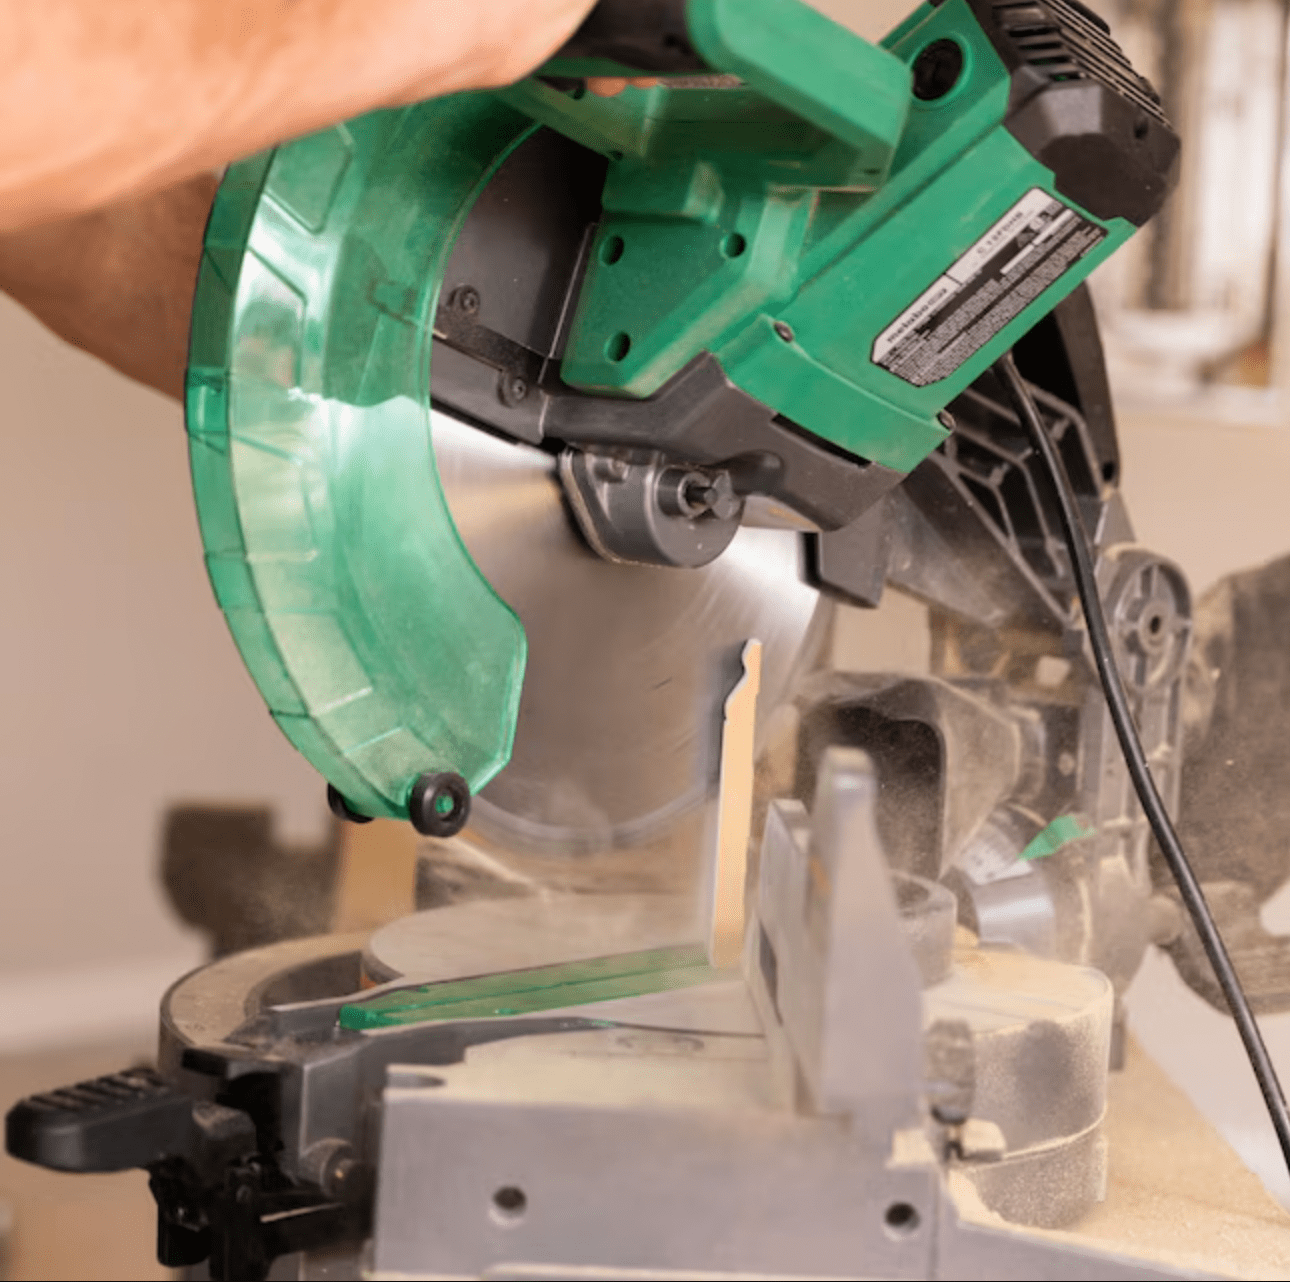
Our Recommendation: Metabo HPT 12-Inch Compound Miter Saw at Lowe’s for $329
The affordable Metabo HPT 12-Inch Compound Miter Saw with laser guide cuts bevels in both directions and comes with a powerful 15-amp motor, to boot. Thanks to the Xact Cut LED Shadow Line System, the cutline is easy to see on the board before cutting, which can help reduce errors.
3. Sliding Compound Miter Saw
Sliding compound miter saws are just like compound miter saws except that the saw rides on a rail or arm. This design allows users to pull the saw head toward themselves and then push it through the workpiece. This gives these saws much wider cut capacities, but they’re typically heavy and more expensive. Keep in mind that learning how to use a sliding miter saw isn’t much more difficult than using a standard saw, so the capability might be worth the extra investment.
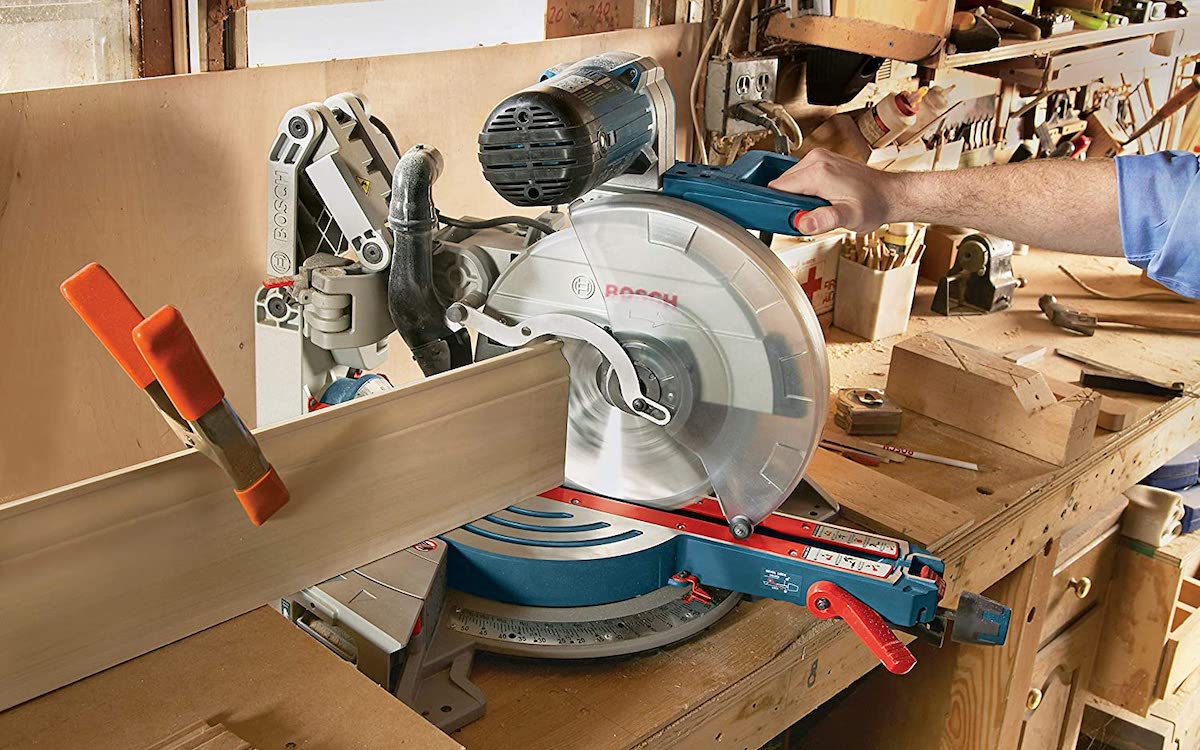
Our Recommendation: BOSCH Power Tools GCM12SD Sliding Glide Miter Saw on Amazon for $599
The Bosch Power Tools GCM12SD Sliding Glide Miter Saw is a 12-inch miter saw with a sliding arm that allows the user to cut boards up to 14 inches wide. The saw comes with pull-out material supports on both sides to stabilize boards up to 40 inches long, and it cuts compound bevels in both directions.
The clear saw guard on the Bosch miter saw is designed not to obstruct the user’s view of the cut throughout the entire process. The trigger handle features an ergonomic grip that can be used by either right-handed or left-handed users just as comfortably, and it features a padded nonslip grip. Fences are adjustable, and the miter scale numbers are etched into the stainless steel.
Miter Saw Safety Tips

- Whenever using a miter saw, keep the thumb on the support hand tucked in to prevent accidental cuts.
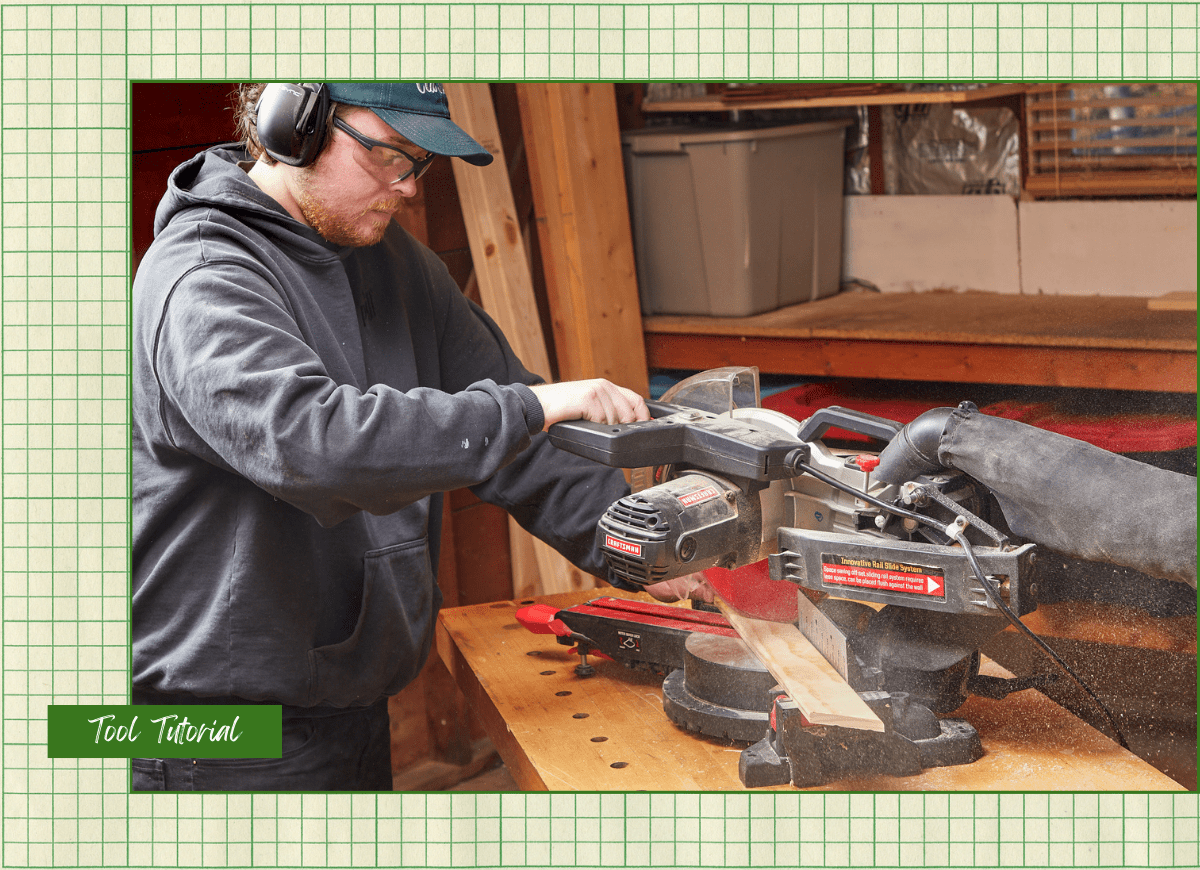
- Wear eye and hearing protection while using a miter saw.
- Once the miter saw blade cuts through the material, release the trigger and allow the blade to stop before raising the saw.
- Unplug the miter saw before checking the arbor or changing the blade.
- Do not remove the blade guard from the saw.
- Keep the saw blade sharp and clean to prevent having to force the blade through the saw.
- Support the workpiece on either side of the saw blade to ensure it doesn’t fall and strike the saw after cutting.
- Ensure that any removable fences are out of the way before cutting bevels.
Initial Setup and Calibration
First, learn how to set up a miter saw by referring to the manufacturer’s instructions. Install any clamps, hold downs, lasers, adjustment handles, and dust collection bags before plugging in the saw. Become familiar with the bevel adjustments, angle releases, trigger, safety, and blade guard first.
Next, calibrate the saw, as even new miter saws might need calibration. Start by checking the blade with a combination square. The blade should be perfectly perpendicular to the fence and perpendicular to the base. Test it by cutting a piece of scrap lumber down the middle at 90 degrees. Flip one of the halves over and line it up with the other half. These two pieces should be perfectly straight and flat. If not, adjust the saw.
Once the blade is aligned, check to ensure that the laser (if so equipped) aligns with the blade by performing a cut and seeing where the laser lands. If it’s out of alignment, adjust it according to the manual.
How to Use a Miter Saw for Miter Cuts
Miter cuts can be difficult to accomplish by hand, but miter saws make them a cinch. Luckily, learning how to cut angles with a miter saw is a straightforward process.
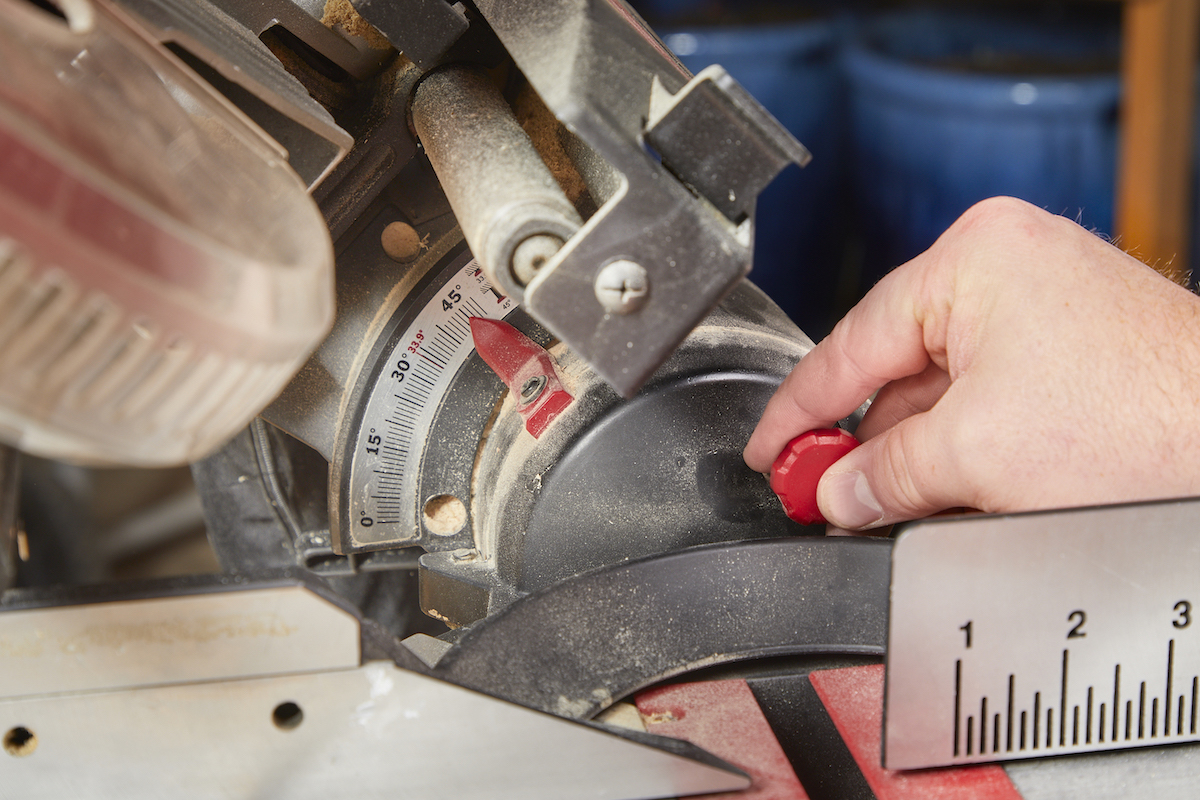
Step 1: Set the miter angle.
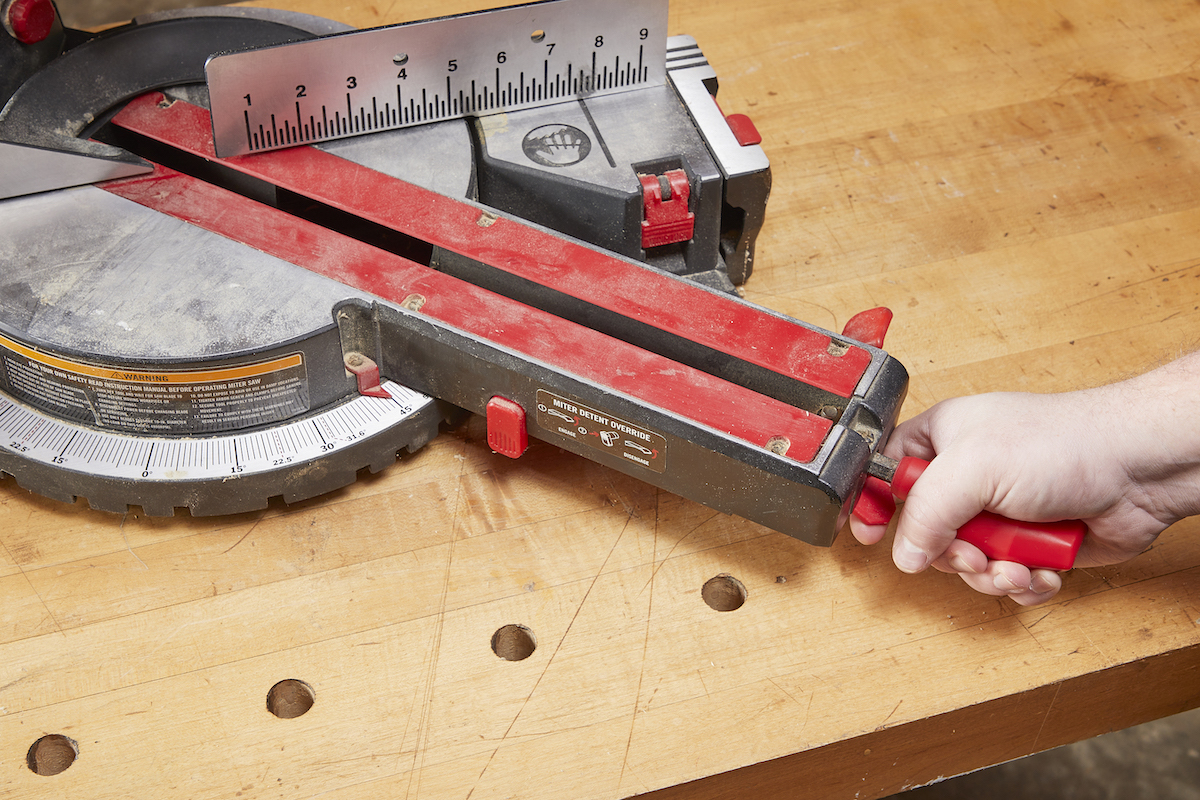
To find the correct angle, use an angle gauge and divide the reading in half. So, for 90 degrees, set the saw at 45 degrees. After cutting two boards to 45 degrees and assembling them, they’ll form a 90-degree angle.
Loosen the adjustment knob, and swing the saw blade to the correct angle. Once at that angle, twist the knob to tighten the blade in place.
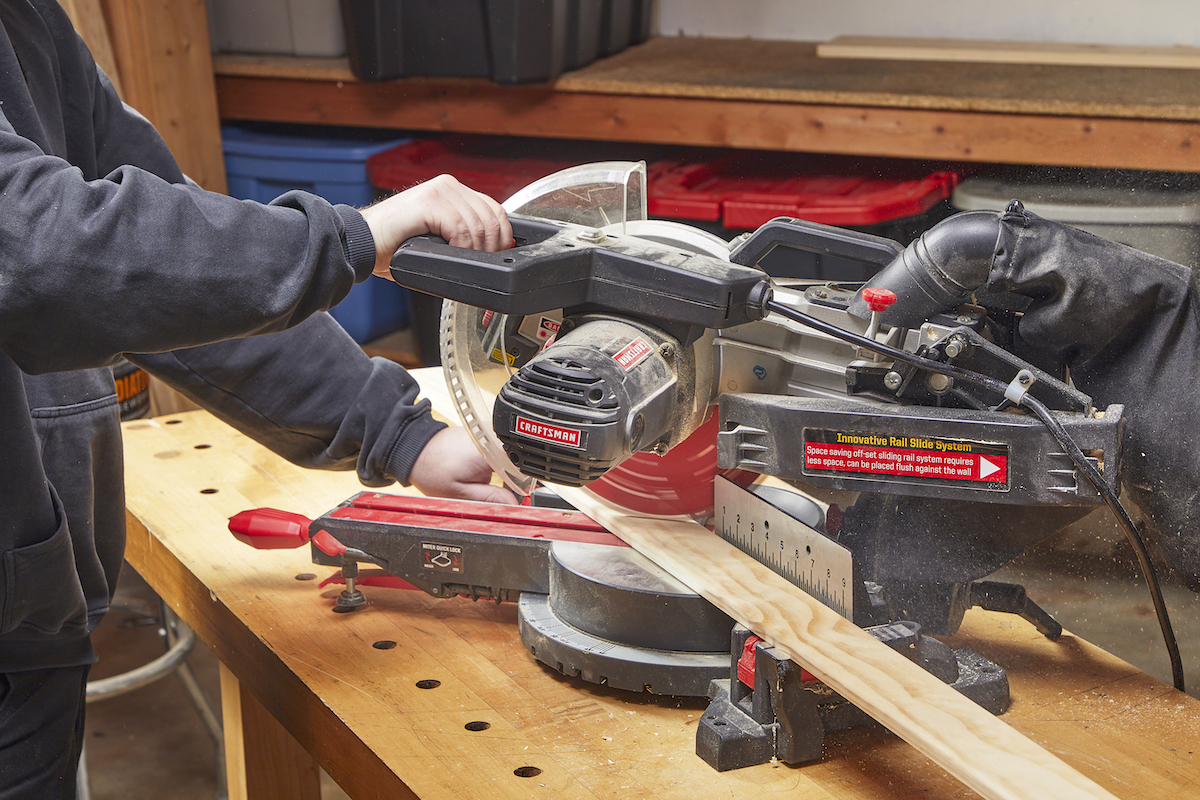
Step 2: Place the workpiece on the saw.
If the saw is in the “down” position, lift it by unlocking the pin in the back. Place the workpiece on the saw. Without activating the saw, lower the blade and adjust the workpiece so the inside of the blade is aligned with the cut mark. If it seems that the cut side may fall, install the hold-down clamp and tighten it onto the workpiece.
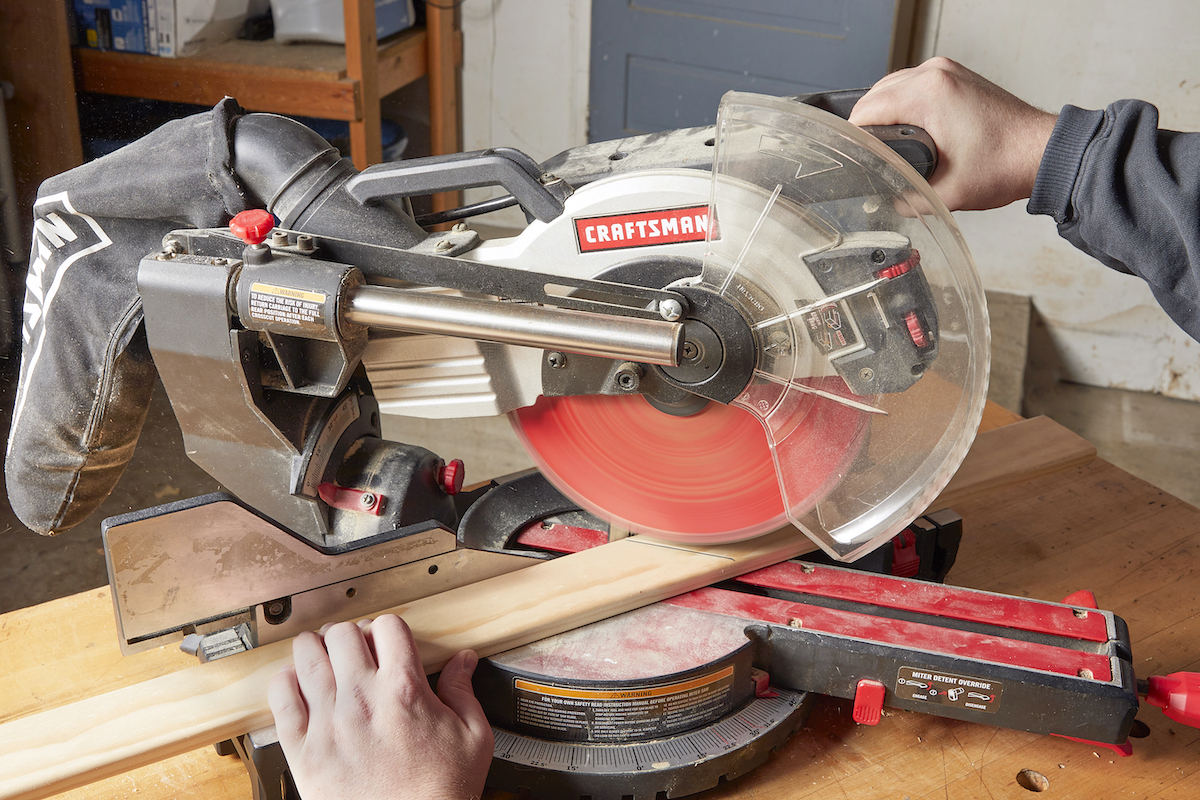
Step 3: Start the saw and cut the workpiece.
With the support hand safely away from the blade, squeeze the safety trigger and then the trigger to start the saw. Allow the saw blade to spin for a few moments to build speed. Slowly lower the saw into the workpiece until it cuts all the way through. Release the trigger, and allow the blade to stop before lifting the saw.
Step 4: Repeat for the other half of the miter.
Unlock the adjustment knob, and swing the saw to the opposing angle. Lay the saw workpiece on the saw, align it with the blade, clamp the workpiece down, and cut the workpiece in the same fashion as before. Fit the two cut pieces together to ensure the angle is correct.
RELATED: The Best Miter Saw Stands for Your Workshop
How to Use a Miter Saw for Bevel Cuts
There are many reasons you might want to make a bevel cut with a miter saw. Whether it’s for a compound miter consisting of two different angles, or for back cutting a piece of trim for a tighter fit, here’s how to make a bevel cut with a miter saw.
Step 1: Adjust the saw blade’s angle.
Locate the bevel adjustment knob in the back of the saw and loosen it. Many compound miter saws also have a pin that locks them from beveling in both directions, so if the saw isn’t tilting in the desired direction, pull this pin out as well.
Adjust the blade to the desired angle by watching the indicator and gauge located near the knob. Once the blade is at the correct angle, tighten the knob so it cannot move.
Step 2: Ensure the fence is clear.
Depending on the saw, there might be a section of fence that the user must remove before bevel cutting. Generally speaking, these removable sections tighten in place with a set of wing nuts and are easy to remove without tools. Some even just pivot out of the way. Without turning the saw on, lower the blade to ensure it’s clear of the fence.
Step 3: Align the workpiece with the blade.
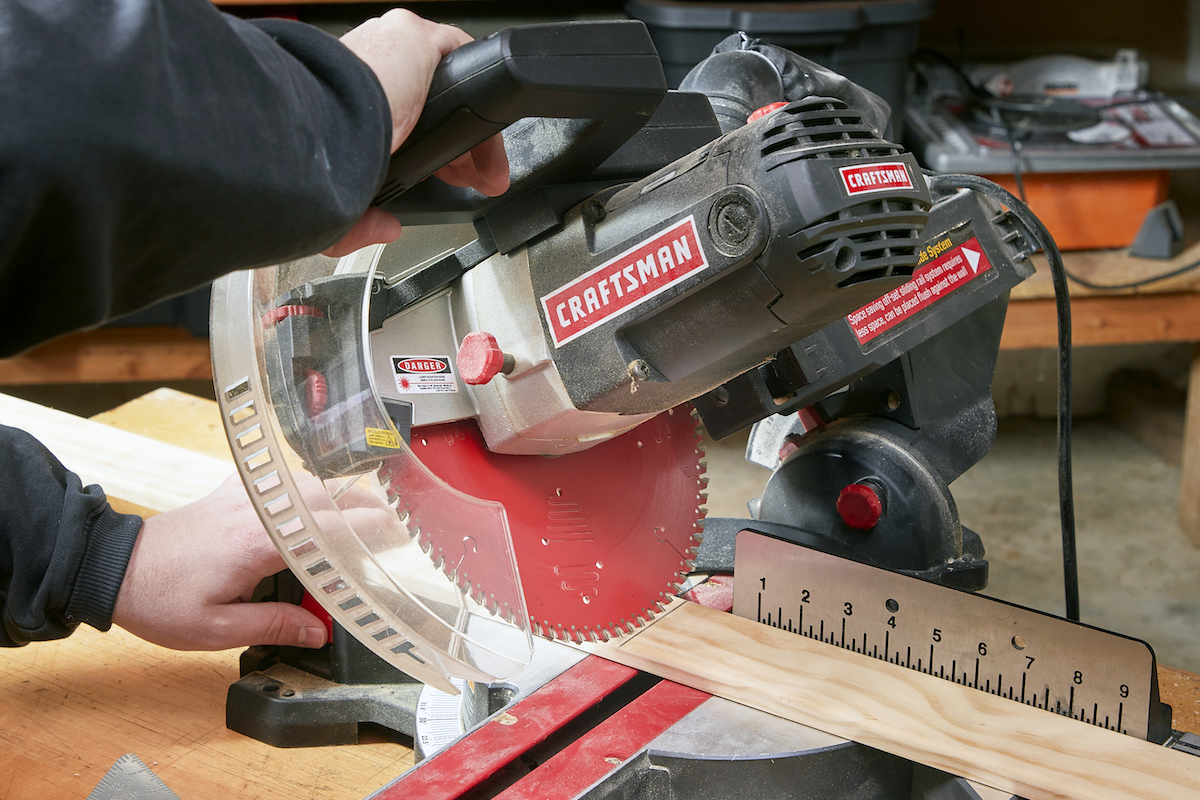
Place the workpiece on the saw and lower the blade. Ensure that the inside of the very lowest tooth lines up with the edge of the cutline. Adjust as necessary without scraping the blade against the workpiece. Once set, tighten the hold-down clamp to keep the workpiece from moving or jumping when the saw kicks on.
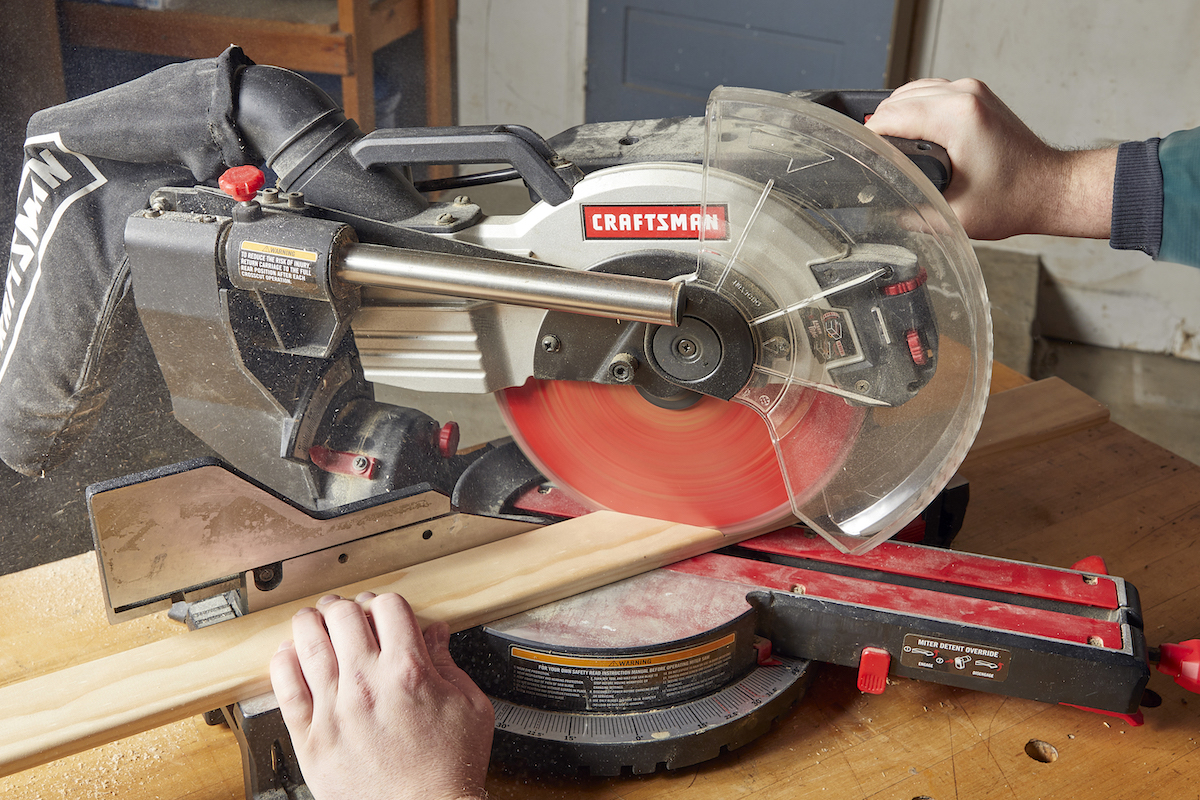
Step 4: Cut the workpiece.
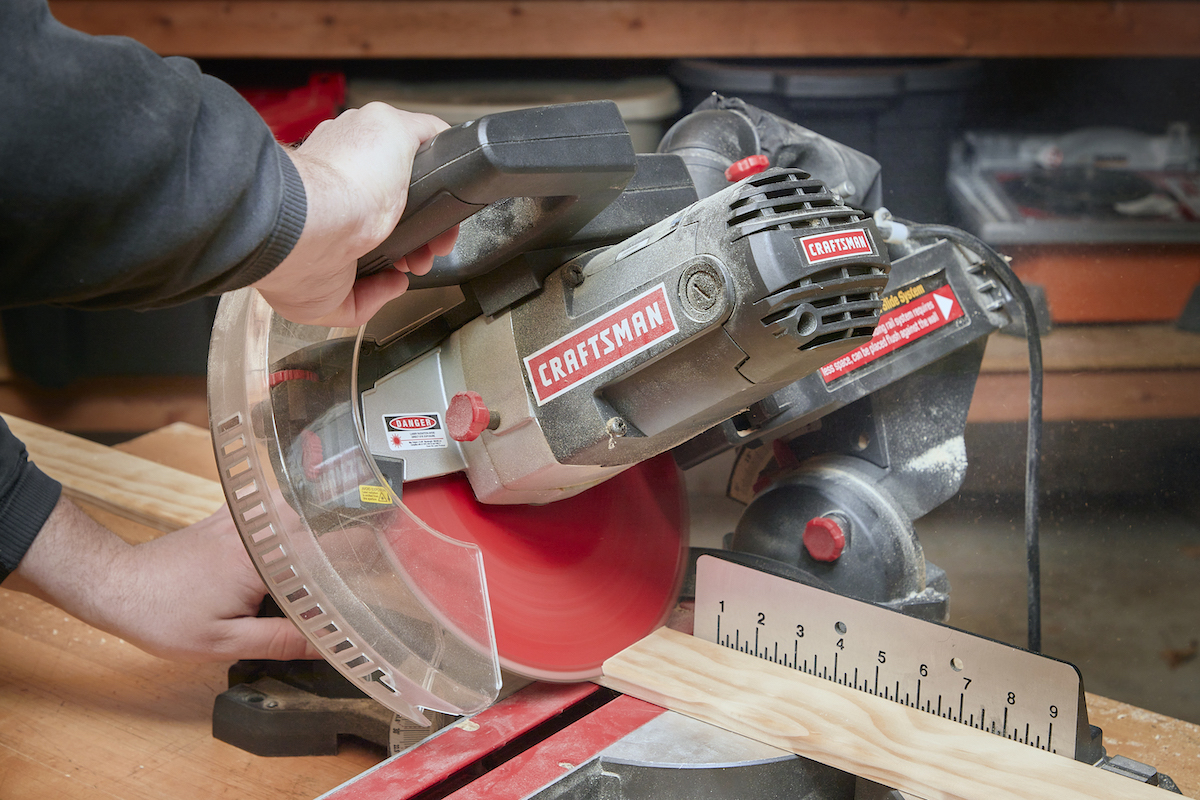
With the support hand safely away from the blade, squeeze the safety trigger and the trigger to start the saw. Allow the saw blade to spin for a few moments to build speed. Slowly lower the saw into the workpiece until it cuts all the way through. Release the trigger, and allow the blade to stop before lifting the saw.
Pro tip: The saw will travel at the set angle, so don’t try to pull it straight down. This will cause the blade to deflect and result in a poor cut.
Miter Saw Maintenance Tips
There are a few things that need to be done regularly to maintain a miter saw.
- Empty the dust collection bag after every use to ensure it’ll work properly.
- Use tar remover to clean the pitch from the blade.
- Use a shop vac to clean the motor’s fins and anywhere underneath the arm that collects dust.
- Note that miter saw arbors are reverse thread, so if a saw comes with the blade already in place, don’t accidentally overtighten the arbor while trying to replace the blade for the first time.
Final Thoughts
Miter saws might feel intimidating, but DIYers shouldn’t be scared of them. The moment that a DIYer adds a high-quality miter saw to their collection, they’ll be able to tackle a whole new category of projects. By putting the tips above into practice, learning how to operate a miter saw safely and accurately will become second nature.
Prices quoted in this article are accurate as of December 11, 2024.
