We may earn revenue from the products available on this page and participate in affiliate programs. Learn More ›
A glue gun is a household tool that is both easy to use and super versatile. A crafter’s best friend, it can be put to work on a surprising number of projects, from minor household repairs to adding traction to clothes hangers and rugs. However, this device can be dangerous and messy if not handled properly due to its internal heat source. These simple tips for how to use a glue gun will help make your project a safe and simple one.
Tools & Materials
Bobvila.com may earn a commission from purchases made through these links.
Before You Begin

Before starting your glue gun project, be sure to read the instruction manual for your particular device, as features can vary among glue guns (if you’re in the market for a quality tool, see our tested guide to the best glue guns).
To set up a work space, clear clutter and protect your surface with a silicone mat, aluminum foil, or other disposable or cleanable drip covering.
How to Use a Hot Glue Gun
Step 1: Make sure the glue gun nozzle is free of old glue residue.

It’s not uncommon for excess glue to remain on the nozzle from previous use, so users will want to make sure to remove glue residue before a new project. Aluminum foil is effective as an abrasive cleaner and will work when your device is hot or cool, but will be more effective when it’s warm. To do this, wrap your gun in the foil and then heat it up either by using a blow dryer or by turning it on for a couple of minutes. Make sure to unplug it and put on protective gloves before rubbing the warmed glue off with the foil.
Wiping the nozzle with acetone should also do the trick. To do this, simply pour a bit of the liquid onto a paper towel and rub off the buildup on your cool device. Use a needle or pin to clean out the hole.
Step 2: Load the glue gun with a hot glue stick.

Before plugging in your glue gun, insert a glue stick. Make sure you have purchased the correct size stick for your device, as width and length will vary depending on the glue gun you’re using. Your glue gun will have a chamber into which the stick can be loaded. Insert the glue and then push it towards the tip. Holding down the trigger will cause the stick to move further toward the heat source. Once your glue stick has worn down, insert a new one behind it to continually push the old one forward.
Step 3: Plug in the glue gun and allow it to warm up.

After inserting the glue, it’s time to plug in the tool. You’ll want to let your device’s internal heating element fully warm up before beginning your project. This should take about 2 to 4 minutes for smaller glue guns, and 5 to 8 minutes for larger models. Take caution during use, as the tip can be extremely hot, especially on high-temp models. Refrain from putting your gun directly down on your surface and make sure to use the device’s stand, which may come attached to the gun (like a bicycle kickstand) or as a separate piece.
Step 4: Begin working on your project.

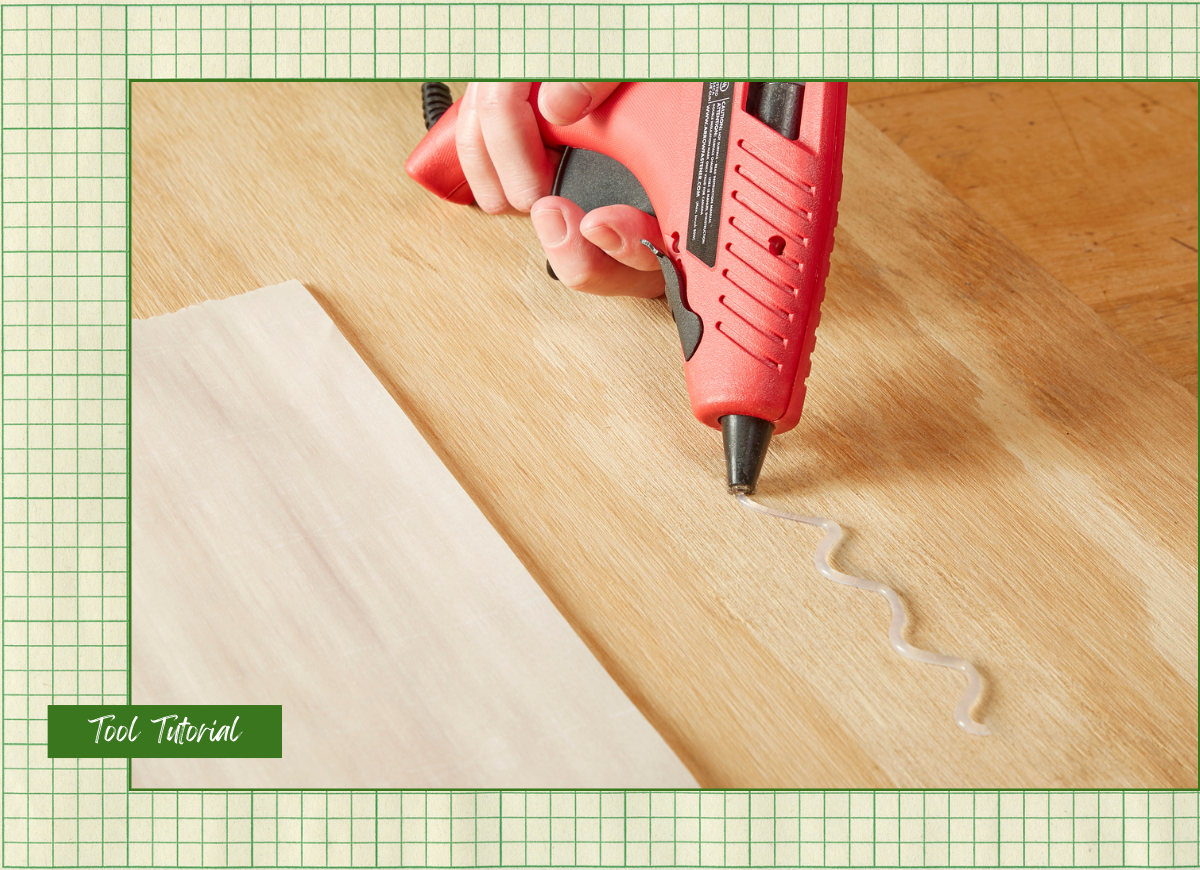
To begin your project, simply hold the gun close to the item and pull the trigger. Having it too far away will produce excess stringy pieces. To further avoid a mess, make sure to use the least amount of glue you need for the task. Once your adhesive is dispensed, lay off the trigger and pull the tip sideways to cut off the flow of glue. Make sure to let the glue dry fully, which should take less than 30 seconds, before proceeding.
Step 5: Allow the hot glue gun to cool, and store it safely.

Once you have finished your project, turn off and unplug the glue gun. Make sure it is left to cool upright on its stand to avoid messes and safety hazards. The time it takes to cool will vary depending on your device. After it has cooled a bit but is still warm, you can use safety gloves and aluminum foil to wipe off excess glue.
Never try to remove a partially melted glue stick; doing so will damage the device. You can extrude melted glue out the nozzle, but leave the remaining intact glue stick in place for its next use. Make sure the glue gun is fully cooled before storing it out of the reach of children.
Need a quick review? BobVila.com Staff Writer and Product Reviewer Mark Wolfe summarizes the process in this video:

How to Use a Glue Gun | Tool Training With Mark
Final Thoughts
The function of your glue gun will vary slightly depending on your model. Low-temp options will work best with delicate materials such as lace and fabrics, and higher-temperature versions will suit work with wood, metal, and plastics. Cordless glue guns will need to be charged before use. However, these tried-and-true tips on how to use a glue gun will be effective for any model. Always remember to be cautious while handling your glue gun, use as little glue as needed, and unplug your device once your project is complete or before leaving the room.
