We may earn revenue from the products available on this page and participate in affiliate programs. Learn More ›
Changing a drill bit is one of the first steps in a DIYer’s journey from green to great. But, for someone who isn’t quite comfortable around power tools yet, this is no small feat.
The drill’s torque might make new users uneasy, and the different types of chucks could make the job confusing. This guide on how to change a drill bit can remove some of the intimidation and from the job.
Parts of a Drill
When learning how to change the bit on a drill, it’s important to know several parts of the tool.
- The jaws (also called a collet) tighten down on the bit and hold it in place.
- The chuck is the round part surrounding the jaws. The chuck opens and closes the jaws.
- The direction selector is above the trigger, and its position determines the direction the chuck will spin.
- The trigger controls the flow of energy from the battery to the motor, and determines how fast the chuck spins.
Knowing these parts and how they work will make changing bits or installing drill attachments much easier.
RELATED: The Best DeWalt Drills
How to Change Drill Bits With a Keyless Chuck
Most modern cordless power drills have keyless chucks, meaning the user doesn’t need to find a special tool to loosen or tighten the mechanism that holds the bit. While this does make learning how to change drill bits easier, it can leave some newer DIYers feeling lost initially.
Here’s how to change the bit on a drill with a keyless chuck.
STEP 1: Switch the drill into the counter-clockwise position.
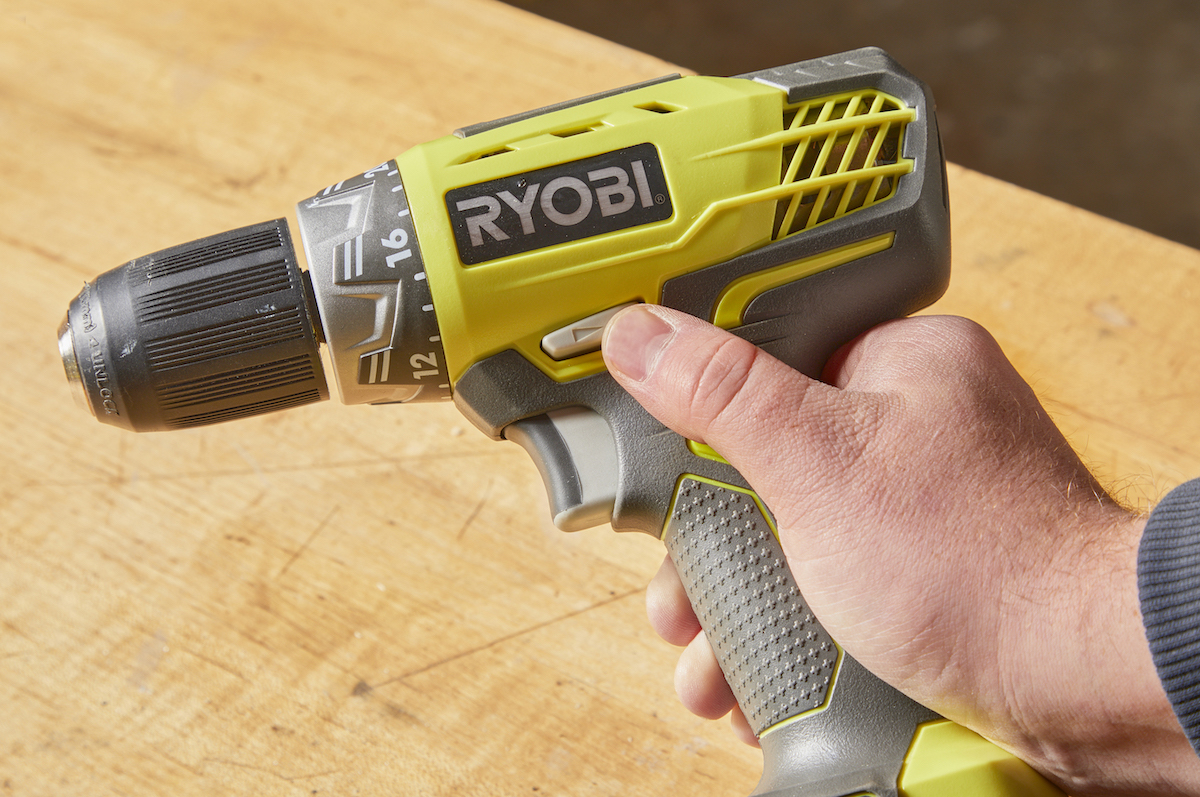
Take the drill in both hands, with one hand on the grip and the other on the drill chuck.
With the hand on the grip, push the direction selector located near the trigger all the way to the right to put the drill in counter-clockwise mode. This will allow the user to loosen the chuck by using the trigger and motor.
STEP 2: Gently squeeze the trigger.

Point the trigger slightly upward to prevent the bit from falling out during this step.
Get a firm grip on the chuck with one hand and gently squeeze the trigger. The chuck will begin to twist slightly in the user’s hand before the jaws release the bit and the chuck spins freely.
Release the trigger, lock the direction selector in the middle position, and remove the bit from the jaws.
RELATED: The Best Drill Bits for Metal, Tested
STEP 3: Insert the new bit and tighten.
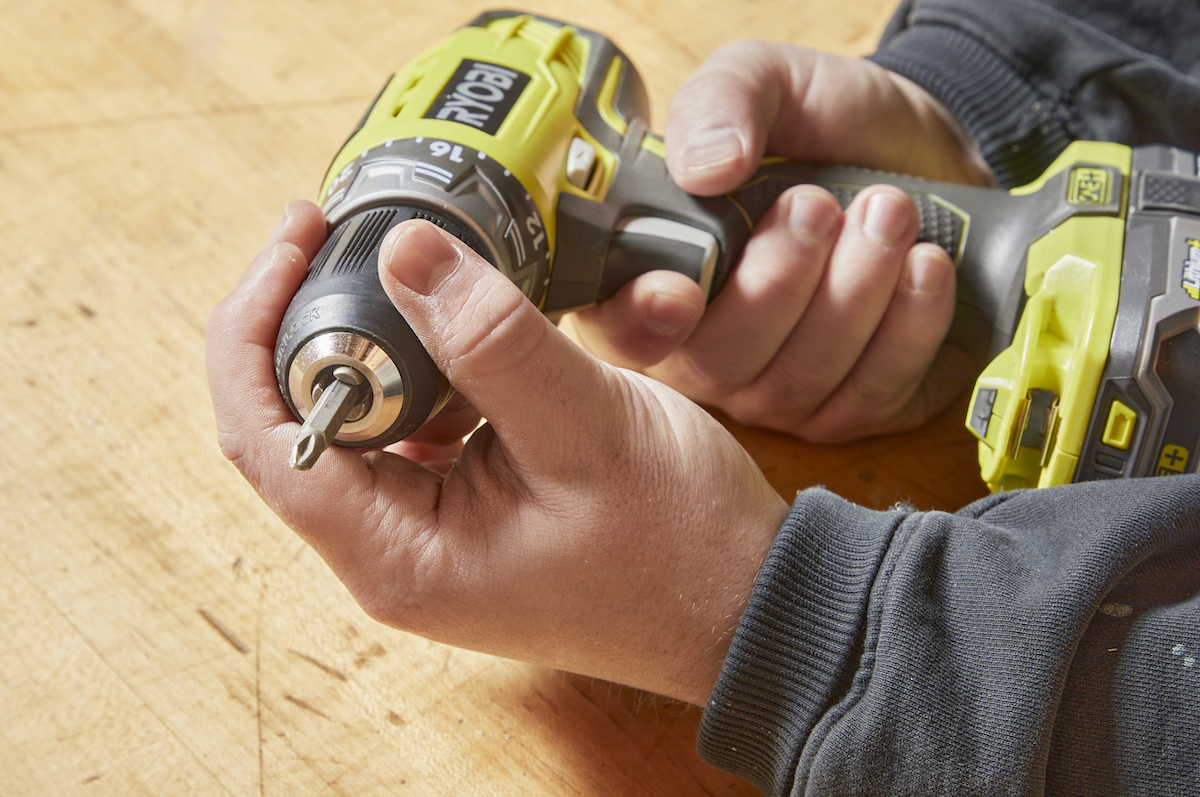
Insert the new bit in the chuck’s jaws. Get a firm grip on the chuck, push the selector all the way to the left, and gently squeeze the trigger until the jaws close on the bit. Release the trigger and give the chuck a quick twist by hand to ensure the jaws are gripping the bit sufficiently.
Pro Tip: It can be difficult to center a small bit in widely opened jaws. In this case, close the jaws to approximately the right size first before inserting the bit.
How to Change Drill Bits with a Keyed Chuck
Corded power drills or drill presses use keyed chucks. These devices work similarly to keyless chucks in that the jaws clamp down on the bit, but users must operate them with a special wrench called a “key” to clamp down or loosen the bit.
Here’s how to remove a drill bit and replace it in a keyed chuck.
STEP 1: Unplug the tool and fit the wrench in the chuck.
Accidentally bumping a trigger or on-switch while inserting a wrench into a keyed chuck can result in injury, so unplug the tool first.
Next, locate the key (it’s usually attached to the cord or mounted on the side of the drill press). Then, insert it so the small knob on the end fits inside one of the holes on the chuck, meshing the key’s teeth with the chuck’s.
RELATED: How to Use a Drill
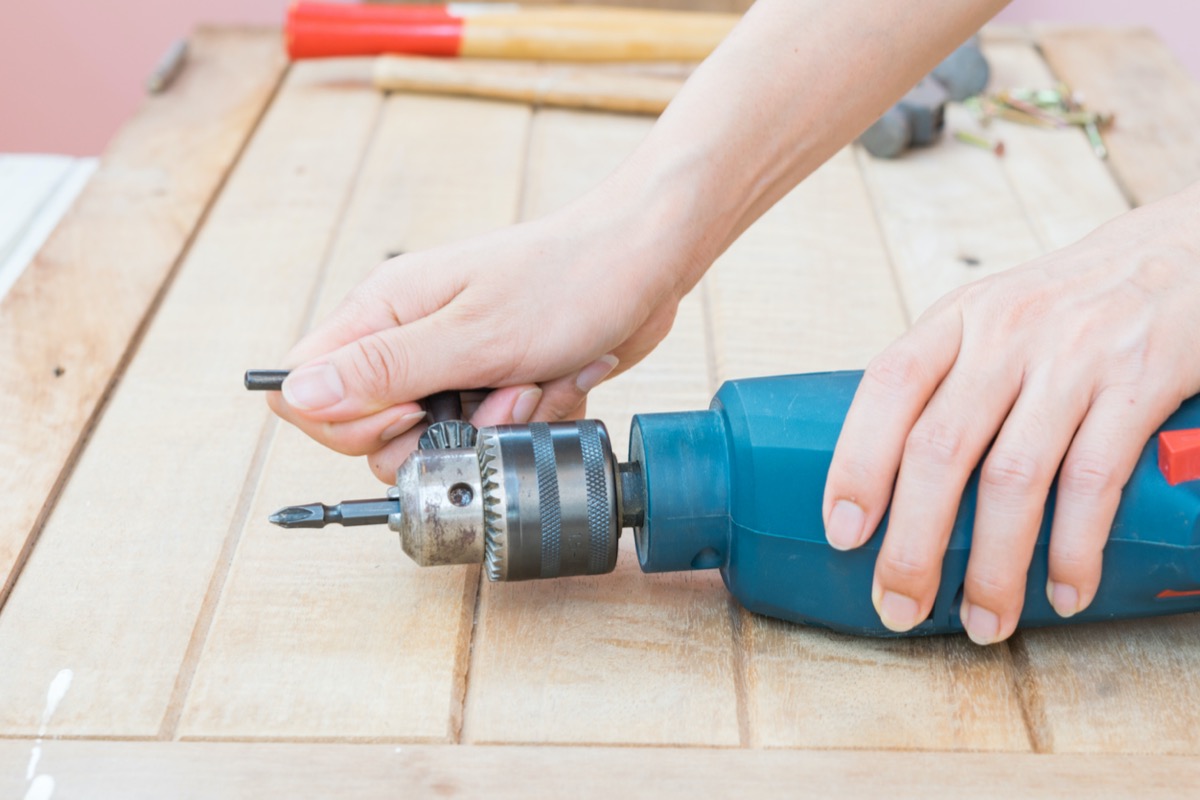
STEP 2: Twist the key to open the chuck.
While placing firm pressure on the key, twist it counter-clockwise to open the chuck’s jaws. The teeth on the key will spin the teeth on the chuck like a set of gears.
Once the pressure releases from the jaws, remove the key and twist the chuck by hand to open the jaws. Beware that the bit can fall out during the step, which could result in having to sharpen the bit.
STEP 3: Insert the new bit and twist the chuck closed.
For larger bits, loosen the chuck by hand until the bit fits inside the chuck. For smaller bits, tighten the chuck by hand until the bit sits centered between the jaws.
Tighten the chuck onto the bit as much as possible by hand before placing the key in the chuck. Twist the key clockwise to clamp the jaws down on the bit.
RELATED: The Best Drill Bits for Tile, Tested and Reviewed
How to Change Bits on an Impact Driver
Impact drivers use different types of bits and have a unique chuck called “quick release” that are quite easy to use. However, if the user isn’t familiar with how these chucks work, they could be spinning their wheels (and the chuck) until they figure it out. The following steps will help.
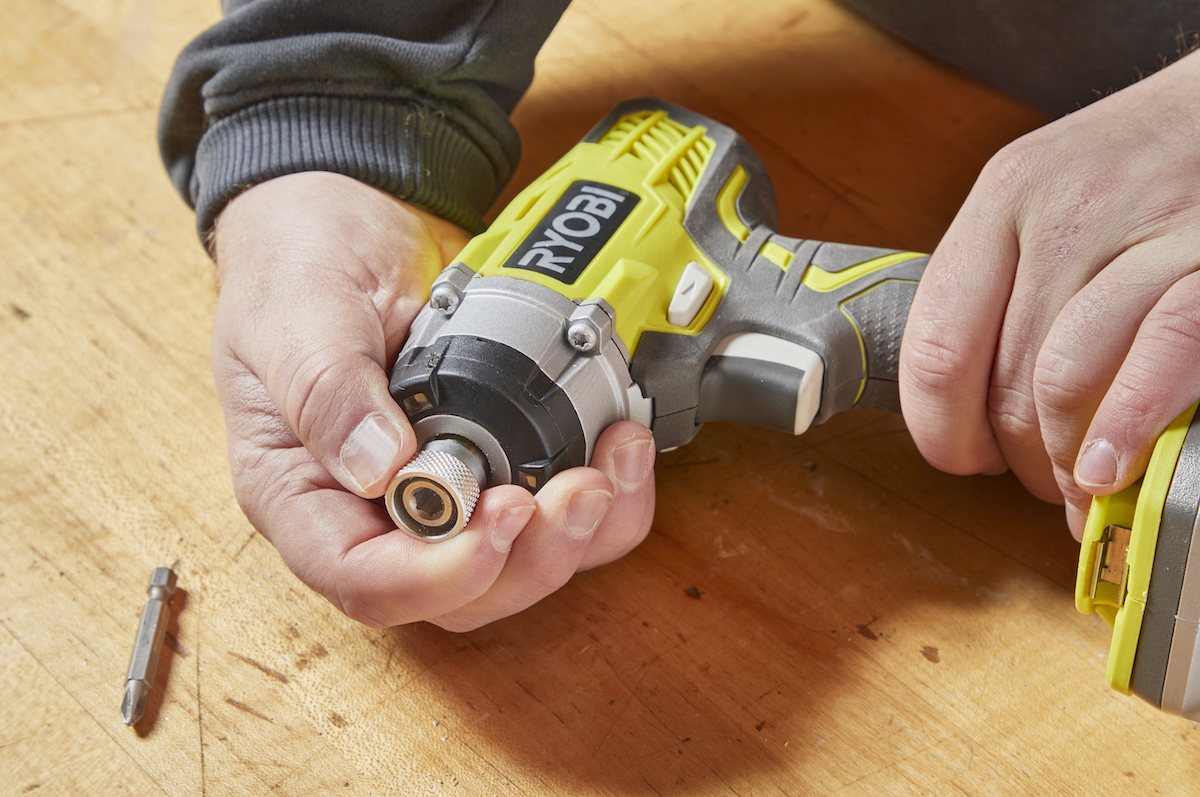
STEP 1: Grip the base of the chuck and pull.
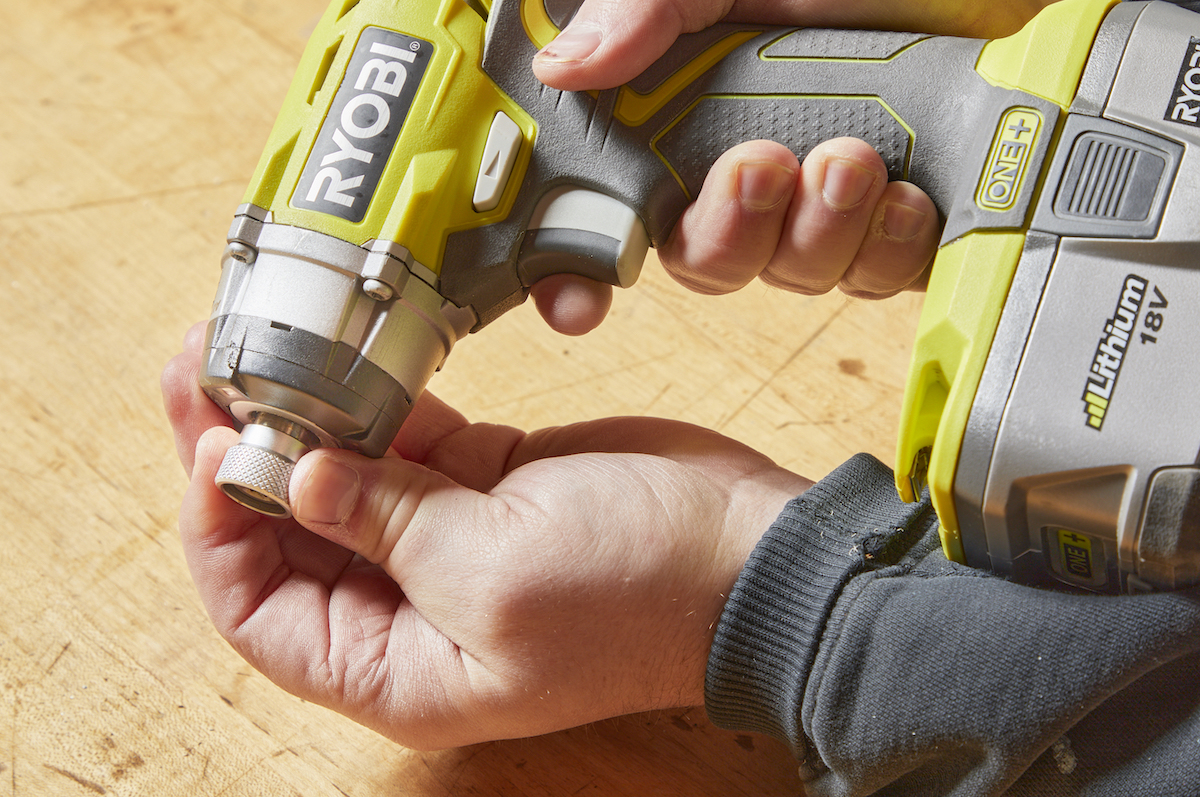
Impact drivers use spring-loaded chucks with ball detents inside to grip their bits. To remove these bits, grip the base of the chuck between a thumb and forefinger and pull the chuck away from the front of the tool.
The bit will be free, but it might not fall out. Try again, but this time grip the bit and the chuck, sliding them both forward at the same time to release the bit.
STEP 2: Place the new bit in the chuck.
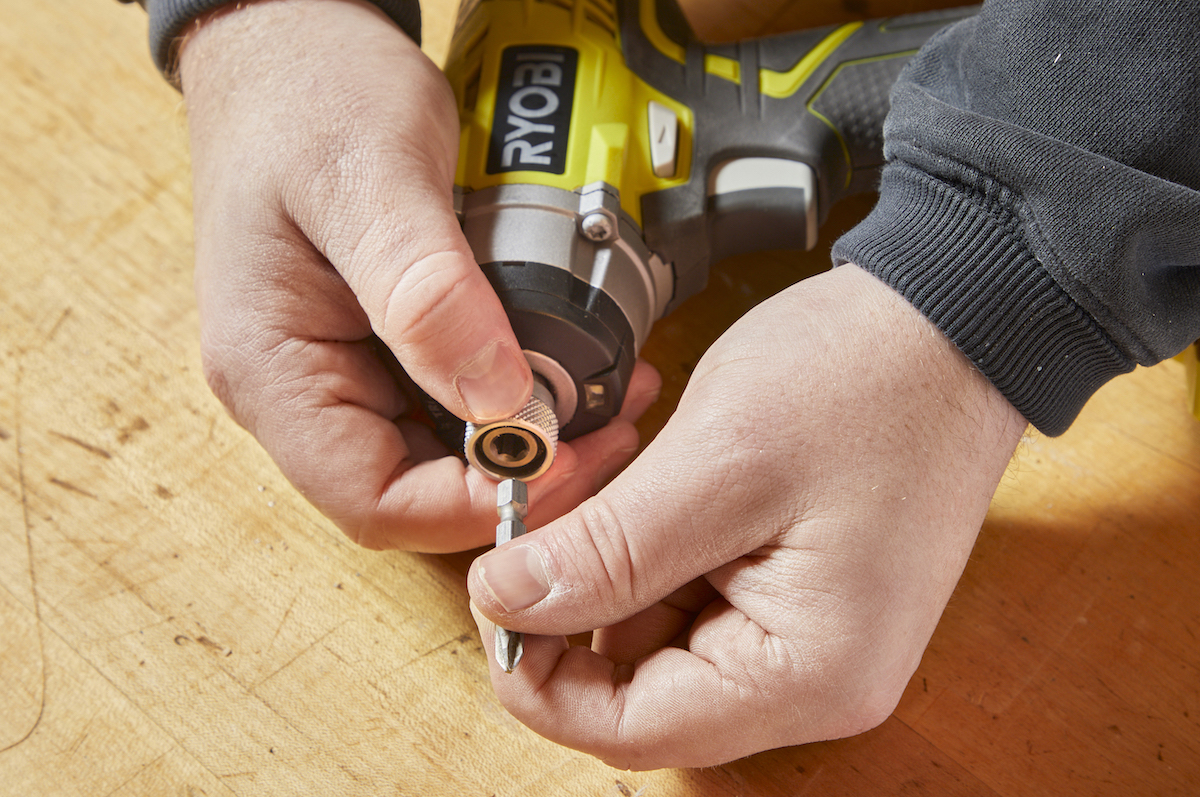
Tip the impact driver upward and place the new bit inside the chuck. Impact driver bits have hex-shaped bases, so be sure to line them up properly. The bit will most likely not snap into the chuck yet, so keep the driver pointing up so the bit doesn’t fall out.
RELATED: The Best Impact Drivers to Add to Your Tool Collection Based on Our Testing
STEP 3: Pull the chuck forward to seat the bit.
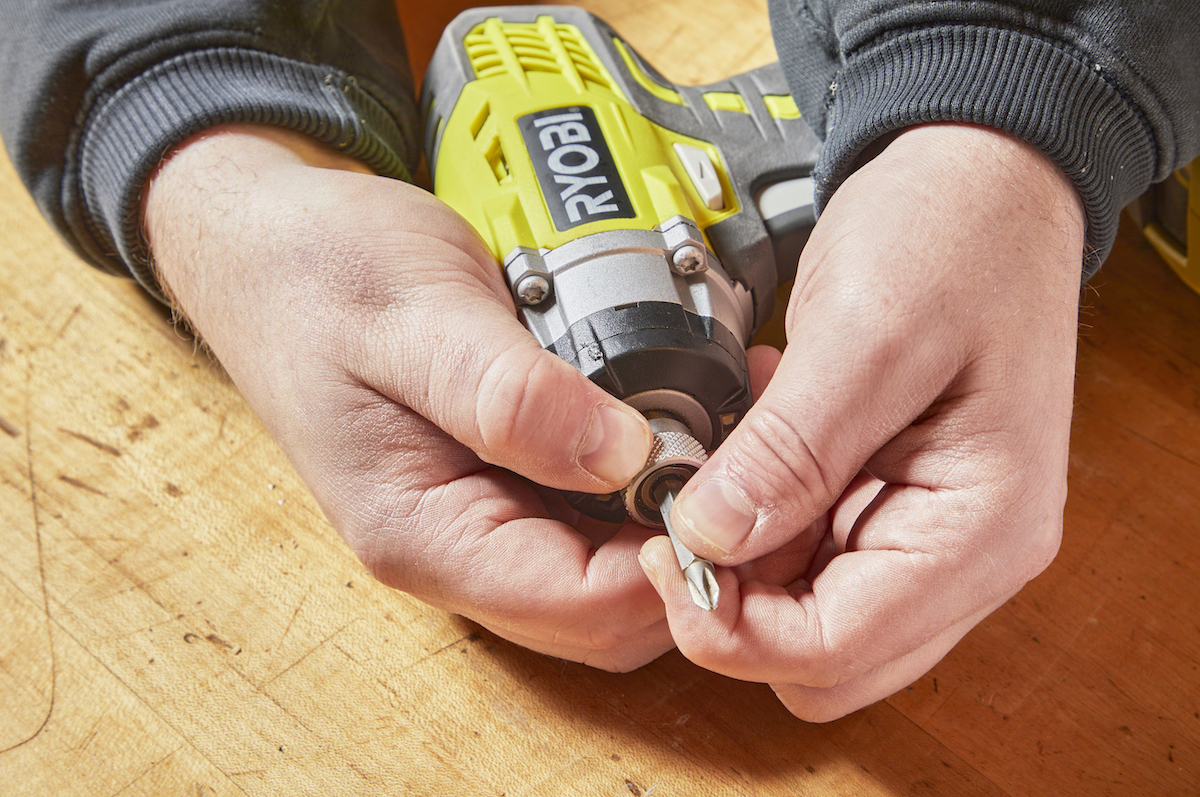
With the impact driver still pointing upward, pull the chuck forward to release the detents and allow the bit to drop into place. It may be necessary to jiggle the impact driver a bit, or even push the bit in while holding the chuck open.
Once the bit drops into the driver, release the chuck and pull on the bit to ensure it’s seated.
Final Thoughts
These pro-level techniques will have DIYers changing bits like seasoned veterans in no time. While the small nuances of how to put a drill bit in a drill might take some practice, these step-by-step directions cover the basics. Just be sure to keep hands away from bits, unplug corded drills, and use light pressure when squeezing the trigger for quick and safe bit changes.
