We may earn revenue from the products available on this page and participate in affiliate programs. Learn More ›
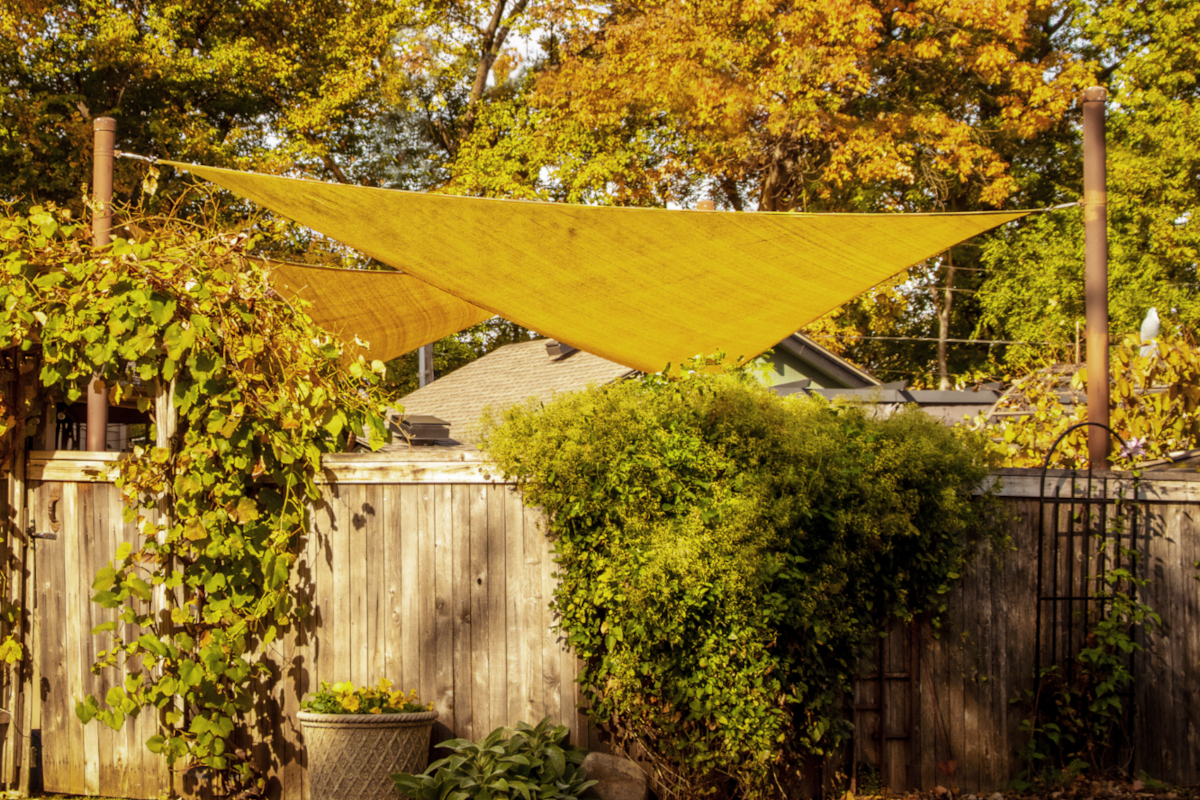
Shade sails have quickly become one of the most popular ways to create an open-air outdoor living space shaded from the sun. These durable fabric canopies are relatively inexpensive, available in a wide range of sizes and colors, and can be installed multiple ways thanks to their simple, flexible design.
In particular, this guide will walk you through how to install a shade sail using wooden support posts. This sun sail shade installation method provides maximum strength and can be completed in a weekend.
Tools & Materials
Bobvila.com may earn a commission from purchases made through these links.
- 12-foot long 6×6 ground contact pressure-treated posts
- Lag bolts, 4-inch nails, or wood screws
- Fast-setting concrete mix
- Shade sail hardware
- Shade sail
Project Overview
Working Time: 4 to 6 hours
Total Time: 30 hours
Skill Level: Intermediate
Estimated Cost: $350 to $600
Before You Begin
First, consider any and all shade sail ideas you have and limitations your property might impose before digging any post holes. This should include the shade sail’s size, shape, and position in the yard, as well as the path of the sun across your yard during the day. A triangle shade sail is visually appealing and requires three posts, while a square shade sail will provide greater coverage and need four support posts. If you can’t find the size of shade sail that best fits your space, you can order custom shade sails from some trusted retailers.
A shade sail’s support posts need to be set wider than the dimensions of the sail itself, and manufacturers usually include these and other specific measurements and instructions with the product. You should also account for the full extended length of the turnbuckles included in the shade sail hardware kit. Do not underestimate the space required or you may not be able to tension the shade sail properly. There are simple solutions for support posts that are a little too far apart, but support posts that are too close together will have to be repositioned.
This guide covers how to install shade sails using wooden posts set in concrete, but there are alternative installation methods. When installing patio shade sails, for example, it may be necessary to fix one or two corners of the sail directly to your home. It’s vital that these fixings are completely secure, as they will have to support the shade sail’s tension and the force of wind gusts that will blow on it. Wall anchors or the reinforcement of wooden structures may be required. DIYers with less experience or certain disabilities are strongly advised to contact a shade sail installation pro for assistance.
Personal safety while installing a shade sail is equally important. Ladder work is necessary, so refer to these Occupational Safety and Health Administration ladder safety tips before getting started. Although a shade sail can be installed by one person, having two people on site is faster, easier, and safer. Finally, wear gloves when handling the wooden posts to protect your skin from splinters.
RELATED: The Best Retractable Awnings for Your Deck or Patio
STEP 1: Dig the post holes and prepare the base.

While there are steel removable shade sail posts and poles that can be screwed onto a concrete base or paved surface to support a shade sail, they have limited strength and can bend. Wooden posts properly set in concrete will better withstand the tension in a shade sail and the wind force that will act upon it, so opt for 6×6 ground contact pressure-treated wood posts instead.
For each post, dig a hole 3 feet deep and 1.5 feet in diameter using a post hole digger or auger. Fill the bottom of each hole with about 2 inches of pea gravel or crushed stone to protect the bottom of the wooden posts from moisture and rot. Using a tamper or one of the posts, tamp down the gravel for extra firmness. If the depth of the post holes vary, add more gravel in any deeper holes until they are all level with one another.
STEP 2: Prepare the shade sail posts.
Concrete sometimes pulls away from wooden posts as it sets, but the holes’ depth will mitigate any effect this has on the shade sail supports. Further grip can be provided by inserting lag bolts, nails, or screws into the bottom of the wood posts.
Hammer or drill your chosen fixings into the bottom 12 inches of each post, leaving around 3 inches of the fixings left sticking out of the post surface. Fasten two on each side of the post in a random pattern. When the concrete is eventually poured and sets, the support post will be immovable.
STEP 3: Mix the concrete, install the posts, and wait for the concrete to cure.
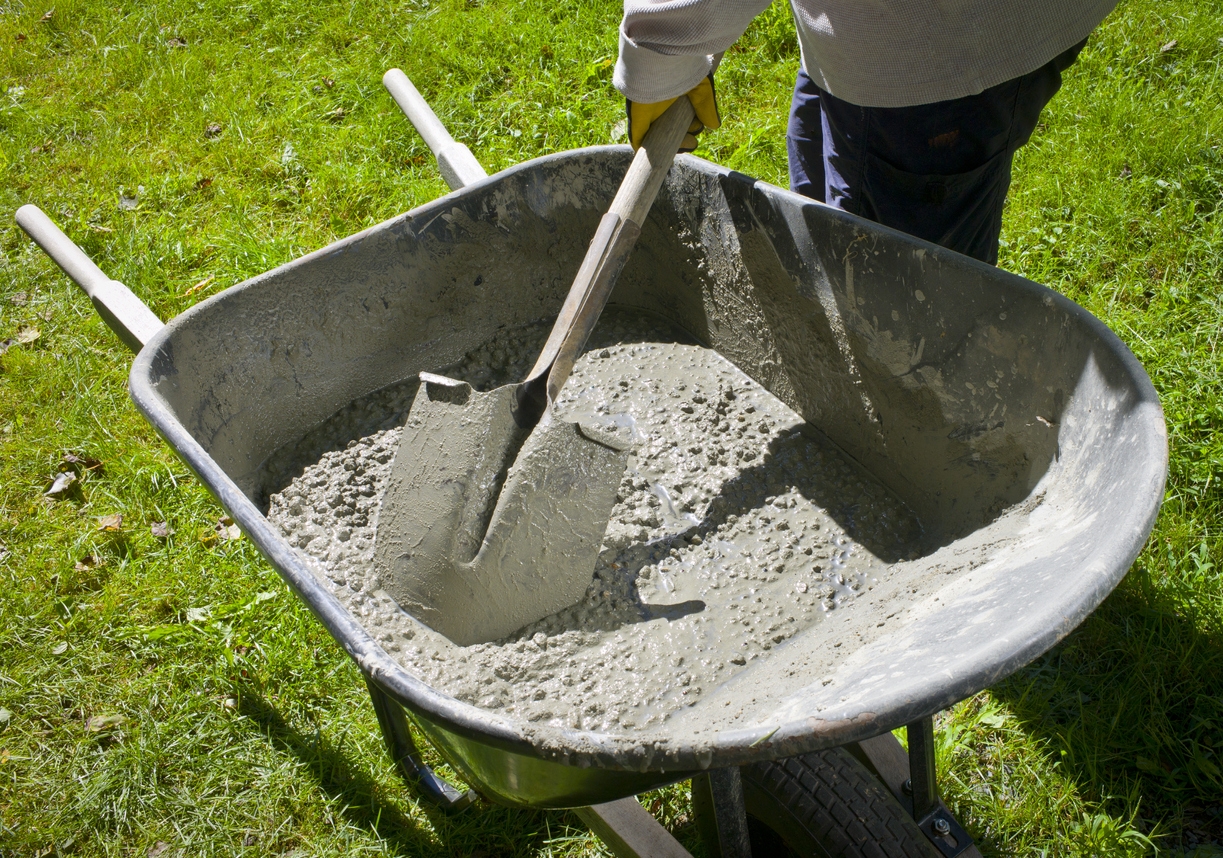
Following the instructions on the bag, mix fast-setting concrete—enough to fill one post hole—in a suitable wheelbarrow or tub. Do not pour concrete mix into more than one post hole at once, as the concrete will begin to dry before you can properly install each post.
Before pouring, determine how to support the post while the concrete hardens. Fast-setting concrete can set fast enough to support the post in 20 to 40 minutes, but unless you want to stand and hold it in place for that long, some kind of brace is needed. Using a length of scrap wood resting on the ground and lightly nailed to the post is an effective method, or you can use a ratchet strap between the post and an existing fixture, such as a piece of garden furniture.
Lower the first shade sail post into its hole. Use a level to make sure it is upright. Pour the concrete. Stir the mixture with a shovel or similar tool to help it settle, and pour more concrete as necessary to fill the hole. Make sure the top of the concrete is level with the ground to prevent water from pooling around the post. Check that the post is level once more and adjust its angle if necessary.
Brace the shade sail support, make any final adjustments to its position and angle, and allow the concrete mix to dry. Repeat this step for the remaining posts.
Note: Although fast-setting concrete begins to harden in as little as 20 minutes, wait 24 hours for it to cure before proceeding to the next step.
STEP 4: Determine the shade sail’s angle and fasten the pad eyes.
For waterproof shade sails, it’s important to ensure that rainwater doesn’t pool in the center of the sail, which could stretch the fabric and strain fixtures. That’s why shade sails are normally installed at an angle (somewhere between 15 and 25 degrees is common) or with a variation in corner heights that allows them to drain. Installing the support posts as instructed above will leave about 9 feet of each post sticking out of the ground, and the shade sail pad eyes will be attached along the topmost 1 foot of the posts.
Bungee cords or lengths of rope can be used as temporary ties to experiment with shade sail position, but this should be done on a day with low wind speeds to avoid damage or injury from an errant shade sail. Once you’re happy with the angle of the sail, mark the positions for the pad eyes on each support post, drill pilot holes into the marked spots, and screw the pad eyes into each hole.
STEP 5: Attach the shade sail and tighten it using the turnbuckles.
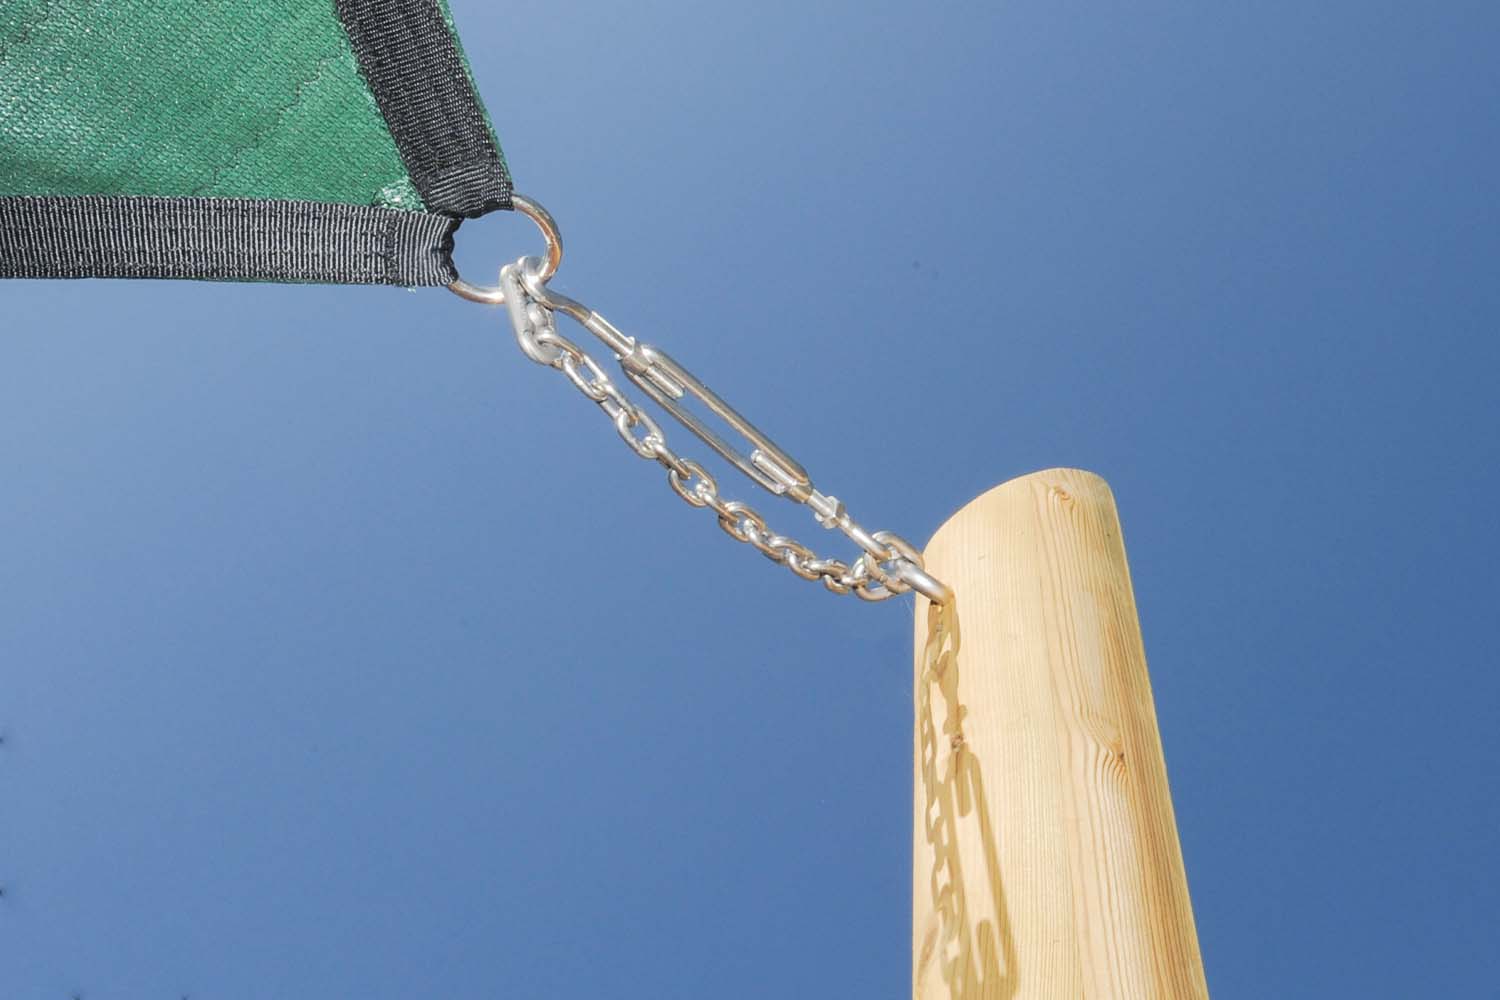
Finally, it’s time for the actual shade sail installation. Your shade sail hardware kit will include two or more snap hooks and two or more turnbuckles. The simple snap hooks can be used on one side of the shade sail, but the turnbuckles are needed on the other to add tension. If the shade sail isn’t taut, it will flap around in the wind, which is unpleasantly noisy and puts unnecessary wear on the fabric and fixtures. For a triangular shade sail, use one snap hook and two turnbuckles; for square or rectangular shade sails, use two snap hooks on one side and two turnbuckles on the opposite side.
If the shade sail’s corners don’t properly reach the support posts using the existing hardware, then extra snap hooks or short lengths of chain can safely be added for more length. Just make sure that any chain used is either stainless steel or galvanized to prevent rust.
The amount of tension required varies by shade sail, so follow the manufacturer’s guidance. This may range between 20 pounds and 100 pounds per corner, but this can be difficult to measure. As a general rule of thumb, ensure that the turnbuckles are wound in until the sail feels reasonably taught but not stretched like a drum. Tighten each turnbuckle a little at a time to balance the tension across the sail.
STEP 6: Double-check the shade sail’s tension and make adjustments.
The shade sail fabric may relax over a period of days, so check your work regularly and tighten the shade sail if necessary. If the shade sail is making “slapping” sounds in the wind, extra tension is most likely required.
Continue to make these checks periodically. A gentle tug on each corner is all that’s needed. When expecting severe weather and windy conditions, it’s recommended to take the shade sail down beforehand. However, only remove the shade sail from its posts if you can safely climb a ladder to do so. Never attempt to take down a shade sail in high winds.
RELATED: 24 Covered Deck Ideas for a Shaded Backyard Seating Area
Final Thoughts
Installing backyard shade sails is well within the capabilities of most intermediate DIYers and beginners who can call on more experienced help. It’s always a good idea to work with at least one partner during shade sail installation, especially when working on a ladder. With the right tools, hardware, and patience, you can shade your favorite backyard spot over the course of a weekend.
