
We may earn revenue from the products available on this page and participate in affiliate programs. Learn More ›
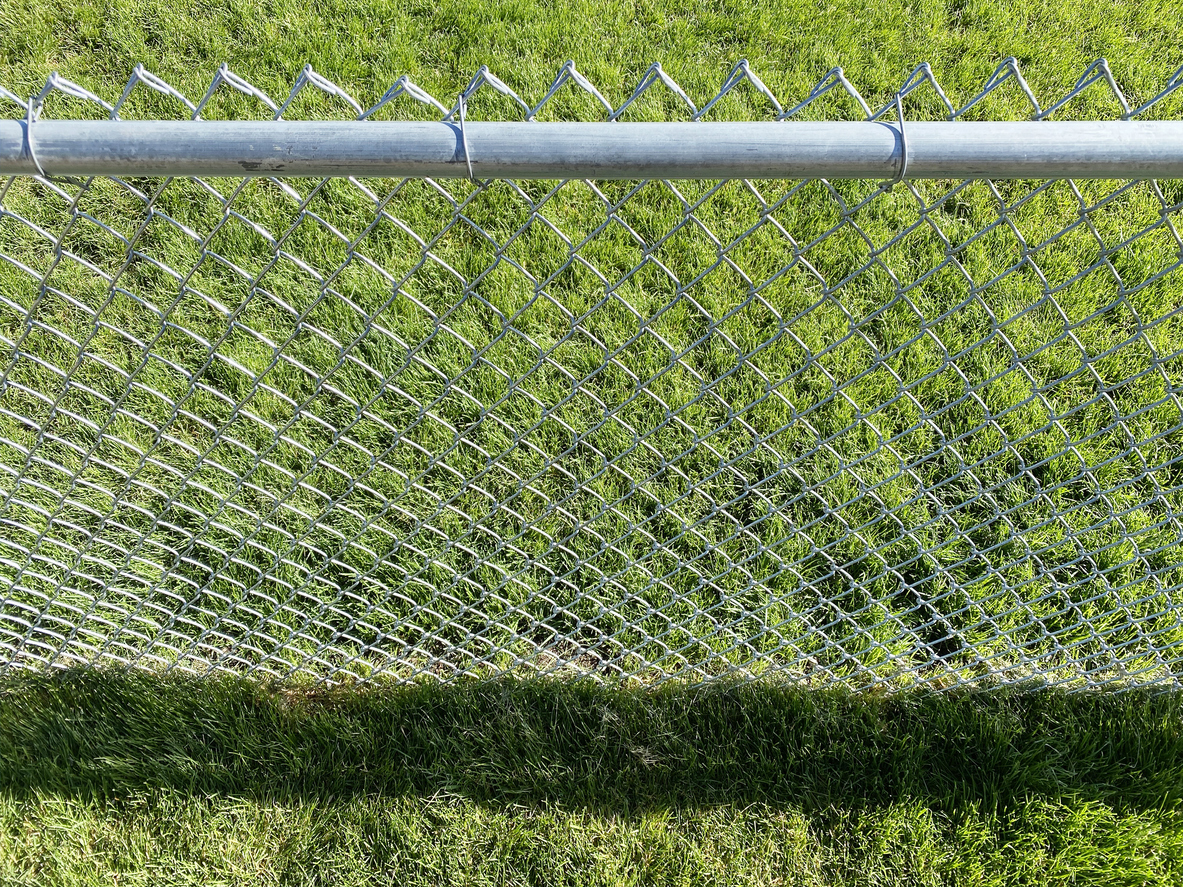
Chain link fencing has many benefits. It’s more affordable than other fence types and it adds a measure of security to your property. Chain link fences are also an effective way to keep your furry best friend from wandering away from home. While you can hire a professional to install your chain link fence, you can also handle a chain link fence installation on your own with a few tools and an extra set of hands. Here’s how to install a chain link fence.
Tools & Materials
Bobvila.com may earn a commission from purchases made through these links.
- Post level
- Hacksaw
- Pliers
- Fence puller
- Landscaping spray paint
- Concrete
- Chain link fencing and hardware
Project Overview
Working Time: 2 days
Total Time: 4 days
Skill Level: Intermediate
Estimated Cost: $700 to $2,500
Important Parts of Chain Link Fence
Chain link fencing comes with a long list of pieces, all of which you’ll need to make yourself familiar with if you’re going to take on this project yourself. Below, learn about the various parts of a metal fence.
- Terminal post: These vertical metal posts are installed at the gates and corners of the fence and provide the main support for the fence.
- Line post: These posts provide vertical support between the terminal posts.
- Tension bar: This long flat piece of metal threads through each end of the fence fabric and connects it to the fence posts
- Tension band: This metal band wraps around the terminal post and holds the tension bar in place, making sure the fence stays upright and taut.
- Terminal post cap: This conical shaped piece fits over the top of each terminal post.
- Line post loop cap: This post cap fits on the line posts and has a loop that allows the top rail to go through it.
- Fence tie: These heavy-gauge wires are responsible for securing the fence fabric to the rails and posts.
- Fence fabric: This is the chain link that stretches from post to post, creating the body of the fence.
- Top rail: This metal tube runs along the top of the fence from post to post and supports the fence fabric.
- Rail cup: The rail cup attaches to the top of each terminal post and supports the top rail.
- Tension wire: This length of wire runs from post to post and threads through the fence fabric, preventing animals from pushing out the bottom.
- Brace band: This metal band attaches to the bottom of the terminal posts and holds the tension wire that keeps the bottom of the fence taught.
Before You Begin
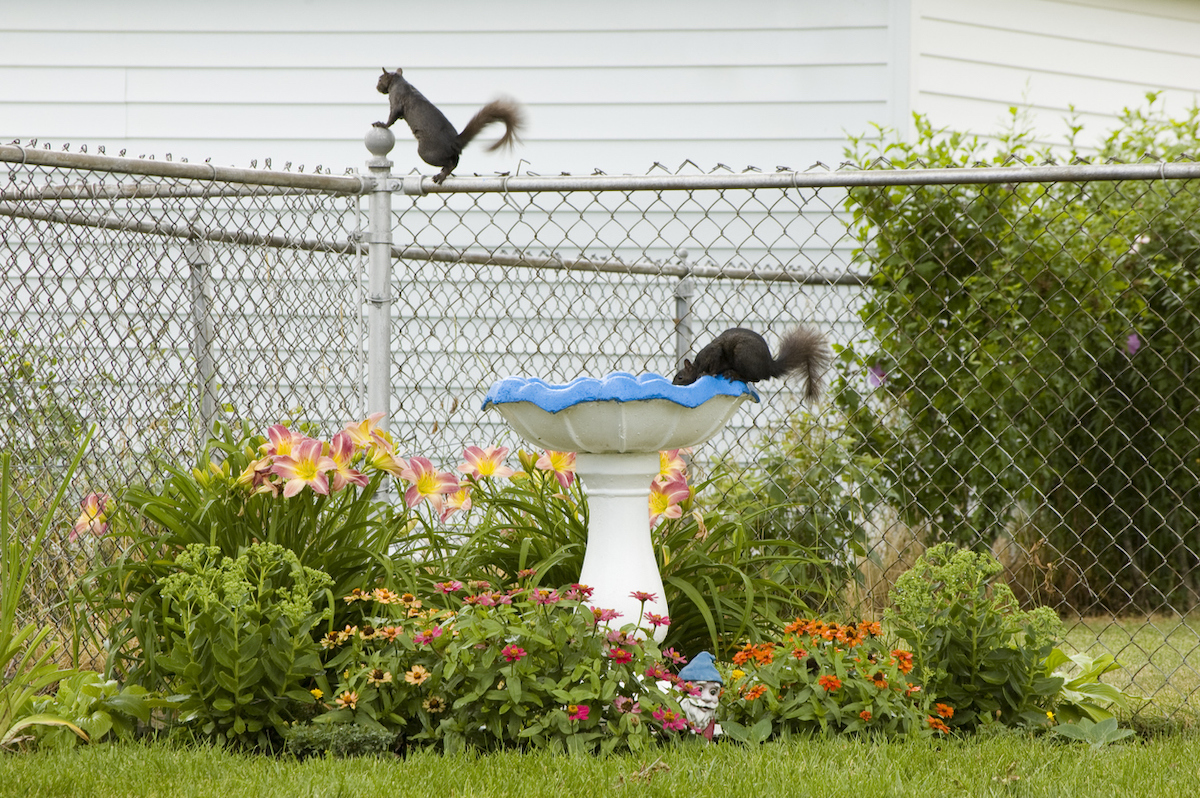
There are a few boxes you need to check before starting your chain-link fence project. First, make sure your neighborhood’s homeowners association (HOA) allows you to have a chain-link fence. Many HOAs restrict the construction of chain-link fences, and some municipalities have restrictions on fence height. Get approval from your HOA and make sure your fence plans adhere to local zoning ordinances before moving forward or you may end up having to tear down your fence later. Keep in mind that it can take up to 6 weeks to get an HOA approval for your project, so plan accordingly.
RELATED: How to Find Property Lines
STEP 1: Call 811.
Since you’ll be digging quite a few holes on your property, you run the risk of hitting utility lines. Electric, cable, gas, and water lines all run under the ground around your home. By calling 811, a representative from these utility companies will come out and mark the location of those utilities using yard paint and flags, so you can avoid them when you’re planning the location of your fence posts. Don’t skip this step, as hitting a utility line with a shovel can result in injury and even death.
STEP 2: Plan your fence layout.
Now that you know where the underground utilities in your yard are located, you can plan your fence layout using string line and stakes. Start by identifying the locations of your terminal posts, which will be at corners, fence gates, and anywhere the fence changes direction.
Use landscaping spray paint to mark the locations of the posts, making sure to avoid any underground utilities.
Next, identify and mark the location of your line posts, which will provide support for the fence between the terminal posts. The distance between fence posts should be no more than 10 feet apart. The tighter the chain link fence post spacing, the sturdier the fence will be.
STEP 3: Dig the post holes.
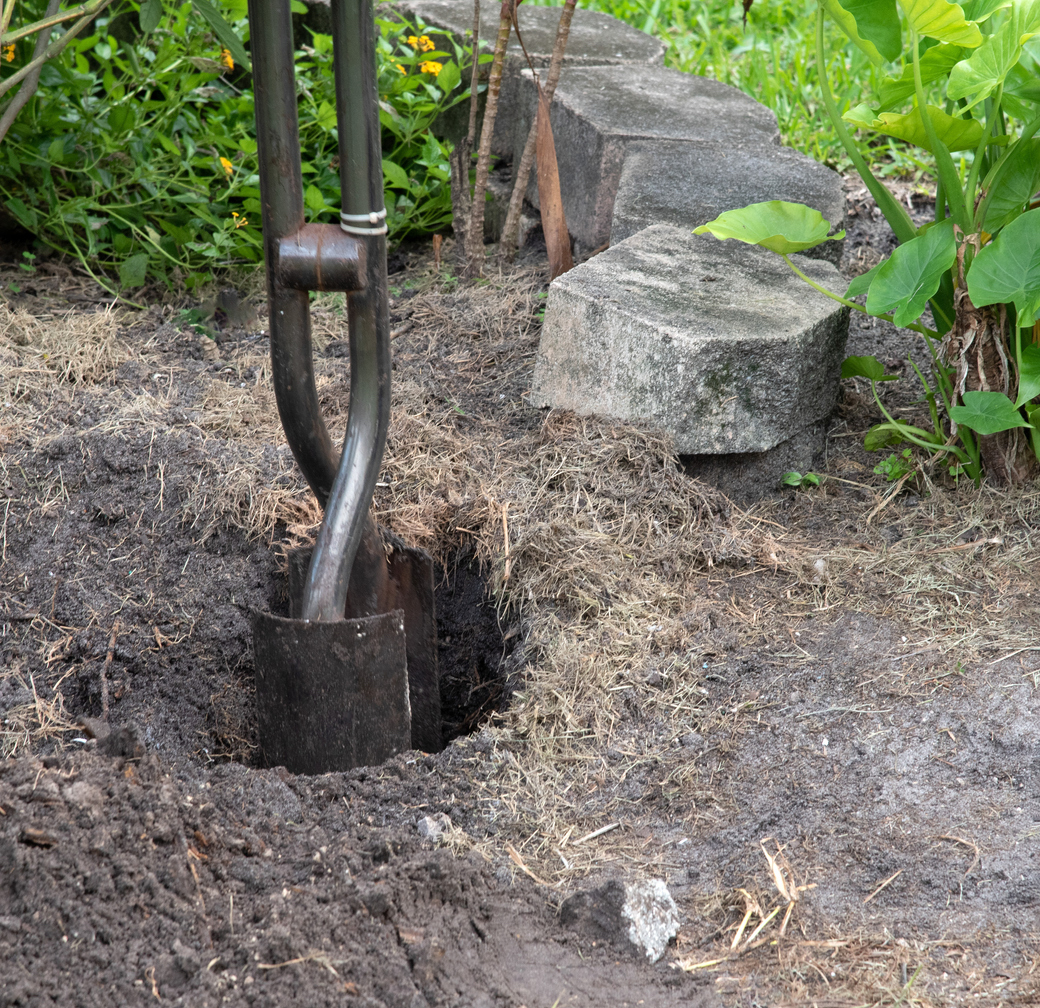
Using a post hole digger or power auger, begin digging the holes for the terminal posts, which will be wider and deeper than the line posts. Generally speaking, you’ll want to dig each hole deep enough so that it extends below the frost line, which is usually about 30 inches deep. The diameter of the hole should be three times the diameter of the pole. So, if the pole is 2 inches in diameter, the hole should be 6 inches in diameter.
STEP 4: Set the Posts.
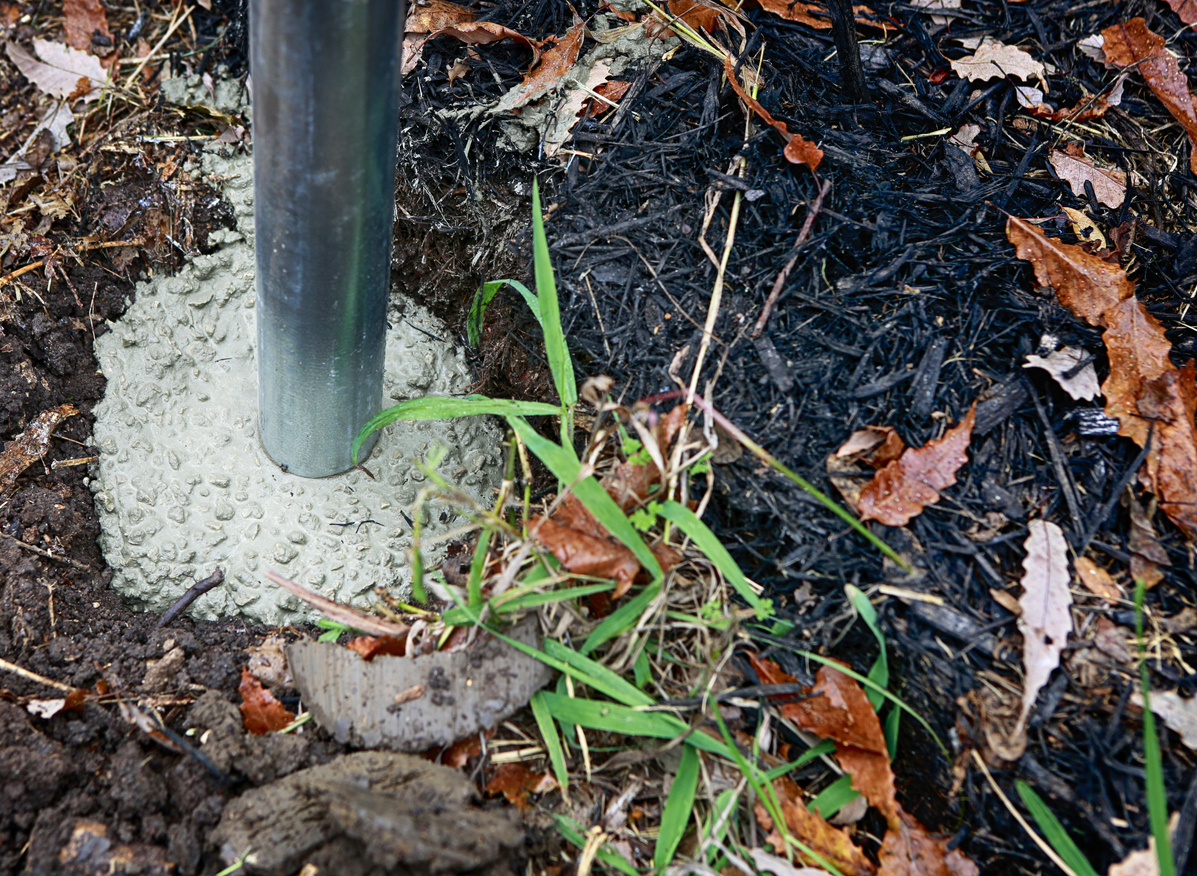
Start by mixing concrete into a wheelbarrow until it’s the consistency of cake batter. Don’t make it too thin, or it won’t keep the posts upright when you set them. Add a few inches of dry concrete to the hole, then place the pole inside. Use a post level to make sure the post is plumb while your helper shovels wet concrete into the hole. Leave a few inches between the top of the concrete and the surface of the yard so you can cover the concrete with soil after it dries.
STEP 5: Set the line posts.
Once all the terminal posts are set, run string line along the top of the posts and pull it taut. Use the line as a guide when you’re setting the line posts to ensure all the posts are the same height. Since the line posts don’t have to support as much weight as the terminal posts, you can use quick setting concrete when installing them to speed up the process.
Put the post in the hole and hold it plumb using the post level. Have your partner pour dry concrete into the hole, then add water. After setting all the posts, you’ll need to wait a couple of days to allow the concrete to set before you can move on to the next step.
STEP 6: Install the fence hardware.
For a 4 foot chain link fence, slide a brace band on each terminal post, followed by three tension bands. You’ll need to add additional bands if you’re building a taller fence. Next, add a brace band with a rail cup over the top of each terminal post. Finally, place a post cap on the top of each post and drive it into place using a rubber mallet. You’ll need to use twice as much hardware for corner posts to account for each direction of fencing.
STEP 7: Install the rails.
Next, add line post loop caps to each line post. Slide the first top rail through the loops on the line post caps and push it into the rail cup on the terminal post, then tighten the bolt on the rail cup to secure it. The top rails have a narrower diameter at one end that allows you to connect them together as you work your way around each side of the fence. When you reach the next terminal post, cut the rail to size using a hacksaw, then fit it into the post’s rail cup and tighten it in place.
STEP 8: Add the fencing.
Thread the long tension bars vertically through the end of the fencing fabric so that the wires weave around it. Bolt the tension bar to the three tension bands on the first terminal pole. Pull out any slack as you unroll the fencing along the top rail, stopping periodically to secure it to the top rail and line rails using wire fence ties. Secure the fence to the rails loosely, so you can tighten it later to remove any slack in the fence.
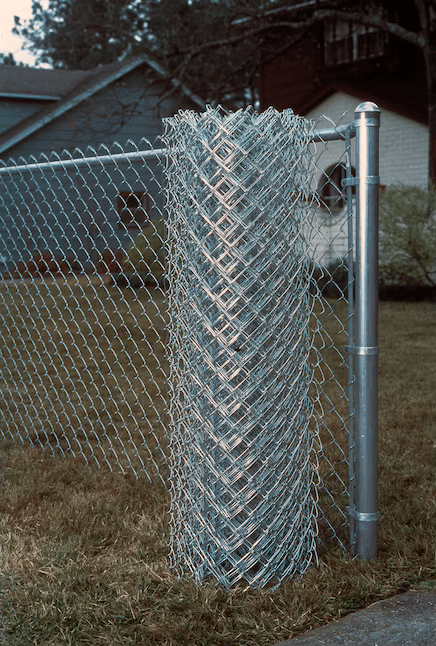
STEP 9: Stretch the fence tight.
You’ll want the fence fabric to be tight when you attach it to the next terminal post, so it doesn’t sag. Stretching chain link fencing is not something you can do with your bare hands. You’ll need a fence puller for the job. Attach one end of the fence puller to a section of the fabric and the other end to the terminal post. Use the puller to stretch the fence fabric tight. When you can squeeze the fence links no more than about 1/4 inch with your fingers, you’ll know it’s tight enough.
Remove any excess fencing by using a pair of pliers to detach a single strand of fencing from the top and the bottom of the fence and sliding it out. Slide a tension bar through the end of the fence fabric as you did with the other end and bolt the bar to the post’s three tension bands.
Step 10: Secure the fence fabric.
Now that the fence fabric is taut, go back and add more fence ties to secure the fence to the line poles. You’ll want to add a tie about every 2 feet on the top rail and every 12 inches on the line posts. If you’re using the fence to keep a dog inside your property, consider threading tension wire through the bottom of the fence fabric and securing it around both posts. The wire will prevent animals from pushing under the bottom of the fence. If you’re looking to make your chain link fence more aesthetically appealing, consider painting it.
RELATED: Installing a Fence: Costs and Key Considerations for Homeowners Today
Final Thoughts
Installing chain link fence is a big job, and may not be the easiest fence to install yourself, but if you’re willing to put in the effort (and have a willing helper) you can save hundreds of dollars by DIYing this job. Given that this job involves digging holes in your yard, it isn’t hazard free. Remember to call 811 a few weeks before you plan to break ground on your projects, so you know where it’s safe to dig on your property and can plan the fence accordingly.
