We may earn revenue from the products available on this page and participate in affiliate programs. Learn More ›
Used to construct some of the world’s most famous buildings, from the Pantheon and the Sydney Opera House to Fallingwater, concrete is the most-used building material. In fact, 4.2 billion tons of concrete are produced annually, with 40 percent destined for residential use, according to the Global Cement and Concrete Association. Relatively inexpensive and long lasting, concrete is also easy to make. While you can mix cement (which is an ingredient in concrete, not interchangeable with it), aggregates, and water to make concrete, there are also ready-mix concrete products that are easier for DIYers to blend on their own.
“Mixing concrete yourself largely depends on three things: the volume of concrete that you need, the application you want to use for, and the relative weather during placement,” says Bob Brown, author of Foundation Repair Secrets. “A lot also depends on if you are placing a finishing-intensive project, such as sidewalks, or a less intensive one, such as footings.”
Even if you’ve never done it before, it’s easy to mix small batches of ready-mix concrete in less than 15 minutes, and bigger batches of concrete in under an hour. Of course, there’s more to working with concrete than simply just mixing it, but it is the first step toward building projects that stand the test of time.
Once you have concrete mixing down pat, a bevy of DIY projects in and around the home fall within your range of capabilities, including creating walkways, countertops, and even stylish, weather-resistant planters. Following these steps will get you on your way to rewarding home improvements.
Tools & Materials
Bobvila.com may earn a commission from purchases made through these links.
Step 1: Decide how much concrete mix is needed and open the first bag.

Concrete mix usually comes in a paper bag, on the front of which you’ll find the yield of the package listed in cubic feet. For smaller DIY projects, you will likely need the entire bag. For larger projects (e.g., patios), you’ll probably need several bags. If more than one full bag is needed, you may choose not to mix all the concrete needed at one time. Due to curing times, it may make sense to make concrete in batches.
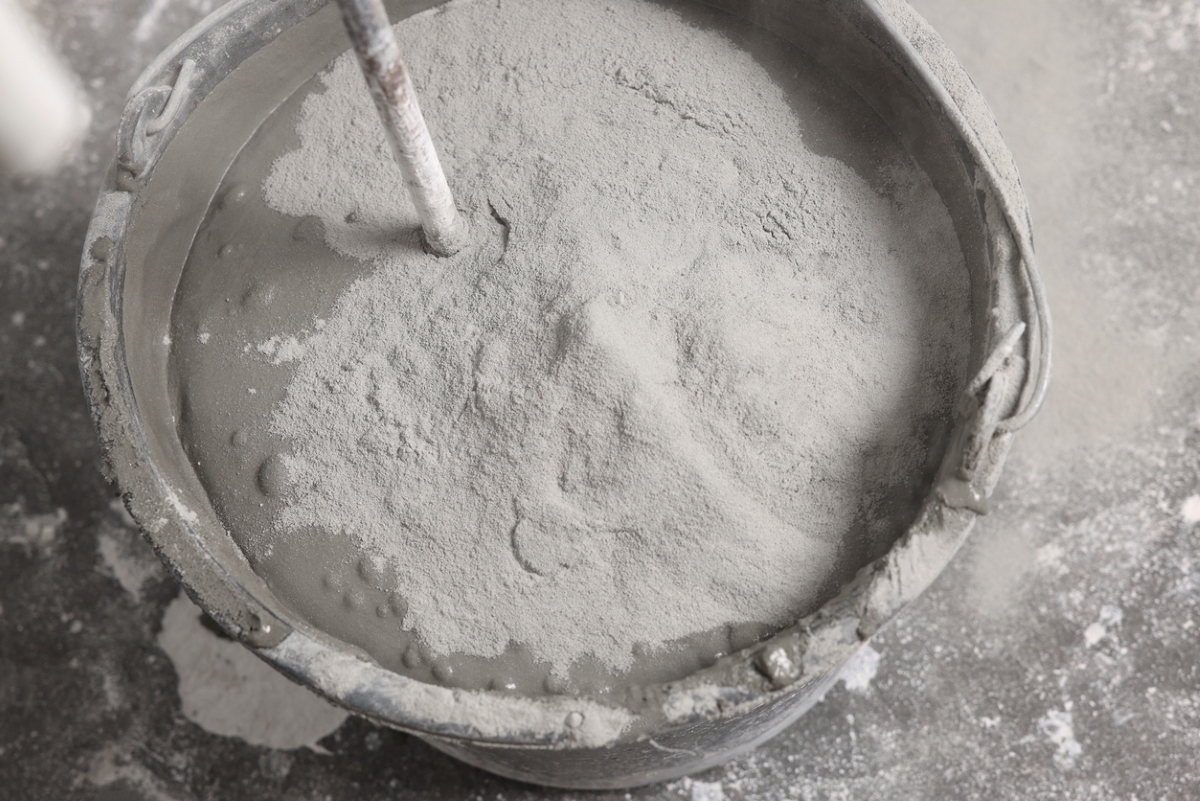
If you need a very small batch—less than 2 cubic feet— a bucket might be suitable for mixing concrete, according to Brown. “Usually these are repair mortars (concrete without the rocks) that have shrink compensating admixtures and polymers and are high strength (5000 to 8000 psi). This can be mixed in a 5-gallon bucket with a drill and mixing paddle.”
For larger jobs, from 2 to 4 cubic feet, a wheelbarrow is usually ideal. “Use either a wheelbarrow and shovel, or you can use a tarp,” says Brown. “A wheelbarrow usually has about a 4 cubic feet limit.” If you’re confused about how much concrete to buy, use a quantity calculator for concrete.
There’s a pro trick to knowing how to mix concrete in a bucket or wheelbarrow. Whether you need the entire bag or only a portion of it, place the package into your bucket or wheelbarrow, cut it open, and lift the bag gently upwards, emptying out as much of its contents as called for by the job. On a windy day, do this step indoors, perhaps in the garage, to avoid making a mess.
RELATED: 10 Brilliant Alternative Uses for a Concrete Mixer
Step 2: Measure and add water to the concrete mix.
Fill up your watering can with the amount of water specified in the manufacturer’s instructions and pour a little of the liquid into the center of the mounded concrete mix. Continue pouring in water little by little until you’ve added the specified amount.
And remember that if you only need a portion of the bag of concrete mix—half, for instance, or a quarter—then you must adjust the “recipe” accordingly. Also, there are admixtures that can adjust the formula for specific uses, as well. “You can add fibers to add tensile strength. You can add ice to slow down the set-up process during hot weather. You can also add sugars (usually tree sap) to retard the concrete set-up process,” says Brown. “You can add hot water or chemical admixtures to speed it up in cold weather. You can add polymers to add strength. You can add things like perlite or use volcanic pumice for rock aggregates to make it more lightweight.” Just don’t add salts if you are working with steel.
Step 3: Mix the water into the concrete mix.
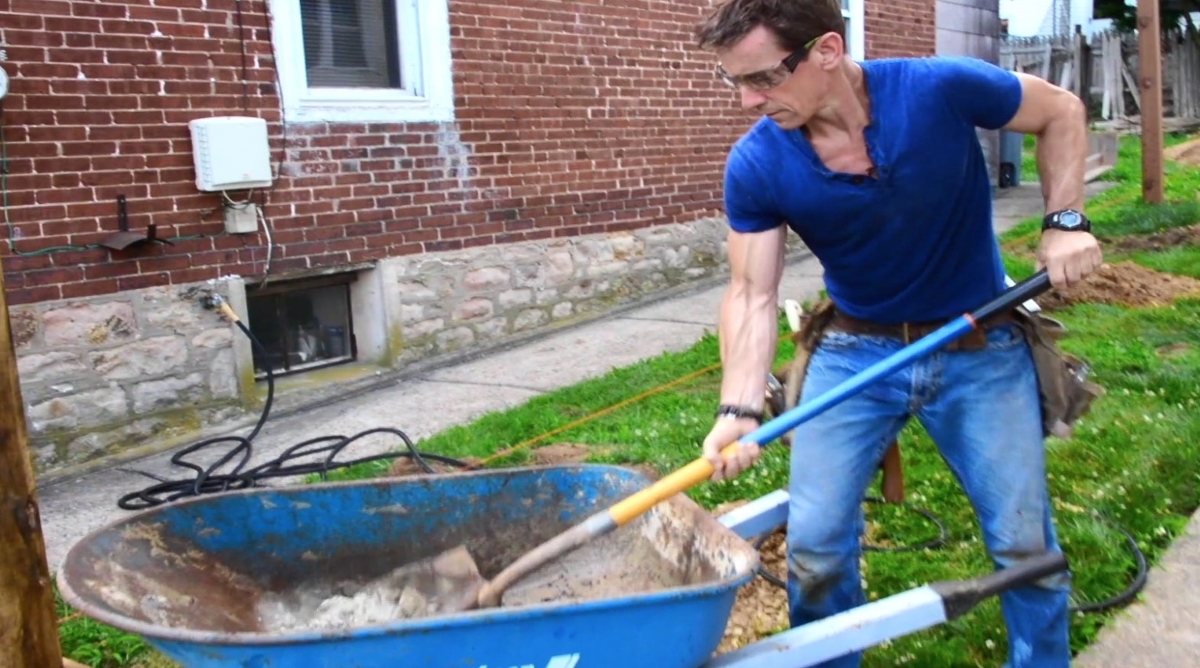
Now it’s time to learn how to mix concrete by hand. Combine the concrete and water, working the material in a back-and-forth motion, using either a shovel or garden hoe. The goal here is to evenly distribute the water across the powder. If you’ve used water conservatively, you may find that as the mixture stiffens, it appears dry and crumbly. In that case, add more water until you’ve achieved a relatively smooth, moldable consistency, with no standing puddles.
Step 4: Conduct a slump test to see if the mix is right.
Test your concrete with the “slump” test. Here’s an easy way to do it: First, cut the bottom off a plastic or paper cup. Next, shape the container into a cone. Scoop up enough concrete to fill the cone, then empty the cone onto a flat surface.
If the concrete collapses to about half the height of the cone, perfect, you’re ready to go. If the concrete loses none of its height—that is, if it doesn’t slump at all—go back and add some more water. If the concrete collapses considerably farther than half the height of the cone, you’ve added too much water and must compensate with additional dry concrete mix (or in a pinch, dry sand can be used).
RELATED: How to Pour Concrete the Right Way
Step 5: Use the concrete and clean the tools.
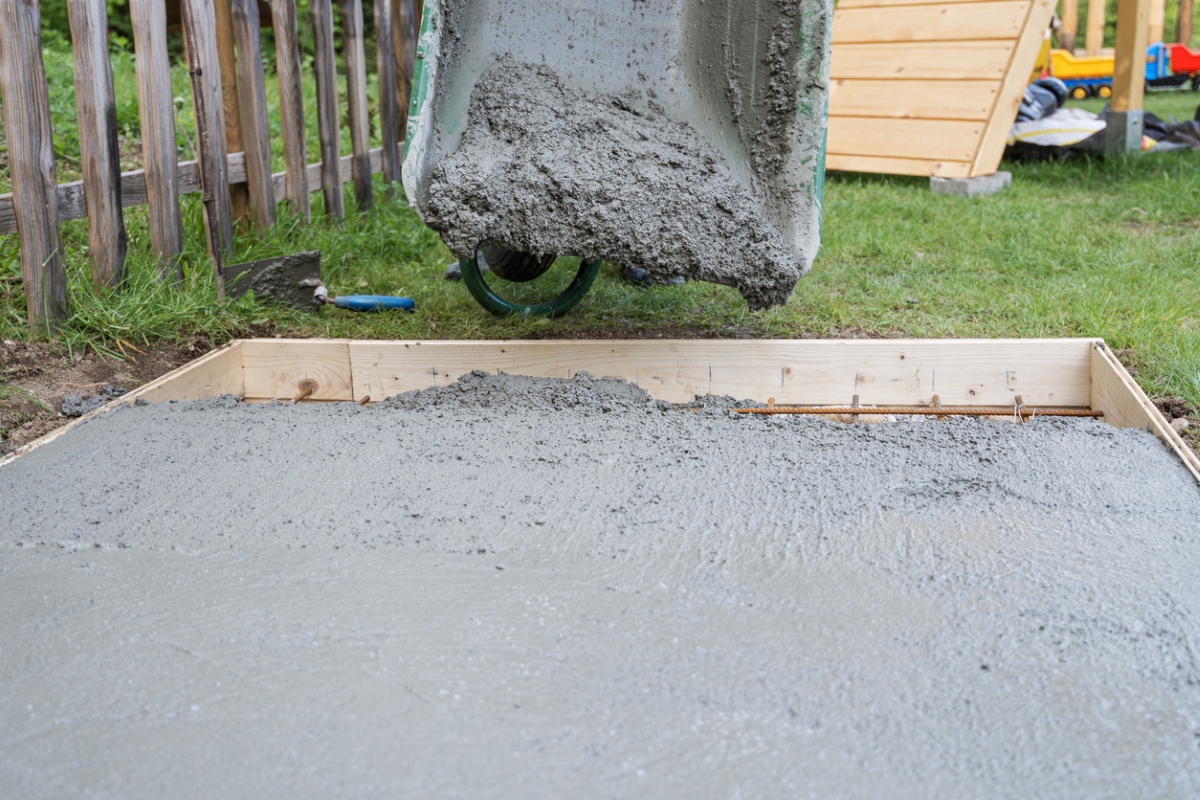
Your bucket or wheelbarrow should now be filled with usable concrete. Move it to wherever you’re going to be working, and begin the process of pouring it. Meanwhile, leave any tools that have touched concrete (e.g., your shovel) in a bucket of water. That way, the concrete won’t set on the tools, and you’ll have the opportunity to clean them properly later on.
To keep your wheelbarrow spic and span, aim to empty and clean it as soon as possible. Once the concrete sets, it’s going to be mighty difficult, if not impossible, to remove.
Final Thoughts
Mixing concrete in small batches for DIY projects around the house is a relatively easy task for most DIYers. It’s important to be conservative when adding water, and test the concrete mix using a quick slump test to make sure the concrete is prepared properly to provide a long-lasting result. Once you know how to mix concrete, you may want to take on easy concrete projects around the house, or even making concrete countertops for the kitchen!
