We may earn revenue from the products available on this page and participate in affiliate programs. Learn More ›
Your home’s first line of defense against fires and smoke are its smoke detectors. These devices pick up on smoke in the air and alert you to its presence. The idea is that the alarm will activate and give you enough time to get out of the house and call the fire department. They’ll keep you and your family safe while also protecting your property.
Smoke detectors can only do their job properly if they’re installed correctly, both in terms of the method and placement. This primer on how to install a smoke detector should get you on the right path to protecting your household against the dangers of fires and smoke.
Where to Install Smoke Detectors
Installing smoke detectors doesn’t have to be as complicated as the fire code books make it out to be. Unless you’re really into reading fire-related literature, the following guidelines for installation should do the trick for smoke detector placement.
Plan to install at least one smoke detector on each floor, but specifically:
- in all sleeping areas (bedrooms, guest rooms, living rooms with pull-out couches, etc.),
- in common hallways between sleeping areas,
- in the basement,
- in the attic,
- in the garage,
- near the kitchen—but 20 feet away from the stove and oven, and
- anywhere else you want. This is a more-is-better situation.
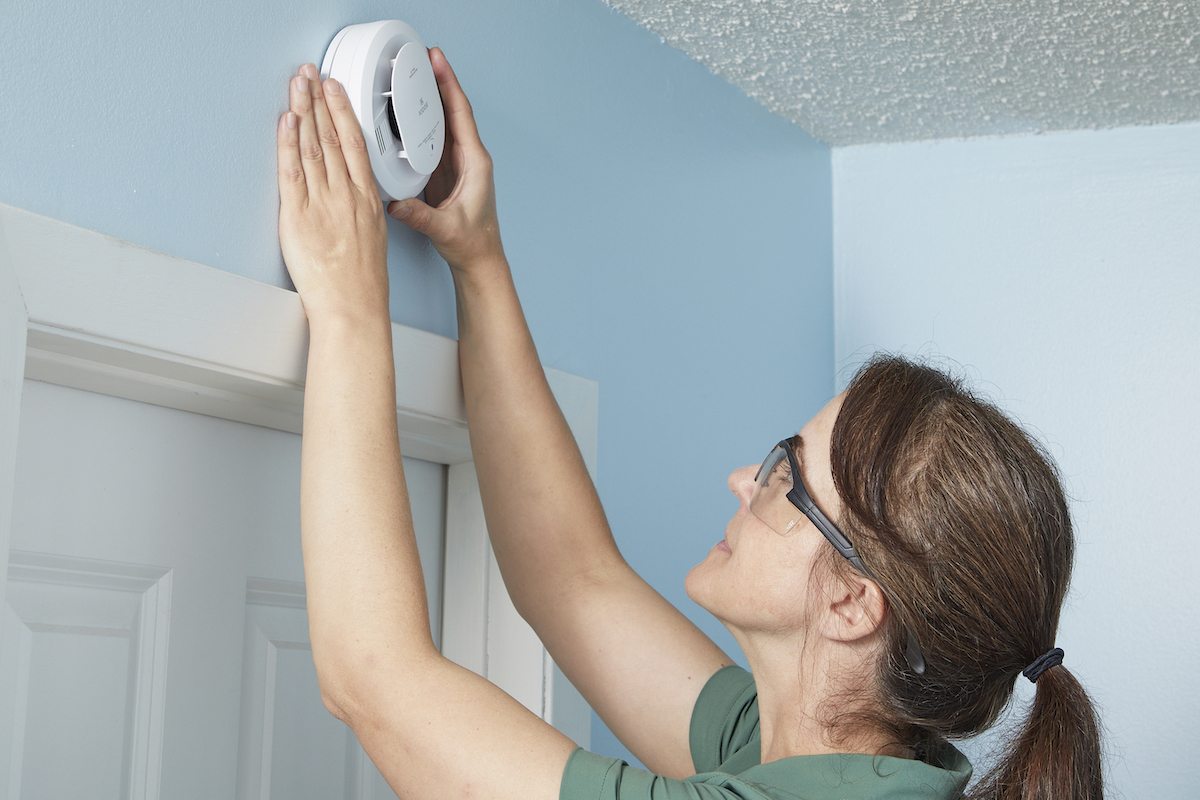
Smoke detectors work best on the ceiling, as that’s where smoke pools first. Make every effort to install your smoke detector there. If the ceiling is out of the question for your home, install it as close to the ceiling as possible but no further than 12 inches down the wall.
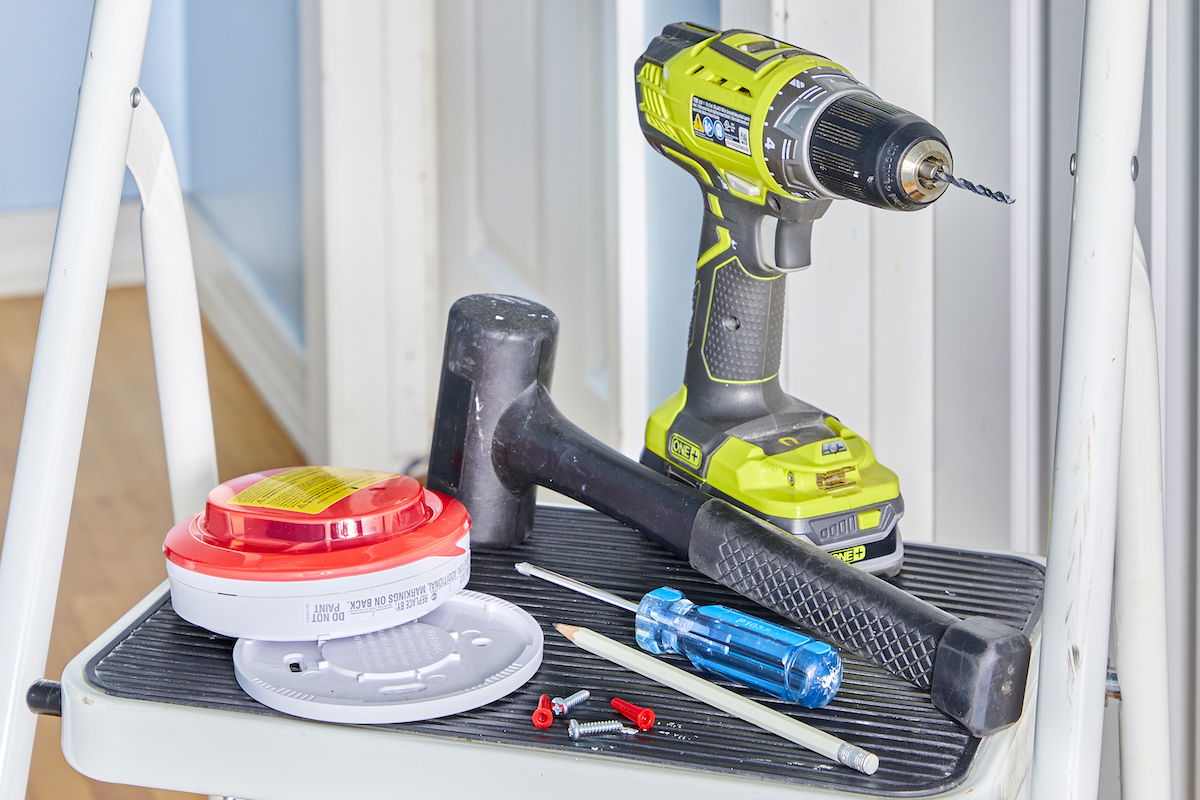
Tools & Materials
Bobvila.com may earn a commission from purchases made through these links.
How to Install a Smoke Detector
Step 1: Determine where you’ll mount the smoke detector.
Regardless of whether your home has a preexisting fire alarm system or you’re starting from scratch, use the guidelines above to determine if your planned locations are up to snuff. Don’t just take a pre-wired system at face value. Ensure that all of the important locations—sleeping locations, off the kitchen, and so on—are covered properly.
Step 2: Turn off the power (for hard-wired units only).
It’s important to make sure that your fire alarm system is powered off. Head to your electrical panel and shut off the breaker marked with “fire alarm” or something similar. It may be piggy-backed onto a circuit with lighting. Pull the smoke detector down from its bracket and hold your pen tester to the wires to be sure that the circuit is off.
Step 3: Install the smoke detector’s mounting bracket.
Your smoke detector has a mounting bracket to make installation and battery changes easier. Remove it by twisting the detector and bracket apart. You’ll feel and hear a loud click.
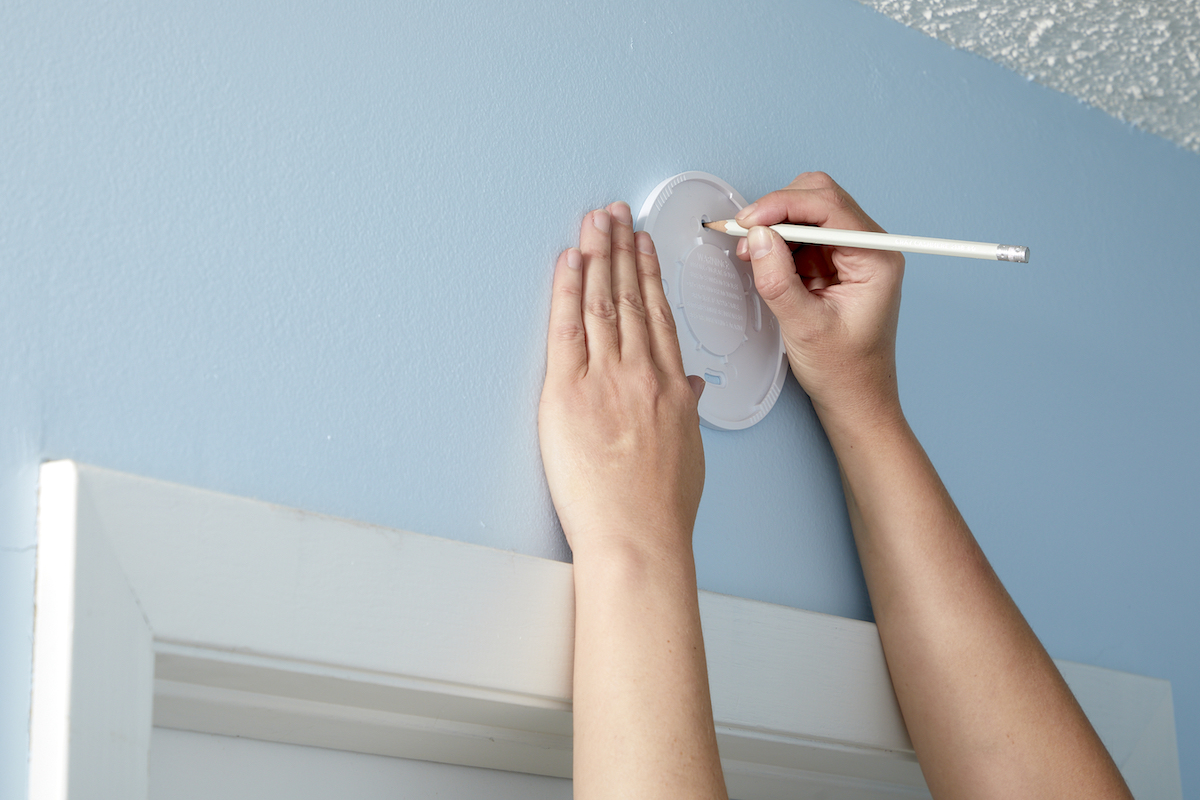
For battery-operated smoke detectors, hold the bracket in place on the ceiling or wall. Use a pencil to make marks on the ceiling or wall for the two mounting screws. Using a drill bit compatible with your anchor kit, carefully drill the two holes.
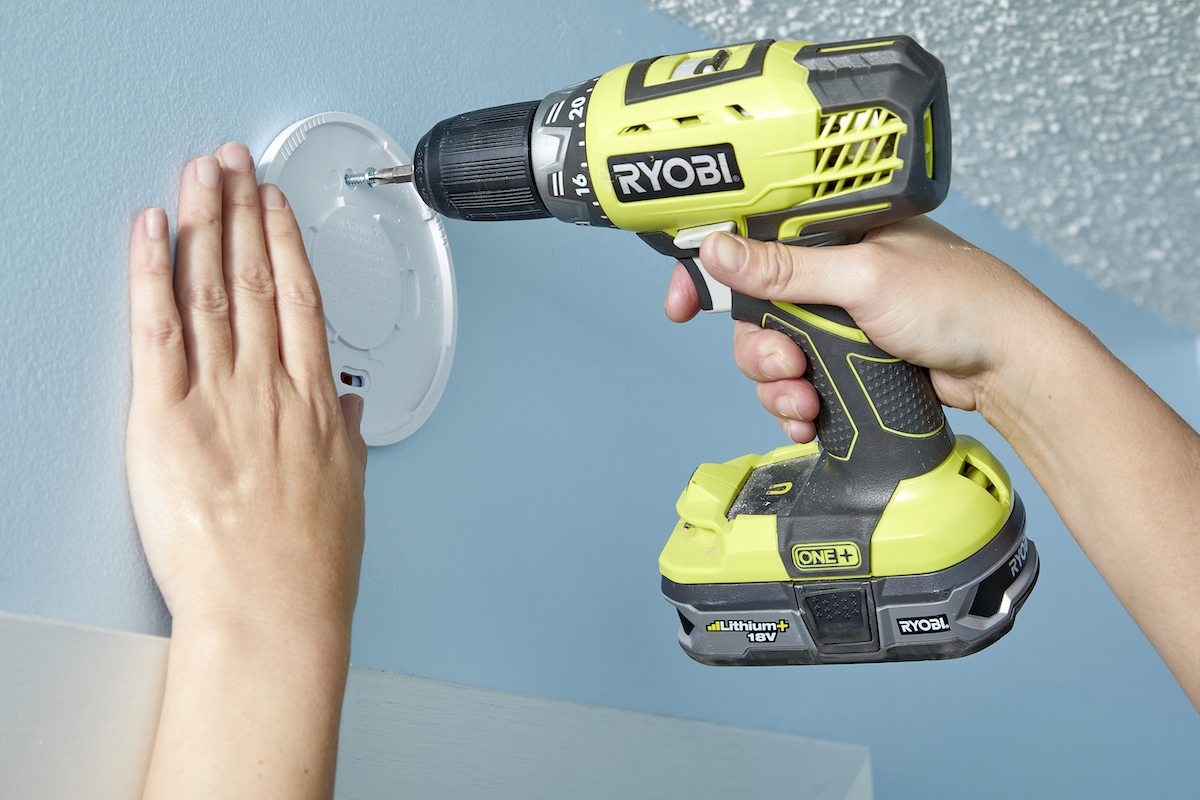
Tap the two plastic anchors into place and install the mounting bracket with two screws into those anchors. Use a screwdriver, not a drill, to ensure that you won’t over-tighten the screws and crack the bracket.
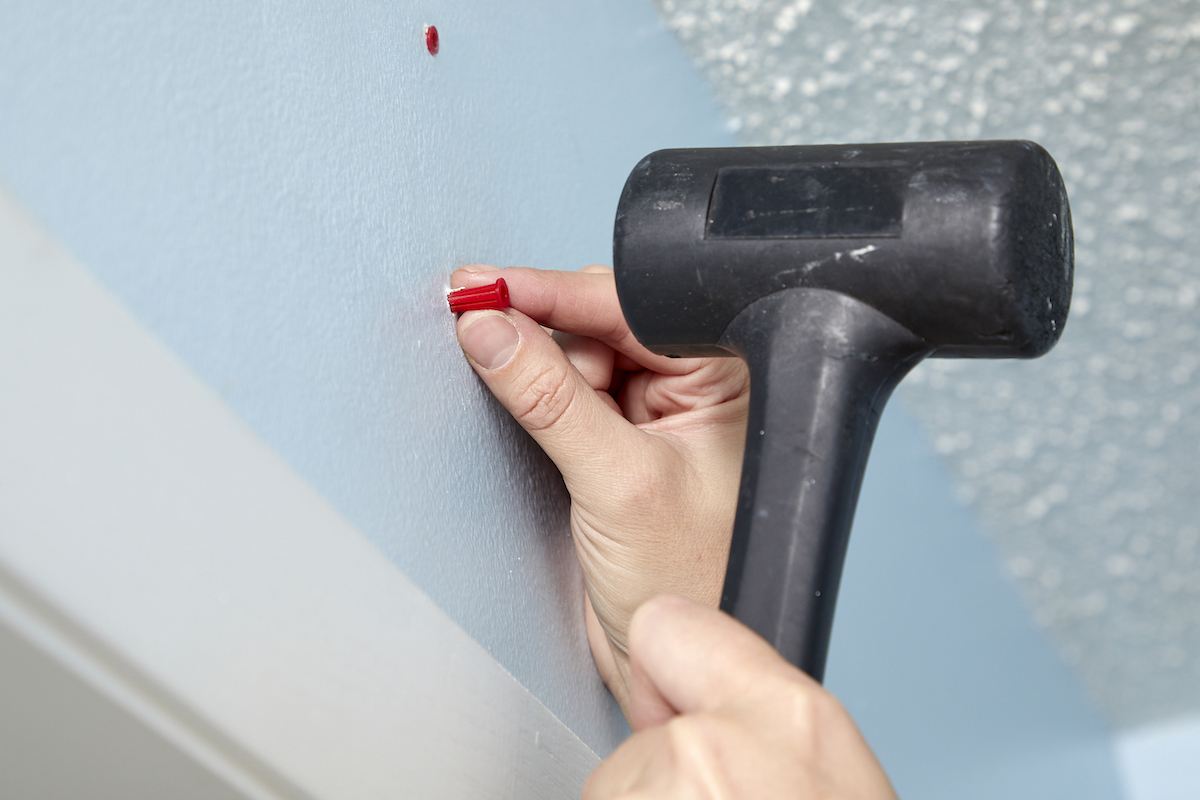
Pro tip: Push your drill bit through the bottom of a paper cup to catch drywall dust when drilling overhead.
For hard-wired smoke detectors, your bracket should be mounted to a previously installed electrical box. Loosen the two mounting screws in the corners of the electrical box and slide the new bracket into place. Be sure to pull the wires through the bracket at the same time. Tighten the screws with a screwdriver, again, to avoid cracking the bracket.
Step 4: Add power.
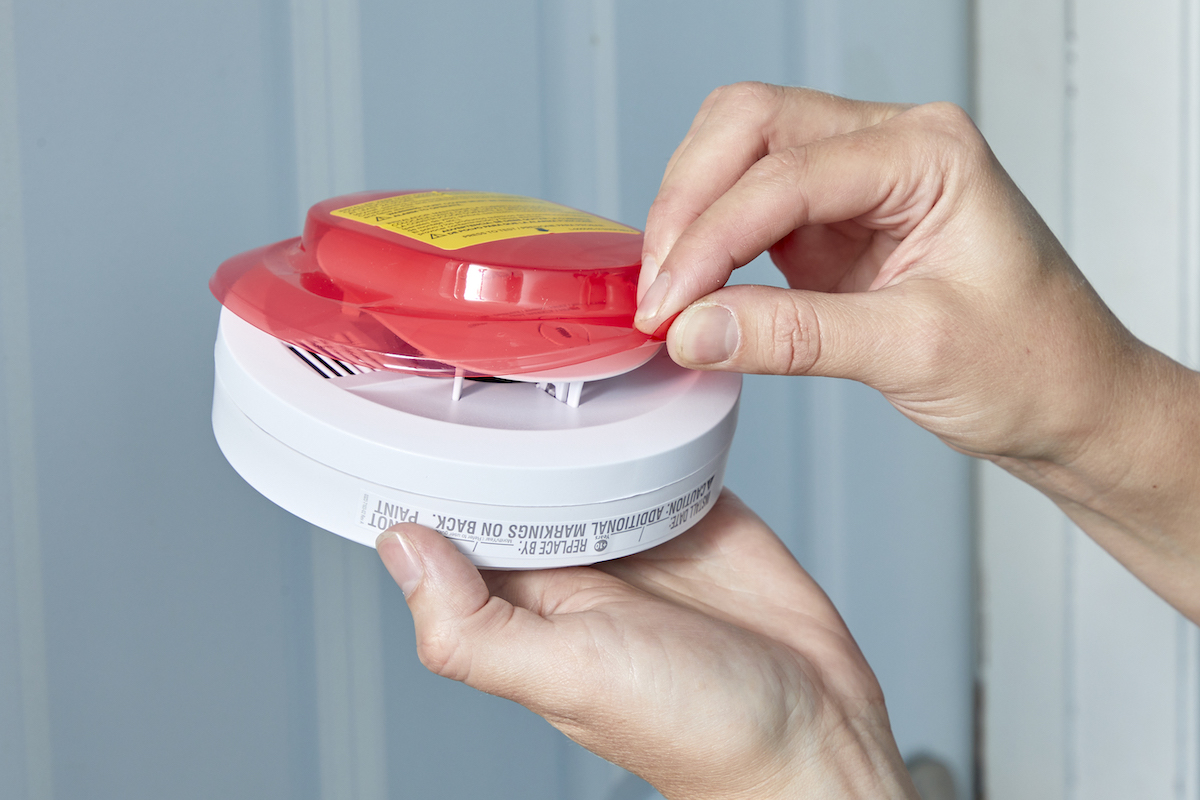
For battery-operated smoke detectors, open the battery door on your smoke detector by catching your fingernail or a coin under the tab. This will reveal the battery bay. Your particular unit may use AA, CR123, or 9V batteries. Following the markings inside of the bay, install the positive (+) end of the battery on the positive terminal and the negative (-) end on the negative terminal.
Your unit might come with a pull tab that just needs to be removed to activate the included battery. If that’s the case, it’s still a good idea to open the battery door to ensure your battery isn’t damaged or leaking. Also, you can write down the type of battery your unit uses so you can always keep them on hand.
For hard-wired smoke detectors, with the power off at the breaker, wire the included wiring harness into your system. It needs to tie into the wires that you pulled through the bracket during the last step. Expose the harness wire by using the wire stripper. Matching the wire colors, use wire nuts to twist the harness wires in with the system wires. Give the wires a tug to be sure that they’re secure. Now plug the harness into the smoke detector.
If your harness wires are black, white, and yellow but your system wires are black, white, and red, you’ll tie the yellow and red together with a wire nut.
This is straightforward, but there is one thing to point out: Hard-wired units get their power from the system wiring, but also have battery back-ups. You may have to remove a pull tab to activate the battery before you attach your smoke detector to the base. Check the instructions that came with your particular unit.
Step 5: Attach the smoke detector to the base.
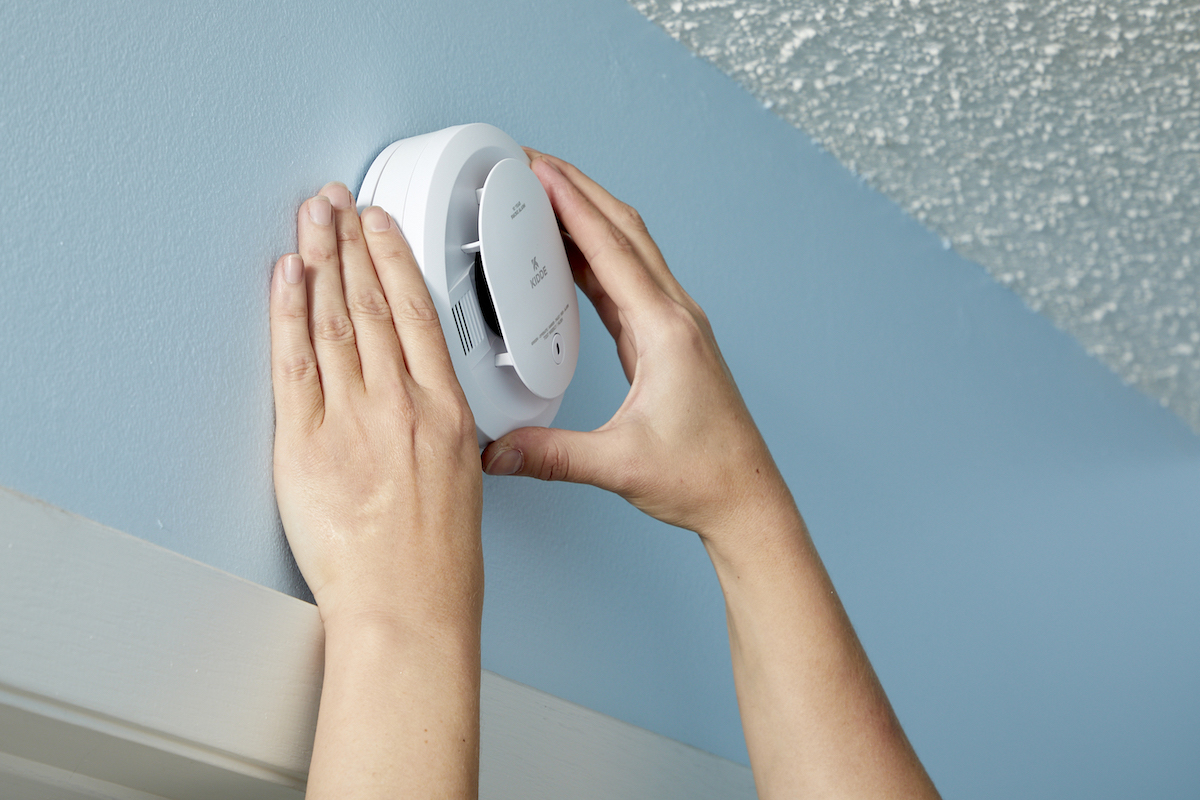
This is a simple twist-lock procedure. Hold your smoke detector over the bracket and twist clockwise until it snaps in place. Some battery-operated units may beep or light up at this point, so don’t let that startle you.
Step 6: Power up and test your smoke detector.

Battery-powered units are ready to go. If you had to shut the power off for a hard-wired system, now’s the time to power back up. Head back down to the electrical panel and flip your breaker back into the on position. Your new detector will most likely beep, letting you know that it’s alive and well. There may also be an LED light indicating that the smoke detector has power.
On your device, you’ll see a test button. Press and hold the button to activate the alarm (and inevitably jump a little). If your alarm sounds, you’re a fire alarm success story. If not, you may need to troubleshoot the device using these tips:
- Ensure the breaker is on for hard-wired units, or shut it off and check your wiring.
- Check that you installed the battery correctly or try a different battery altogether.
- Be sure that the smoke detector is on the base properly. Some units won’t activate if they aren’t seated correctly.
If this hasn’t solved your issue, it may be a problem with the unit itself and not your work. Contact the manufacturer or head back to the store for a replacement.
