
We may earn revenue from the products available on this page and participate in affiliate programs. Learn More ›
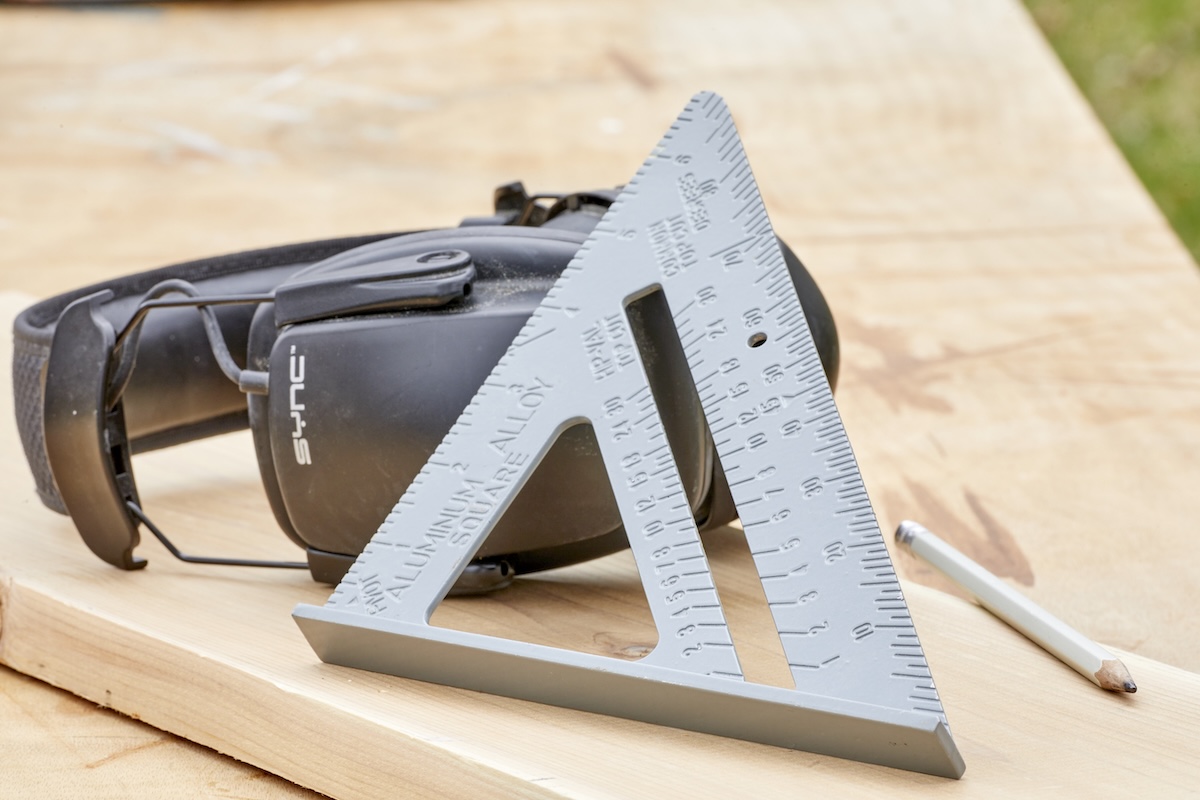
Also known as a rafter square or triangle square, the speed square, invented by Albert Swanson, has been making woodworkers’ lives easier since 1925, thanks to its versatility and affordability. Now, 100 years later, you can still use this multitasking wonder as a scribing tool, a protractor, a miter square, a try square, or even a saw guide. It makes easy work of everything from building stairs and cabinets to measuring roof pitches to making picture frames and birdhouses.
Before we get started, here are a few terms you’ll need to know:
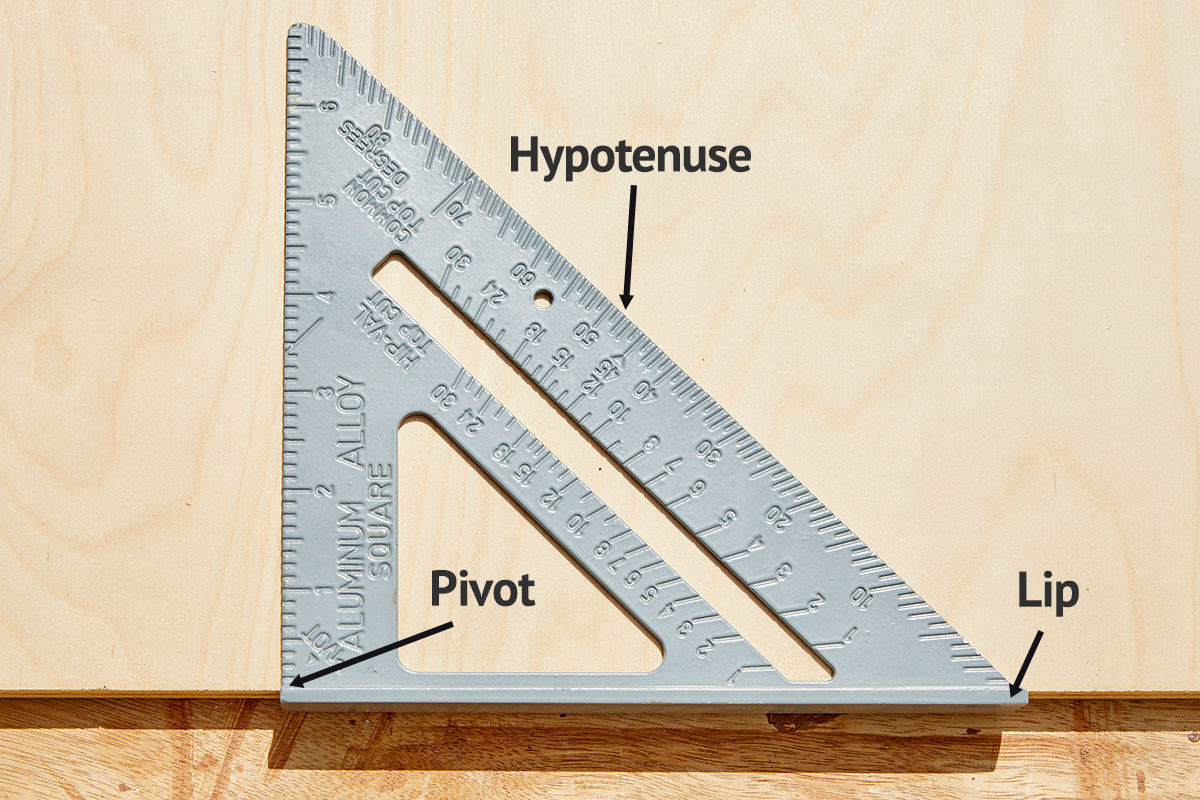
- The lip, also known as a fence, runs along one of the 90-degree sides of the speed square and allows you to brace the tool against the board or surface you’re working with. Often it will have at least one ruler on it; the more, the better.
- The pivot is a point at one end of the lip about which you can rotate the speed square to find angles. (It’s often marked right on the tool; if not, the 0-degree mark should be at the opposite end of the lipped ruler from the pivot.)
- The hypotenuse is the longest side of the speed square. On the hypotenuse you’ll see markings from 0 to 90 degrees.
Once you get the hang of the speed square, you’ll find few tools quite as handy. Here are a few ways to use a speed square to its fullest potential.
Line Scribing with a Speed Square
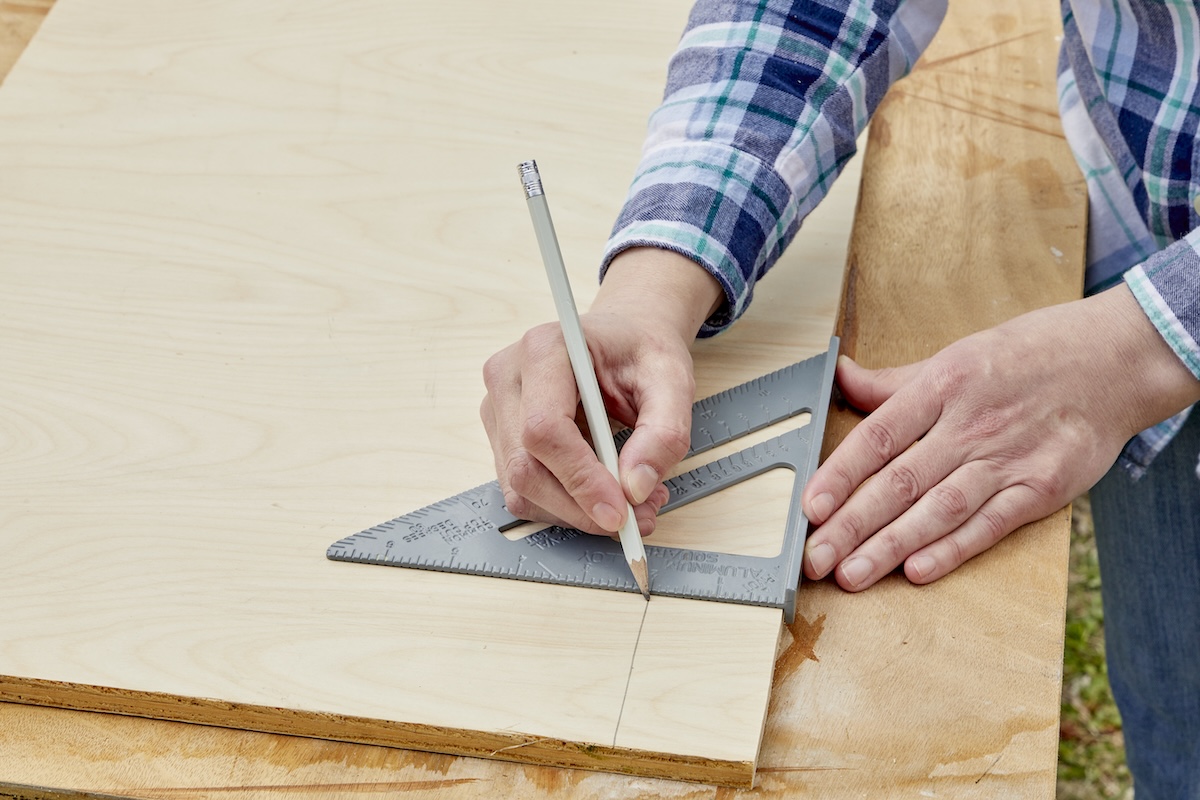
When you’re constructing cabinetry, building sheds, or working on other projects that necessitate lots of long, straight cuts, line scribing makes your job easier by letting you quickly mark exactly where to saw.
Not every speed square has the markings and notches needed for scribing. Look for one or two rows of notches, each a quarter inch apart, in the open middle of the speed square. Fit your pencil’s tip into the desired notch (if, for example, you’re looking to cut 2 inches from a plywood board, you’d choose the notch at the 2-inch mark), then drag both your square and pencil along the edge of the board. In seconds, you’ll have marked a straight line completely parallel to the edge and as long as you need, potentially as long as the board itself.
The square can be flipped over to be butted on any side of the board, allowing for perpendicular scribing so long as that line is within the width of your square. For lines further into the center of the board, brace the square’s lip against the board so that the tool can act as a firm perpendicular edge to butt a ruler or yardstick up against.

Tried-and-True Advice
“You can get a speed square for cheap, but that doesn’t mean you should purchase the cheapest speed square you can find. I’ve learned this the hard way. A poorly made speed square may not actually be square, potentially throwing off every one of your projects. Check your square by drawing a 90-degree line across a straight board. Flip the square over and draw a second line right beside the first one. If the lines are parallel, your square is square. If not, it’s time to buy a new one.”
—Tony Carrick, Contributing Writer
Finding Angles with a Speed Square
Whether you want to make a nice pitched roof on your kids’ treehouse or you need a utility ramp for your shed entrance, getting the right angle on every side is tricky work that can be simplified with your speed square.
- First, brace the speed square lip against the side of the board you’re working with. The other arm of the right angle will point away from you. Look at the degree marks along the hypotenuse, and you’ll see that this arm marks a 90-degree angle.
- Holding the pivot point in place, swing the speed square lip away from the board.
- Find your desired angle along the hypotenuse—for instance, if you want to mark a 30-degree angle, perfectly align the 30-degree tick mark with the edge of your board—then hold the square firmly in place, and draw your 30-degree line along the edge of the speed square that is opposite the angle readings and also perpendicular to the tool’s lip. Always use this edge to mark angles; use the hypotenuse for marking only 45-degree cuts. (See the next section on using the tool as a miter square to learn how to do this.)
Using the Speed Square as a Miter Square
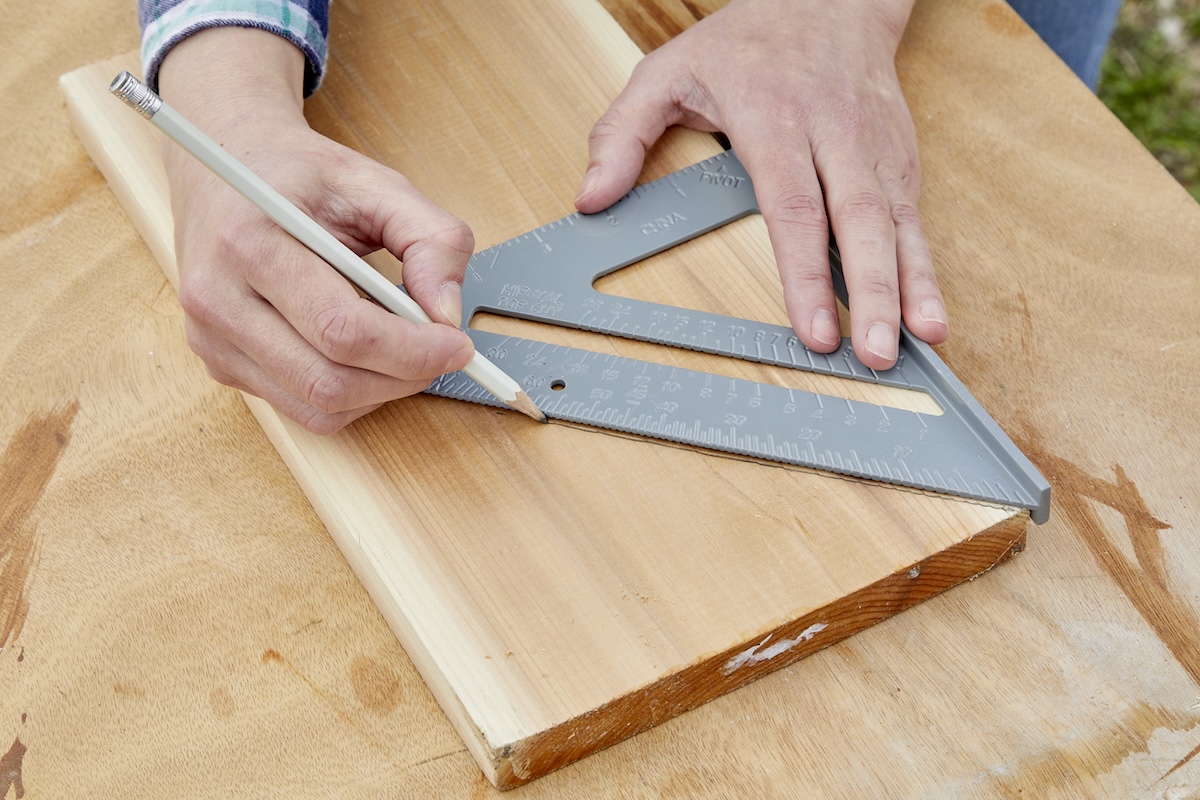
Cutting crown moldings in your front room or a frame for your gallery wall becomes a breeze with a speed square. Simply brace the lipped side of the speed square against the edge of your board, pencil a line up the hypotenuse of the speed square, and voilà! You have a perfect 45-degree angle for easy corners. Need one in the opposite direction? Just flip the speed square and use the back side of the tool. Invest in a larger speed square, and you could even use it for longer cuts.
Using a Speed Square as a Try Square
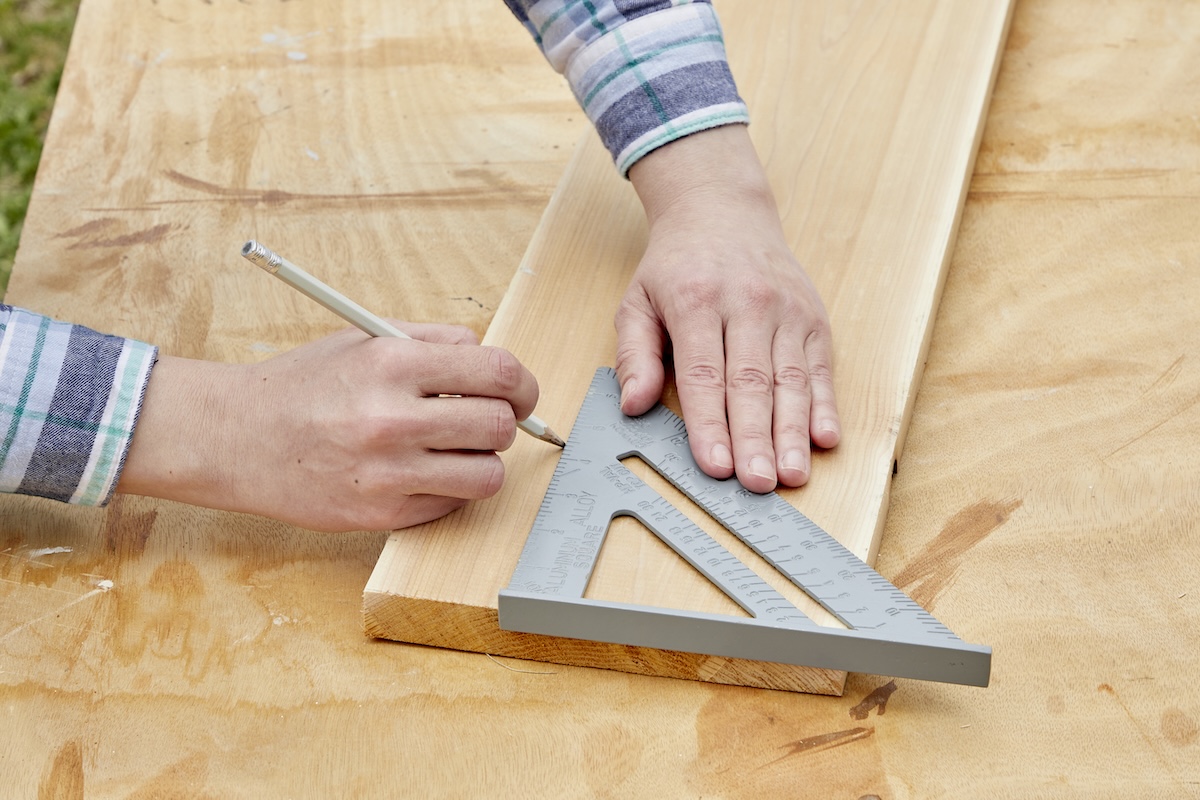
The 90-degree right angle leading out from the pivot and the lip makes quickly and accurately finding right angles a no-brainer. This is especially helpful when you’re faced with repetitive cuts in projects like deck building. Simply brace the lip against the edge of your board, run your pencil straight up the right angle, and there’s your 90-degree line for cutting.
Using the Speed Square as a Saw Guide
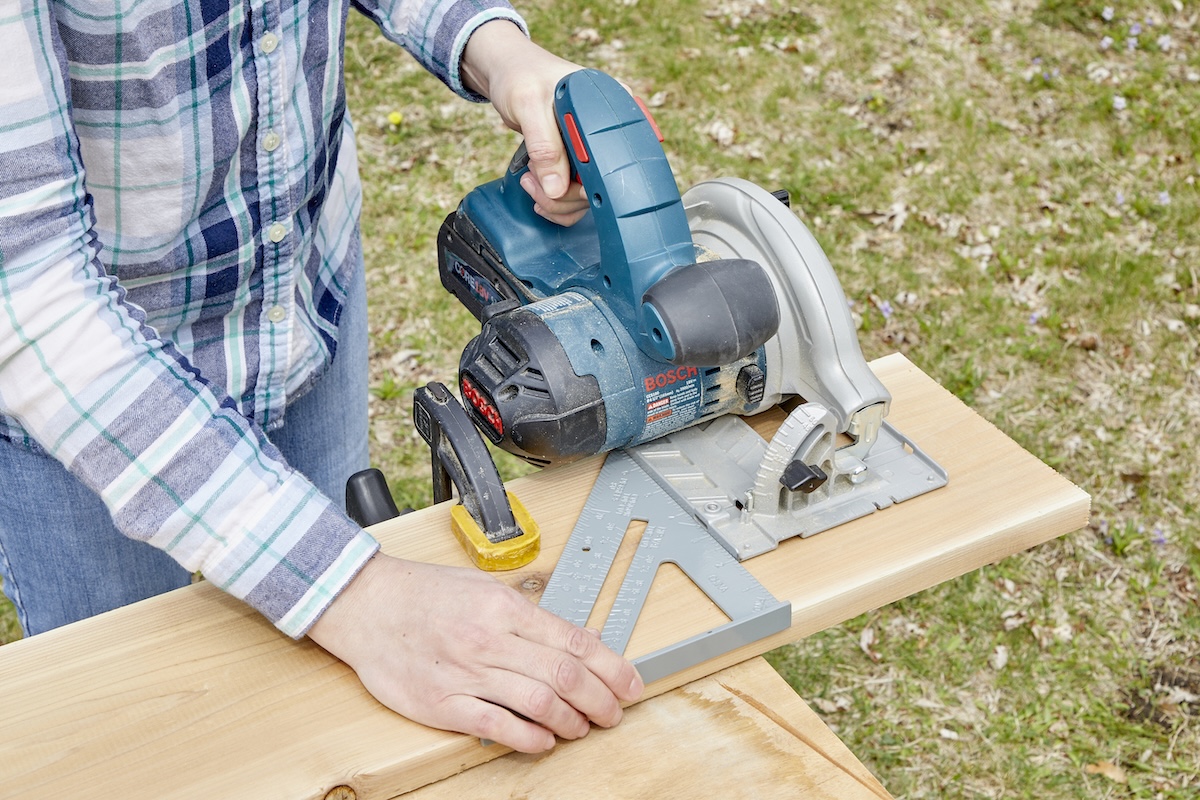
When you’re looking to save time on sawing the endless boards needed for that new deck, a quality metal speed square can be a real asset as a saw guide. By skipping pencil lines and setting the tool directly on the board you’re cutting, you both eliminate steps and offer a sturdy edge for straighter, faster cuts.
Pro safety tip: Brace the square’s lip on the side of the lumber that’s away from you so that as you hold the square in place, you’re practically pulling the braced square and lumber toward you. Then, when you’re running your circular saw against the square’s edge and pushing the saw away from you, you’ll have better control of the lumber. The opposing forces cancel each other out, making the board more stable.
Look for a strong, large speed square with as many features as possible, maybe even a built-in level, and you’ll never start another DIY job without one.
