We may earn revenue from the products available on this page and participate in affiliate programs. Learn More ›
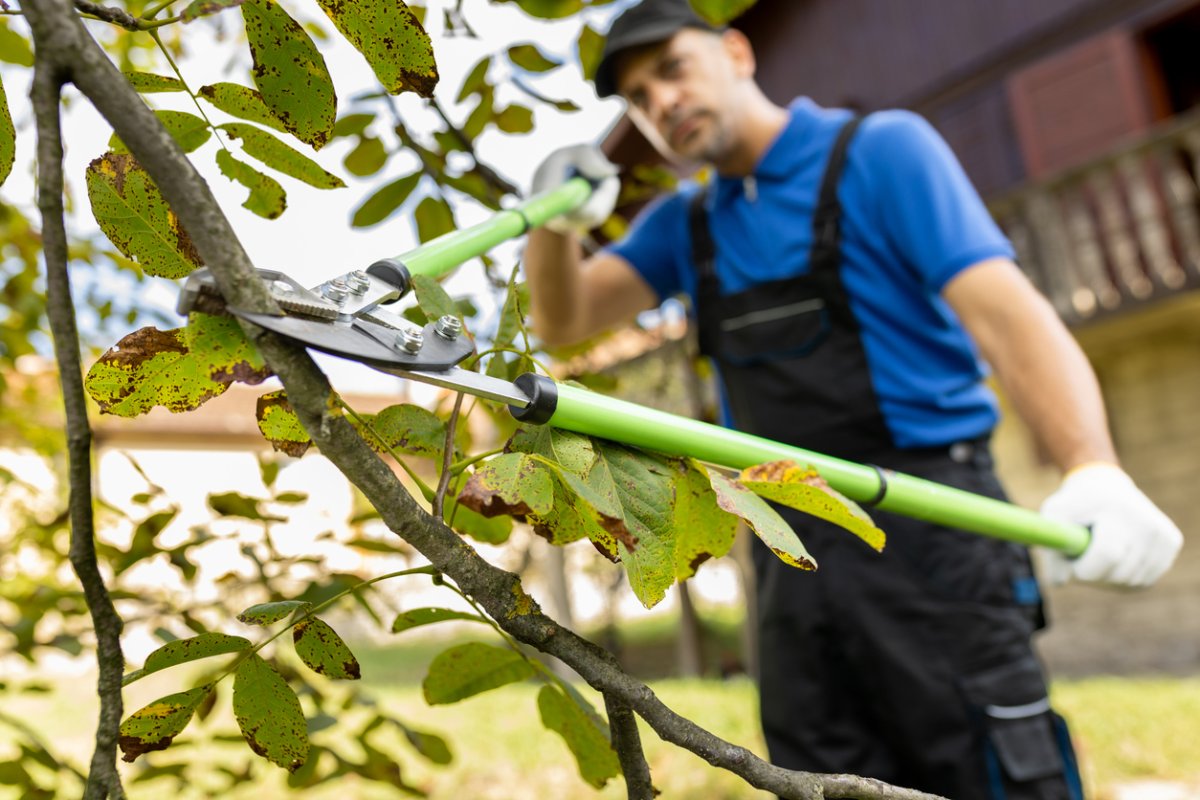
Unlike garden shears, which are similar to scissors in design, loppers are designed for use with both hands, which allows the user to exert greater force for cutting large branches. “Loppers are essential tools for trimming and shaping shrubs, bushes, and tree branches in gardens and landscapes,” Mike Lansing, certified garden designer and co-founder of Planter’s Digest, tells Bob Vila.
When new, most garden loppers are razor sharp and pruning requires only minimal exertion. However, with repeated use, even the best garden loppers can dull or develop nicks from cutting branches that are too hard. They can also become gunked up with tree sap that can reduce their cutting efficiency.
Don’t run out and buy a new pair of loppers for pruning shrubs and trees just because the blades are dulling. Instead, check out the following guide that will explain how to sharpen loppers and get years of additional use from the same pair.
Why It’s Important to Sharpen Loppers
- Clean cuts
- Easy cutting
- Safety
- Healthy plants
If you want to ensure efficient cutting and maintain a healthy garden, then it’s essential to keep your garden loppers sharp. Sharp blades don’t require as much force to use, reducing the likelihood of any accidents occurring. Additionally, “frequent sharpening of loppers is necessary to ensure clean and precise cuts, which are vital for the overall health of the plants,” Lansing says. “Dull loppers can crush rather than cut plant stems, leaving them susceptible to diseases and infections.”
“Dull blades are more prone to rust, which can transfer to plants and further harm them,” Lansing adds.
Project Overview
Working Time: 15 to 30 minutes
Total Time: 30 to 45 minutes
Skill Level: Beginner
Estimated Cost: $10 to $30
Tools & Materials
Bobvila.com may earn a commission from purchases made through these links.
Before You Begin
Sharpening lopping shears isn’t tricky, but it can be slightly messy to use the lubricant necessary to clean the blades. Rather than sharpening one set of loppers and calling it a day, gather together your entire collection of pruning shears and loppers, and sharpen them all at the same time. This can be done anytime during the gardening season, but it’s imperative to clean and sharpen blades before storing garden tools over the winter—you want to prevent rust and corrosion from developing.
How to Sharpen Garden Loppers
Step 1: Clean tree and plant sap from lopper blades.
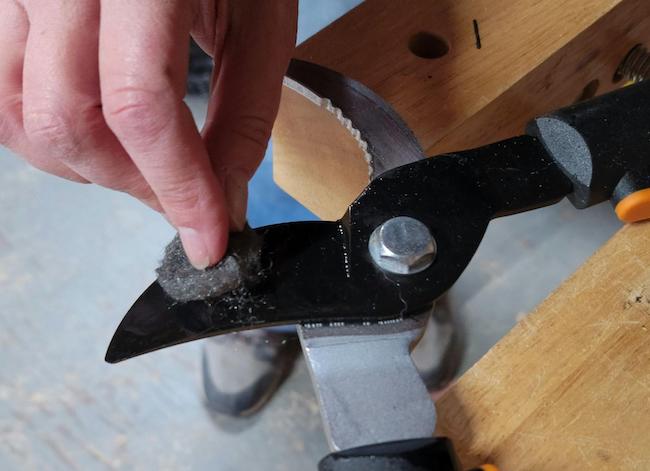
An essential first step when learning how to sharpen garden tools is figuring out how to clean away plant liquids without damaging the steel of the lopper blades. Washing the blades with soap and water is not the best course of action in this case because moisture can cause some types of steel to rust. The best way to clean the blades when sharpening shears, pruners, or loppers is to spray them with a bit of lubricant, such as WD-40, which quickly dissolves the gunk. Then, use 0000 steel wool to rub away the residue.

WE RECOMMEND
Fiskars 28-Inch Bypass-Style Lopper
When we were testing the best loppers, we found these Fiskars bypass loppers to be reasonably priced cutters that don’t sacrifice performance. The rust-resistant stainless steel blades are hardened and precision ground, meaning they’ll retain their edge over an extended period. We found these loppers easy to use on green branches, and the cutting action supersmooth.
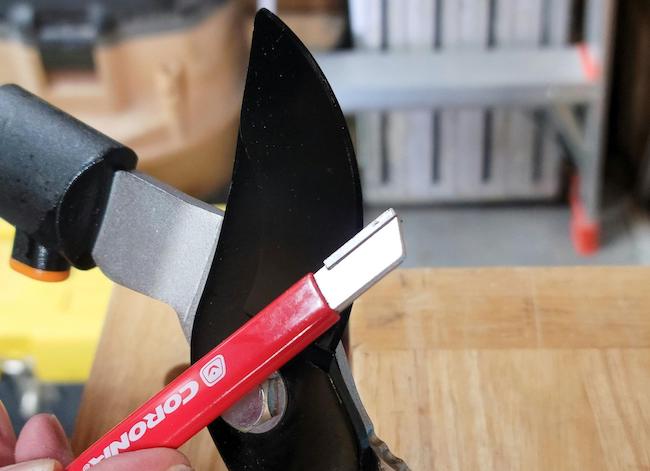
Step 2: Sharpen blades with the angle of the bevel.
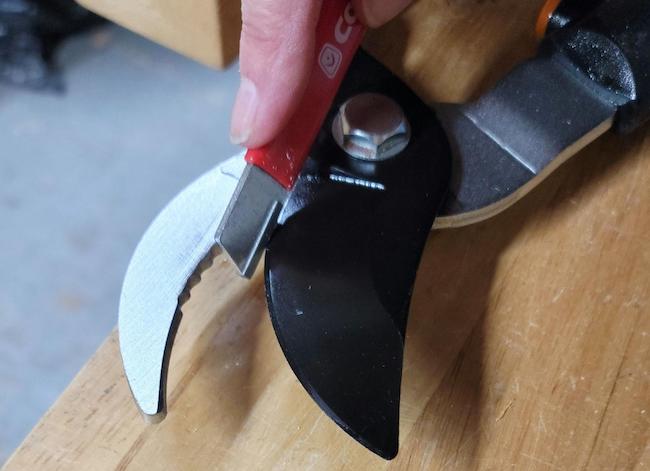
Loppers and pruners come with a sharpened blade edge that appears as an angled bevel when closely inspected. On a bypass lopper or pruner designed to cut soft green branches, such as those found on roses, only the outside of the top blade will be sharp. Use a sharpening stone or a carbide blade sharpener to re-sharpen the blade. Pass the sharpener over the bevel at the same angle as the original slant. This will ensure that the newly sharpened blade will cut smoothly when pruning branches.
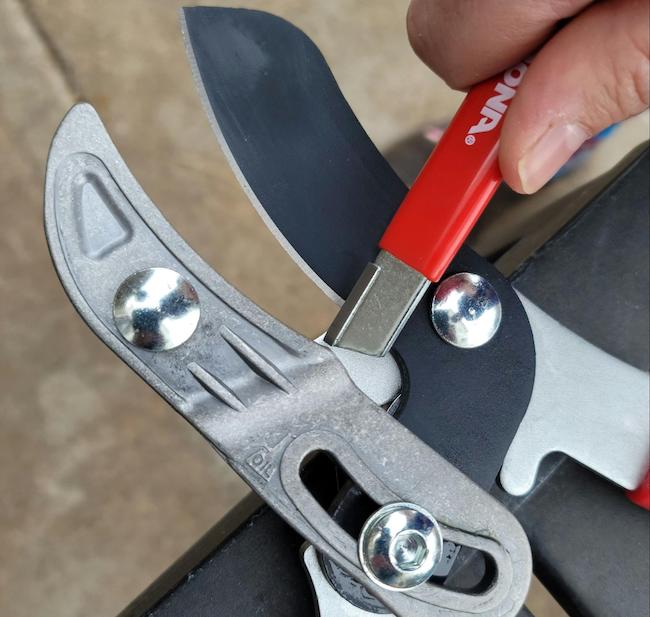
Step 3: Stroke from the pivot to the tip of the blade.
Newbies’ biggest mistake when learning how to sharpen garden shears, pruners, and loppers is to stroke the blades with the sharpener in a back and forth motion. This can create nicks and result in a rough edge. The best method is to stroke the blade from the pivot (where the blades join) to the tip in one smooth motion. After a few strokes, check the blade (carefully) for sharpness. Depending on how dull the blade was to begin with, it could take between 5 and 20 strokes to restore a sharp edge.
Step 4: Sharpen both sides of an anvil lopper blade.
Unlike bypass loppers that are sharp on only one side of the upper blade, anvil loppers feature a blade that’s sharp on both sides. Anvil loppers are made for cutting through hard, dead wood, and the double-sided blade is used to crush the branch rather than slice through it. When sharpening an anvil lopper, use the same pivot-to-tip strokes, but make them on both sides of the blade, following the same angle as the original bevel.
Step 5: Lubricate lopper blades for protection.

All types of garden loppers and shears will benefit from a tiny bit of lubricant on the blade and pivot area; it will help repel moisture and corrosion before storing. Use a soft shop cloth to spread the lubricant evenly and then wipe away excess. This quick, simple step will help protect the newly sharpened blade and keep the tool moving freely.
Final Thoughts
Now that you’ve sharpened your garden loppers to perfection, they’re ready to tackle any task, from pruning to shaping your shrubs, with ease. It’s important to maintain them over time, however. Wipe them clean after each use and store them in a dry place. When you’re ready to start lopping your plants, make sure to avoid common pruning mistakes.
