We may earn revenue from the products available on this page and participate in affiliate programs. Learn More ›
Outdoors in Autumn
Whether you’re one of those people who can’t bear to say goodbye to summer, or someone who wants to soak up every ounce of autumn’s glory, you know the value of a well-designed outdoor living space. Extend patio season into autumn and enjoy everything it has to offer by warming up your deck or patio with some creature comforts. From heaters and fire pits to cozy textiles, there’s plenty you can do to create a more cozy al fresco space.
Illuminating Heat
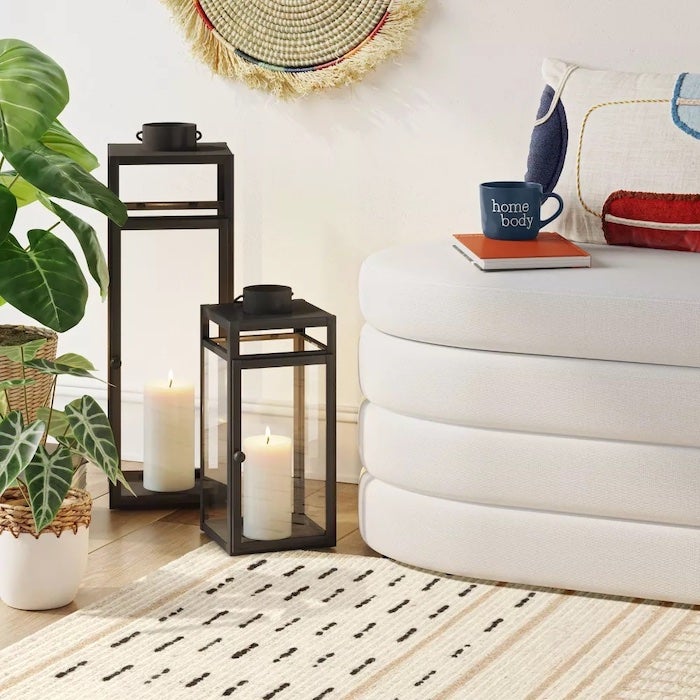
Light your nighttime patio set up with these chic lanterns from the Threshold line at Target. Each metal lantern fits a pillar candle that can offer warm, ambient lighting. Place it in the center of the table or at the foot of your recliner for a decorative and functional touch. Available from Target, from $30 per lantern.
Cuddle Up
Throw blankets aren’t just for the back of the couch or the foot of the guest bed; they make a smart addition to your porch or patio. Whether you store them in a basket on your screened porch or keep them inside in the linen closet and bring them out only when you’re spending an evening out of doors, they’ll serve you well. Take care not to leave blankets and other delicate textiles outdoors for long periods of time or they can attract mildew, mold, or pests. Also, practice common-sense safety when using a blanket by keeping it far away from any heat sources or fire pits. Available from Target for $35.
Hang a Little Warmth
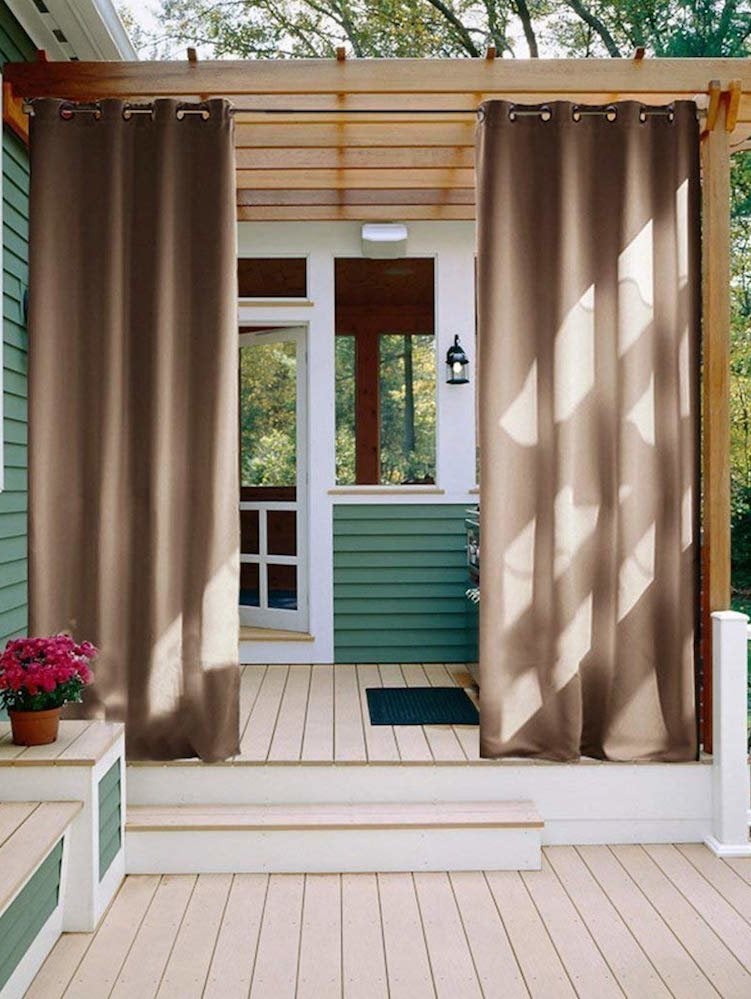
Wrap yourself—and your porch—in comfort by adding a set of insulated curtains to the perimeter of the space. Keep the curtains open during the day to let the sun’s rays warm you, then close them after sunset to shut out the crisp, cool breeze. Available on Amazon for $19.95.
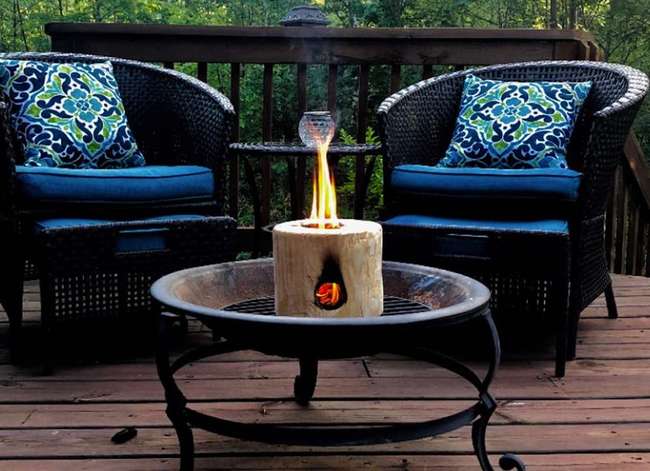
Hunk of Burning Log
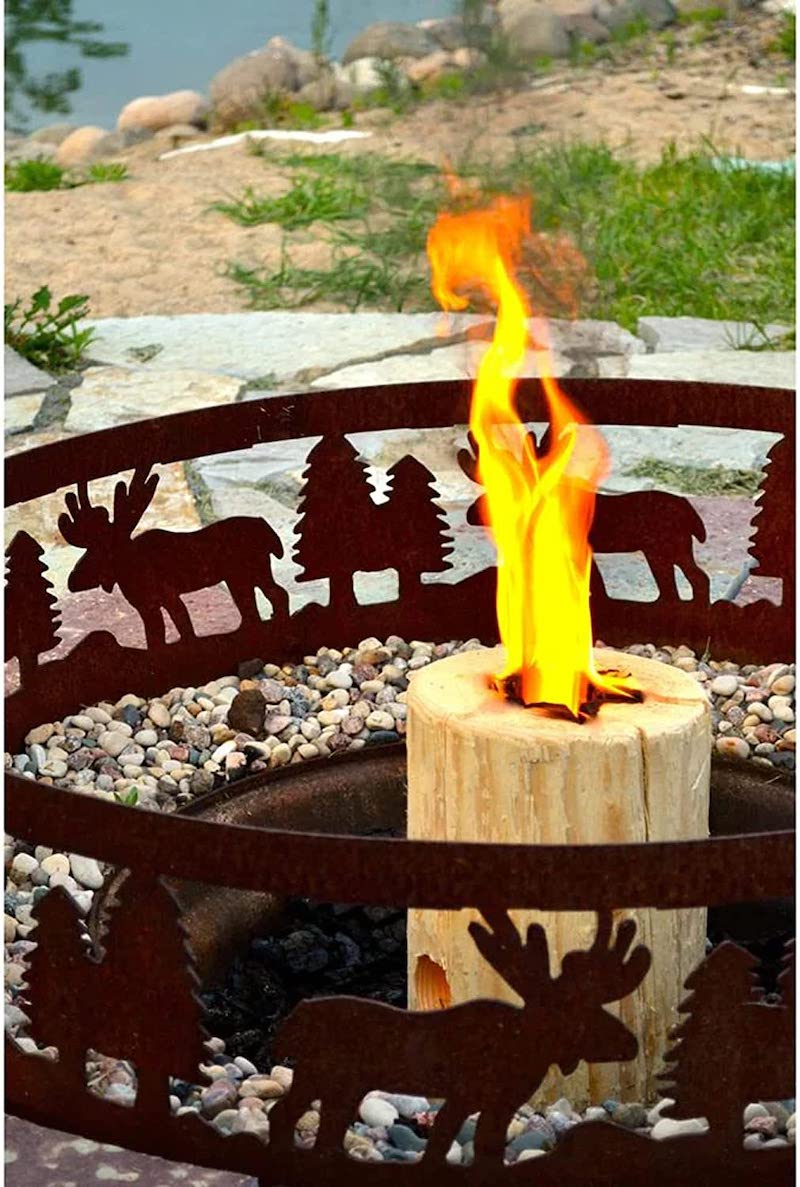
Spend less time starting a fire and more time able enjoying the warm blaze. This self-contained fire is made by lighting a firestarter and dropping it inside a pre-drilled hole in the log. When placed on a fireproof surface, the TimberTote will burn for 2 to 2.5 hours, bringing warmth and creativity to your outdoor space.
Available on Amazon for $18.99.
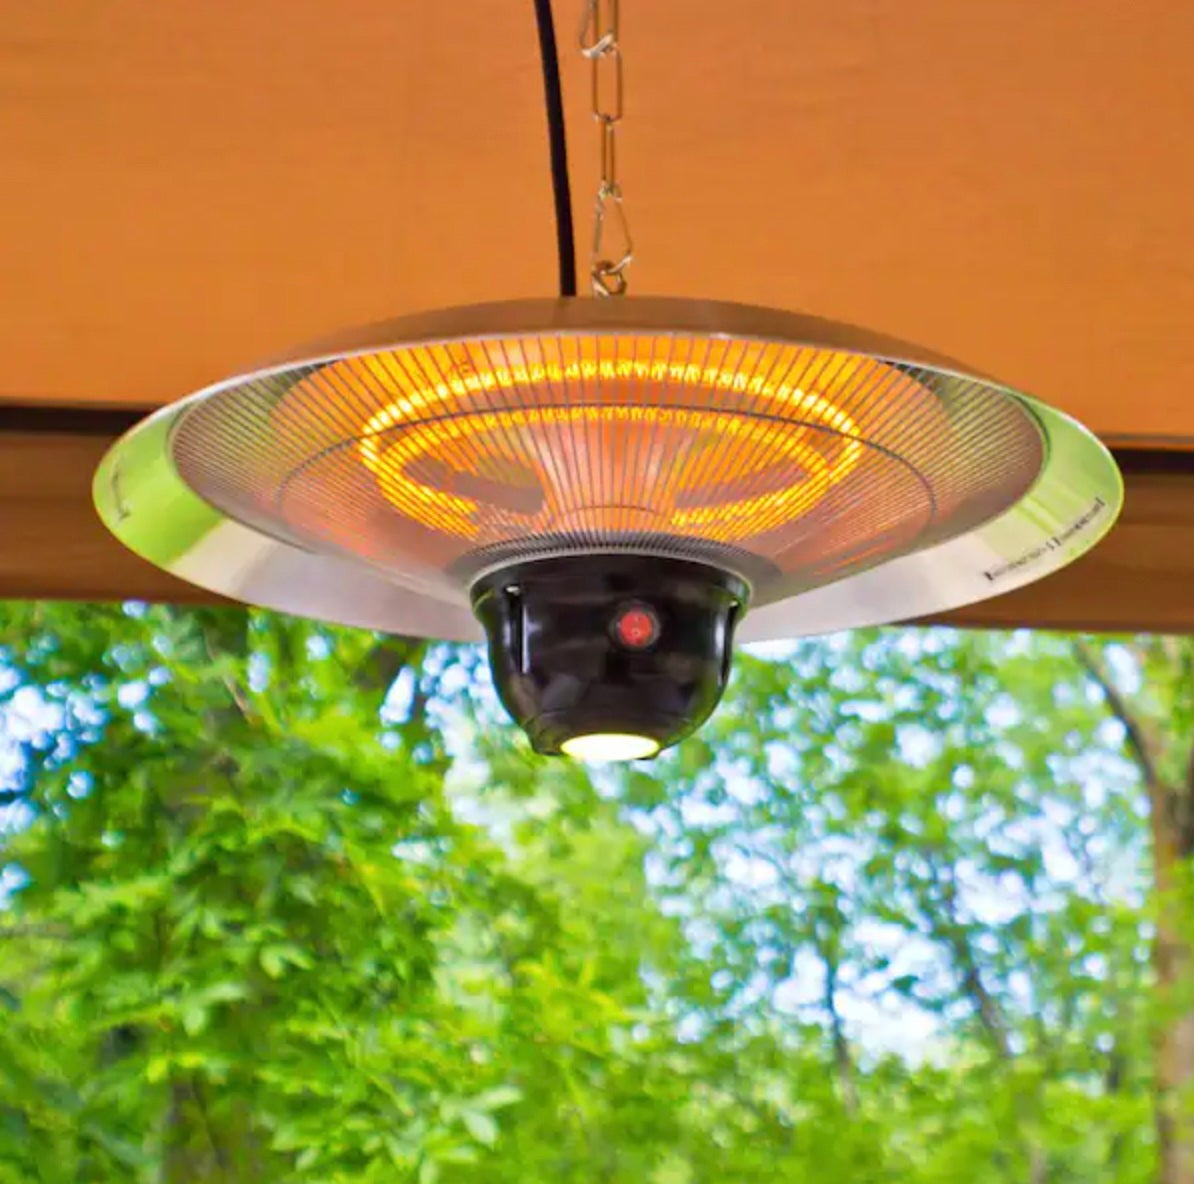
Heat from the Top
homedepot.com
Like indoor space heaters, outdoor heaters may have exposed coils that get hot to the touch while being operated. If you’re not careful, that quality might put you or your family at risk of injury. You can avoid the trouble that comes with bumping into a standing outdoor heater by mounting one to the ceiling of your outdoor room or the overhang on your porch. This hanging heater comes with a hook and chain for easy installation, a remote control for easy use, and will work quietly in the background to keep you warm throughout the fall. Available from The Home Depot for $159.54.
A Moveable Blaze
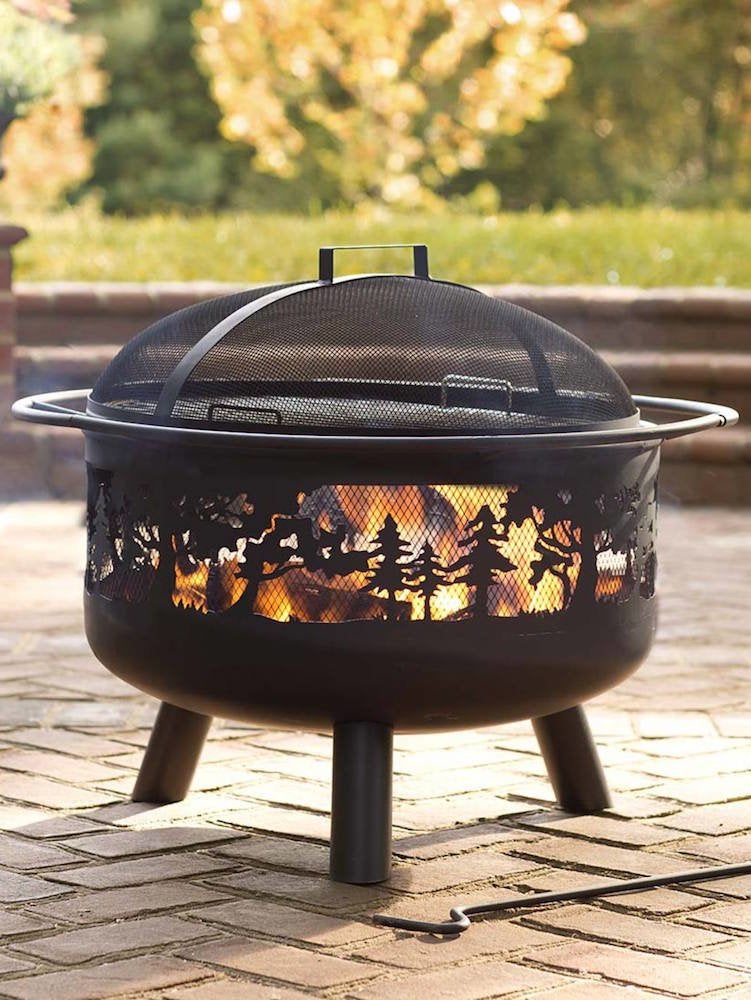
If you spend a lot of time in your backyard, you may want to spring for a fireplace or a fancy fire pit surrounded with built-in seating. But if a patio remodel isn’t in your budget, a portable fire pit will be your best friend. Warmth—not to mention a s’mores station—is well within reach at a modest price point. Available at Plow & Hearth for $119.95.
Soak in the Season

In the dog days of summer, a refreshing dip in a cold swimming pool makes for an enjoyable afternoon. But at a certain point in the year, the thought of diving into an outdoor pool can make anyone shiver. With your own backyard hot tub, however, you can continue to enjoy the water—but in a more seasonally appropriate way. This inflatable hot tub from Coleman, which seats up to six people, can be inflated with an included pump and it will keep the water at a comfortably warm temperature thanks to the accompanying heating unit. Available on Amazon for $530.78.
Cast Iron Character
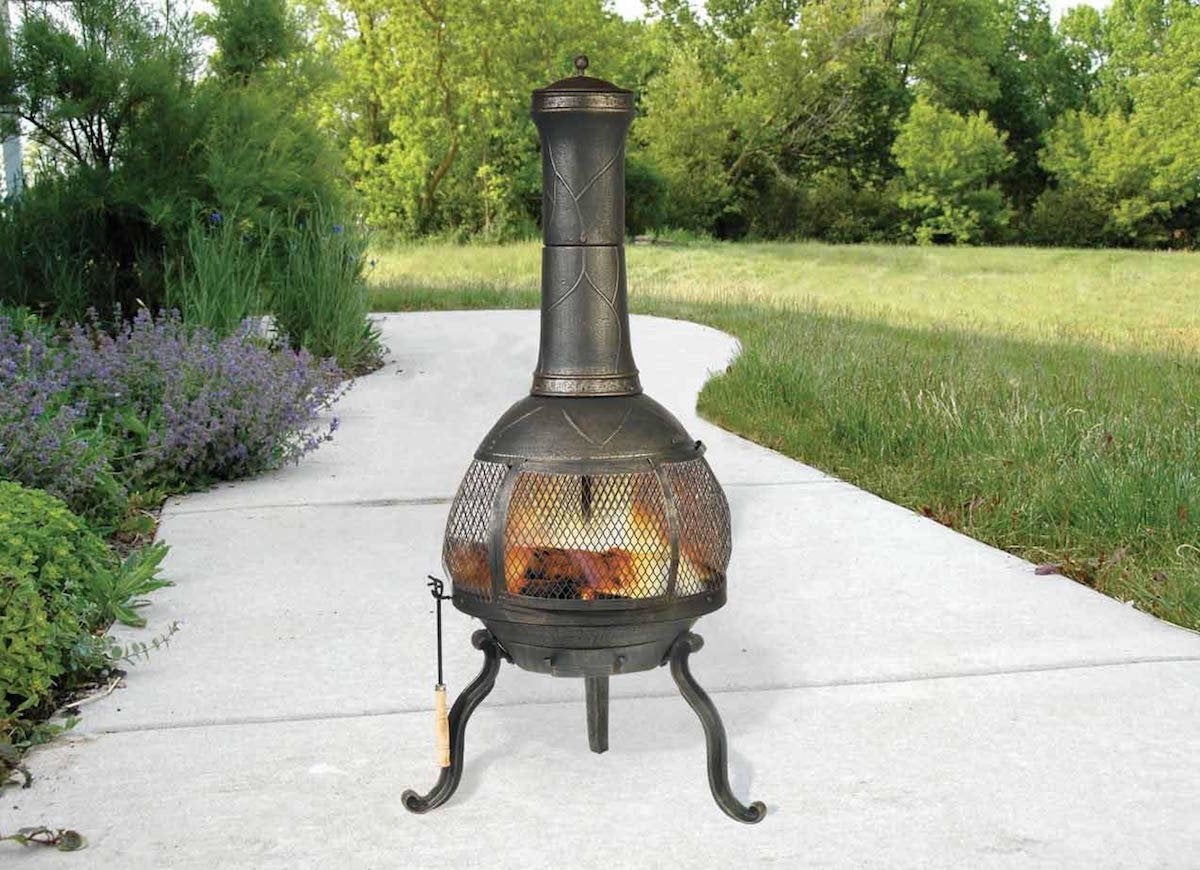
Add a little ambiance with a structural heating element, like this cast iron chimenea. A metal door swings open so you can feed logs into the fire and an ash catcher nestles neatly in the bottom of the fireplace so you can clean it out without a fuss. Available on Amazon for $213.99.
Patio Chair Cushion
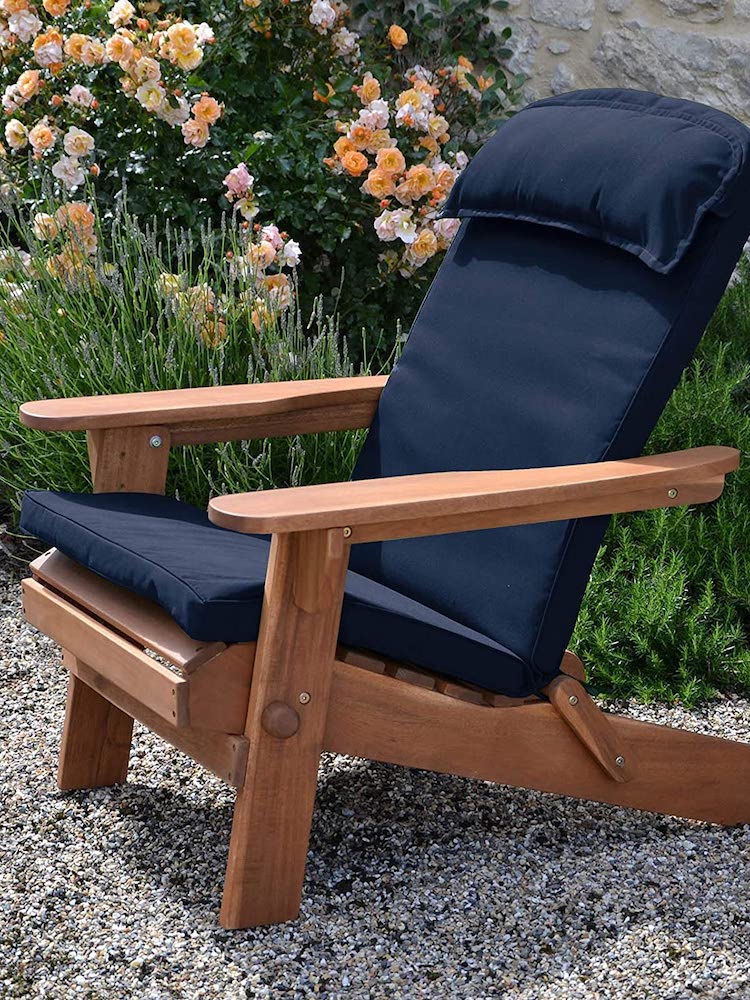
Adirondack chairs conjure visions of relaxing summer days in full view of nature’s glory, but by the time fall comes around those classic wood chairs might not seem so appealing. To make them a little cozier for cool weather months, add a full-length cushion like these cushions from Plant Theatre. Keep the cushions inside your toasty warm home, then bring them outside when you want to sit outdoors. The warmth from the house will lend those cushions—and chairs—a little extra comfort. Available on Amazon for $55.23 (set of two).
Secret Centerpiece
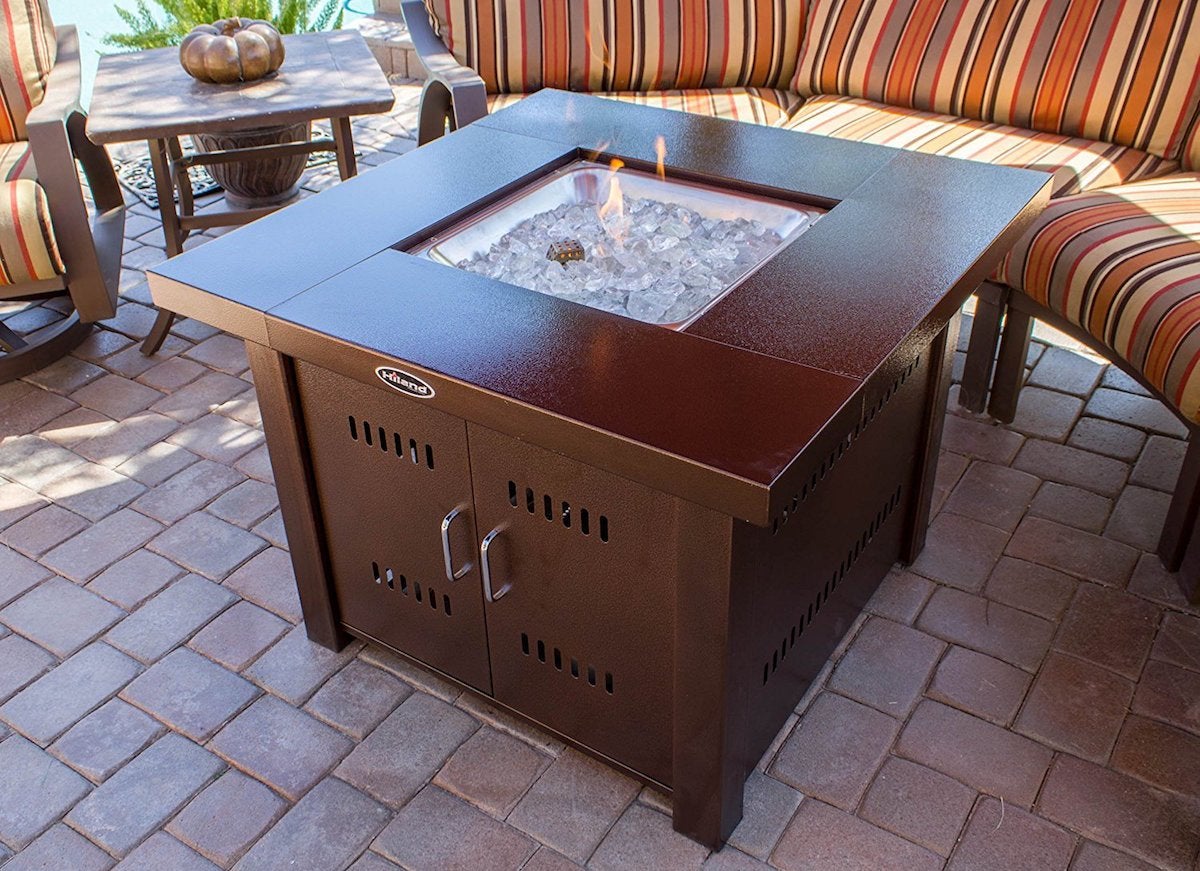
This charming coffee table has a secret—the cabinet draws open to reveal a propane tank that powers a fire pit in the center of the tabletop. When it’s not keeping you warm during the cooler months, the fire pit can be covered with a metal cover that sits flush with the rest of the table, so that you can use the surface to set cool drinks. That element of versatility makes this a patio heater that you can use all year long. Available on Amazon for $217.19.
Dish Up Heat
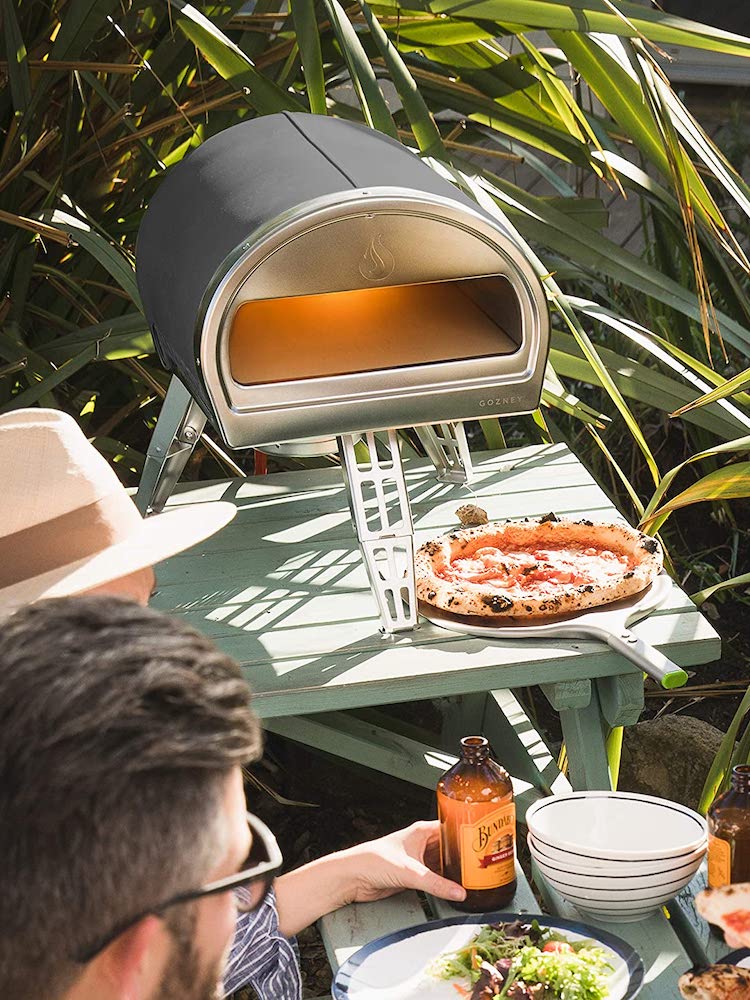
On chilly evenings, treat your family and friends to a slice of heaven and a helping of heat on the side with the
ROCCBOX Gozney portable pizza oven. The restaurant-grade oven can heat up to 950ºF and cook your crust in 60 seconds. As guests gather ‘round the oven, they can peep in what’s cooking and soak in the surrounding warmth. Available on Amazon for $499.
Easy-Start Fire
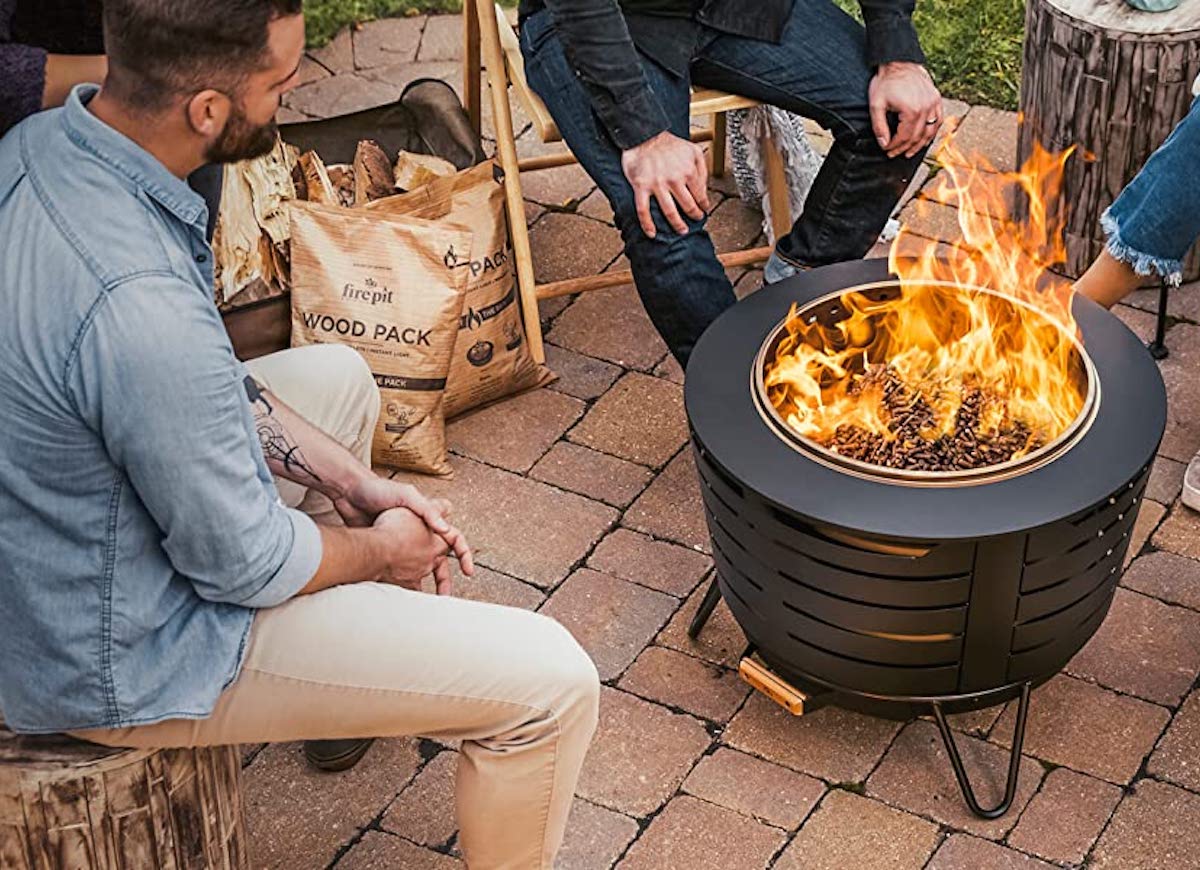
If you’re put off by the smoke or soot of a fire pit, this compelling design from TIKI will appeal with its internal airflow system that reduces smoke and ash. Let it burn the old-fashioned way with traditional logs and kindling or start fires instantly with TIKI’s fire starter packs and wood packs. What’s more, the sleek design adds modern style to any outdoor space. Available on Amazon for $395.
Pile On the Warmth

homedepot.com
Have a drafty deck or patio? Cover it in plush rugs to keep your toes toasty no matter how much the temperature drops. To maximize comfort underfoot and minimize maintenance, choose a rug with a short pile—like this Aloha rug by Nourison with 1/2-inch-long fibers. Made with water-resistant materials, the 5-by-7-foot floral rectangular rug wicks away everything from rain to fallen drinks to stay dry and damage-free. Available from The Home Depot for $69.70.
Focused Flames

Perfect for alfresco dinners on deck, this set of tabletop torches from TIKI lends a soft glow to an outdoor dining table or end table. With each torch measuring 5.5 by 3.5 inches, you can station one on every corner of the surface to amp up the ambience. The 5-hour burn time and refillable fuel canister keep the party illuminated into the wee hours. Available on Amazon for $45.99 (set of three).
String Theory
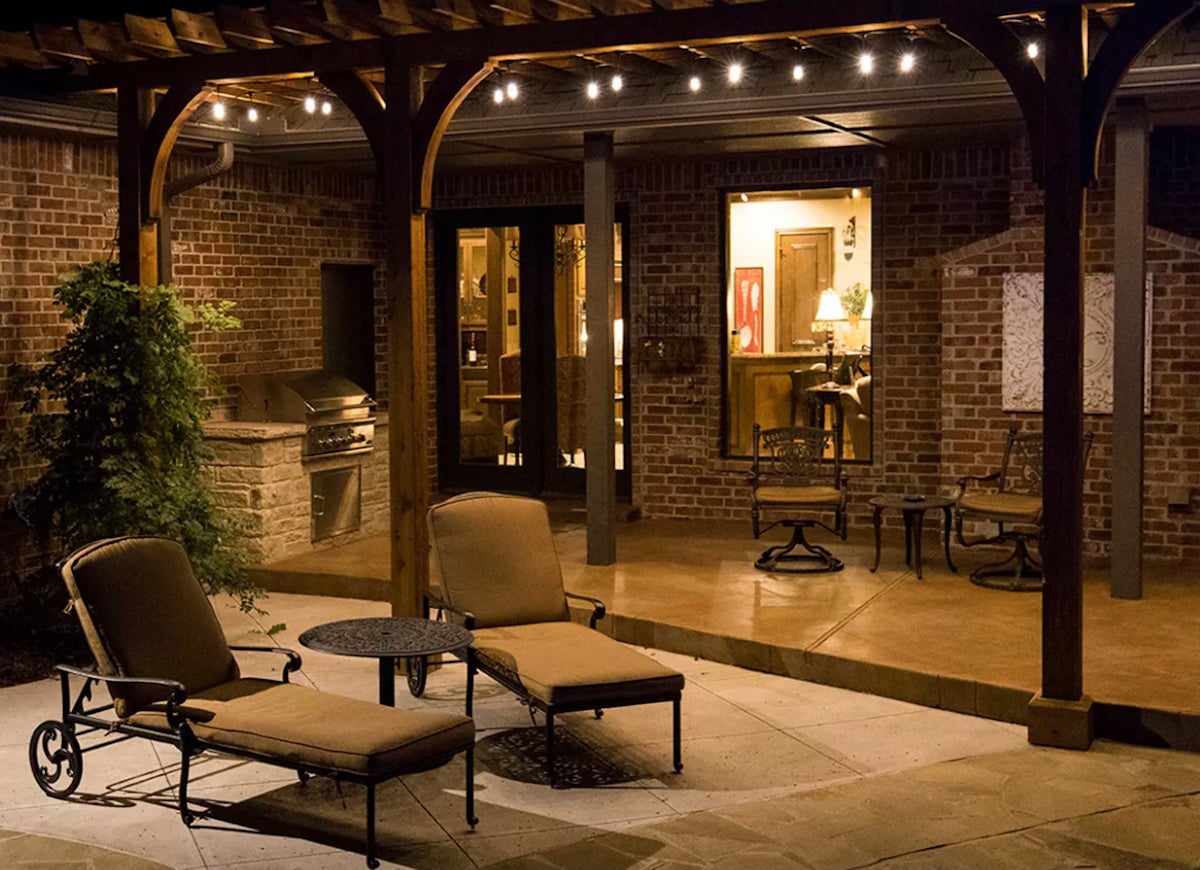
What’s the solution for a patio that’s too dank or dim to entertain guests? String up! Consisting of clear filament bulbs strung from black wire, these simple but elegant
9-count LED string lights lend a little light, warmth, and style to outdoor spaces big and small. Bring any extra lights indoors to set a festive mood during the holidays and beyond. Available from Target for $45.49.
Prices are accurate as of October 18, 2022.