
We may earn revenue from the products available on this page and participate in affiliate programs. Learn More ›
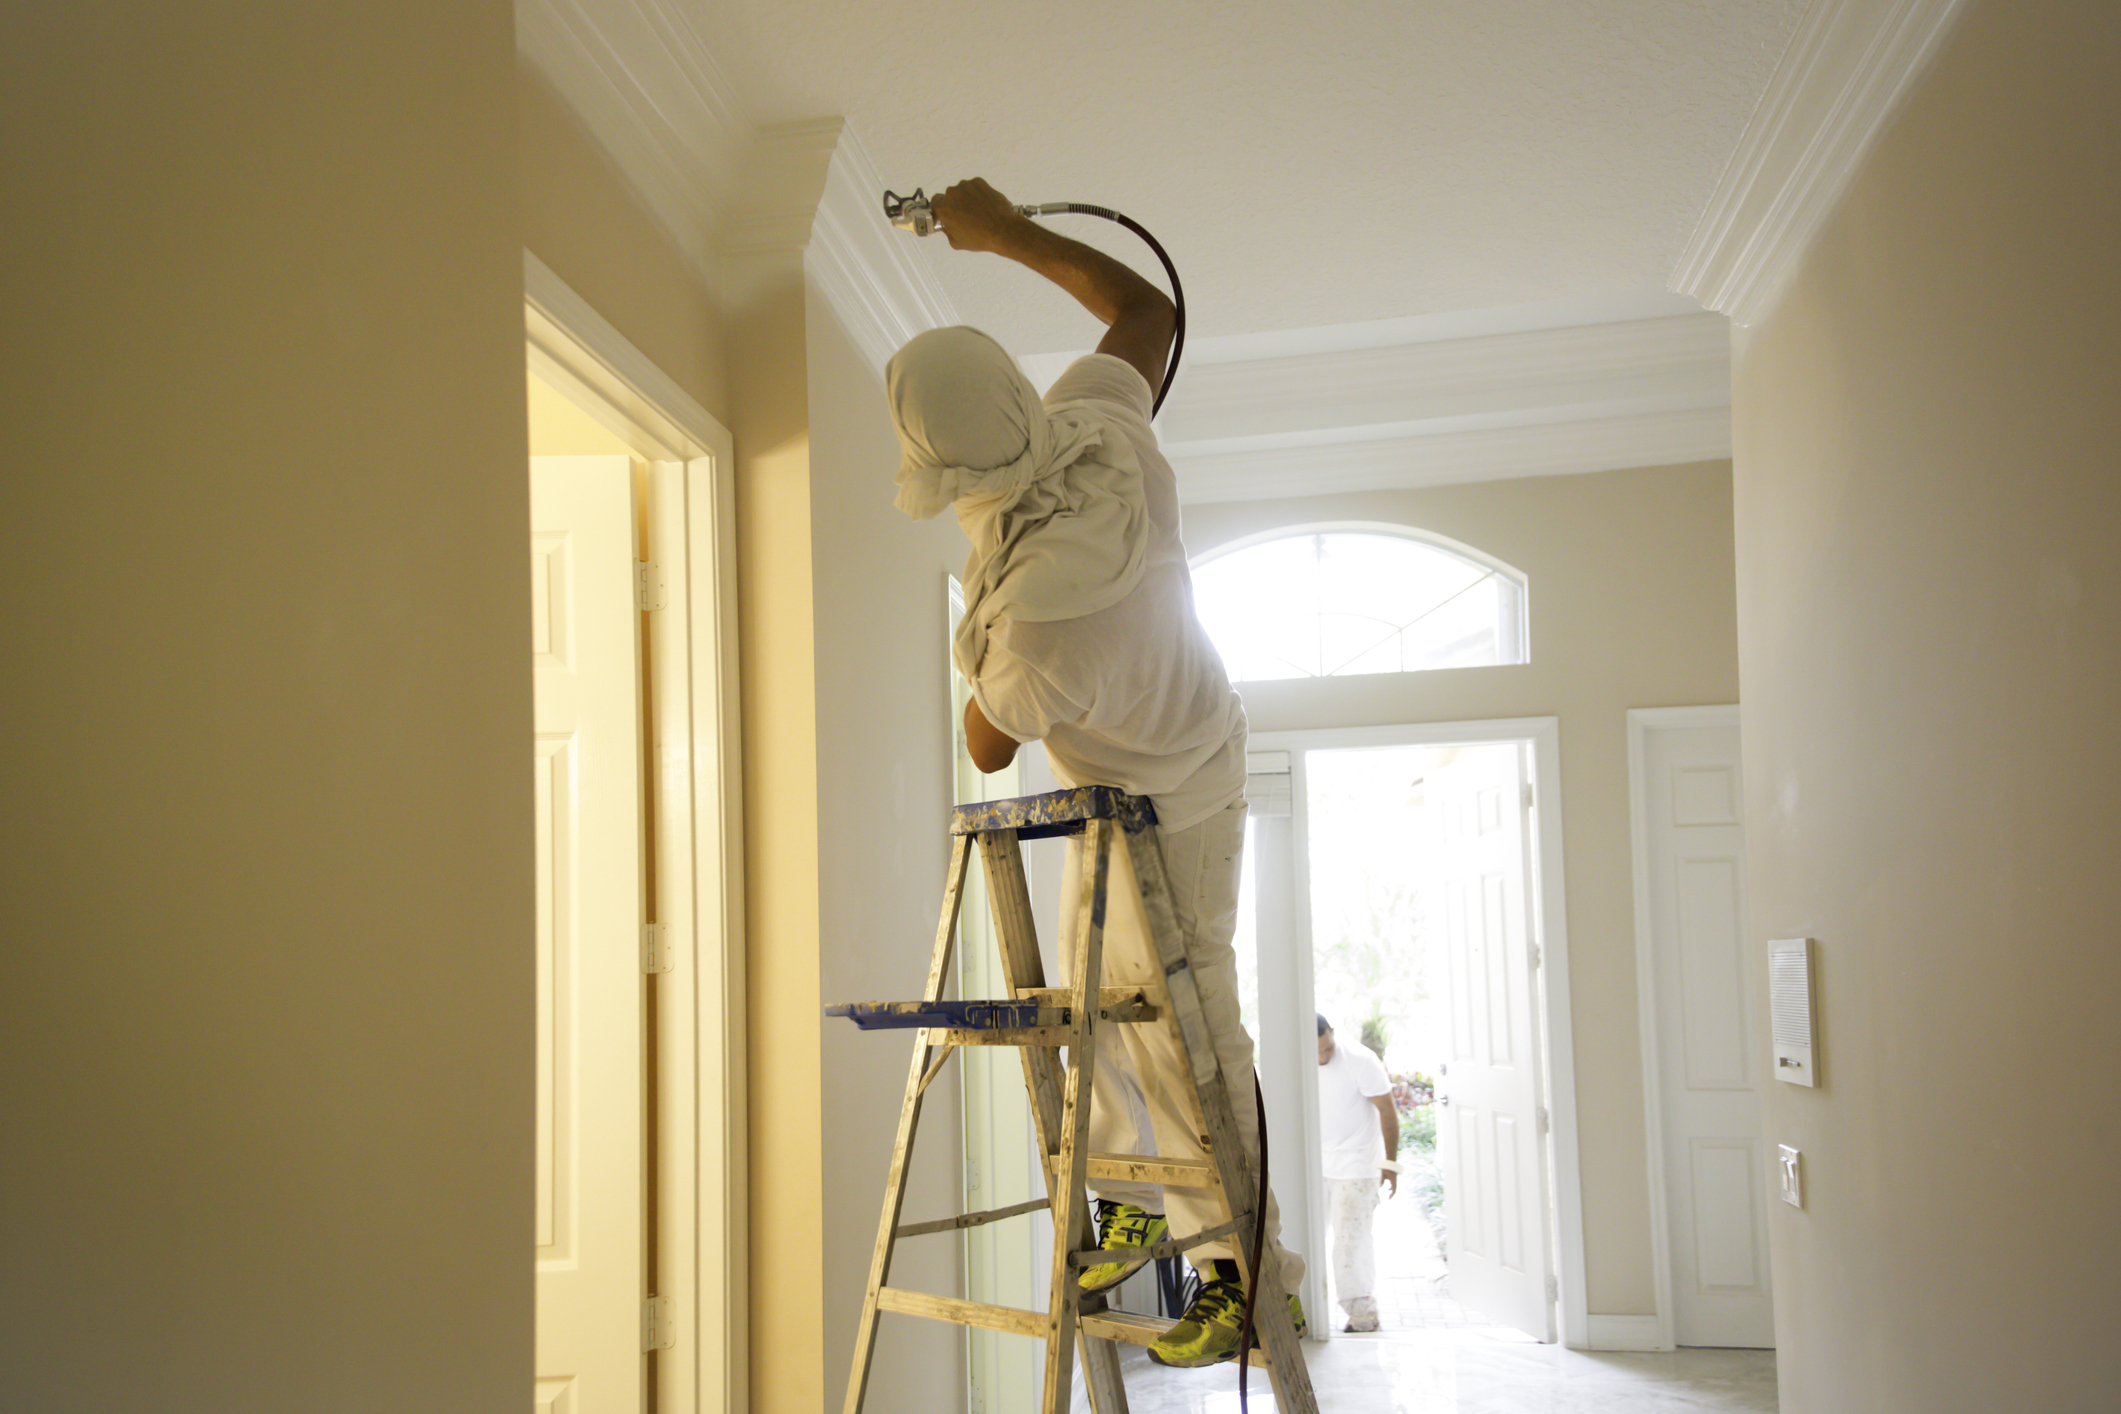
Painting both the interior and exterior of a home can dramatically refresh its appearance, increase its value, and help protect surfaces from wear and tear. One of the most efficient tools for tackling large painting projects is a paint sprayer. Compared to traditional brushes and rollers, paint sprayers offer faster application and a smooth, consistent finish on everything from walls and ceilings to siding, trim, and fences. Whether you’re giving your living room a modern update or revamping your home’s exterior, a paint sprayer can save you time while delivering professional-looking results.
Using a paint sprayer, however, requires more than just pulling a trigger. DIYers often run into trouble when they make common paint sprayer mistakes like skipping prep work, using improper techniques, or forgetting to clean the sprayer properly after use. Here are details on these and other common mistakes, and ways to avoid them in your painting projects.
1. Skipping a Sprayer Test
While you may be anxious to start your paint job, it’s important to take the time to do a practice run. If you’ve never used a paint sprayer before, be sure to test it out on some cardboard, scrap wood, or other throwaway material first before going straight to your painting surface, says Carr Lanphier, CEO of Improovy, a house painting service.
“Paint sprayers can have a bit of a learning curve when it comes to achieving the correct pressure and distance for a good coat of paint, so practicing first will make this job go faster and look better in the end,” he says. Plus, each sprayer feels and works a bit differently, so it’s a good idea to become familiar with the one you’re using so you can make any necessary adjustments.
2. Trying to Paint an Uneven or Dirty Surface
In order to achieve an excellent result with the paint sprayer, you’ll need to prep the surface, such as a wall or trim. If necessary, remove old paint or stain using sandpaper, a paint scraper, or a chemical stripper. Next, Lanphier recommends going over the surface thoroughly to look for any dents or imperfections you can patch. Then give the surface a good scrub with some warm, soapy water to clean any dirt, dust, cobwebs, or other debris.
“Allow your walls to dry out thoroughly before painting to give your paint the best possible chance of adhering well,” says Lanphier. A clean surface will ensure the paint looks smooth and that it properly adheres to the surface and doesn’t peel.
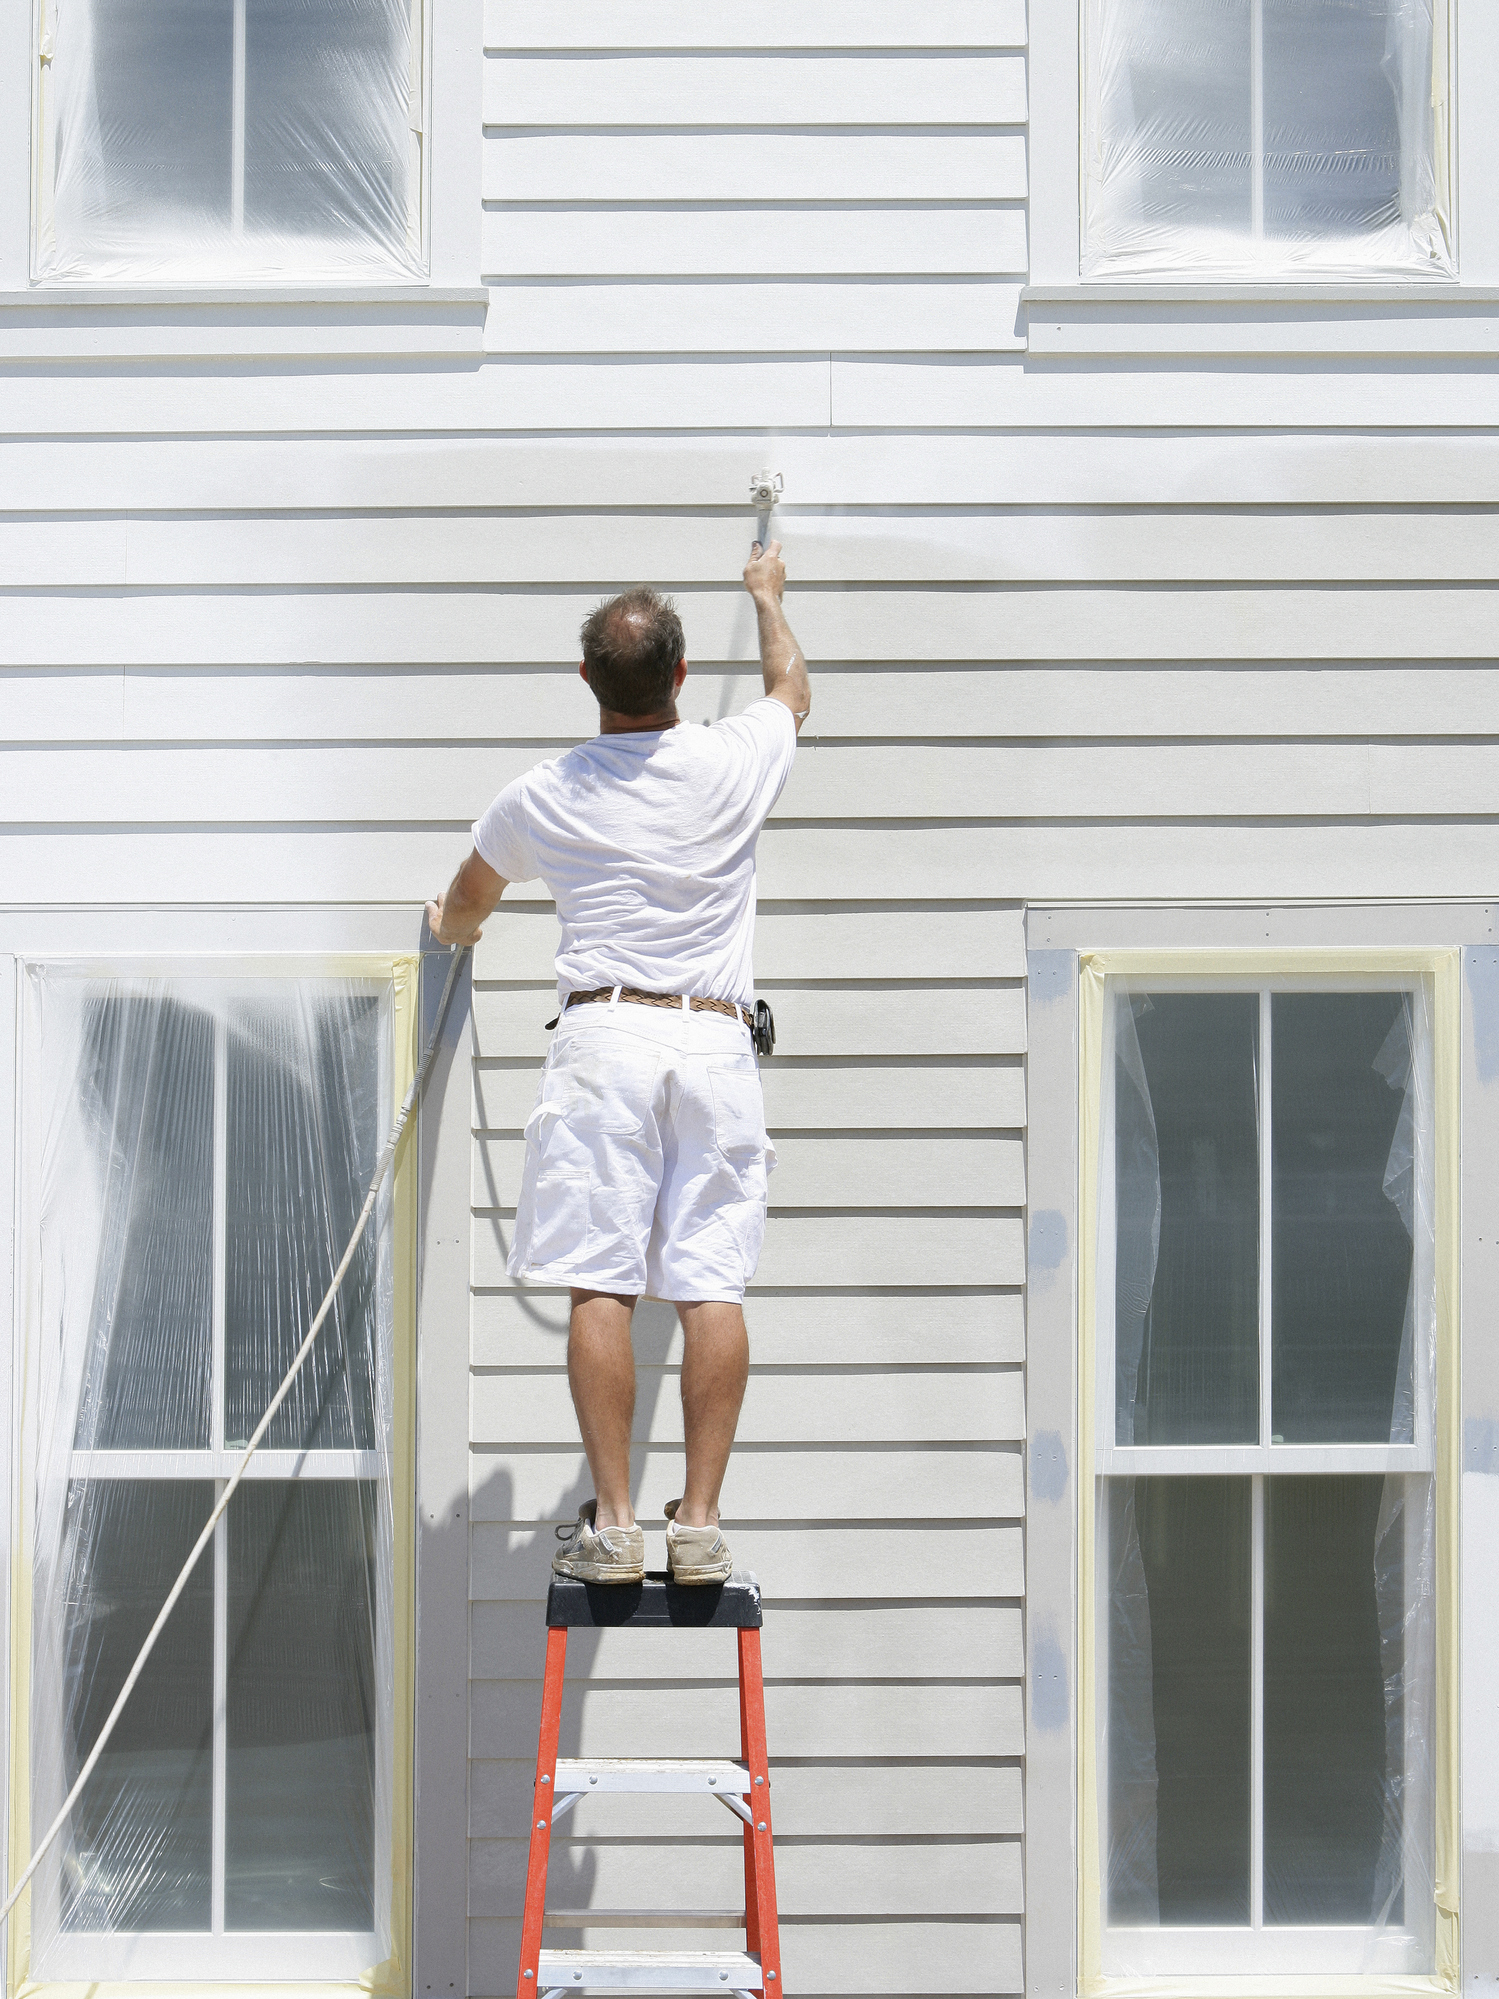
3. Handling the Sprayer Incorrectly
Another common mistake that DIYers tend to make is not moving their arm in the direction they want to paint before pulling the trigger on the sprayer, says Kelly Mardis, owner of Marcel Painting, a residential and commercial painting company in Phoenix, Arizona. “You don’t want your hand to be still when the sprayer goes off because that moment of stasis will leave big, unsightly paint splotches on the surface you’re painting,” he explains. This will look bad, and the paint will drip down the surface.
Instead, make sure your hand is in motion in the direction you want to paint before you pull the trigger. Also, don’t tilt the sprayer; keep it perpendicular to the surface that you are painting.
4. Applying Too Much Pressure
Too much pressure is another common DIYer mistake when using a paint sprayer. It can cause the paint to spray excessively onto the surface being painted, resulting in paint that drips, says Mardis. This means you’ll have to wipe off all the paint before it dries and try again at a lower pressure. That’s why testing the paint sprayer in advance is so critical.
“Start on a low-pressure setting and do a quick spray. Adjust pressure until you get a full and even spray with no runs,” recommends Mardis.
5. Painting in Poor Conditions
Paying attention to the surrounding environment—such as wind, moisture, and dust—is also necessary when using this type of tool. “Paint sprayers are especially hard to use in windy conditions,” says Rafi Friedman, president of Coastal Luxury Outdoors in Jacksonville, Florida. “You’ll end up with paint where you don’t want it, especially with heavy cross winds. A little breeze can help with the drying process, but avoid spraying on very windy days.”
Check the weather before you schedule your outdoor painting session. If it’s too cold, the sprayer can get clogged. Yet if it’s too dry or hot, the paint can end up streaky. It’s best to spray on a calm, mild day with relative humidity between 40 to 50 percent.
6. Forgetting to Clean the Sprayer
Finally, it’s important to thoroughly clean the paint sprayer between jobs. “Tiny impurities in the paint; short breaks; and hot, dry conditions can all cause your nozzles to clog, resulting in uneven or inconsistent spraying,” warns Friedman. This might look like drips or splatters, or the sprayer may stop working altogether.
Follow these steps for proper cleaning:
- Fill a bucket with water if you’ve used latex paints or paint thinner if you’ve used oil-based paints.
- Remove the intake hose from the paint and put the hose into the bucket.
- Add 2 cups of water or paint thinner to a second bucket.
- Remove and place the spray tip guard, tip, and filter into the second bucket for cleaning.
- Reassemble the airless paint sprayer without the guard, tip, and filter.
- Prime the pump and pump water or paint thinner through the system.
- Use the spray gun to release the cleaning fluid and to flush any remaining paint from the system.
- When all parts are clean, reattach the spray tip guard, tip, and filter.
