The Sill Drops Hundreds of Plants Up to 47% Off—Orchids, Monsteras, Citrus Trees, and More
From statement orchids to fruit trees and low-maintenance houseplants, The Sill’s bi-annual savings event includes discounts on all your favorite plants.
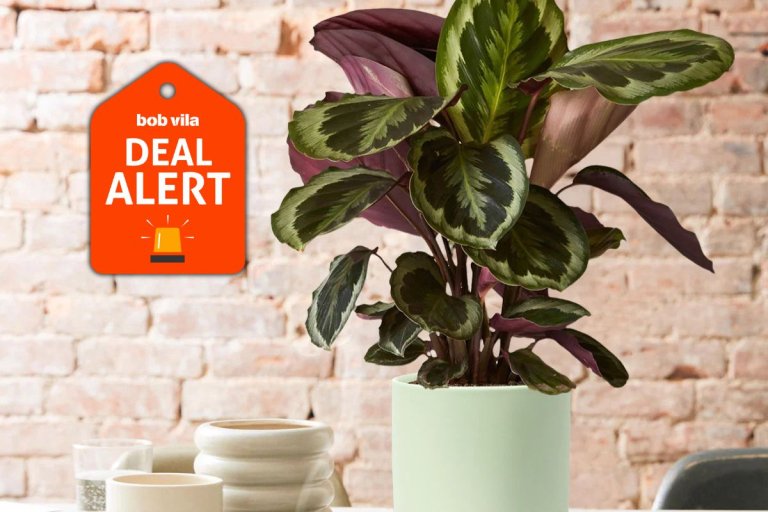
From statement orchids to fruit trees and low-maintenance houseplants, The Sill’s bi-annual savings event includes discounts on all your favorite plants.

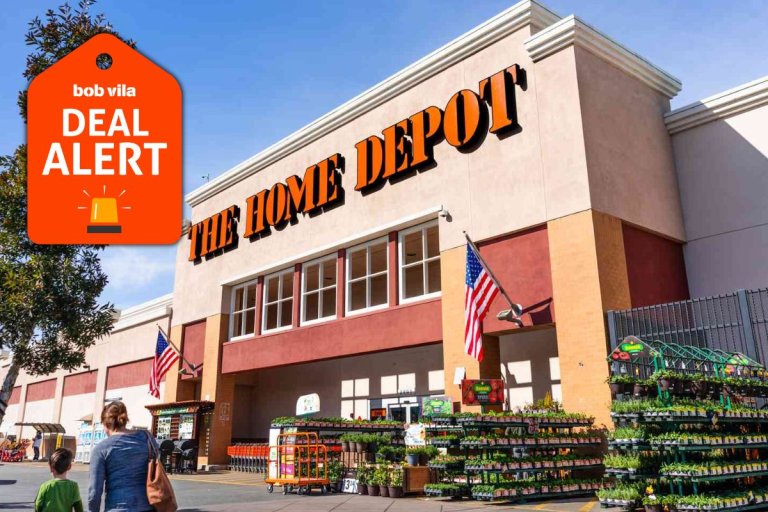
The Home Depot is discounting power tools for pros, DIYers, and serious hobbyists, with standout deals on DeWalt, Milwaukee, and especially Ridgid—plus a dedicated section with 50% off and deeper cuts.
There's a deal on just about everything you need for summer, from power tools and mowers to grills and kitchen essentials.
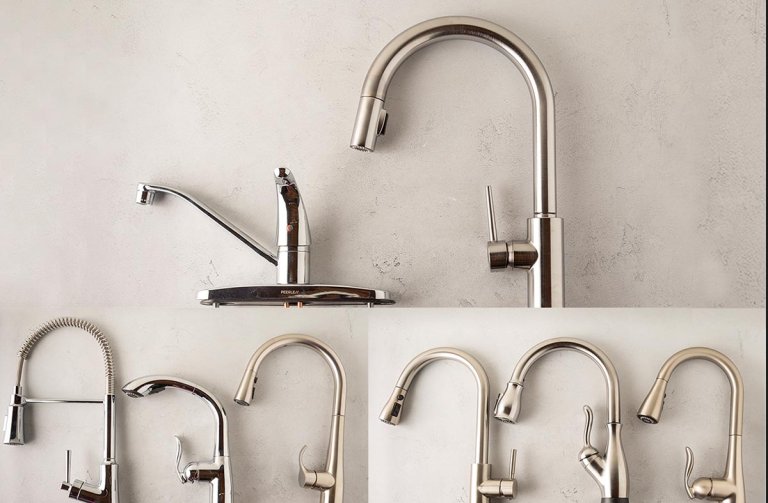
Add style, functionality, and convenience to your kitchen with the right kitchen faucet. We tested various top models on the market to find the best of the best.
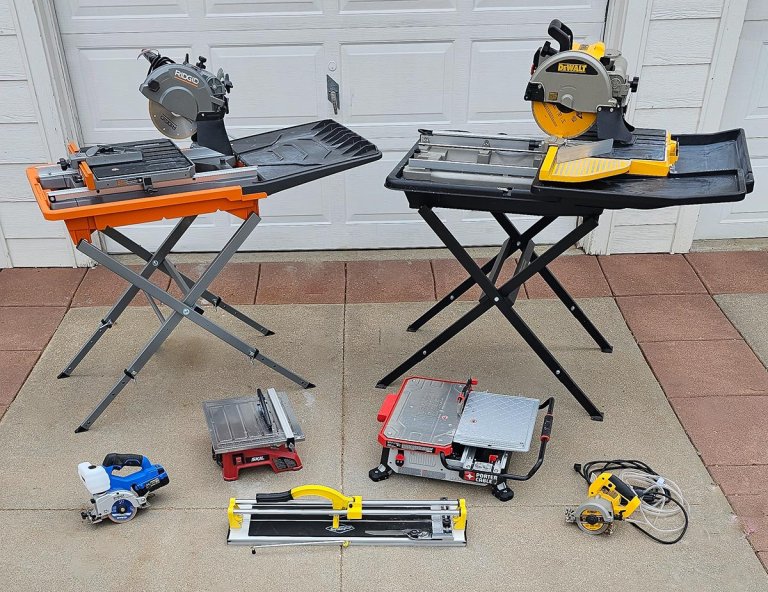
We tested tile saws for your next project. Learn how to choose the right one to cut through tiles with precision.

Deck stains can restore a deck and protect its wood, but choosing the right one can be confusing. I performed hands-on testing on several top deck stain products. Find out how they fared.
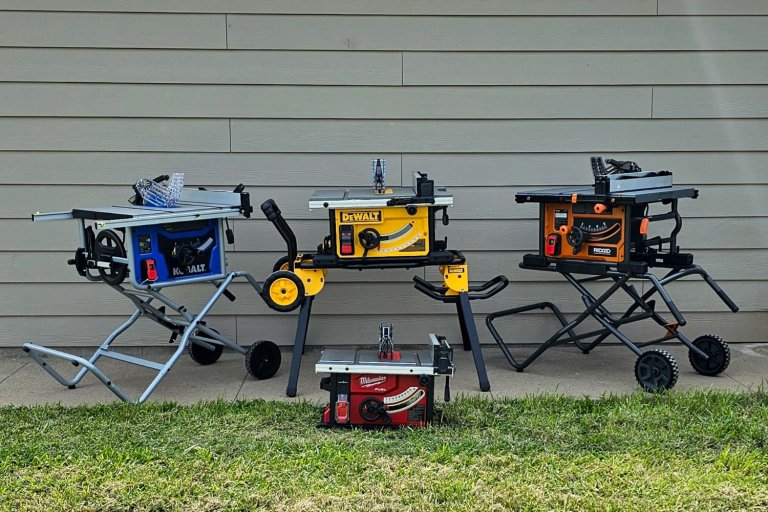
We tested the best table saws for your woodworking projects, skill level, and budget. These are our top picks for DIYers and pros alike.
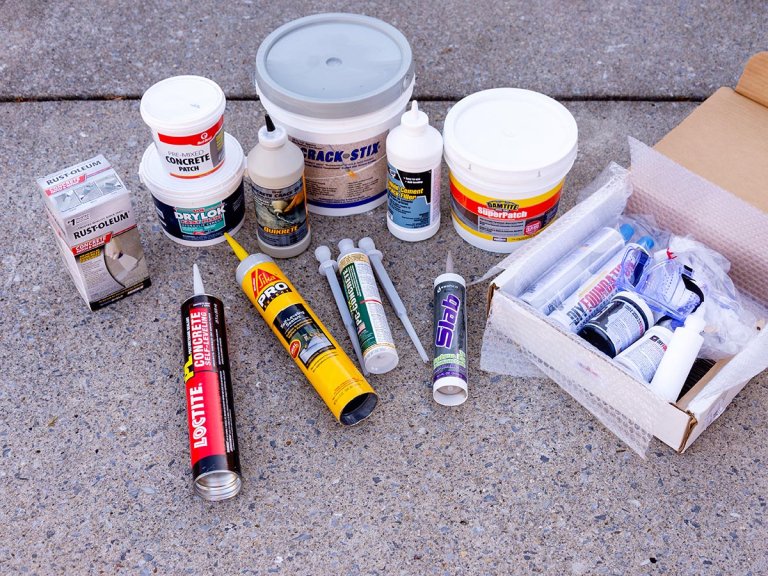
Don’t go to pieces over a few cracks in your concrete. These fillers will restore the looks and weather resistance of any concrete surface.

Painting your home and its contents is much easier with expert advice and handy product helpers.
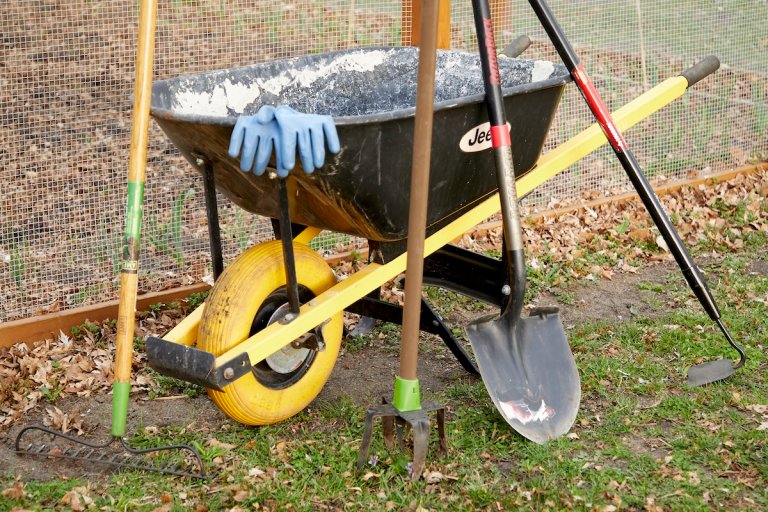
Preparing your garden takes a lot of work, even before your seeds go into the ground. Try these tools and strategies for tilling a garden without a tiller, and prepare for your best season—and soil—yet.
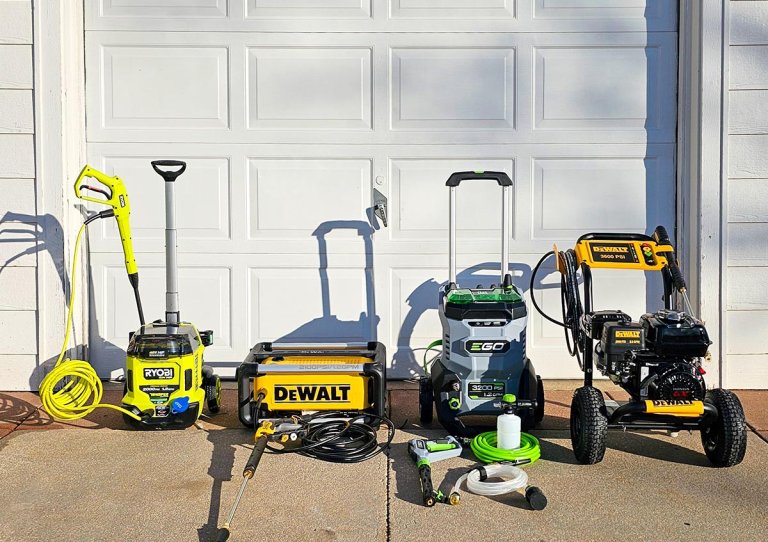
Want to rid your outdoor items of built-up dirt and grime? We tested 14 popular pressure washers to find the absolute best.
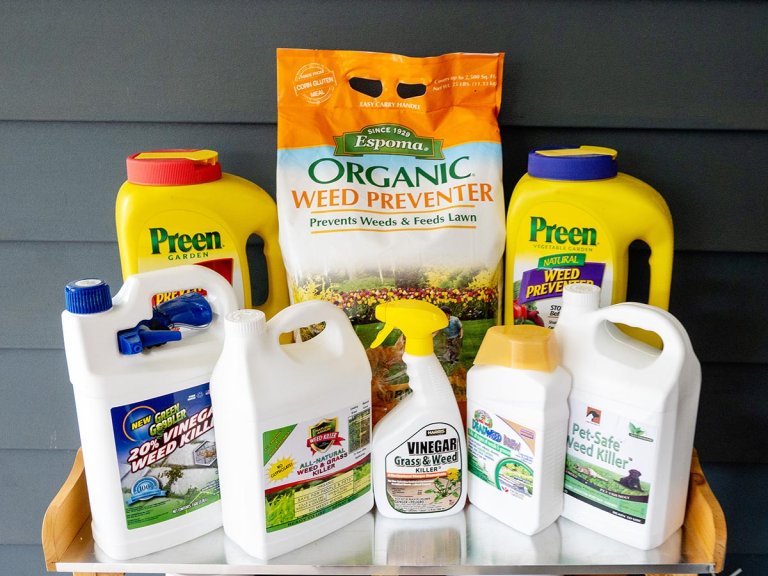
Flowers and ornamentals grow better in a weed-free environment. Find out how to rid a garden of weeds in an environmentally safe manner.
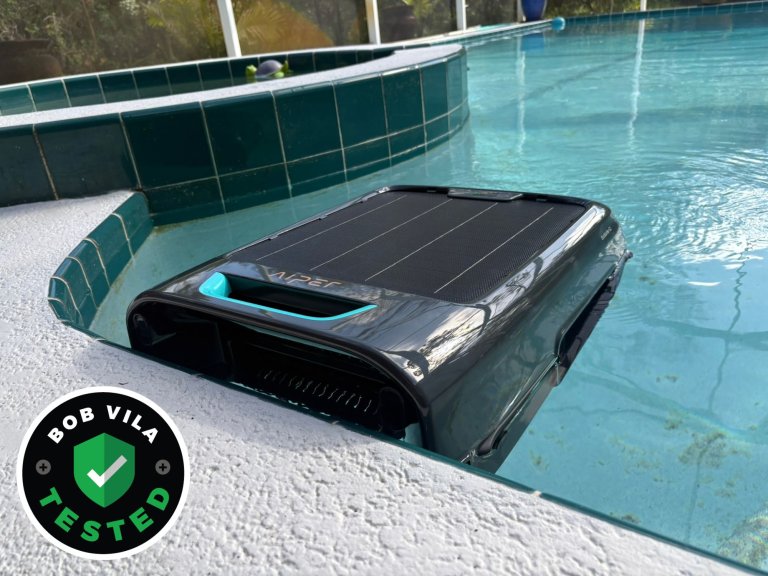
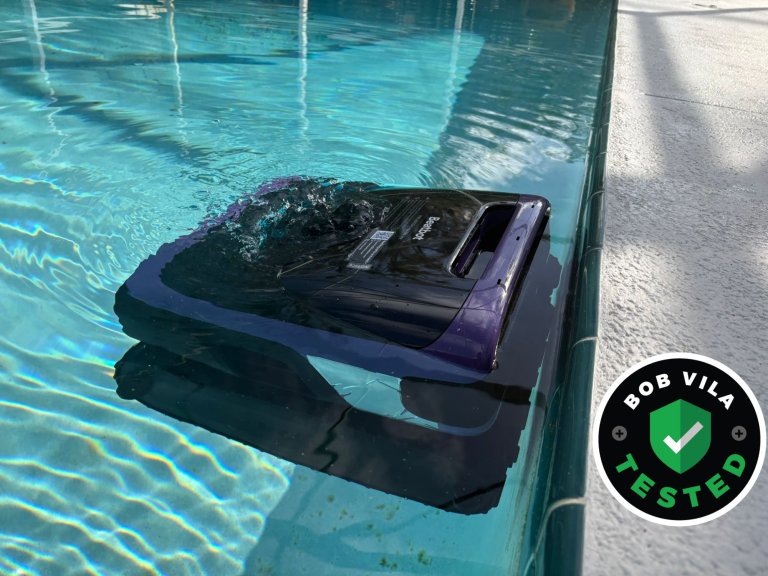
After a month of hands-on testing in a Florida pool, this solar-powered skimmer proved it can dramatically cut down daily debris with almost no effort or maintenance required.
Whether you prefer an effective eco-friendly solution or a fast-acting chemical, these grub killers eliminate infestations of lawn-eating beetle larvae.
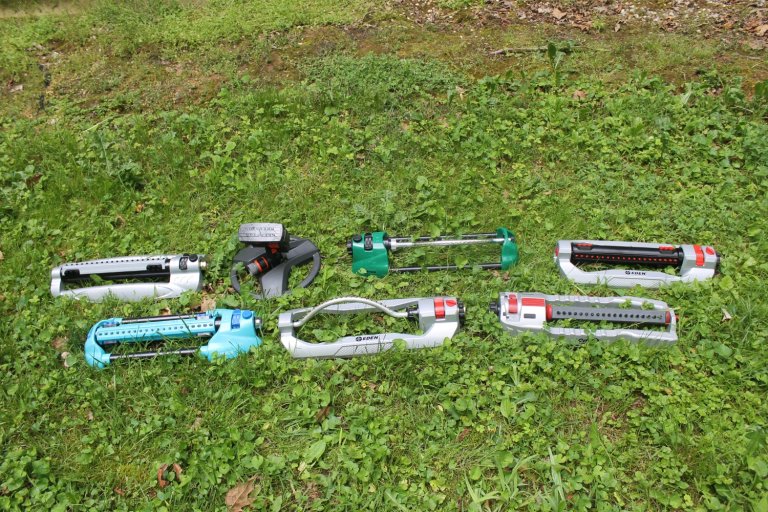
Keep your lawn or garden well irrigated while minimizing wasteful overspray on driveways and sidewalks with a good oscillating sprinkler.
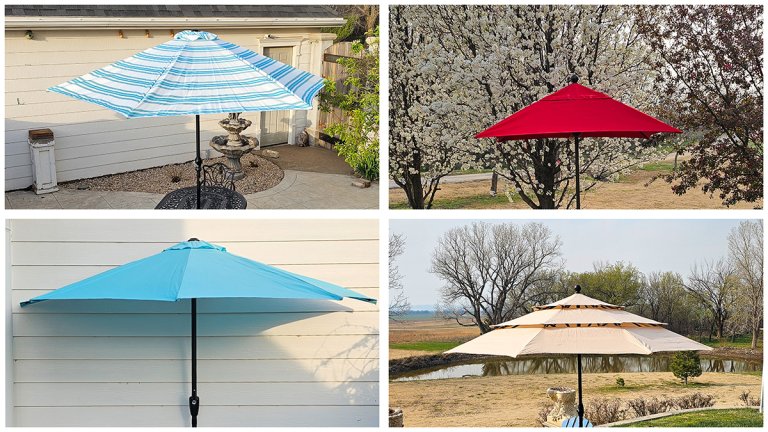
Don’t let the wind wreck your weekend—these patio umbrellas come with features specially designed to make them more stable in breezy backyards.
After a month of real-world testing in a Florida pool, this all-in-one cleaner proved it can handle everything from surface debris to deep scrubbing, without the need for multiple machines.
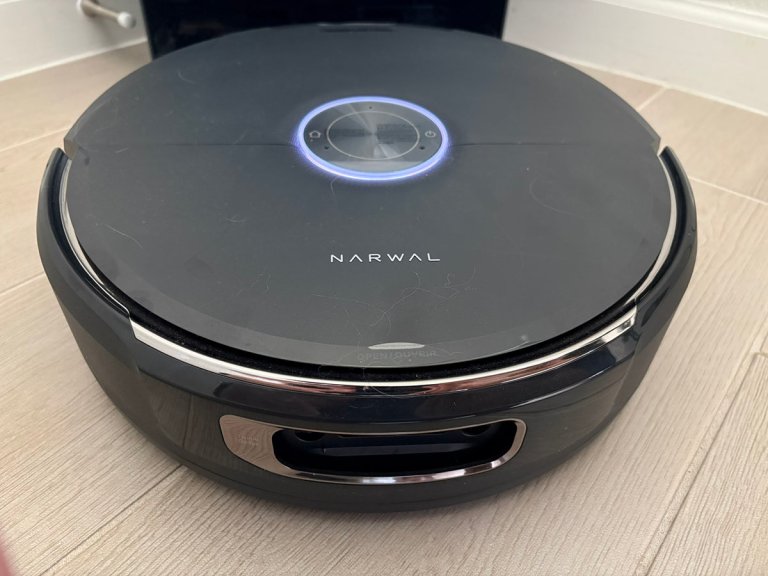
After a month of real-world testing in my home, this new robot vacuum-mop proved impressively hands-off, combining powerful suction, self-cleaning mop pads, and smart navigation to handle everyday messes with ease.
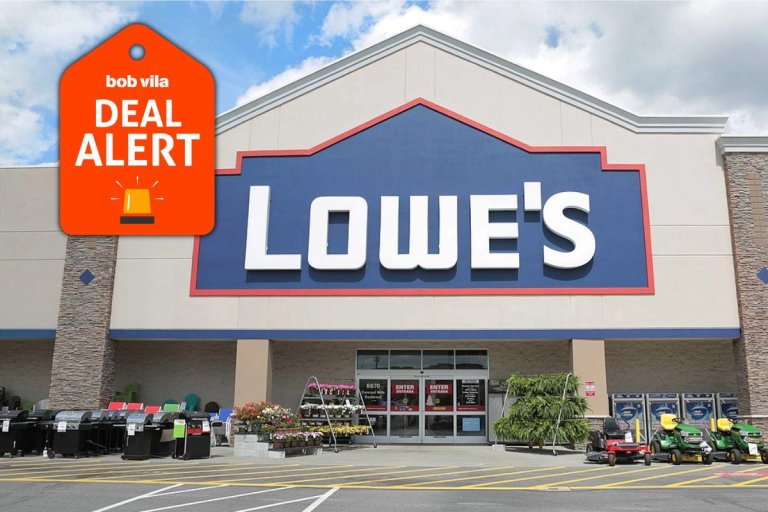
Lowe’s SpringFest sale is discounting lawn mowers, trimmers, pressure washers, and more, with solid deals on EGO, Kobalt, and Greenworks tools for spring yard prep.

Bring drama—and some pollinators—to your yard by growing these big blooms.