
We may earn revenue from the products available on this page and participate in affiliate programs. Learn More ›

To those who have used one, a story pole does indeed have a tale to tell. To the uninitiated, however, the story pole may seem like just a piece of scrap wood with a bunch of marks on it. Then again, that piece of black basalt we now know as the Rosetta stone hardly looked at first glance like the great window on the past it has proven to be.
For the mason or the carpenter, the story pole is a time proven trick of the trade. Functioning as a building-specific rule, the story pole helps assure uniformity from one part of a structure to another. In fact, though, it is simply a board with markings, which vary depending upon the materials used and the design of the building.
For a mason laying up a cement block wall, the marks are eight inches apart; when laying brick, the marks are more like two and a half inches apart, depending upon the brick and the thickness of the mortar joints. For the carpenter applying siding, the spacing between courses depends upon the show of the siding and any adjustments made for door and window openings.
The carpenter’s story pole is probably the trickiest, so let’s look at how it is laid out and put to use.

Let’s say it’s time to re-side an old house. The new building paper is on and the old corner boards are still in place, as are the water table (at foundation level) and frieze board trim (at the top of the wall).
Cut a piece of straight stock to precisely the distance from the top of the water table to the lower edge of the frieze board. Tack it in place adjacent to the corner board with a couple of finishing nails (make sure it’s plumb first, of course).
Next, determine exactly where you want each course of your siding to lie, making allowances so that the openings are met by full pieces at the bottom and top. Now, mark the position of each piece of siding on the story pole.
Quicker than you can say “Once upon a time,” your story pole is ready. All you do now is transfer the markings from the story pole to the corner boards, window architraves, or other trim to which the siding will butt.
Story poles are easiest to use on new houses where everything is square and uniform. But even on an older home they can be a genuine time-saver. Before you go ahead and nail the siding, however, take your story pole around to any other sections you plan to side: You may want to compromise a bit from one spot to another in order to get as symmetrical a job as possible.
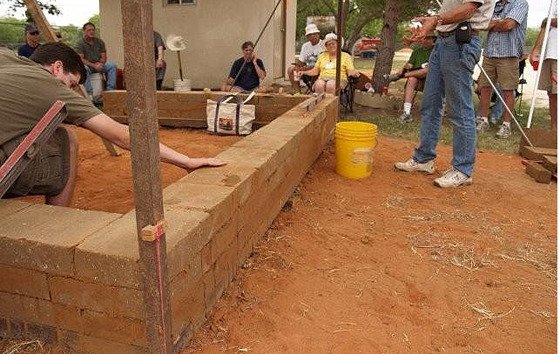
The story pole is used by the mason in the same way: to plan out the wall being constructed and to make sure that all the corners match. A key step for both mason and carpenter is to make sure that ground zero—the point at which the bottom of the story pole is positioned on each and every wall—is the same at each location. A water level, chalk line, or some combination of other tools can help establish the proper point.
The story pole is sometimes used horizontally, as well, to lay out joist or other framing details that are repeated in a structure. And a variation of the story pole, the layout stick, can be a useful tool when doing cutoff work.